Englefield 5625A User manual


Other Englefield Bathroom Fixture manuals

Englefield
Englefield VALENCIA ELITE User manual

Englefield
Englefield VALENCIA ELITE User manual

Englefield
Englefield 1830 User manual

Englefield
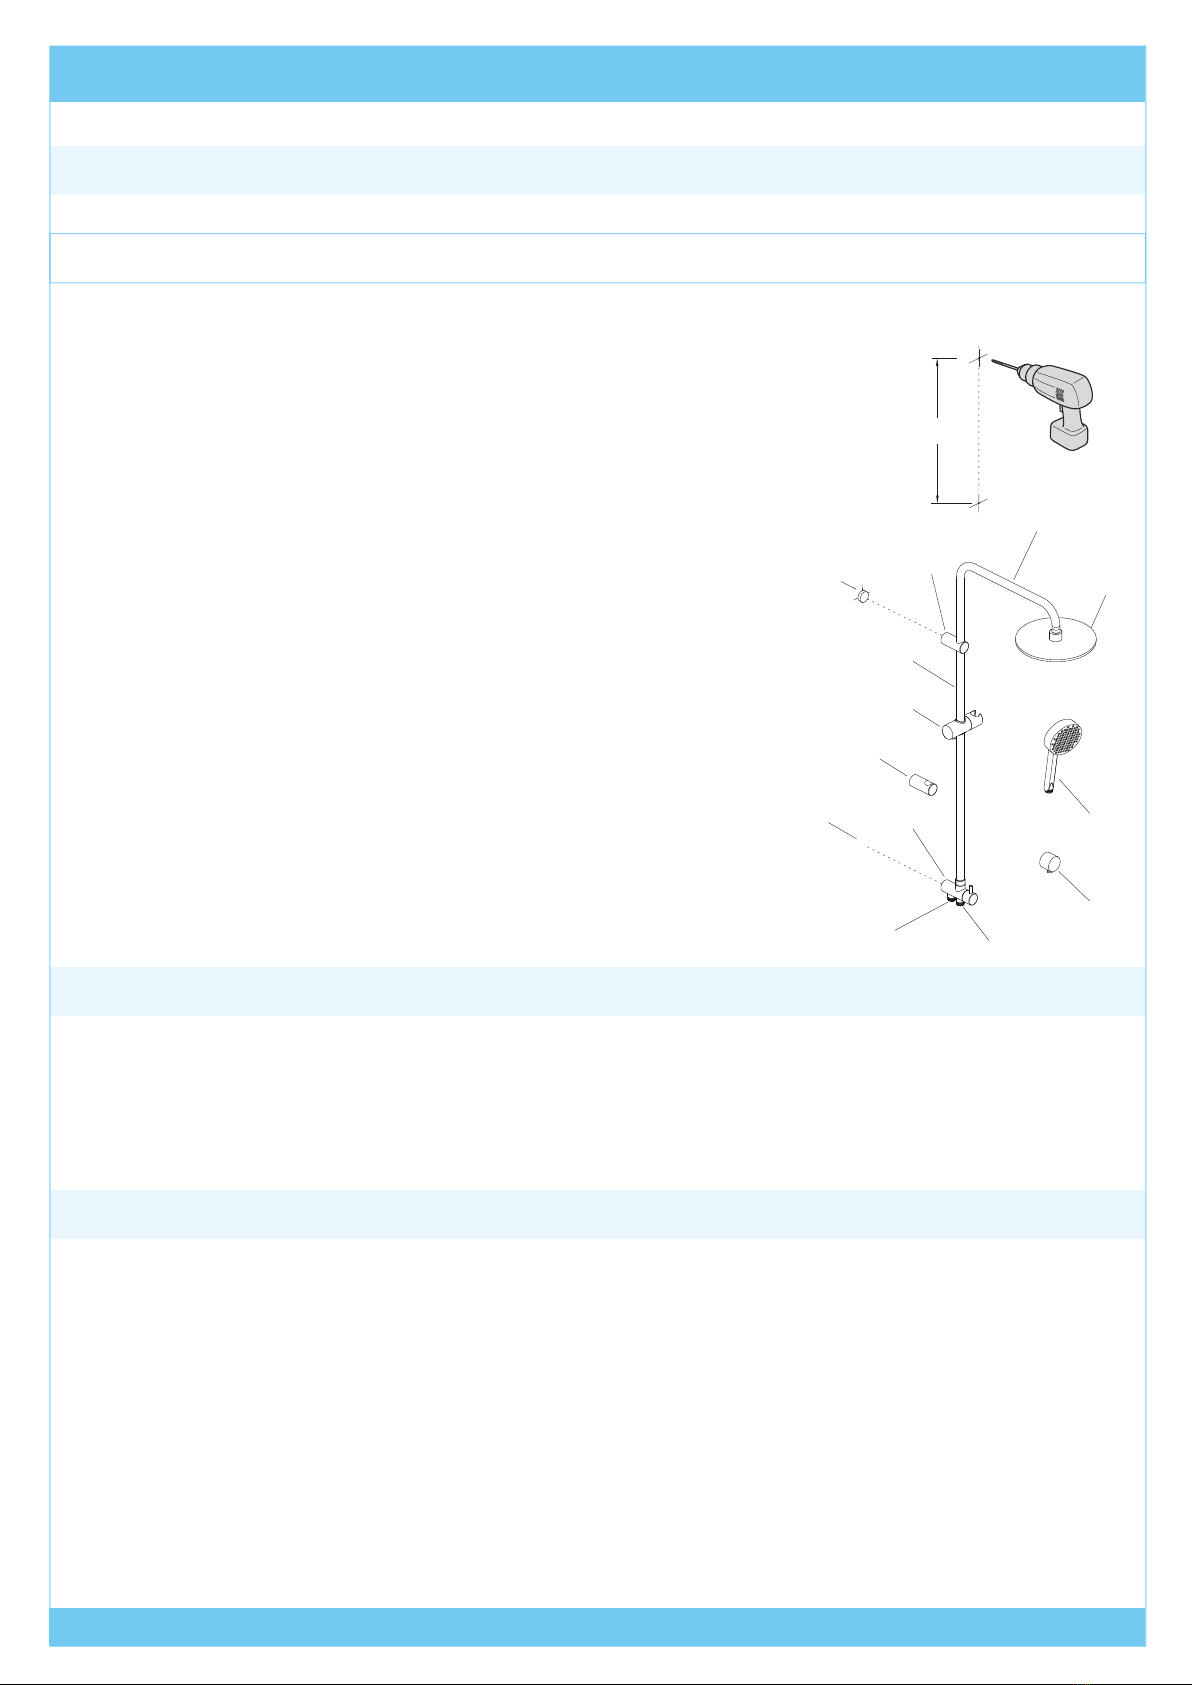
Englefield Tapware Studio II Slide Shower 22980A-CP User manual

Englefield
Englefield VALENCIA Slim Vanity User manual

Englefield
Englefield MILANO Alcove User manual

Englefield
Englefield STUDIO II 22982A-CP User manual

Englefield
Englefield TAPWARE STUDIO 5622A-CP User manual

Englefield
Englefield MILANO Square User manual

Englefield
Englefield STANDARD BATH SCREEN User manual


Popular Bathroom Fixture manuals by other brands

Franke
Franke 7612210067297 Installation and operating instructions

Svedbergs
Svedbergs M1 manual

Toto
Toto TBN02201U Installation and owner's manual

Hans Grohe
Hans Grohe Rainfinity 130 3jet 26865 7 Series Instructions for use/assembly instructions

SIDLER
SIDLER Singa 1/19'' operating instructions

Relax
Relax Smart 0801-A Assembly instructions


