manuals.online logo
Brands
  1. Home
  2. •
  3. Brands
  4. •
  5. Erreka
  6. •
  7. Gate Opener
  8. •
  9. Erreka VULCAN D Operating instructions

Erreka VULCAN D Operating instructions

Other manuals for VULCAN D

2

Other Erreka Gate Opener manuals

Erreka KAIROS MSB-027/01 User manual

Erreka

Erreka KAIROS MSB-027/01 User manual

Erreka DINGO Operating instructions

Erreka

Erreka DINGO Operating instructions

Erreka SIRIUS Operating instructions

Erreka

Erreka SIRIUS Operating instructions

Erreka CA53 Operating instructions

Erreka

Erreka CA53 Operating instructions

Erreka ARES Series User guide

Erreka

Erreka ARES Series User guide

Erreka HERA Technical document

Erreka

Erreka HERA Technical document

Erreka Fenix User guide

Erreka

Erreka Fenix User guide

Erreka ARC Series User guide

Erreka

Erreka ARC Series User guide

Erreka VULCAN User guide

Erreka

Erreka VULCAN User guide

Erreka IZAR User guide

Erreka

Erreka IZAR User guide

Erreka MAGIC Operating instructions

Erreka

Erreka MAGIC Operating instructions

Erreka AXIL Operating instructions

Erreka

Erreka AXIL Operating instructions

Erreka KAIROS User manual

Erreka

Erreka KAIROS User manual

Erreka AXIL Series User manual

Erreka

Erreka AXIL Series User manual

Erreka DINGO User manual

Erreka

Erreka DINGO User manual

Erreka MAGIC User guide

Erreka

Erreka MAGIC User guide

Erreka ARC Series User guide

Erreka

Erreka ARC Series User guide

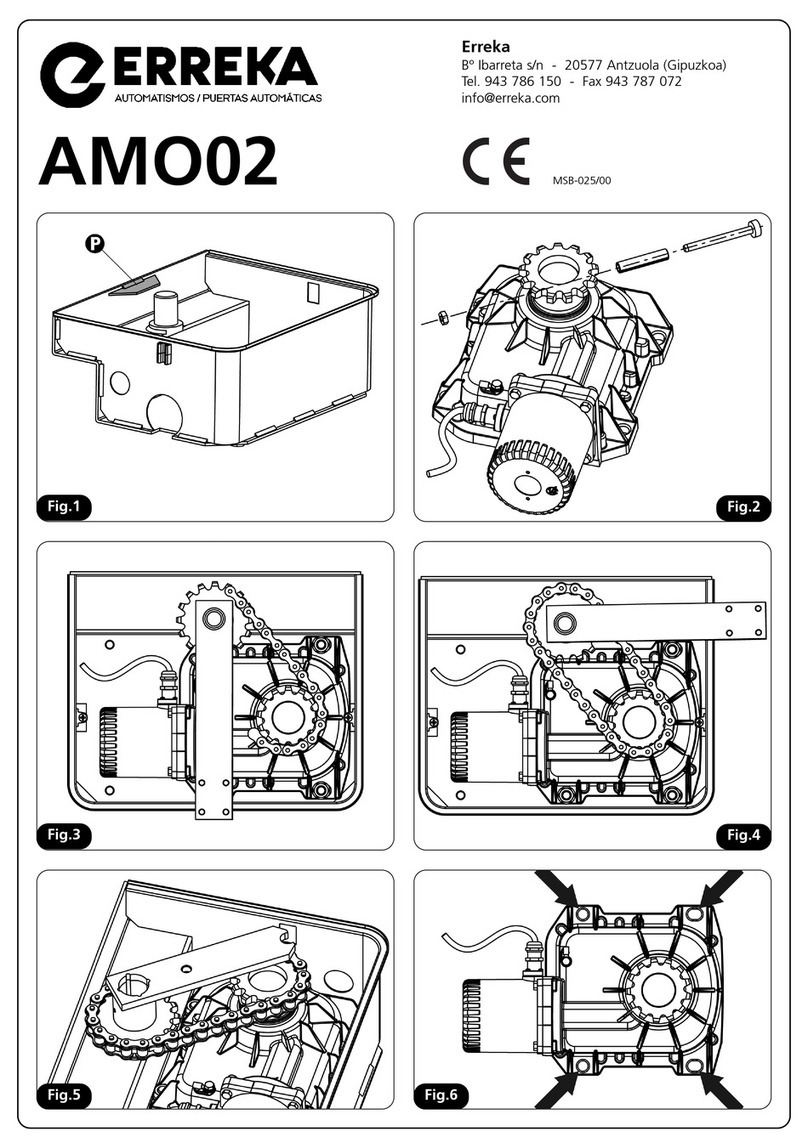
Erreka AMO02 User manual

Erreka

Erreka AMO02 User manual

Erreka VULCAN D VUA12 User guide

Erreka

Erreka VULCAN D VUA12 User guide

Erreka TEMIS User manual

Erreka

Erreka TEMIS User manual

Erreka Puma Operating instructions

Erreka

Erreka Puma Operating instructions

Erreka VIVO-M201M Operating instructions
Erreka

Erreka VIVO-M201M Operating instructions

Erreka VIVO-M201 Operating instructions
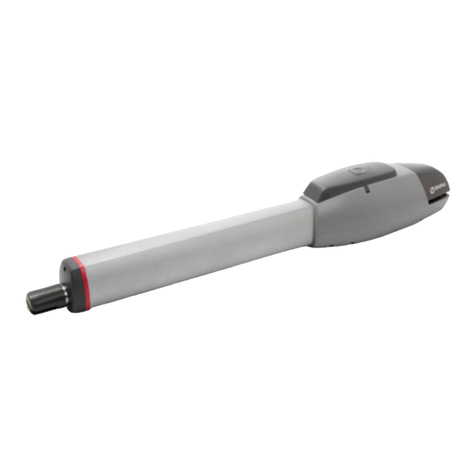
Erreka

Erreka VIVO-M201 Operating instructions

Erreka TORO KM1800 Operating instructions

Erreka

Erreka TORO KM1800 Operating instructions

Popular Gate Opener manuals by other brands

Nortek Security & Control Mighty Mule HD272 installation manual

Nortek Security & Control

Nortek Security & Control Mighty Mule HD272 installation manual

tousek TURN 10 Installation and operating instructions

tousek

tousek TURN 10 Installation and operating instructions

SOMFY AXOVIA 220B RTS installation instructions

SOMFY

SOMFY AXOVIA 220B RTS installation instructions

Nice HySecurity CBOX1050 Installation and programming manual

Nice HySecurity

Nice HySecurity CBOX1050 Installation and programming manual

CAME FROG-PM4 installation manual

CAME

CAME FROG-PM4 installation manual

Aprimatic ONDA 500 installation instructions

Aprimatic

Aprimatic ONDA 500 installation instructions

Turnstiles FSW 900 manual

Turnstiles

Turnstiles FSW 900 manual

Extel VERA quick guide

Extel

Extel VERA quick guide

Beninca R1-2 WBV quick start guide

Beninca

Beninca R1-2 WBV quick start guide

Motorline professional FORT User& installer's manual

Motorline professional

Motorline professional FORT User& installer's manual

Beninca BOB5024 manual

Beninca

Beninca BOB5024 manual

AGA GATEMASTER 900 HD installation manual

AGA

AGA GATEMASTER 900 HD installation manual

Cardin BL Series manual

Cardin

Cardin BL Series manual

Westfalia 85 27 06 instruction manual

Westfalia

Westfalia 85 27 06 instruction manual

Riello Elettronica CARDIN ACE FAST Instruction handbook

Riello Elettronica

Riello Elettronica CARDIN ACE FAST Instruction handbook

Telcoma ARM Instruction handbook

Telcoma

Telcoma ARM Instruction handbook
Telcoma ACE Instruction handbook

Telcoma

Telcoma ACE Instruction handbook
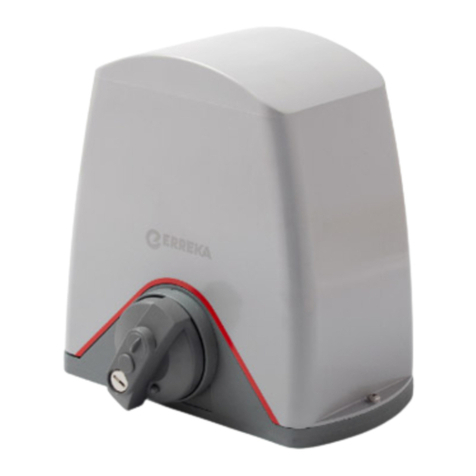
DCS MEGA ARM Installation and service manual

DCS

DCS MEGA ARM Installation and service manual

manuals.online logo
manuals.online logoBrands
  • About & Mission
  • Contact us
  • Privacy Policy
  • Terms and Conditions

Copyright 2025 Manuals.Online. All Rights Reserved.

9
VULCAN D
Quick installation and programming guide English
WARNING
This quick guide is a summary of the complete installation manual. The manual contains safety warnings and
other explanations which must be taken into account. The installation manual can be downloaded by going
to the "Downloads" section of Erreka website:
http://www.erreka.com/Automatismos/descargaDocumentos.aspx
E237A
TC
TA
TA
TA
TA
TC
G
Elements of the complete installation
Electrical wiring
A: Main power supply
B: LUMI Flashing light
C: Photocells (Rx/Tx)
D: Pushbutton / key switch
E: Operator
F: LUMI Built-in antenna
G: Electrolock
VERY IMPORTANT:
The TC closing stopper and the TA
opening stoppers must be installed
in all cases.
The electrolock is compulsory for non-locking
operators. For locking operators, the electrolock must
be used for gate leaf lengths of over 1.8m.
MSH-024/01
10
E237D
2
Unlocking
Unlocking for manual operation:
•Open the cover (1).
•Turn the unlocking key (2) 90º until
it is perpendicular to the operator
spindle.
Motorised operation locking:
•Turn the unlocking key (2) 90º until
it is parallel to the operator spindle.
•Close the cover (1).
Locked Unlocked
M237D
700mm
80mm
80mm
960mm
M237C
M237F
Assembly levels
Inward opening
M237H
Level B
Level A
Opening angle
130
155
80º
130
140
85º
120
140
90º
145
115
90º
125
125
95º
120
120
100º
120
105
110º
Level B
Level A
Opening angle
135
150
80º
125
150
85º
155
100
90º
130
130
90º
130
120
95º
135
100
100º
125
95
110º
Outward opening
11
M237I
Levelling
The operator must work
horizontally: to do this, the supports
must be positioned at the same height.
Check horizontality with a spirit level.
P237H
P237C
P237U
P237D
P237E
P237F
P237V
Assembly
7
Mount the gland and introduce the
cables
.
4 cables are required.
8 Complete the electrical
connections as shown in the
section below. Then position the
cover (T) and tighten the gland.
9
Adjust the opening and closing
pressure, as described on the
next page. Lift the cover (1),
adjust the screws (1) and (2),
and, finally, close the cover (1).
1 Mount the fork in the operator.
Use the supplied horizontal pin as
the axis.
2
Mount the supports. Carry out
the welding with the operator
withdrawn to a distance, in order
to prevent the spindle from being
damaged by splashing.
3 Mount the operator on the rear
support.
Use the supplied narrow-head pin
as the axis.
P237A
P237K
4
Mount the operator on the front
support, using the supplied screw
as the axis.
Before doing this, apply grease to
the spindle and the orifices.
5 Mount the cover and top.
Secure using the screws supplied.
6 Loosen the discharge screw (P).
If the operator has to be
dismounted, retighten the
screw in order to prevent the
oil from leaking out.
12
ST1
FT1
P1 P2 P3
ST2
FT2
P4 P5 P6
STOP
P7 P8 P11
P12
LOCK
FCA1
FCC1
P15 P14 P16
P22 P23
Cour esy
Ligh Lamp.
G7 G8 G9 G10
24Vac
G4 G5 G6 G1 G2 G3
FCA2 COM FCC2
SCA
NL
POWER
MOTOR2 (G2-G1-COM) MOTOR1 (G2-G1-COM)
P237WA
NL
VIVO- M201:
230Vac/ 50Hz
VIVO- M201M:
125Vac/ 60Hz
A2 A1
Electrical connections
VIVO-M201(M)
The VIVO-M101(M) or VIVO-M201(M) control
board can be used for the VULCAN D operator.
Since this is a stationary unit for permanent
connection, an external cut-off must be
installed.
When using a single operator, connect it to
cable connectors G1, G2 and G3 (operator A1).
P237I
Adjusting the opening and closing pressures
The opening and closing pressures must be adjusted in line with the size and weight of the gate.
ODo not tighten the regulation screws (2) and (3) to the maximum, as this will result in damage.
Clockwork turning increases the pressure for both
screws. Anti-clockwork turning reduces the pressure.
The adjustment screws can be accessed by opening the
cover (1).
Pressure during the retraction of the spindle, screw (2):
In inward opening facilities, it corresponds to the opening
operation. In outward opening facilities, it corresponds to
the closing operation.
Pressure during the extension of the spindle, screw (3):
In inward opening facilities, it corresponds to the closing
operation. In outward opening facilities, it corresponds to
the opening operation.
After adjusting the pressures, close the cover (1).