manuals.online logo
Brands
  1. Home
  2. •
  3. Brands
  4. •
  5. Erreka
  6. •
  7. Gate Opener
  8. •
  9. Erreka AMO02 User manual

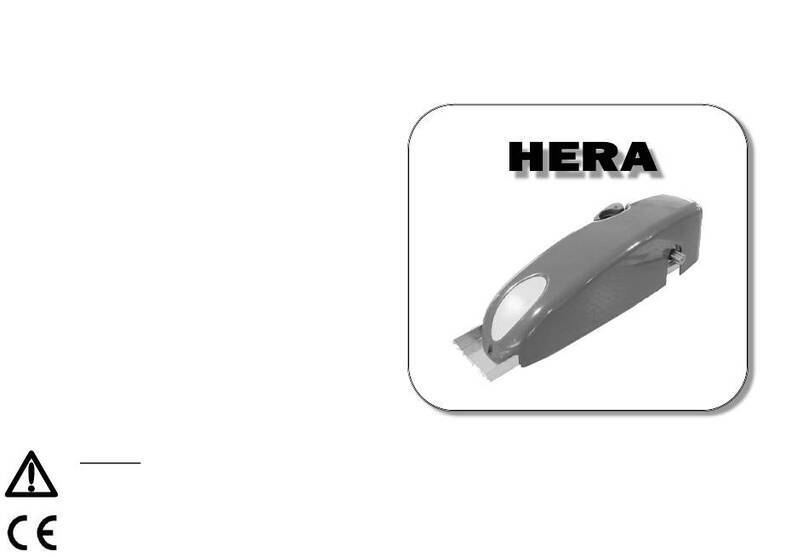
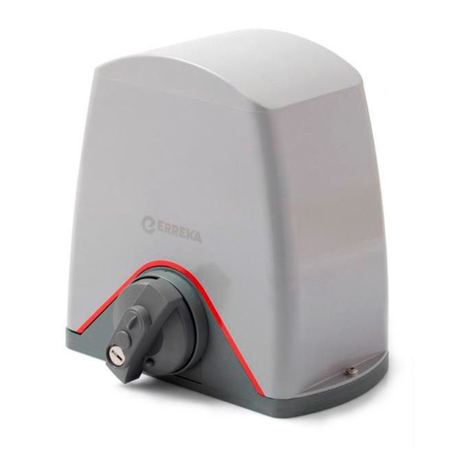
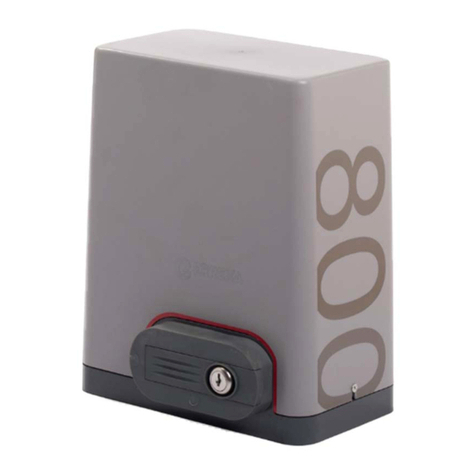
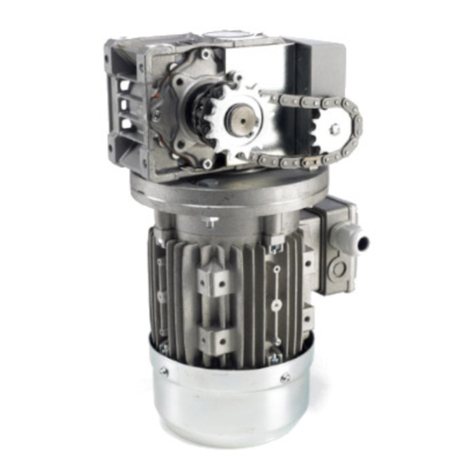
Erreka AMO02 User manual

Fig.1 Fig.2
Fig.3
Fig.6
Fig.4
Fig.5
Erreka
Bº Ibarreta s/n - 20577 Antzuola (Gipuzkoa)
Tel. 943 786 150 - Fax 943 787 072
[email protected]
AMO02 MSB-025/00
FRANÇAIS
DISPOSI IF POUR L’OUVER URE A 180°
En installant ce dispositif sur le motoréducteur MOLE, il est
possible de gérer l’ouverture du battant jusqu’à 180° et en
certains cas jusqu’à 360°
A EN ION : la longueur maxi du vantail est de 2,5m pour
un poids maxi de 400Kg
INS ALLA ION
Après avoir vérifié la correcte ouverture du battant il est
nécessaire d’apporter les modifications suivantes :
1. Couper le plat d’appui du couvercle Pdu caisson de fondation
(Image 1)
2. Remplacer le bras moteur avec le pignon prévu (Image 2)
3. Fixer le pignon à l’arbre du motoréducteur avec cheville et vis
en dotation: insérer la cheville avec un marteau de caoutchouc
et serrer le vis
4. Fixer le caisson de fondation et le motoréducteur comme
indiqué sur la notice (ne pas serrer les écrous qui fixent le
moteur)
5. Remplacer le levier de transmission avec le levier avec
couronne dentée (Image 3)
6. ositionner la chaîne autours des deux pignons
7. Ouvrir et fermer le portail de manière que la chaîne tourne
autours à la couronne du levier
8. Accrocher le maillon pour fermer la chaîne
MISE AU POIN
Ouvrir et fermer manuellement le portail et vérifier que la chaîne
soit tendue de manière appropriée, puis serrer les 4 écrous qui
fixent le moteur au caisson.
Si la chaîne est trop tendue ou relâchée, procéder comme suit:
1. élargir le 4 trous de fixage du motoréducteur d’un diamètre
maxime de 14 mm
2. positionner le motoréducteur dans le caisson de manière que
la chaîne ne soit trop tendue ou relâchée
3. fixer le moteur au caisson comme indiqué sur la notice
mA EN ION: la chaîne doit être graissée au moment de
l’installation et périodiquement selon nécessité
ESPAÑOL
DISPOSI IVO DE APER URA 180 °
Con la instalación de este dispositivo en el motor MOLE se puede
gestionar la apertura de la hoja hasta 180° o, en casos especiales,
de hasta 360 °.
A ENCION: longitud máxima de la hoja 2,5m por un peso
máximo de 400kg
INS ALACIÓN
Después de encontrar el punto exacto de apertura de la hoja es
necesario hacer las siguientes modificaciones:
1. Cortar la placa de apoyo de la tapa de la caja de cimentación
P(Fig.1)
2. Sustituir el brazo motor con el piñón previsto (Fig.2)
3.Asegure el piñón en el eje del motorreductor a través de la
chaveta y los tornillos en dotación: introducir la chaveta
usando un martillo de goma y cerrar los tornillos.
4. Fijar la caja de cimentación y el motoreductor como indica el
manual (todavía no cierren las tuercas que sujetan el motor)
5. Sustituir la palanca de transmisión con la palanca que lleva la
corona dentada (Fig.3)
6. onga la cadena alrededor de los dos piñones (Fig.4)
7. Abrir o cerrar la puerta con el fin de que la cadena de vueltas
alrededor de la corona de la palanca (Fig. 5).
8. Cierre el eslabón de unión para cerrar la cadena.
PUES A A PUN O
Abrir y cerrar la puerta manualmente y verificar que la cadena
esté tensada de manera adecuada, a continuación, cierre las 4
tuercas que sujetan el motor a la caja.
Si la cadena está demasiado tensada o suelta proceda de la
siguiente manera:
1. Ensanchar los 4 agujeros para conectar el motor hasta un
máximo de 14 mm de diámetro (Fig.6)
2. oner el motorreductor en la caja de manera que la cadena no
quede demasiado tensada o floja.
3.Colocar el motor en la caja como se indica en el manual.
mADVER ENCIA: La cadena tiene que lubricarse con
grasa en el momento de la instalación y periódicamente,
según sea necesario.
POR UGUÊS
DISPOSI IVO PARA ABER URA A 180°
Instalando este dispositivo no motorredutor MOLE, é possível
controlar a abertura do batente até 180° e em certos casos até
360°.
A ENÇÃO: O comprimento máximo da folha é de 2,5m para
um peso máximo de 400 kg
INS ALAÇÃO
Após verificar a correcta abertura do batente, é necessário
efectuar as seguintes modificações:
1. Cortar o prato de apoio da tampa da caixa de fundação
(Fig. 1).
2. Substituir o braço do motor pela roda dentada prevista (Fig. 2).
3. Fixar a roda dentada ao eixo do motorredutor com a bucha e
o parafuso fornecidos: inserir a bucha com o martelo de
borracha e apertar o parafuso.
4. Fixar a caixa de fundação e o motorredutor como indicado no
manual (não apertar as porcas que fixam o motor).
5. Substituir a alavanca de transmissão pela alavanca com coroa
dentada (Figura 3).
6. Colocar a corrente à volta das duas rodas dentadas (Figura 4).
7. Abrir e fechar o portão de forma a que a corrente gire à volta
da coroa da alavanca (Figura 5).
8. Engatar o elo de ligação para fechar a corrente.
AJUS E
Abrir e fechar manualmente o portão e verificar se a corrente
está correctamente esticada e apertar as 4 porcas que fixam o
motor à caixa.
Se a corrente estiver demasiado esticada ou com folga, proceder
da seguinte forma:
1. Alargar os 4 buracos de fixação do motorredutor com um
diâmetro máximo de 14 mm.
2. Colocar o motorredutor na caixa de forma a que a corrente
não esteja demasiado esticada ou com folga.
3. Colocar o motorredutor na caixa como indicado no manual.
mA ENÇÃO: A corrente deve ser lubrificada na altura da
instalação e periodicamente sempre que seja necessário.
ENGLISH
DEVICE FOR OPENING UP O 180°
Installing this device on MOLE motor reducer it is possible to
open the wing up to 180° or, in special cases, up to 360°.
WARNING: the maximum length of the wing is 2,5m for a
maximum weight of 400 Kg
INS ALLING
After checking the exact opening of the wing, it is necessary to
make the following changes:
1. Cut the plate on which lays the lid Pfrom the foundation box
( icture 1)
2. Replace the motor arm with the specific pinion ( icture 2)
3. Fix the pinion to the motor reducer shaft by means of the
supplied pin and screw: introduce the pin by means of a
rubber hammer and tighten the screw
4. Fix the foundation box and the motor reducer as indicated in
the handbook (do not tighten the bolts fixing the motor)
5. Replace the transmission lever with the ring gear lever ( icture 3)
6. lace the chain round the two pinions ( icture 4)
7. Open or close the gate in order to make the chain turn round
the ring gear of the lever ( icture 5)
8. Hook the joint link to close the chain
SE ING UP
Open and close manually the gate and check that the chain is
properly tight, then tighten the 4 bolts fixing the motor to the
foundation box.
If the chain is too tight or loosen proceed as follows:
1. Widen the 4 fixing holes of the motor reducer up to a
maximum of 14 mm ( icture 6)
2. ut the motor reducer in the foundation box so that the chain
is not too tight or loosen
3. Fix the motor reducer to the foundation box as indicated in
the handbook
mWARNING: the chain has to be greased at the moment
of its installation and periodically upon need.

Other Erreka Gate Opener manuals

Erreka Puma User guide

Erreka

Erreka Puma User guide

Erreka ARC Series User guide

Erreka

Erreka ARC Series User guide

Erreka CICLON Series User manual

Erreka

Erreka CICLON Series User manual

Erreka IZAR User guide

Erreka

Erreka IZAR User guide

Erreka CALYPSO Series User manual

Erreka

Erreka CALYPSO Series User manual

Erreka Fenix User guide

Erreka

Erreka Fenix User guide

Erreka MAGIC Operating instructions

Erreka

Erreka MAGIC Operating instructions

Erreka VULCAN D Operating instructions

Erreka

Erreka VULCAN D Operating instructions

Erreka Puma Operating instructions

Erreka

Erreka Puma Operating instructions

Erreka ARC Series User guide

Erreka

Erreka ARC Series User guide

Erreka CAT Operating instructions

Erreka

Erreka CAT Operating instructions

Erreka V2 CICLON User manual

Erreka

Erreka V2 CICLON User manual

Erreka CA53 Operating instructions

Erreka

Erreka CA53 Operating instructions

Erreka IZAR User guide

Erreka

Erreka IZAR User guide

Erreka CICLON Series Operating instructions

Erreka

Erreka CICLON Series Operating instructions

Erreka BUL BL33 Operating instructions

Erreka

Erreka BUL BL33 Operating instructions

Erreka MAGIC Operating instructions

Erreka

Erreka MAGIC Operating instructions

Erreka TORO KM1800 Operating instructions

Erreka

Erreka TORO KM1800 Operating instructions

Erreka AXIL Series User manual

Erreka

Erreka AXIL Series User manual

Erreka JEDI JES100E User manual

Erreka

Erreka JEDI JES100E User manual

Erreka LINCE Operating instructions

Erreka

Erreka LINCE Operating instructions

Erreka KAIROS User manual

Erreka

Erreka KAIROS User manual

Erreka TOPO User guide

Erreka

Erreka TOPO User guide

Erreka Dolfin Operating instructions

Erreka

Erreka Dolfin Operating instructions

Popular Gate Opener manuals by other brands

FAAC S700H SB user manual

FAAC

FAAC S700H SB user manual

Grifco LG Drive GGS1000 instruction manual

Grifco

Grifco LG Drive GGS1000 instruction manual

GTO SW-2000XL Brochure & specs

GTO

GTO SW-2000XL Brochure & specs

fadini Hindi 880-Evo instruction manual

fadini

fadini Hindi 880-Evo instruction manual

tousek ST 61A Connection and installation manual

tousek

tousek ST 61A Connection and installation manual

BFT BERMA installation manual

BFT

BFT BERMA installation manual

CAME BKV2000P Quick setup guide

CAME

CAME BKV2000P Quick setup guide

Nice Titan 912L Quick start installation guide

Nice

Nice Titan 912L Quick start installation guide

GTO 2002XLS installation manual

GTO

GTO 2002XLS installation manual

BFT ELI-250 manual

BFT

BFT ELI-250 manual

Genius Fold manual

Genius

Genius Fold manual

Chamberlain LiftMaster SL930 Addendum

Chamberlain

Chamberlain LiftMaster SL930 Addendum

US Automatic PATRIOT RSL Installation & owner's manual

US Automatic

US Automatic PATRIOT RSL Installation & owner's manual

Keyautomation SUN Series Instructions and warnings for installation and use

Keyautomation

Keyautomation SUN Series Instructions and warnings for installation and use

GiBiDi MODO12 Instructions for installations

GiBiDi

GiBiDi MODO12 Instructions for installations

Grant's Automation e-Gate SLD-24V-D instruction manual

Grant's Automation

Grant's Automation e-Gate SLD-24V-D instruction manual

Keyautomation CT102 24 Instructions and warnings for installation and use

Keyautomation

Keyautomation CT102 24 Instructions and warnings for installation and use

Entrematic Ditec PWR50H Technical manual

Entrematic

Entrematic Ditec PWR50H Technical manual

manuals.online logo
manuals.online logoBrands
  • About & Mission
  • Contact us
  • Privacy Policy
  • Terms and Conditions

Copyright 2025 Manuals.Online. All Rights Reserved.