3. Installation
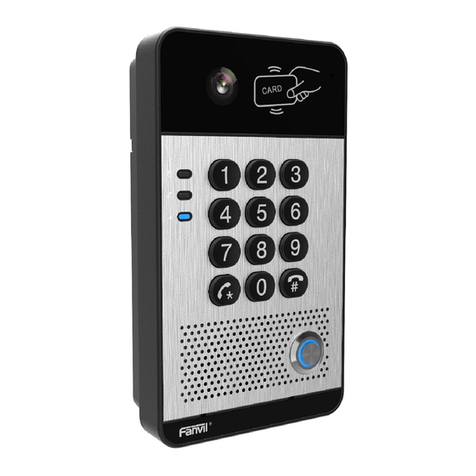
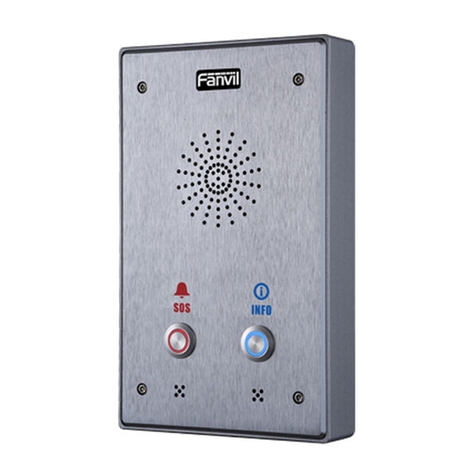
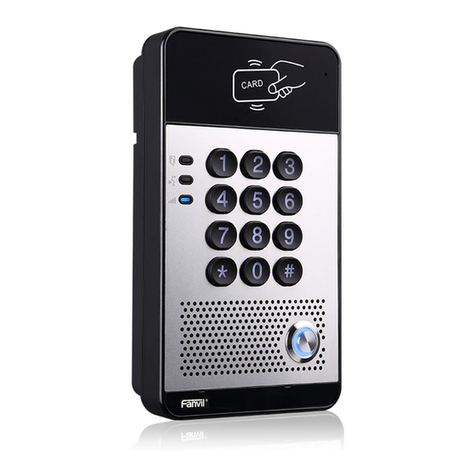
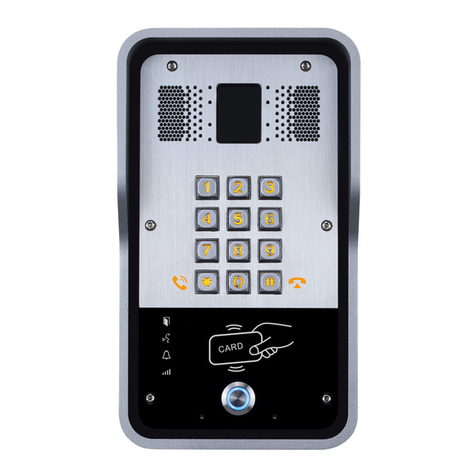
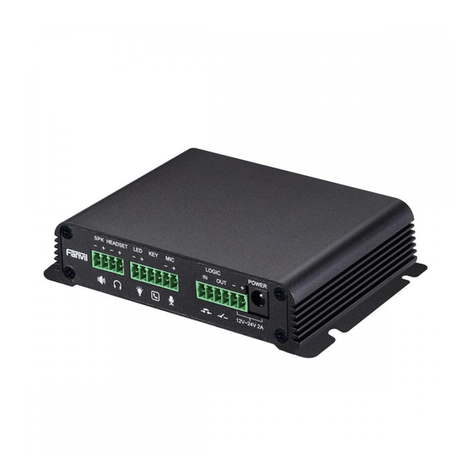
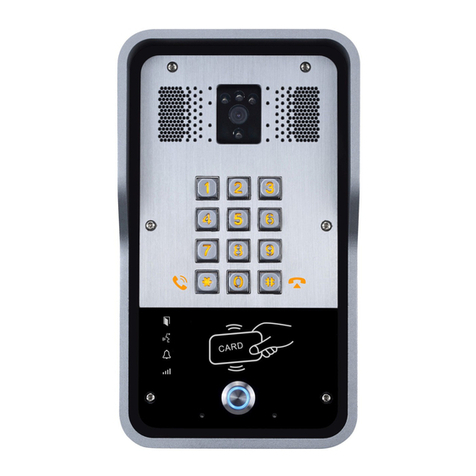
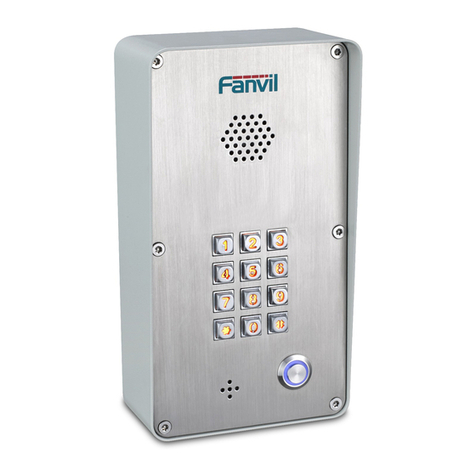
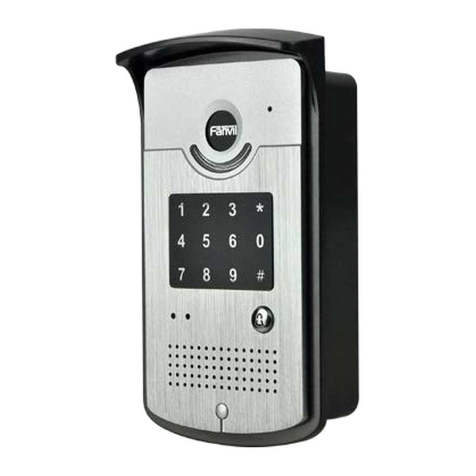
Main Part of Intercom Back Panel Wall-mounted hanging shell
Figure 1 Three Major Parts of i20S
Step 1: Installation preparation
A. Check the following contents:
Hex wrench x 1
RJ45 plugs x 2 (1 spare)
KA4 x 25mm screws x 4
25mm screw anchors x4
B. Tools that may be required:
Hex wrench
Phillips screwdriver (Ph2 or Ph3), hammer, RJ45 crimper
Electric impact drill with an 6mm drill bit
Step 2: Drilling
Figure 2 Wall Mounting
A. Place the mounting template with dimensions on the surface of a wall in a desired flat position.
B. Use an electric drill to drill the 4 holes marked on the mounting template. It is recommended to drill about
30mm deep. Remove the template when finishing drilling.
C. Push or hammer screw anchors into the drilled holes.
