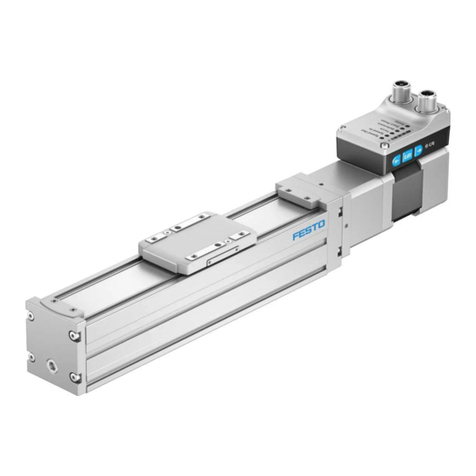
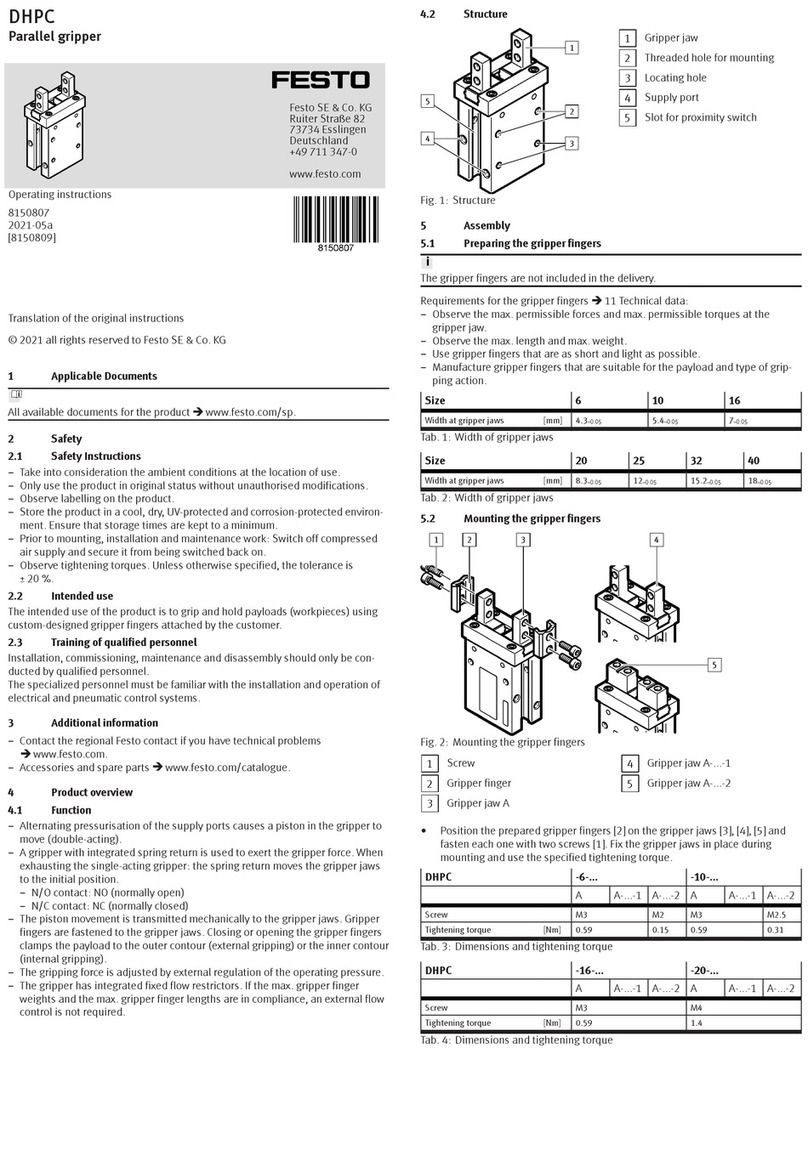
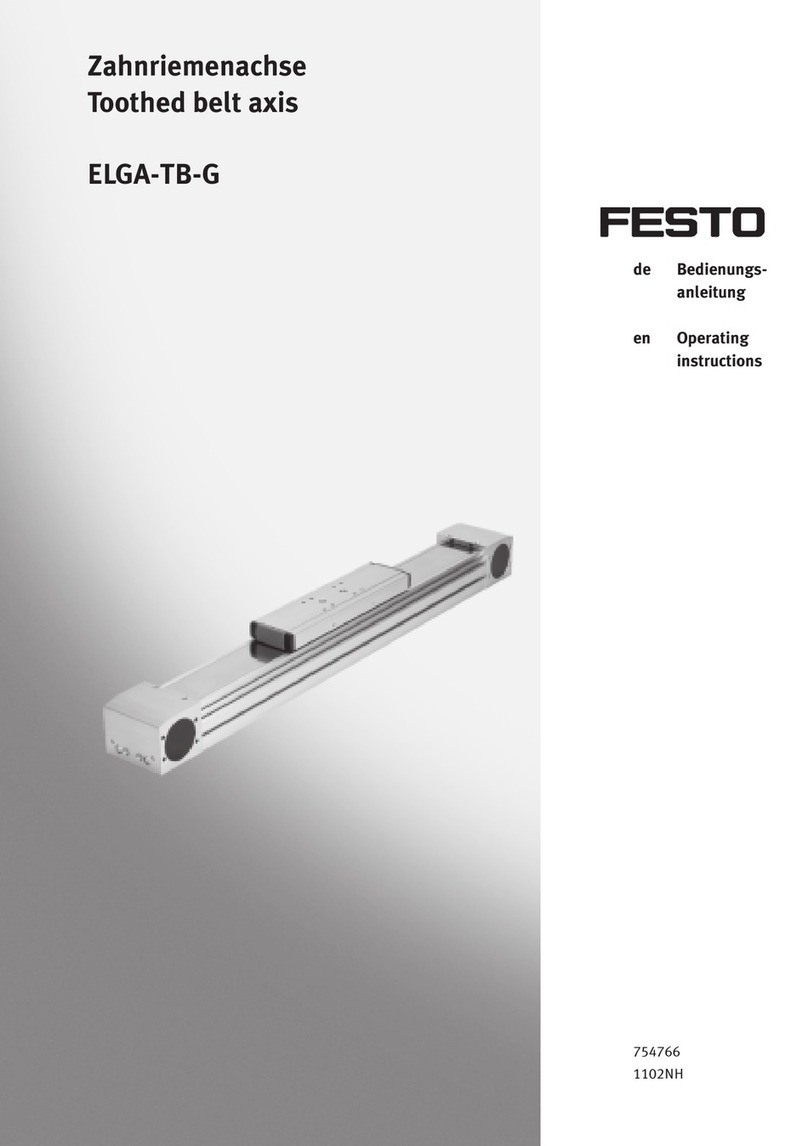
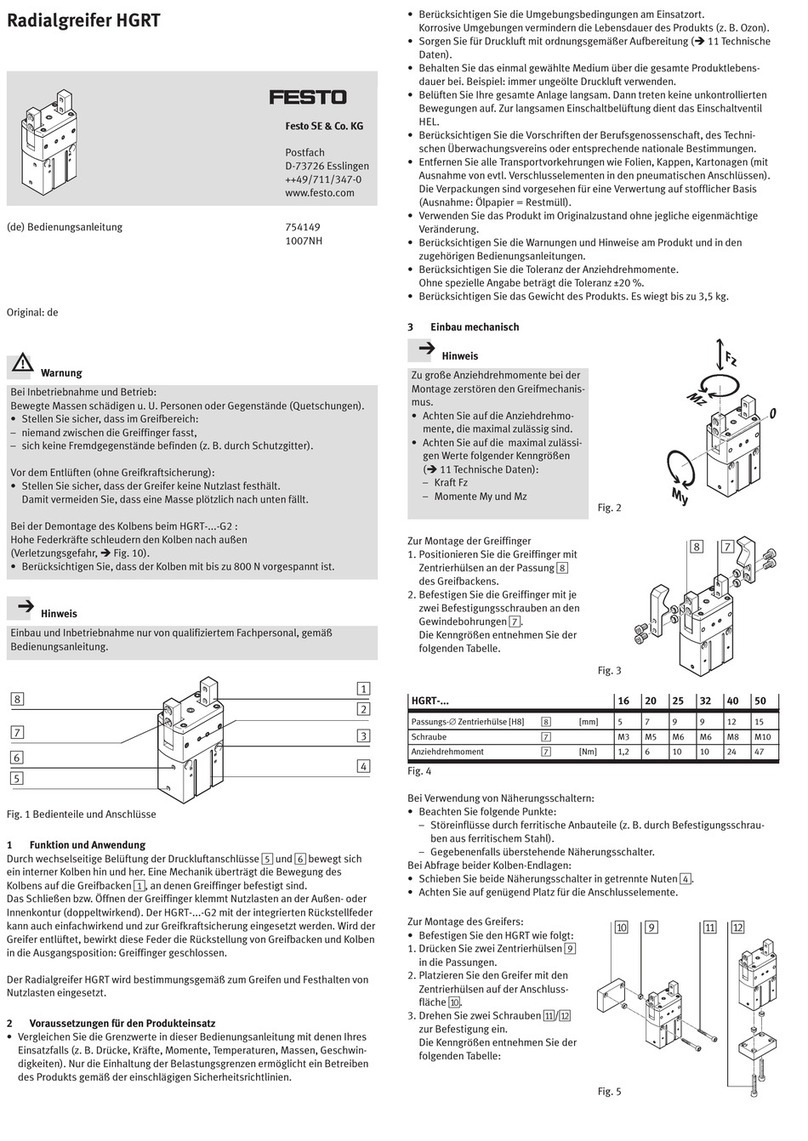
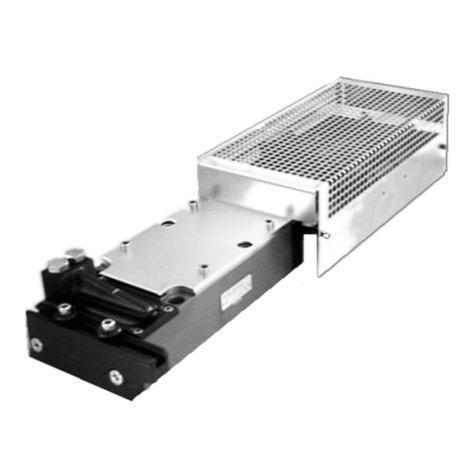
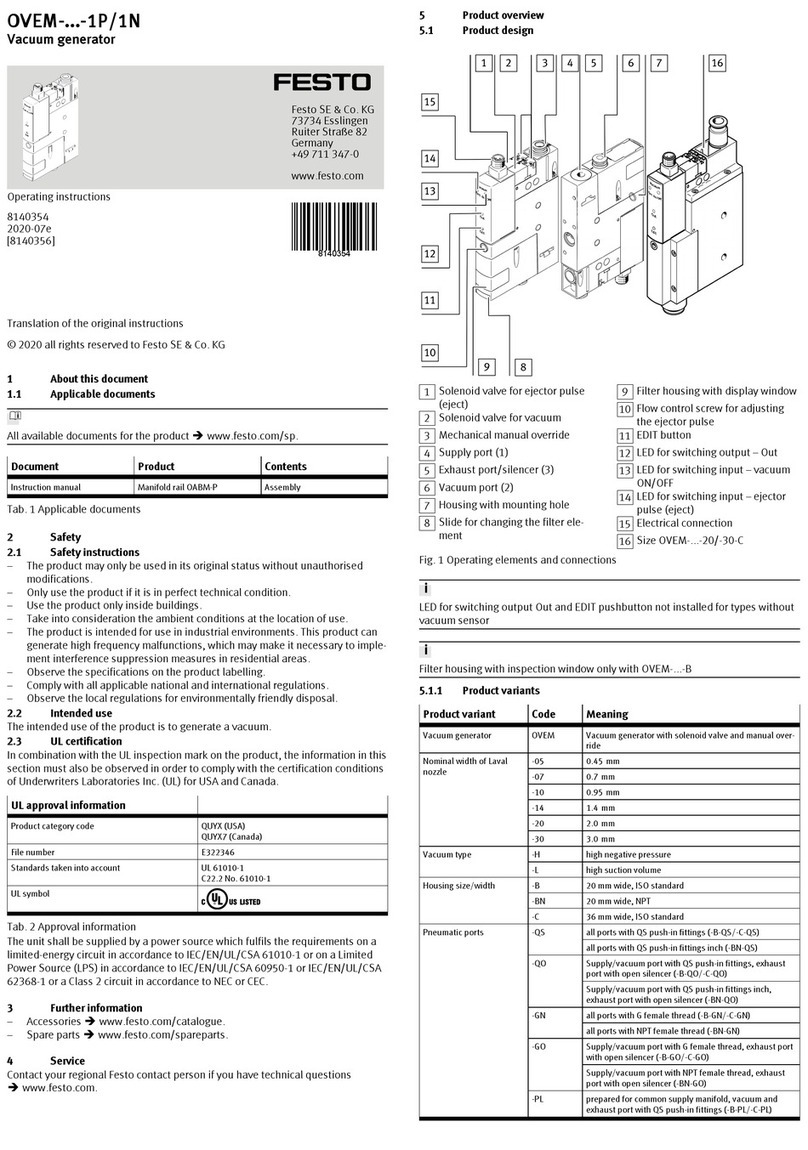
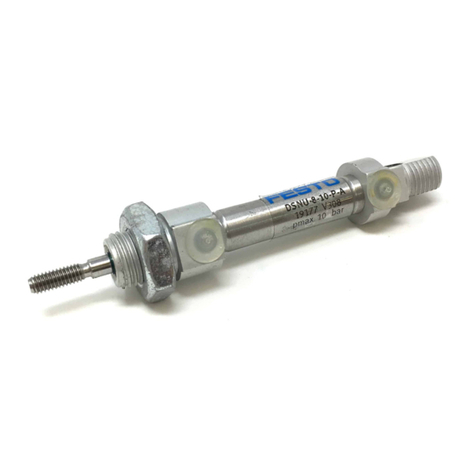
Festo EAMM-U-110-D80-100A Assembly instructions

Translation of the original instructions
1 Applicable documents
All available documents for the product èwww.festo.com/pk.
Observe further applicable documents:
– Motor instruction manual
– Axis instruction manual
2 Safety
2.1 Safety instructions
– Only assemble the product on components that are in a condition to be safely
operated.
– Clean shafts. The clamping sleeves only grip efficiently on dry and grease-free
drive shafts.
– Perform a homing procedure each time after disconnecting or turning the
motor.
– Select required mounting components. The kit contains all the mounting com-
ponents that may be required.
– Observe tightening torques. Unless otherwise specified, the tolerance
is±20%. è 8 Technical data.
If they are exceeded, the cover screws of the axis will loosen during disas-
sembly.
2.2 Intended use
2.2.1 Usage
Connecting an axis to a motor in a parallel configuration.
2.2.2 Permissible axes and motors
NOTICE!
Overloading can cause malfunction and material damage.
The motor’s output variables must not exceed the permissible values of the com-
ponents used.
Permissible values èwww.festo.com/catalogue.
• Limit the motor’s output variables accordingly.
• Derive the axis and motor from the interface codes.
Example: EAMM-U-60-D40-55A
D40: Axis interface
55A: Motor interface
Axis interface Axis1)
D32 EGSL-45, ESBF-32
D40 EGSL-55, ESBF-40
D50 ESBF-50
D60 EGSL-75, ESBF-63
D80 ESBF-80
D100 ESBF-100
1) D: electric drive ESBF, mini-slide EGSL
Tab. 1
Motor interface Motor1)
40A EMMS-AS-40
40P EMMB-/EMME-AS-40
40R Third-party motor
42A EMMS-ST-42, third-party motor
55A EMMS-AS-55, third-party motor
Motor interface Motor1)
57A EMMS-ST-57, third-party motor
60P EMMB-/EMME-/EMMT-AS-60, third-party motor
60R Third-party motor
67A EMCA-EC-67
70A EMMS-AS-70, third-party motor
80P EMMB-/EMME-/EMMT-AS-80, third-party motor
87A EMMS-ST-87
88A Third-party motor
90R Third-party motor
100A EMME-/EMMS-/EMMT-AS-100
140A EMMS-AS-140
1) servo motor EMM...-AS, stepper motor EMM...-ST, motor unit EMCA-EC
Tab. 2
It is the responsibility of users to qualify third-party motors with the matching
mechanical interface for the combination.
You can find out which third-party motors are suitable from your local Festo con-
tact partner or from èwww.festo.com/sp.
2.3 Qualification of specialized personnel
Mounting only by qualified personnel.
3 Additional information
– Accessories èwww.festo.com/catalogue.
4 Product range overview
4.1 Scope of delivery
1Housing (1x)
2Screw (4x)
3Axis clamping sleeve (1x)
4Motor clamping sleeve (1x)
5Toothed belt (1x)
6Toothed belt pulley (2x)
7Cover (1x)
8Screw (5x)
9Square nut (4x)
10 Screw (4x)
Fig. 1 Scope of delivery basis
With EAMM-U-...-42A: the square nut[9] is not required.
40 Adapter plate (1x)
41 Screw (4x)
Fig. 2 Addendum with EAMM-U-...-67A
50 Sealing plug (1x)
Fig. 3 Addendum with EAMM-U-110/-145
4.2 Not in scope of delivery
31 Axis clamping sleeve (1x)
33 Screw (1x/2x)
32 Counter bearing (1x)
Fig. 4 Counter bearing EAMG-U1
60 Lubricating grease (1x) LUB-KC1
(silicone free)
61 Clamping element (1x) EADT-E-
U1-110
Fig. 5 Accessories
The clamping element[61] is recommended from size 110.
8082757
EAMM-U-...-D...-...A/P/R-1
Parallel kit
8082757
2018-11e
[8082759]
Instructions| Assembly
Festo SE & Co. KG
Ruiter Straße 82
73734 Esslingen
Germany
+49 711 347-0
www.festo.com

5 Mounting
5.1 Mounting the housing
Fig. 6 Fasten axis
• Fasten axis to the housing[10] with the screws[1].
With EAMM-U-...
Fig. 7 Attach motor - without adapter plate
• Attach the motor with the screws[2] and the square nuts[9] to the
housing[1].
ÄThe motor is movable and can be easily tilted.
For EAMM-U-...-42A the mounting direction is different.
• Attach the housing[1] to the motor with the screws[2].
With EAMM-U-...-67A an adapter plate[40] is required.
• Please note the following section.
With EAMM-U-...-67A
Fig. 8 Attach motor - with adapter plate
1. Fasten the adapter plate[40] to the motor with the screws[2].
2. Attach housing[1] to the adapter plate[41] with the screws[40].
ÄThe motor is movable and can be easily tilted.
5.2 Mounting the toothed belt
Fig. 9 Insert toothed belt
1. Grease the clamping sleeves[3]/[4] and the outside of the cone with lubricat-
ing grease[60].
ÄGreased clamping sleeves[3]/[4] can be tightened evenly.
2. Screw the clamping sleeves[3]/[4] into the thread of the toothed belt
pulleys[6]. Do not tighten.
3. Insert the toothed belt pulleys[6] into the toothed belt[5].
4. Move the motor in the direction of the axis up to the stop and tilt it slightly.
5. Place the clamping sleeves[3]/[4] on the drive shaft.
6. Fasten motor with the screws[2]/[41].
ÄThe motor is movable, but it can no longer be tilted.
Fig. 10 Aligning toothed belt pulleys
• Position surfaces[A] approx. 1 mm above the reference surface[B].
ÄBackground: The tooth belt pulley[6] moves inwards when tightening.
The position of the surface[A] depends on the size.
Fig. 11 Area A on the toothed belt pulley
Fig. 12 Tighten toothed belt pulleys
1. Select the required tightening torque for the toothed belt pulleys[6]
è 8.2 Tightening torques for the toothed belt pulleys.
2. Tighten toothed belt pulleys[6]. Apply counter pressure to the clamping
sleeves[3]/[4].
Fig. 13 Observe tolerances
1. Observe tolerances. The areas[A] must be flush with the reference area[B].
Tolerance: ± 0.5mm
2. If the toothed belt[5] or one of the toothed belt pulleys[6] is grinding against
the housing:
– Unscrew clamping sleeves[3]/[4] slightly.
– Readjust the toothed belt pulleys[6].
5.3 Mounting the counter bearings
NOTICE!
When counter bearings are installed, they extend the service life of the axes and
motors.
• Always mount the counter bearing[32] included in the scope of delivery.
• With heavy loads: mount optional counter bearingEAMG-U1
èwww.festo.com/catalogue.
NOTICE!
Malfunctions and material damage may occur if the trunnion[F] is bent.
• When tightening the toothed belt pulley[6], avoid a transverse load of the
trunnion[F] on the clamping sleeve[31].

Prerequisite: The toothed belt fitted with clamping sleeves[31] and [4] mounted
but not yet tensioned.è 5.2 Mounting the toothed belt.
Fig. 14 Fasten counter bearing
1. Push the needle bush[G] onto the trunnion[F] of the clamping sleeve[31]
avoiding tension.
2. Fasten the counter bearing[32] with the screw[33] on the thread[H].
3. Tension toothed belt[5].
With EAMM-U-110/-145: Fasten counter bearing[32] with 2 screws[33].
5.4 Tensioning the toothed belt
NOTICE!
Toothed belt pretensioning too high.
Impermissible radial loads or shaft break.
Increased wear of the toothed belt and the bearings of axis and motor.
• Avoid excessive toothed belt pretension.
A low toothed belt pretension is recommended.
The toothed belt[5] is tensioned when the strands[D] run approximately parallel:
–Untensioned: y>x
– Tensioned: yL1…1.05x
Fig. 15 Strands of the toothed belt
With EAMM-U-50/-60/-70/-86
1. Move the motor until the clamping force FV is exerted on the toothed belt[5].
2. Tighten[2] screws.
EAMM-U- Clamping force FV
[N]
50 15…35
60 40…70
70 60…110
86 70…130
Tab. 3 Permissible clamping force of the toothed belt
With EAMM-U-110/-145
Fig. 16 Tension toothed belt with clamping element
1. Position clamping element[61] in the drilled hole[E].
2. Turn clamping element[61]. Hex wrench:ß8
Observe the recommended torque.
ÄThe motor, which can be moved along the slots, is pressed away from the
axis mechanism by the eccentric cam of the clamping element.
3. Tighten[2] screws.
EAMM-U- Recommended torque
[Nm]
110 0.2…0.6 0.4…0.8 0.6…1.0
145 1.0…1.5 1.5…2.0 2.0…2.5
Tab. 4 Recommended torque of the clamping element
EAMM-U- Clamping forceFV
[N]
110 120…300
145 200…450
Tab. 5 Permissible clamping force of the toothed belt
Fig. 17 Close drilled hole
• Press the sealing plug[50] into the drilled hole[E].
5.5 Mounting the cover
Fig. 18 Attach the cover
• Fasten cover[7] to the housing[8] with the screws[1].
The threads[I] are used to fasten mounting accessories
èwww.festo.com/catalogue.
6 In operation
CAUTION!
Risk of injury from touching hot surfaces.
The motor connecting kit becomes hot due to the heat dissipation of the motor.
• Do not touch the motor connecting kit during operation or immediately after-
ward.
WARNING!
Risk of injury due to unexpected movement of components if toothed belt fails.
• Take supplemental safeguarding measures.
7 Maintenance
7.1 Check the toothed belt
The toothed belt[5] is a wearing part èwww.festo.com/spareparts.
1. Check toothed belt[5] regularly:
– during maintenance of the machine
– when replacing an axis
2. Replace the toothed belt[5] at the following indicators of wear:
– excessive accumulation of wear particles in the housing
– cracks on the back of the toothed belt
– visible glass fibre cords in the tooth base

7.2 Dismounting the toothed belt
Fig. 19 Loosen toothed belt pulleys
1. Unscrew the screws[2] slightly.
ÄThe motor is movable and can be easily tilted.
2. Move the motor in the direction of the axis up to the stop and tilt it slightly.
3. Dismount the counter bearing.
4. Unscrew the toothed belt pulleys[6]. Apply counter pressure to the clamping
sleeves[3]/[4].
5. Rotate toothed belt pulleys[6] anti-clockwise.
ÄThe toothed belt pulleys[6] can be pulled from the cone of the clamping
sleeves[3]/[4].
Fig. 20 Remove toothed belt
1. Pull the clamping sleeves[3]/[4] from the drive shaft.
2. Remove the toothed belt[5] from the toothed belt pulleys[6].
8 Technical data
8.1 Screw sizes and tightening torques
EAMM-U- [2] [Nm] [8] [Nm] [10] [Nm] [33] [Nm]
50-D32-40A M3x12 1.2 M4x25 3 M6x18 5/61) M5x20 6
50-D32-40P M3x10 1.2 M4x25 3 M6x18 5/61) M5x20 6
50-D32-40R M4x12 3 M4x25 3 M6x18 5/61) M5x20 6
50-D32-42A M3x8 1.2 M4x25 3 M6x18 5/61) M5x20 6
60-D32-55A M5x20 6 M5x25 6 M6x18 5/61) M6x20 10
60-D32-57A M5x35 6 M5x25 6 M6x18 5/61) M6x20 10
60-D32-60R M5x35 6 M5x25 6 M6x18 5/61) M6x20 10
60-D32-67A M6x10 10 M5x25 6 M6x18 5/61) M6x20 10
60-D40-40R M4x12 3 M5x25 6 M6x18 5/61) M6x20 10
60-D40-55A M5x20 6 M5x25 6 M6x18 5/61) M6x20 10
60-D40-57A M5x35 6 M5x25 6 M6x18 5/61) M6x20 10
60-D40-60R M5x35 6 M5x25 6 M6x18 5/61) M6x20 10
60-D40-67A M6x10 10 M5x25 6 M6x18 5/61) M6x20 10
70-D32-60P M4x16 3 M5x35 6 M6x18 5/61) M8x30 18
70-D32-70A M5x18 6 M5x35 6 M6x18 5/61) M8x30 18
70-D40-60P M4x16 3 M5x35 6 M6x18 5/61) M8x30 18
70-D40-70A M5x18 6 M5x35 6 M6x18 5/61) M8x30 18
70-D50-70A M5x20 6 M5x35 6 M8x20 12 M8x30 18
86-D40-70A M5x18 6 M6x40 10 M6x18 5/61) M8x30 18
86-D40-80P M5x20 6 M6x40 10 M6x18 5/61) M8x30 18
86-D40-87A M6x40 10 M6x40 10 M6x18 5/61) M8x30 18
86-D40-88A M6x45 10 M6x40 10 M6x18 5/61) M8x30 18
86-D50-80P M5x20 6 M6x40 10 M8x20 12 M8x30 18
86-D50-87A M6x45 10 M6x40 10 M8x20 12 M8x30 18
86-D60-55A M5x20 6 M6x40 10 M8x20 9/122) M8x30 18
86-D60-60P M4x20 3 M6x40 10 M8x20 9/122) M8x30 18
86-D60-70A M5x20 6 M6x40 10 M8x20 9/122) M8x30 18
86-D60-80P M5x20 6 M6x40 10 M8x20 9/122) M8x30 18
86-D60-87A M6x45 10 M6x40 10 M8x20 9/122) M8x30 18
86-D60-88A M6x45 10 M6x40 10 M8x20 9/122) M8x30 18
110-D50-100A M8x25 18 M8x50 18 M8x20 12 M8x40 18
110-D60-88A M6x20 10 M8x50 18 M8x20 9/122) M8x40 18
110-D60-90R M6x20 10 M8x50 18 M8x20 9/122) M8x40 18
110-D60-100A M8x25 18 M8x50 18 M8x20 9/122) M8x40 18
EAMM-U- [2] [Nm] [8] [Nm] [10] [Nm] [33] [Nm]
110-D80-100A M8x25 18 M8x50 18 M10x20 25 M8x40 18
145-D80-140A M10x55 30 M8x50 18 M10x20 25 M8x40 18
145-D100-140A M10x55 30 M8x50 18 M10x20 25 M8x40 18
1) With axis EGSL: 5 Nm; ESBF: 6 Nm
2) With axis EGSL: 9 Nm; ESBF: 12 Nm
Tab. 6
EAMM-U- [41] [Nm]
60-D32-67A M5x8 6
60-D40-67A M5x8 6
Tab. 7
8.2 Tightening torques for the toothed belt pulleys
The transmittable torque depends on the tightening torque of the toothed belt
pulleys[6].
• Select the tightening torque of the toothed belt pulley[6] from the permiss-
ible range.
ÄCheck: The transferable torque is greater than the driving torque of the
motor èTechnical data of the motor.
EAMM-U- Toothed belt pulley[6] Parallel kit
Tightening torque [Nm] Transferable torque [Nm]
50 3 …5 0.5…1
60 10…15 1.5…3
70 22…35 3.5…7
86 25…40 4.8…9.5
110 65…80 12.5…25
145 120…180 25…50
Tab. 8
EAMM-U- Toothed belt[6] Clamping
sleeve[3]/[4]
Clamping
sleeve[31]
50 ß17 ß5 ß3
60 ß22 ß8 ß5
70/86 ß30 ß8 ß6
110/145 ß36 ß10 ß8
Tab. 9
This manual suits for next models
34
Other Festo Industrial Equipment manuals

Festo
Festo MPS 8046521 User manual

Festo
Festo YXCA User manual

Festo
Festo CPX-ST-1 User manual

Festo
Festo DHPC User manual

Festo
Festo EGC Series User manual

Festo
Festo DHRS User manual

Festo
Festo DG Series User manual

Festo
Festo MS6-SV Series User manual

Festo
Festo EXCT Series User manual

Festo
Festo EGC FA Series User manual

Festo
Festo EAMM-A-V...-...A Series User manual

Festo
Festo VTSA Series User manual

Festo
Festo CPX-FB37 User manual

Festo
Festo HGPD User manual

Festo
Festo MS6 Series User manual

Festo
Festo EGSC-BS-KF User manual

Festo
Festo VABM-B10 EEE Series User manual

Festo
Festo YJKP User manual

Festo
Festo VABM-B10-30EEE User manual

Festo
Festo Checkbox Series User manual