manuals.online logo
Brands
  1. Home
  2. •
  3. Brands
  4. •
  5. FOR-A
  6. •
  7. Switch
  8. •
  9. FOR-A MFR-6100 User manual

FOR-A MFR-6100 User manual

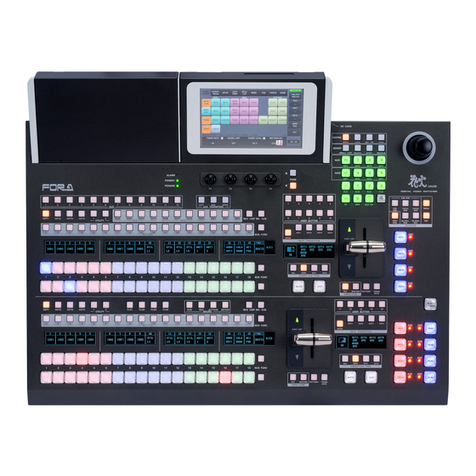
MFR-6100
セットアップガイド
はじめに
MFR 基本システムは、次の 3つのユニットで構成されます。
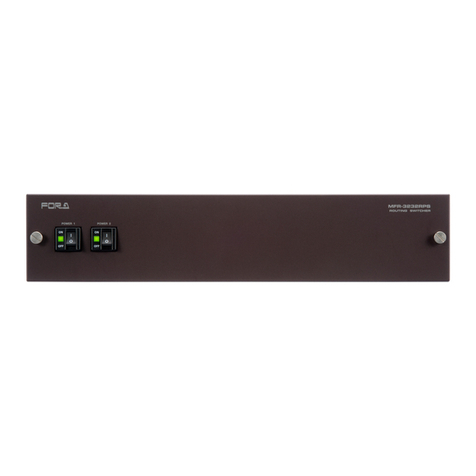
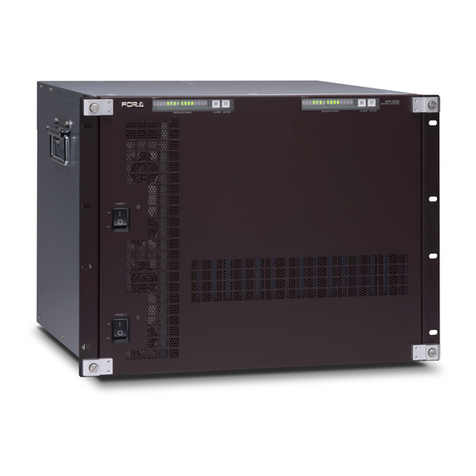
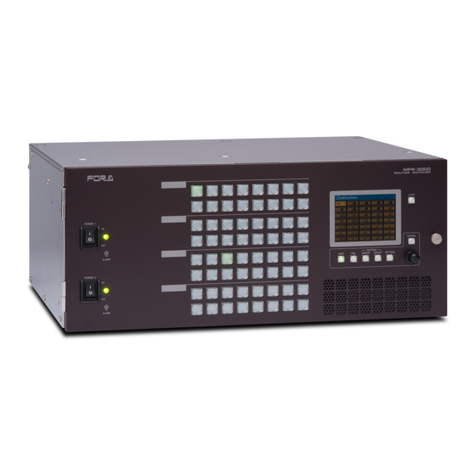
メインユニット(以下 MU)MFR-6100
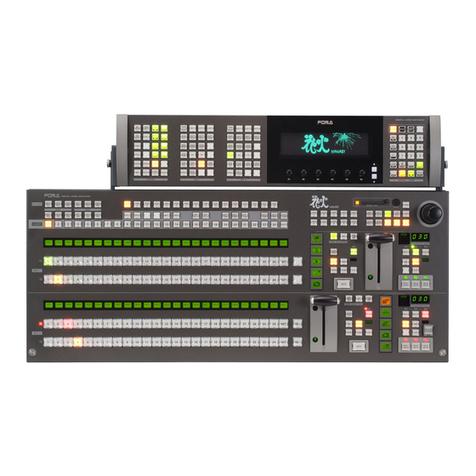
リモコン MFR-39RU/40RU/18RU/16RU/16RUD/16RUW/32RUW/64RUW/16RUTA/39RUA/18RUA
/8RUA
PC(Web ブラウザ) Web ブラウザによる MFR システムの設定および操作
MFR システムはイーサネット LAN で接続します。出荷時に適切なネットワーク設定がされていますので、すぐに接続してご使用いた
だけます。システム接続前に下記のものを準備してください。
準備いただくもの
PC 1台
Web ベースドコントロール用。LAN ポート付のもの。
PC の詳細については「MFR Web ベースドコントロール取扱説明書」の
「2-1. 動作環境」を参照してください。
LAN ケーブル
(カテゴリー5e 以上)
リダンダント CPU あり
MU とPC をハブで接続
3本
MU とリモコンをハブで接続
3本
リダンダント CPU なし
MU とPC を直結
1本
MU とリモコンを直結
クロスケーブル 1本
1. LAN 接続
(1) PC のIP アドレスとネットマスクを下記のように設定してください。
IP アドレス
192.168.0.XXX
XXX は1~254 までの下記以外の数字。
12~13 (MU 出荷時設定で使用)
ネットマスク
255.255.255.0
(2) MU 背面の MFR-LAN(CPU1)ポートとリモコン背面の MFR-LAN ポートを LAN ケーブルで接続します。
※リダンダント CPU 使用時は、必ず MFR-LAN(CPU1)とMFR-LAN(CPU2)をそれぞれ LAN 接続してください。
(3) MU 背面の PC-LAN(CPU1)ポートと PC のLAN ポートを準備した LAN ケーブルで接続します。
PC-LAN とMFR-LAN は別々のネットワーク(ハブ/スイッチ)に接続してください。
詳細については「MFR Web ベースドコントロール取扱説明書」「3-1. ネットワーク設定」を参照してください。
2. 電源 ON
(1) MU の電源ケーブルを接続し、電源を入力してください。
(2) リモコンは付属の AC アダプタを使用して電源を入力し、電源ケーブルを抜け止め具で固定してください。
(3) すべての機器の電源を ON にします。
3. Web ベースドコントロール画面を開く
(1) PC 上で Web ブラウザを起動し、次のようにアドレスを入力して接続してください。
http://192.168.0.12 (MU のPC-LAN のIP アドレス)
(2) 下記を入力してログインしてください。
ユーザ名: user
パスワード: password
(3) Web ベースドコントロール画面が表示されます。
4. MU、リモコンの設定画面を表示する
(1) Web ベースドコントロール画面左上に接続されている
MFR システムのユニットが表示されます。
ユニット ID:
ツリーには、[100]MFR-39RU、[101]MFR-18RU・・・のように
機器が表示されます。[]内はユニット ID です。
ユニット ID はIP アドレスの第 4オクテットでもあります。
この例では MFR-6100 のIP アドレスは「192.168.1.10」です。
(2) ユニット名または ROUTER SYSTEM SETTINGS を
クリックすることによって詳細メニューの表示/非表示が
可能です。
また、詳細メニューの項目をクリックすると、右側に設定画面
が表示されます。
詳細については「MFR Webベースドコントロール取扱説明書」を
参照してください。
・指定電圧以外の電源電圧は使用しないでください。
・必ずアースをとってください。
・電源コードのプラグおよびコネクタはしっかりと差し込んでく
ださい。
・内部設定を行う場合は必ず電源を切ってから操作してください。
・パネルやカバーを外したままで保管や使用をしないでください。
・高温多湿、塵埃が多い、振動がある場所などには設置しないで
ください。火災や感電の原因になることがあります。
・内部に水や異物を入れないでください。万一入った場合は、す
ぐ電源を切り、電源コードや接続コードを抜いて内部から取り
出すか、販売代理店、サービスセンターへご相談ください。
・電源が入らない、異臭がする、異常な音が聞こえるときは、す
ぐに電源を切り、販売代理店、サービスセンターまでご連絡く
ださい。
MU (MFR-6100)
リモコン
MFR-LAN (CPU1): 192.168.1.10/24
MFR-LAN (CPU2): 192.168.1.11/24
SDI OUT
SDI IN
Web ブラウザ
LAN ケーブル
ボタン操作
GUI 操作
HUB
HUB
PC-LAN (CPU1): 192.168.0.12/24
PC-LAN (CPU2): 192.168.0.13/24
LAN ケーブル
MFR-LAN
[ ] 内はユニット ID
ここをクリックすると
ツリーが開く
項目をクリックすると右側に
設定画面が表示される。
hyく
MFR-6100
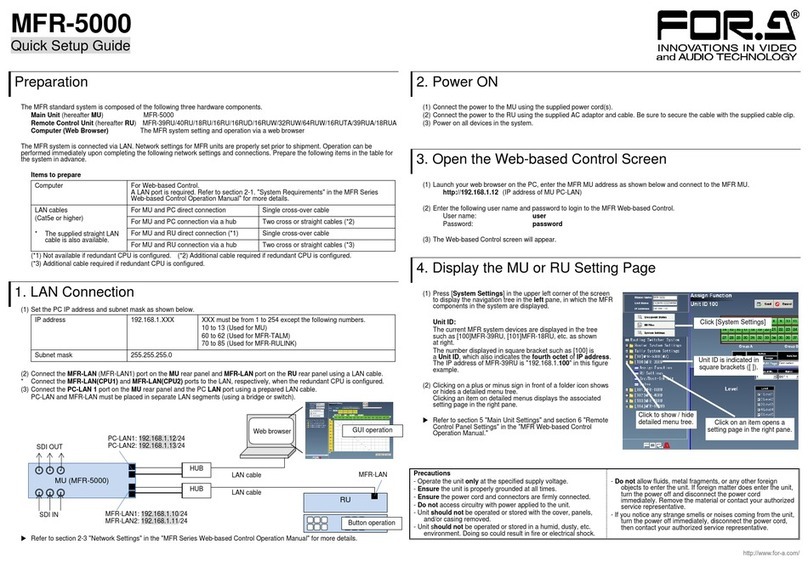
Quick Setup Guide
Preparation
The MFR standard system is composed of the following three hardware components.
Main Unit (hereafter MU) MFR-6100
Remote Control Unit (hereafter RU) MFR-39RU/40RU/18RU/16RU/16RUD/16RUW/32RUW/64RUW/16RUTA/39RUA/18RUA
/8RUA
Computer (Web Browser) The MFR system setting and operation via a web browser
The MFR system is connected via LAN. Network settings for MFR units are properly set prior to shipment. Operation can be
performed immediately upon completing the following network settings and connections. Prepare the following items in the table for
the system in advance.
Items to prepare
Computer
For Web-based Control.
A LAN port is required. Refer to section 2-1. "System Requirements" in the MFR Series Web-based
Control Operation Manual" for more details.
LAN cables
(Cat. 5e or higher)
With Redundant CPU
For MU and PC connection via a hub
3
For MU and RU connection via a hub
3
Without Redundant CPU
For MU and PC direct connection
3
For MU and RU direct connection (*1)
1 (cross-over)
1. LAN Connection
(1) Set the PC IP address and subnet mask as shown below.
IP address
192.168.0.XXX
XXX must be from 1 to 254 except the following numbers.
12 and 13 (Used for MU)
Subnet mask
255.255.255.0
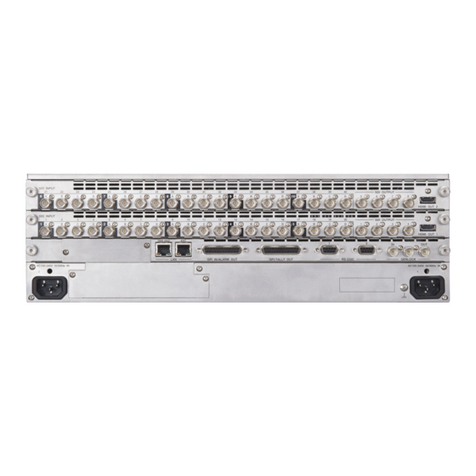
(2) Connect the MFR-LAN (CPU1) port on the MU rear panel and MFR-LAN port on the RU rear panel using a LAN cable.
* Connect the MFR-LAN (CPU1) and MFR-LAN (CPU2) ports to the LAN, respectively, when the redundant CPU is configured.
(3) Connect the PC-LAN (CPU1) port on the MU rear panel and the PC LAN port using a prepared LAN cable.
PC-LAN and MFR-LAN must be placed in separate LAN segments (using a bridge or switch).
Refer to section 3-1. "Network Settings" in the "MFR Series Web-based Control Operation Manual" for more details.
2. Power ON
(1) Connect the power to the MU using the supplied power cord(s).
(2) Connect the power to the RU using the supplied AC adaptor and cable. Be sure to secure the cable with the supplied cable clip.
(3) Power on all devices in the system.
3. Open the Web-based Control Screen
(1) Launch your web browser on the PC, enter the MFR MU address as shown below and connect to the MFR MU.
http://192.168.0.12 (IP address of MU PC-LAN)
(2) Enter the following user name and password to login to the MFR Web-based Control.
User name: user
Password: password
(3) The Web-based Control screen will appear.
4. Display the MU or RU Setting Page
(1) Connected MFR system unit is displayed in the upper left corner
of Web-based control screen.
Unit ID:
The current MFR system devices are displayed in the tree
such as [100] MFR-39RU, [101] MFR-18RU, etc.
The number displayed in square bracket such as [100] is
a Unit ID, which also indicates the fourth octet of IP address.
The IP address of MFR-39RU is "192.168.1.100" in this example.
(2) Clicking the unit name or ROUTER SYSTEM SETTINGS toggles
show or hide sub-menu items.
Clicking an item in the sub-menu displays the setting page on the
right pane.
Refer to MFR Web-based Control Operation Manual for details.
Precautions
- Operate the unit only at the specified supply voltage.
- Ensure the unit is properly grounded at all times.
- Ensure the power cord and connectors are firmly connected.
- Do not access circuitry with power applied to the unit.
- Unit should not be operated or stored with the cover, panels,
and/or casing removed.
- Unit should not be operated or stored in a humid, dusty, etc.
environment. Doing so could result in fire or electrical shock.
- Do not allow fluids, metal fragments, or any other foreign
objects to enter the unit. If foreign matter does enter the unit,
turn the power off and disconnect the power cord immediately.
Remove the material or contact your authorized service
representative.
- If you notice any strange smells or noises coming from the unit,
turn the power off immediately, disconnect the power cord,
then contact your authorized service representative.
MU (MFR-6100)
RU
MFR-LAN (CPU1): 192.168.1.10/24
MFR-LAN (CPU2): 192.168.1.11/24
SDI OUT
SDI IN
Web browser
LAN cable
Button operation
GUI operation
HUB
HUB
PC-LAN (CPU1): 192.168.0.12/24
PC-LAN (CPU2): 192.168.0.13/24
LAN cable
MFR-LAN
Unit ID is indicated in
square brackets ([ ]).
Click here to open
the menu tree
Click an item to open the
setting page on the right pane.
Other manuals for MFR-6100

2

Other FOR-A Switch manuals

FOR-A HVS-3800HS Quick setup guide

FOR-A

FOR-A HVS-3800HS Quick setup guide

FOR-A HVS-3800HS User manual

FOR-A

FOR-A HVS-3800HS User manual

FOR-A HVS-350HS User manual

FOR-A

FOR-A HVS-350HS User manual

FOR-A HVS-390HS User manual

FOR-A

FOR-A HVS-390HS User manual

FOR-A MFR-5000 User manual

FOR-A

FOR-A MFR-5000 User manual

FOR-A MFR-4100 User manual

FOR-A

FOR-A MFR-4100 User manual

FOR-A MFR-3232 User manual

FOR-A

FOR-A MFR-3232 User manual

FOR-A HVS-1000HS User manual

FOR-A

FOR-A HVS-1000HS User manual

FOR-A HVS-190S User manual

FOR-A

FOR-A HVS-190S User manual

FOR-A HVS-XT100 User manual

FOR-A

FOR-A HVS-XT100 User manual

FOR-A MFR Series User manual

FOR-A

FOR-A MFR Series User manual

FOR-A Multi Viewer MV-40F(A) User manual

FOR-A

FOR-A Multi Viewer MV-40F(A) User manual

FOR-A MFR-5000 User manual

FOR-A

FOR-A MFR-5000 User manual

FOR-A HVS-490 User manual

FOR-A

FOR-A HVS-490 User manual

FOR-A MFR-1000 User manual

FOR-A

FOR-A MFR-1000 User manual

FOR-A VSF-1616 User manual

FOR-A

FOR-A VSF-1616 User manual

FOR-A MFR-1000 User manual

FOR-A

FOR-A MFR-1000 User manual

FOR-A HVS-490 User manual

FOR-A

FOR-A HVS-490 User manual

FOR-A VSF-6496 User manual

FOR-A

FOR-A VSF-6496 User manual

FOR-A HVS-490 User manual

FOR-A

FOR-A HVS-490 User manual

FOR-A MFR-4000 User manual

FOR-A

FOR-A MFR-4000 User manual

FOR-A RS-HD808 User manual

FOR-A

FOR-A RS-HD808 User manual

FOR-A MFR-1616 Installation manual

FOR-A

FOR-A MFR-1616 Installation manual

FOR-A MFR-3000 User manual

FOR-A

FOR-A MFR-3000 User manual

Popular Switch manuals by other brands

Eaton CUTTLER-HAMMER Arcflash Reduction Maintenance... Application and Installation

Eaton

Eaton CUTTLER-HAMMER Arcflash Reduction Maintenance... Application and Installation

Aeotec Smart Switch 7 manual

Aeotec

Aeotec Smart Switch 7 manual

Elko Inels RFJA-12B manual

Elko

Elko Inels RFJA-12B manual

NetComm NCT240 installation guide

NetComm

NetComm NCT240 installation guide

eao 04 Series Assembly instructions

eao

eao 04 Series Assembly instructions

Command Communications SS900 Operator's guide

Command Communications

Command Communications SS900 Operator's guide

Dynex DX-B7PORT Guía de instalación

Dynex

Dynex DX-B7PORT Guía de instalación

Exsys EX-6002 manual

Exsys

Exsys EX-6002 manual

Stahl 8074/2 Series manual

Stahl

Stahl 8074/2 Series manual

TP-Link JetStream TL-SL5428E Cli reference guide

TP-Link

TP-Link JetStream TL-SL5428E Cli reference guide

H3C S12500R-2L installation guide

H3C

H3C S12500R-2L installation guide

Fujitsu Brocade 6545 Gen5 Hardware reference manual

Fujitsu

Fujitsu Brocade 6545 Gen5 Hardware reference manual

3Com 16 Plus user guide

3Com

3Com 16 Plus user guide

Belkin F5D5131-16 - 10/100 Switch user manual

Belkin

Belkin F5D5131-16 - 10/100 Switch user manual

Sigtronics SRS-M Installation and operating instructions

Sigtronics

Sigtronics SRS-M Installation and operating instructions

Juniper EX8208 quick start

Juniper

Juniper EX8208 quick start

Digitus DS-45311 manual

Digitus

Digitus DS-45311 manual

QUANTA T3048-LY2 installation guide

QUANTA

QUANTA T3048-LY2 installation guide

manuals.online logo
manuals.online logoBrands
  • About & Mission
  • Contact us
  • Privacy Policy
  • Terms and Conditions

Copyright 2025 Manuals.Online. All Rights Reserved.