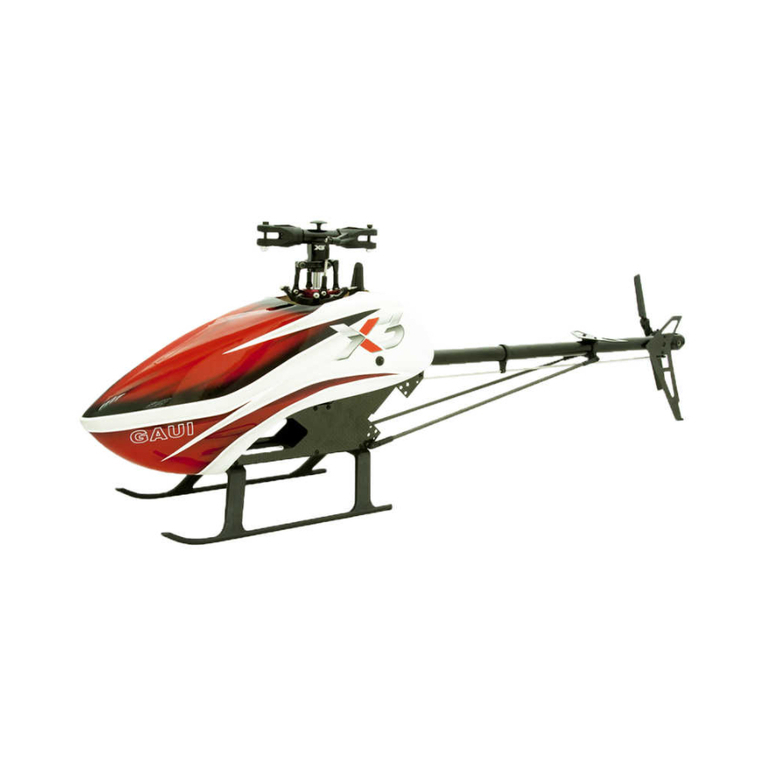
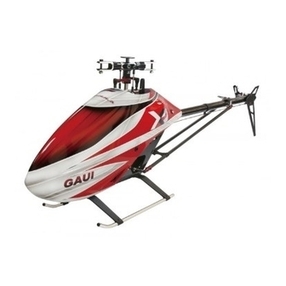
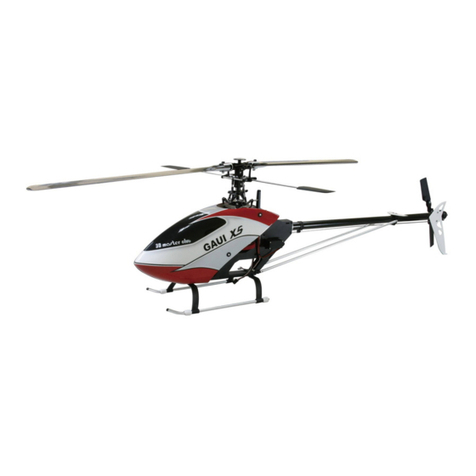
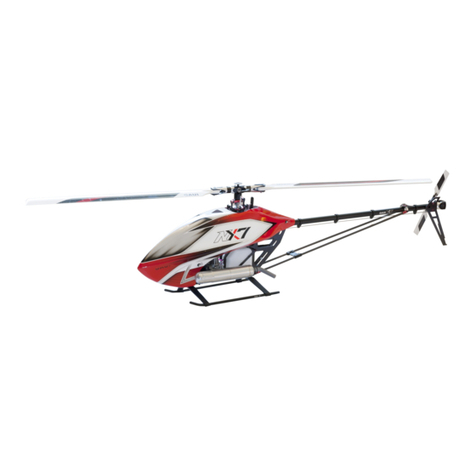
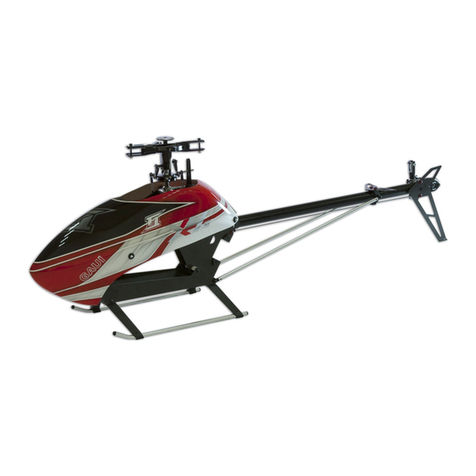
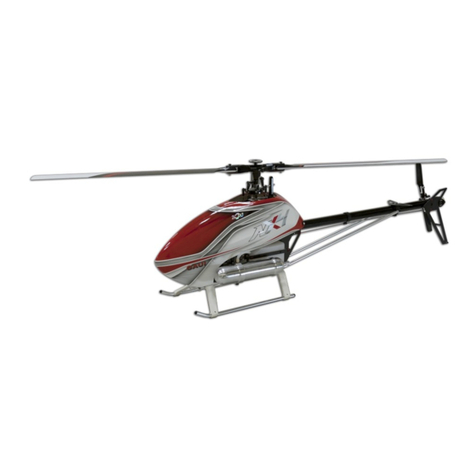
GAUI X3 User manual

MADE IN TAIWAN
我們建議您從 GAUI 官方網站的下載區下載,
並使用最新的手冊。
本產品是無線遙控的直升機,不當的操作,保養或是組裝
有可能導致遙控直升機對於人身或是物品造成危險。包括,
但是不局限於對於人體產生嚴重傷害甚至死亡的可能性。
© 2013
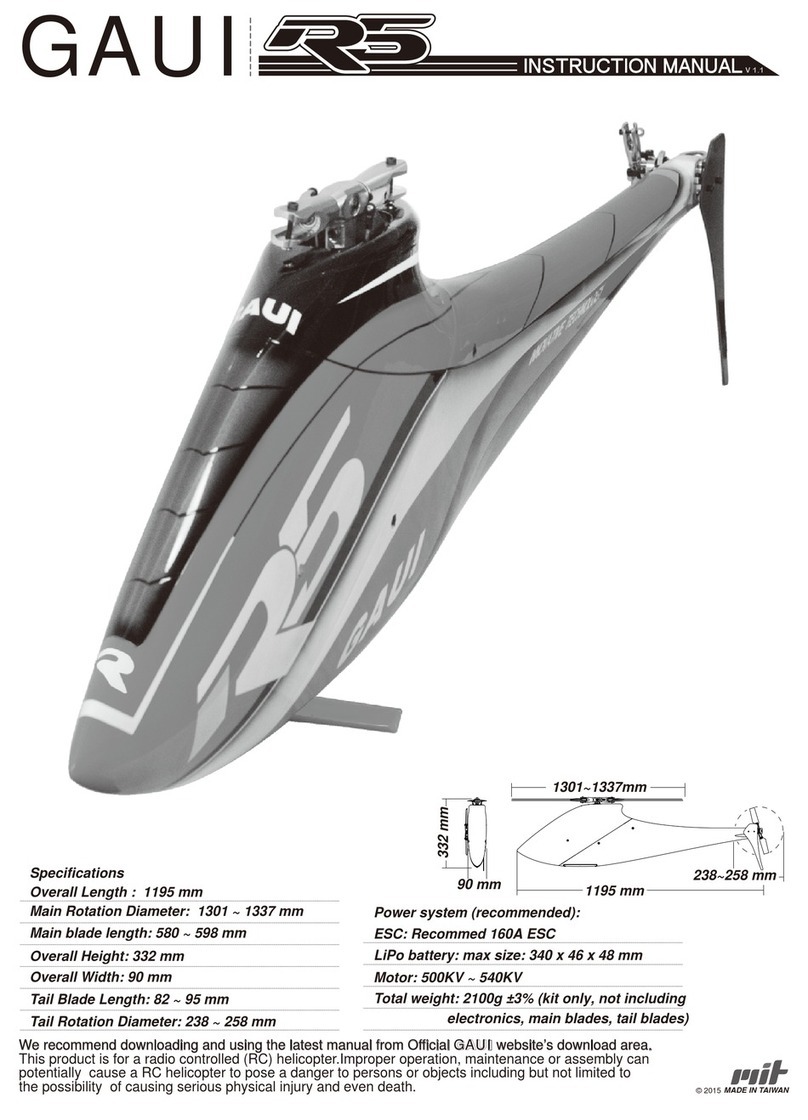
Overall Length (with Canopy): 690 mm
Specifications
機身長度(含艙罩):690 mm
規格
Main Rotation Diameter: 738 ~ 808 mm 主旋翼迴轉直徑:738 ~ 808 mm
Main blade length: 315 ~ 360 mm 主旋翼長度:315 ~ 360 mm
Overall Height: 230 mm 機身高度:230 mm
Overall Width: 190 mm 機身寬度:190 mm
Tail Blade Length: 62 mm 尾旋翼葉片長度:62 mm
Tail Rotation Diameter: 164 mm 尾旋翼迴轉直徑:164 mm
Flight duration: 3~4 minutes (3D flight) 飛行時間:3~4分鐘 (3D飛行)
Power system (recommended):
ESC: Minimum 40A ESC
LiPo battery (max size: 34 x 34 x 110mm):
3S 11.1V 2000~2300mAh (3400~4000kV BL motor)
6S 22.2V 1000~1400mAh (1300~1800kV BL motor)
動力系統(原廠建議):
1.適用40A以上的電子變速器
2.鋰聚電池(110x34x34mm)及馬達規格:
11.1V 3S 2000~2300mAh (適合3400~4000 KV 無刷馬達)
22.2V 6S 1000~1400mAh (適合1300~1800 KV 無刷馬達)
Total weight: 465g ±3% (kit with canopy,
w/o all electronics, blades and batteries.)
全配重量: 465g ±3% (不含電池&電子裝備&主槳)
INSTRUCTION MANUAL
We recommend downloading and using the latest manual
from Official GAUI website’s download area.
This product is for a radio controlled (RC) helicopter.
Improper operation, maintenance or assembly can
potentially cause a RC helicopter to pose a danger
to persons or objects including but not limited to
the possibility of causing serious physical injury and
even death.
V 1.0.4

Motor assembly P.17
馬達組裝
Tail case assembly P.18
尾殼組裝
Tail boom assembly P.21
尾管組裝
Support rods assembly P.23
支撐桿組裝
Tail push rod assembly P.24
尾拉桿組裝
Electronics installation P.26
電裝配置
Mini Servo Installation P.27
迷你伺服機組裝
Preface / Liability Disclaimer
前言/免責聲明
Academy of Model Aeronautics (AMA)
Main shaft mounts assembly P.1
主軸板組裝
Frame assembly P.3
機體組裝
Main gear assembly P.9
主齒盤組裝
Main rotor grip assembly P.11
主旋翼頭組裝
Canopy post assembly P.16
艙罩支柱組裝
Index / Notices
目錄 / 注意事項
1.5mm Hexagon
screwdriver
2.0mm 六角螺絲起子
Needle-nosed pliers Diagonal cutting plier Ball Link Plier
Phillips screwdriver
尖嘴鉗 斜口鉗 拔豆鉗
十字螺絲起子
Scissors High Strength Tape FBL system
Transmitter & Receiver
(6 channel +)
剪刀 高韌性強力黏著膠帶 陀螺儀
六動以上接收機&發射機
CCPM Mini servo x3pcs Tail Specialized Servo x1pc
CCPM伺服機x3個 尾舵伺服機x1個
Lubricant
one-way bearing grease
AB glue
潤滑油 / 單向軸承油AB黏著劑
2.0mm Hexagon
screwdriver
2.0mm 六角螺絲起子
A B
鋰聚電池可容許尺寸:
110x34x34mm (3S & 6S)
#000000
5
#216000
M2x4 x3 pcs
4.0
Apply lubricant
依個人需求使用潤滑油。
Apply anaerobic adhesive.
使用特殊型缺氧膠。
使用AB黏著劑
Apply AB glueApply general thread lock.
一般型止鬆劑
一般型止鬆劑
零件料號代碼
鎖緊螺絲並確認上膠
Apply general thread lock.
Tighten screw and apply
thread lock.
Code Spare Part Number
Spare part number
Geometric dimensions
size specs. Quantity
等比尺寸圖
數量
零件料號
尺寸
組裝對應包裝袋碼
Assembly package

Preface / Liability Disclaimer 前言 / 免責聲明
Thank you for purchasing GAUI RC Helicopter from Tai Shih Hobby Corporation (TSH).
We hope you will enjoy the joy of flight.
In order to understand full assembly sequences, this instruction manual show the assembly
information of this model, even though some elements might be supplied as pre-assembled.
Please refer to manual whenever carrying out maintenance or replacing parts.
感謝您購買泰世科技出品的 GAUI 飛行器,我們希望您可以盡情享受飛行的樂趣。
為了要讓使用者詳細瞭解組裝順序即使有些部件已經預先組裝完成,本說明書將提供這台
遙控模型的組裝資訊。同時,敬請參閱保養與主要零件更換資訊。
CAUTION: This radio controlled RC Helicopter is not a toy.
警告:這台遙控飛行器不是玩具。
SAFETY PRECAUTIONS
This kit includes some pre-assembled components. Please check for any loose screws
and tighten them before you proceed with assembly.
You are responsible for assembly, safe operation, maintenance, inspection
and adjustment of the model.
Before beginning assembly, please read these instructions thoroughly.
Check all parts. If you find any defective or missing parts, contact your local dealer or
TSH distributor.
Before you proceed to RC Helicopter activity, please check and follow thoroughly related
regulation of aero modeling in your country/region.
安全資訊與注意事項
這台遙控模型包含預先組合完成的部件。在進行組裝之前,請仔細檢查這些預先組裝部件上的
所有螺絲均有仔細鎖緊。
您有完全的責任對於這台遙控模型的組裝,安全操作,保養,檢查與調整。
請先檢查所有的零件如果發現任何不良品遺失品,請向購買的模型店或是當地的泰世代理商連絡。
在您進行遙控活動時,請先詳細瞭解與遵守當地遙控模型的相關法規。
Disclaimer
This product is for a radio controlled (RC) Helicopter.
Improper operation, maintenance or assembly can potentially cause a RC Helicopter to
pose a danger to persons or objects including but not limited to the possibility of causing
serious physical injury and even death.
Moving components can present a hazard to operators, and anyone or anything that could
be in the flying area of the RC Helicopter.
Under no circumstance should a minor be allowed to operate this RC Helicopter without the
approval, monitor and direction of his parent or legal guardian who takes full responsibility for
all of the minor's actions.
This product is intended for being operated by experienced mature RC Helicopter
pilots under controlled safety conditions and on locations properly authorized and setup for safe
flying and away from other people.
Do not operate an RC Helicopter within the vicinity of residences, trees, electrical power lines
during inclement weather or near crowds of people.
The manufacturer and/or its distributors assume no responsibility or liability whatsoever for any
damages including but not limited to ones generated by incidental or consequential damages.
The operator of the RC Helicopter assumes all responsibility and liability that result from the
correct or incorrect operation of the RC Helicopter .
免責聲明
本產品是無線遙控的飛行器。
不當的操作,保養或是組裝有可能導致遙控多旋翼飛行器對於人身或是物品造成危險。包括,
但是不局限於對於人體產生嚴重傷害甚至死亡的可能性。
所有的移動部件可能對於操作的使用者,旁人或是這台遙控飛行場的任何人或物品產生傷害。
未成年的人如果要操作這台遙控飛行器需要父母或是監護人的同意,並在監督與指導下才能進行
操作並遠離周遭障礙物及人群等,其父母或是監護人需負起所有責任與法律責任。
以下場合與情況禁止操作遙控飛行器:居家房屋附近、天候不佳時、非空曠區域、樹木、電線竿
或是人群附近。
製造廠商與其經銷商都不對於所有的傷害,包含但是不局限於偶然或是連續發生的傷害
負擔任何責任。
本產品的使用者要對於正確地或是不正確地操作的結果需負擔所有責任。
本產品一但離開製造廠商的控制範圍外,製造廠商無法對於下列事項保持監督與控管:
組裝,保養,維修與操作這台遙控飛行器。
The Academy of Model Aeronautics (AMA) is a national organization representing
modelers in the United States.
PleaserefertotheNationalModel Aircraft safetycode fromAMA Member Manual for
details: http://www.modelaircraft.org/files/memanual.pdf
Partially reprinted rules that are especially pertinent for Radio Controlled flight:
RADIO CONTROL
1. All pilots shall avoid flying models over unprotected people.
2. I will complete a successful radio equipment ground-range check in accordance with the
manufacturer’s recommendations before the first flight of a new or repaired aircraft.
3.At all flying sites a safety line or linesmust be established,infront of which all
flying takes place.
Only personnel associated with flying themodel aircraftare allowedatorinfrontofthe
safetyline. Inthe case of air shows or demonstrations a straight safety line must be
established.
An area away from the safety line must be maintained for spectators. Intentional flying
behind the safety line is prohibited (see
AMA Document #706 for Recommended Field
Layout).
4.Iwilloperatemymodelaircraftusingonlyradio-controlfrequencies currently allowed by the
Federal Communications Commission (FCC). Only individuals properly licensed by the
FCC are authorized to operate equipment on Amateur Band frequencies.
5.Iwillnotknowinglyoperatemymodelaircraftwithinthree(3)miles of any pre-existingflying
sitewithoutafrequency-managementagreement. (See AMA Document #922 for Testing for
RF Interference. See AMA Document#923 for Frequency Management Agreement.)
6.With the exception of events flown under official AMA Competition Regulations rules,
excluding takeoff and landing, no powered model may be flownoutdoors closer than 25 feet
toany individual,exceptforthe pilot and the Pilot’s helper(s) located at the flight line.
7.Under no circumstances may a pilot or other person touch a model aircraft in flight while
it is still under power, except to divert it from striking an individual. This does not apply to
model aircraft flown indoors.
8.Radio-controlled night flying requires a lighting system that provides thepilot withaclear
viewof themodel’sattitudeand orientationat all times.
9.The operator of a radio-controlled model aircraft shall control it duringthe entireflight,
maintainingvisualcontactwithoutenhancement other than by corrective lensesthatare
prescribedforthepilot.First-PersonView (FPV)flying mayonlybeconducted inaccordance
withthe procedures outlinedinAMA Document #550.
These special codes and appropriate documents may be obtained either from the
AMA Web site at www.modelaircraft.org or by contacting AMA.
Academy of Model Aeronautics 5161 East Memorial Drive Muncie, IN 47302
Tel.: (765) 287-1256
Fax: (765) 289-4248
Academy of Model Aeronautics (AMA)

1
P.1
Main shaft mounts assembly 主軸板組裝
M2x5
#842005
M2x5
Bearing
2x5x2.5
Bearing
6x13x5
x2 pcs
2x5
#216127
1
1
#216125
2
#803733
3
#216135
4
2
#805111
5
Bearing
6x13x5
Bearing
6x13x5
5.0
1
4
5
3
3
3
2x5
#821605
x3 pcs
5.0

2
P.2 Main shaft mounts assembly
主軸板組裝
2x8
#821608
2x8
2x5
x6 pcs 2x5
#821605
1
#216253
1
8.0 N2x4
#884001
x3 pcsx4 pcs
13.5 mm
N2x4
5.0
建議球頭安裝參考距離。
Recommended ball head screw
installation distance.

P.3
Frame assembly 機體組裝
2x8
2
#216252
1
1
2x8
#821608
x6 pcs
8.0

2x5
3
P.4 Frame assembly
機體組裝
#216139
1
2
#216133
2
1
2x5
#821605
x5 pcs
5.0
取出電池滑板並配合P.26組裝。
Remove the battery slider plate and
assemble back with instruction on P.26.

2x8
P.5
Frame assembly 機體組裝
1
3
#216129
1
2x8
#821608
x3 pcs
8.0

2x8
90º
2x5
P.6 Frame assembly
機體組裝
1
2
#216251
1
2x5
#821605
x5 pcs
5.0 確認機體與平面呈90º
Confirm assembled frame is 90º degree to
level surface (not twisted)
2x8
#821608
x9 pcs
8.0

2x8
P.7
Frame assembly 機體組裝
#216147
1
1
2x8
#821608
x2 pcs
8.0

Insert 2x8 and M2x12 screws thru the side
frames and boom clamp but do not tighten yet,
wait until step in P.22 where the boom in installed
and adjusted before tightening these screws.
將 2x8跟M2x12穿過碳纖側板並鎖入管夾組,
不鎖緊待P.22組裝尾管時一並鎖緊固定。
2x8
M2x12
4
P.8 Frame assembly
機體組裝
2x8
#821608
x8 pcs M2x12
#842012
x1 pcs
#216141
1
1
1
#216151
2
2
8.0 12.00

P.9
Main gear assembly 主齒盤組裝
5
M2x4
#842004
M2x4 Washer
W10.2x13.5x0.1
Adjust with different washers and double check smooth operation of the main gear assembly
M2x4
x4 pcs M2x4
#832240
x4 pcs
#216351
1
5
#216182
2
3
#216114
3
1
#216338
4
6
#216111
5
4
#216181
6
2
4.0
4.0
適當的調整華司厚度以確認主齒盤旋轉順暢。
使用去汙劑去除上輪鼓及單向鋼套鎖牙處的保護油,在使用內附的缺氧膠塗抹於上輪鼓及單向鋼套
鎖牙處,並確認鎖入至底,放置1小時後擦除表面殘膠並靜置24小時後才可組裝飛行。
逆牙方向鎖入
Counter threaded (you should
assemble the two part from the
usual opposite direction).
*Important: Use CLEANING NAPHTHA or
Alcohol to remove the protective oil from the
One Way Sleeve & Hub BEFORE assembly.
Customer should take great care in assembling
the two parts together and not forcefully
(it will damage the threads making the part
unusable).
When handled with care, the two parts should be able to be assembled together just by hand, no tool
needed at the beginning.
Use tool to do the final tightening when the hubis all the way to the bottom.
Notice ample anaerobic glue should be used on both the Hub and the One Way Sleeve, excess glue
wiped off after sitting for 1 hour.
The assembled part needs at least 24hours to dry and cure before use.

6
M2.6x12
#842024
M2.6x12
x1 pcs N2.5x5
#884003
x1 pcs
#216201
1
1
#216338
2
2
N2.5x5
P.10 Main gear assembly
主齒盤組裝
W6.2x7.6x0.5
W6.2x7.6x0.1
12.0
配合P.22置入傳動尾管後,適當調整華司厚度
並上提第3軸承座,確認傘齒輪咬合順暢。
平面離洞口處較
近朝下
平面離洞口處較遠朝上
Top: longer distance to the notch
See P.22 installation of tail boom, adjust
with washer(s), lift up the main gear/shaft
/rotor head assembly to adjust , confirm
proper mesh between crown gear and tail
transmission gear.
Bottom:
shorter distance
to the notch

7
M2.6x6
#842034
M2.6x6
M2x8
W2.6x8x1
W5.1x9x1.1
Bearing
5x9x3
Bearing
5x9x3
Make sure M2.6x6 screw is secured with glue and tightened with moderate/proper force.
Do not over-tighten screw and strip it or it may become a flight safety risk.
Thrust Bearing
5x10x4
Bigger inner race
內徑較大 Smaller inner race
內徑較小
x2 pcs M2x8#842008
x1 pcs
#805102
1
9
#216339
2
7
#805114
3
5
#216102
4
3
3
#883552
5
1
#216171
6
8
#216123
7
6
#216202
8
4
#216101
9
2
8.0
6.0
2
P.11
Main rotor grip assembly 主旋翼頭組裝
M2.6x6螺絲請確實上膠並適當鎖緊,不可硬鎖以避免造成螺絲受損,影響飛行安全性。

8
M2x3.2
#832232
2x3.5
x4 pcs 2x3.5
#216104
x3 pcs
#216340
2
#805116
1
1
#216104
3
3
2
2
2
短球頭
長球頭
M2x3.2
Short ball
head screw
Long ball
head screw
3.2
P.12 Main rotor head assembly
主旋翼頭組裝

9
M2x10
#842010
M2x10
Bearing
2x5x2.5
x4 pcs
4
#805111
1
3
#216341
2
1
#216107
3
3
#803735
4
2
2
M2.6x12
#842024
M2.6x12
N2.5x5
x1 pcs N2.5x5
#884003
x1 pcs
12.0
10.0
W2x3.5x.05
W2x3.5x0.5
P.13
Main Rotor Head Assembly 主旋翼頭組裝
務必鎖緊M2.6x12螺絲。
Very important to tighten
M2.6x12 screw.

10
13.6 mm
不同的球頭位置會影響飛行的反應速度,請依個人需求調整適當的位置。
兩組主旋翼槳夾的球頭需同位置。
13.7 mm
13.8 mm
#803735
1
1
#216342
2
2
P.14 Main rotor head assembly
主旋翼頭組裝
Different ball head installation on grip lever affects flight response,
adjust position according to pilot own preference.
However the same position must be selected for both grip levers.

1. Assemble the 3 CCPM ball links and clip onto place.
1.組裝3組CCPM拉桿並扣上。
5.6 mm
10 #803735
1#216342
2
1
2
P.15
Main rotor head assembly 主旋翼頭組裝

11
2x8
#821608
M2x10
Use Hex wrench from the tools pack to
tighten M2x10 screw.
x2 pcs M2x10
#835505
x2 pcs
#216145
1
1
#216137
2
2
10.0
8.0
可使用配件包內的L型板手鎖附M2x10螺絲。
P.16 Canopy post assembly
艙罩支柱組裝
2x8
Other manuals for X3
1
Table of contents
Other GAUI Toy manuals

GAUI
GAUI Hurricane 255 User manual

GAUI
GAUI Hurricane 255 User manual

GAUI
GAUI Hurricane EP200 V2 Series User manual

GAUI
GAUI Hurricane 425 User manual

GAUI
GAUI NX4 User manual

GAUI
GAUI X5 User manual

GAUI
GAUI NX7 User manual

GAUI
GAUI Hurricane 255 User manual

GAUI
GAUI X7 Flybarless User manual

GAUI
GAUI X5 3D Flybarless User manual
Popular Toy manuals by other brands

GWS
GWS T6 instruction manual

Dancing Wings Hobby
Dancing Wings Hobby SCG38 instruction manual

Fisher-Price
Fisher-Price STRIDE-TO-RIDE WALKER 73499 manual

CTC Union
CTC Union CLATRONIC CR 464 Instruction manual & guarantee

Vivitar
Vivitar Air Rover user manual

Lionel
Lionel Amusement Park Swing Ride owner's manual