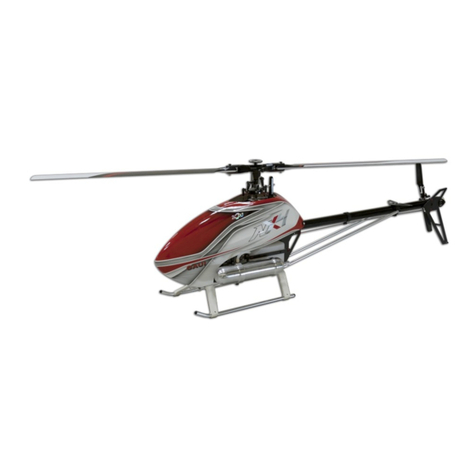
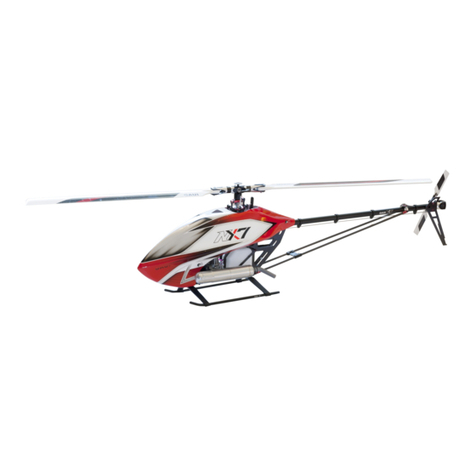
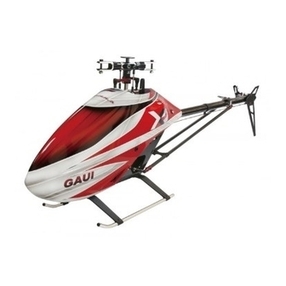
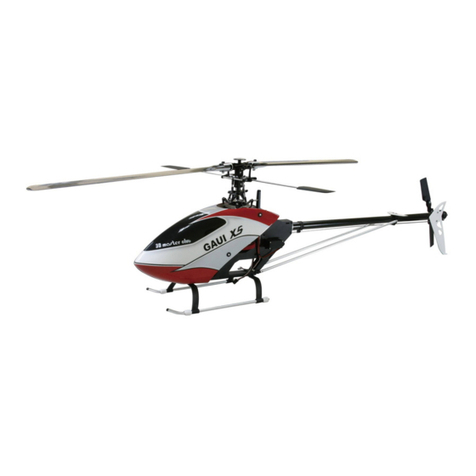
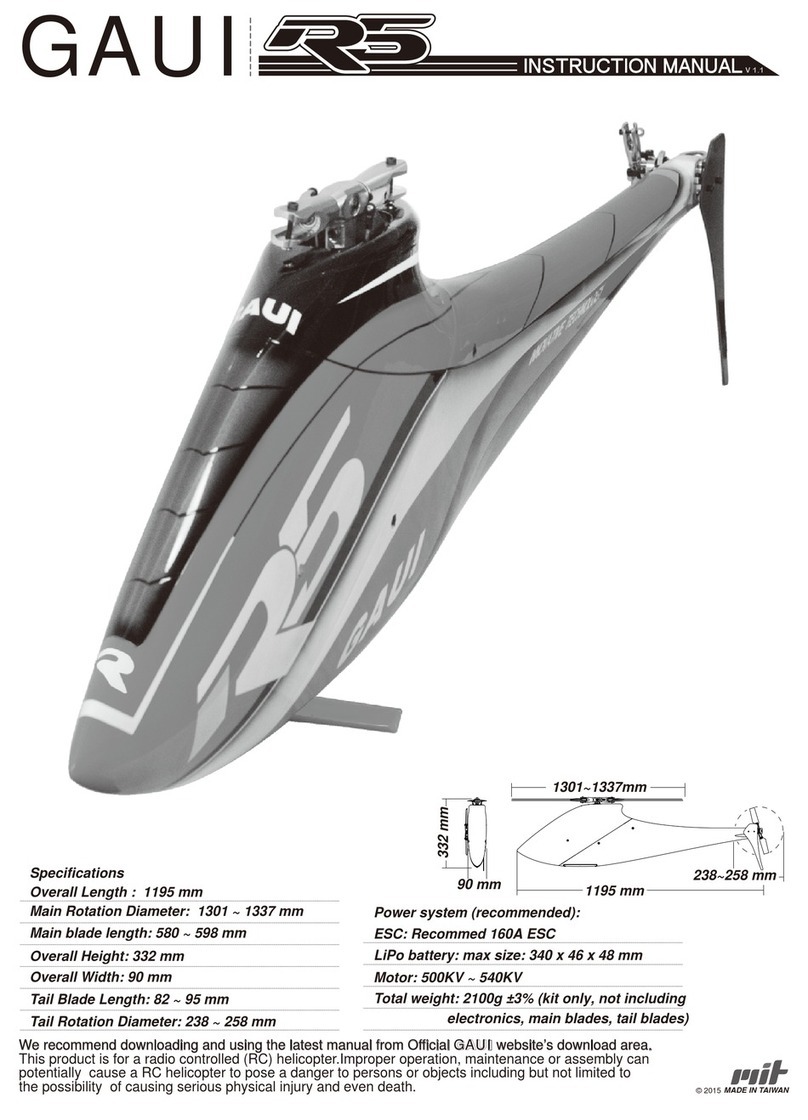
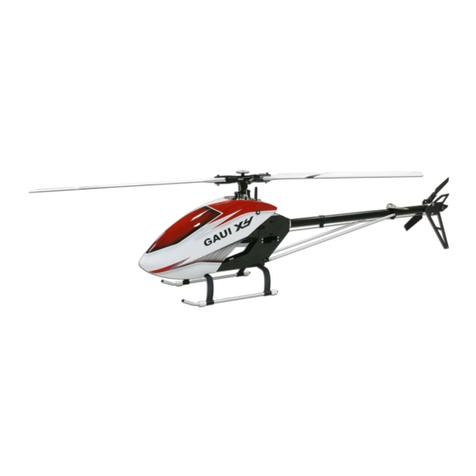
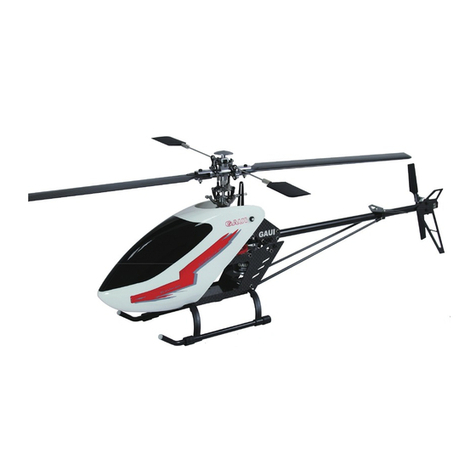
GAUI NX4 User manual

Specification
MADE IN TAIWAN
© 2012
Factory configured CNC torque tube and tail boom assembly.
Indexed holes on Main Shaft Bearing Blocks allow precision fit with minimal freeplay.
One piece CNC open tail box for maximum gear protection.
New lightweight push rod control.
High precision CNC aluminium rotor head assembly for superior 3D performance.
Precisely tuned servo blocks for various brand of servos.
New ultra-rigid CF frame assembly. 100% carbon fiber frame plates.
New CCPM control system for precision accuracy to enhance hovering and 3D flight control.
Extreme 3D performance with explosive power.
New high-rigid lightweight brace.
Streamlined FRP canopy, with simple front canopy clip.
Applicable O.S. 37 engine.
Length (with canopy): 900mm
Height: 315 mm
Width: 165mm
Main Blade Length: 425 ~ 460mm
Tail Blade Length: 70 ~ 77mm
Main Rotor Diameter: 972 ~1007mm
Tail Rotor Diameter: 222mm
Weight: 1988g 3% (with engine and electronics, no fuel)
Gear Ratio: 7.06: 1: 4.36
Tank Capacity: 220cc / 9oz
Servos: Mini
V1.0.2

Preface & Notice
Main shaft mount & Main frame assembly
Tail transmission gear assembly & Frame assembly
Tail control adapter mount & Servo mount assembly
Electronics mount & Canopy post assembly
Clutch bell assembly-1 & Clutch bell assembly-2
Clutch bell assembly-3 & Engine fan assembly
Clutch assembly & Engine cover assembly
Engine assembly & Engine bracket mount assembly
Engine bracket mount assembly & Engine bracket mount assembly
Engine bracket mount assembly & Landing gear assembly-1
Landing gear assembly-2 & Main gear assembly-1
Main gear assembly-2 & Main gear assembly-3
Main rotor grip assembly & Swash plate assembly
Main shaft collar & Main rotor assembly
Washout arm assembly & Fuel tank assembly
Engine mount (right) & Fuel tank assembly
Fuel line assembly & Engine mount (left)
Servo assembly-1 & Servo assembly-2
Main rotor lever assembly & Tail servo assembly
Tail push rod assembly & Throttle servo assembly
Throttle push rod assembly & Servo cabling
Muffler assembly & Tail boom assembly
Tail transmission assembly & Tail gear case assembly
Vertical tail fin & Tail rotor assembly
Tail rotor grip assembly & Tail blade assembly
Tail pushrod assembly & Tail transmission assembly
Tail boom support assembly & Canopy assembly
Main rotor blade assembly
& NX4 assembled view

GAUI TAI SHIH HOBBY CORPORATION
Preface
Thank you for purchasing GAUI High Performance RC Helicopter from
Tai Shih Hobby Corporation (TSH). W
GAUI
In order to understand full assembly sequences, this instruction manual will show
the assembly information of this model, even though some elements are
supplied as pre-assembled. Please refer to it when carrying out maintenance or
replacing parts.
CAUTION: This radio controlled helicopter is not a toy.
The product is not suitable for children under 14 years of age.
SAFETY PRECAUTIONS
This kit includes some pre-assembled components. Please check for any
loose screws and tighten them before you proceed with assembly.
You are responsible for assembly, safe operation, maintenance, inspection and
adjustment of the model.
Before beginning assembly, please read these instructions thoroughly.
dealer or GAUI TSH distributor.
Before you proceed to RC helicopter activity, please check and follow thoroughly the
related regulation of aero modeling in your country/region.

GAUI TAI SHIH HOBBY CORPORATION
LIABILITY DISCLAIMER
This product is for a radio controlled (RC) helicopter.
Improper operation, maintenance or assembly can potentially cause a RC
helicopter to pose a danger to persons or objects including but not limited to
the possibility of causing serious physical injury and even death.
Moving components can present a hazard to operators, and anyone or anything
r.
Under no circumstance should a minor be allowed to operate this RC helicopter
without the approval, monitor and direction of his parent or legal
guardian who takes full responsibility for all of the minor's actions.
This product is intended for being operated by experienced mature radio control
helicopter pilots under controlled safety conditions and on locations
Do not operate an RC helicopter within the vicinity of residences, trees, electrical
power lines during inclement weather or near crowds of people.
The manufacturer and/or its distributors assume no responsibility or liability
whatsoever for any damages including but not limited to ones generated
by incidental or consequential damages.
The operator of the helicopter assumes all responsibility and liability that results
from the correct or incorrect operation of the helicopter.
After leaving its facilities, the manufacturer has no way of maintaining control or
monitor over the assembly, maintenance and/or operation of the
helicopter.

GAUI TAI SHIH HOBBY CORPORATION
Academy of Model Aeronautics (AMA)
For United States market, The Academy of Model Aeronautics (AMA) is
a national organization representing modelers in the United States.
Please refer the National Model Aircraft safety code from Academy of
Model Aeronautics. And we’ve partially reprinted rules that are especially pertinent for
RADIO CONTROL
1.
2. I will complete a successful radio equipment ground-range check in
accordance with the manufacturer’
a new or repaired aircraft.
3.
aircraft are allowed at or in front of the safety line.
AMA Document #706
for Recommended Field Layout.)
4. I will operate my model aircraft using only radio-control frequencies currently
equipment on Amateur Band frequencies.
5. I will not knowingly operate my model aircraft within three (3) miles of any
(See AMA Document #922 for Testing for RF Interference. See AMA Document
#923 for Frequency Management Agreement.)
AMA Competition Regulations
rules, excluding takeof
pilot’
7. Under no circumstances may a pilot or other person touch a model aircraft in
r, except to divert it from striking an
individual.
with a clear view of the model’s attitude and orientation at all times.
9. The operator of a radio-controlled model aircraft shall control it during the
iew
procedures outlined in AMA Document #550.
AMA Ww AMA headquarter.
Academy of Model Aeronautics
5151 East Memorial Drive
Muncie, IN 47302
Phone (800) 435-9262
Fax (765) 741-0057
GAUI TAI SHIH HOBBY CORPORATION
Tools and Equipment for Assembly
General thread lock AB glue
A B
Fuel pump
Apply general thread lock.
Tighten screw and apply thread lock.
Danger: High level of attention must be
taken during assembly.
Action during assembly might be hazardous.
Extreme care should be taken to avoid injury.
Apply general thread lock.
Be certain to tighten screw and
apply thread lock.
Apply anaerobic adhesive.
Be certain to tighten screw and
apply thread lock.
Apply CA glue Apply lubricant
Apply anaerobic adhesive.Apply general thread lock.
Pillar
P(Dia.out)x(Length)
N-Nut
N(Dia.out)x(Width) L-Lock nut
W-Washer
W-
W(Dia.in)xDia.out)x(Thickness)
P-tube
P(Dia.in)x(Dia.out)x(Length)
B-Bearing
B(Dia.in)x(Dia.out)x(Thickness)
Ø-TapScrew
Ø-
Ø(Dia.out)x(Length)
M-Machine Screw
M(Dia.out)x(Length)
Apply AB glue

GAUI TAI SHIH HOBBY CORPORATION
Main shaft mount
Main frame assembly
1
M3x6
M3x6
M3x6
M3x7
M3x7
M3x7
M3x7
M3x6
(23.5mm)
B8x16x5
B8x16x5
(23.5mm)
Servo mount
Frame post
Upper Main Shaft Mount
Lower Main Shaft Mount
Frame post
(23.5mm)
Frame post
Frame post
Electronics mount
M3x6........................x4
M3x7........................x4
Bearing 8x16x5.......x2
M3x10
M3x10
M3x6
M3x6
M3x6
M3x6
M3x6
M3x6
M3x6
(23.5mm) 6pcs
M3x6
M3x6
M3x6
M3x6........................x5
M3x6........................x6
M3x10......................x2
All screws on side plates should
be applied with thread lock.
All screws on side plates should
be applied with thread lock.

GAUI TAI SHIH HOBBY CORPORATION
Tail transmission gear assembly
Frame assembly
2
M3x6
M3x6
M3x6
M3x6
B5x11x4
B5x11x4
Gear Shaft (14T)
M2x8
Tail transmission bearing mount
Countersunk Washer
Boom Clamps
Front transmission bevel gear
M3x6
You must loosen this screw before
inserting and installing the tail boom.
M3x8
M3x6
M3x12
M3x18
M3x18
M3x6........................x4
M2x8........................x1
Bearing 5x11x4.......x2
M3x6........................x1
M3x8........................x1
When assembling the canopy posts, fix
the M3x12 screw inside the post, use a
2mm hex screwdriver as a tool to tighten
the canopy posts.
M3x18......................x2
M3x12......................x1
Fix the M3x18 screw (don't tighten the
screw yet), wait until the tail set is
assembled (P.26),then tighten the screw.
All screws on side plates should
be applied with thread lock.
All screws on side plates should
be applied with thread lock.

GAUI TAI SHIH HOBBY CORPORATION
Tail control adapter mount
Servo mount assembly
3
M3x6
M3x6
W3.1x4.6x0.6
B3x6x2.5
B3x6x2.5
M3x12
M3x6
M3x6
M3x6
M3x6
M3x7
M3x7
M3x7
M3x7
M3x6........................x2
M3x12......................x1
Bearing 3x6x2.5.......x2
M3x6........................x4
Washer 3.1x4.6x0.6 x1
M2x4.8x6.5..............x2
Stainless ball M2x4.8x6.5
M3x7........................x4
Servo mount
All screws on side plates should
be applied with thread lock.
All screws on side plates should
be applied with thread lock.

M3x10
M3x10
M3x6
M3x6
M3x6
M3x6
M3x6
M3x6
M3x6
M3x6
M3x6
M3x6
M3x6
M3x12
M3x6
M3x6........................x5 Electronics mount
M3x10......................x2
Countersunk Washer
When assembling the canopy posts, fix
the M3x12 screw inside the post, use a
2mm hex screwdriver as a tool to tighten
the canopy posts.
GAUI TAI SHIH HOBBY CORPORATION
Electronlcs mount
Canopy post assembly
4
M3x6........................x7
M3x12......................x1
Countersunk Washer
All screws on side plates should
be applied with thread lock.
All screws on side plates should
be applied with thread lock.

B5x11x4
B8x14x4
When assembling the starter shaft and
Hex coupler you must tighten the M4x4
screws to ensure smooth operation of the
starter shaft.
M4x4
M4x4
Hex coupler for starter shaft
B5x11x4
Starter shaft
Use AB glue to fix the clutch bell liner inside Clutch bell
M3x6
M3x6
M3x6
M4x4.......................x2
Bearing 5x11x4.......x2
Bearing 8x14x4.......x2
Starter shaft bearing mount
Clutch bell liner 10x123mm
Clutch bell cover
M3x6........................x3
GAUI TAI SHIH HOBBY CORPORATION
Clutch bell assembly-1
Clutch bell assembly-2
5
All screws should be applied with
thread lock.
All screws on side plates should
be applied with thread lock.

GAUI TAI SHIH HOBBY CORPORATION
Clutch Bell assembly-3
Engine fan assembly
6
M3x6 4pcs
M3x6........................x4
Assemble the engine fan and tighten the hex nut.
Use AB glue to fix the two magnets onto fan surface.
Put AB glue in the circular groove on the fan, then insert the magnets.
It is important to put one magnet with the north pole facing up and the other
magnet with the south pole facing up.
Magnet with south
magnetic pole facing up.
Magnet with north
magnetic pole facing up.
M3x6
M3x6
M3x6
M3x6........................x3
All screws on side plates should
be applied with thread lock.
All screws should be applied with
thread lock.
(9x14x1)
Stock Engine Washer
provided by OS
將引擎內附華司(9x14x1)
放入引擎軸內。
Note: Magnets are not
included in the kit.
Magnets are usually provided
along with Governor & sensor kit.
磁鐵附在電子定數器&感應器包內。

GAUI TAI SHIH HOBBY CORPORATION
Clutch assembly
Engine cover assembly
7
M3x6 2pcs
One way bearing B10x14x12
Clutch
M2.6x10 2pcs
Hex post (23.5mm)
(23.5mm)
Hex post (23.5mm)
(23.5mm)
M3x6........................x2
M2.6x10...................x2
One Way Bearing
B10x14x12.............x1
All screws on side plates should
be applied with thread lock.

GAUI TAI SHIH HOBBY CORPORATION
Engine assembly
Engine bracket mount assembly
8
M3x8
M3x8
M3x6
M3x6
Countersunk Washer
Engine mount bracket
M3x6........................x2
M3x8........................x2
Install assembled engine onto the main frame.
You need to tilt the engine slightly to put it in place.
All screws on side plates should
be applied with thread lock.
IMPORTANT: At this time, please leave
these M3x8 bolts loose at ` this time.
將M3x8螺絲含上不鎖緊並配合P.10調整離
合器罩轉動順暢,再將M3x8螺絲鎖緊。

GAUI TAI SHIH HOBBY CORPORATION
Engine assembly
Engine bracket mount assembly
9
M3x8
M3x8
M3x6
M3x6
Countersunk Washer
M3x6........................x2
M3x8........................x2
M3x18
M3x18
M3x18......................x2
All screws on side plates should
be applied with thread lock.
All screws on side plates should
be applied with thread lock.
IMPORTANT: At this time, please leave
these M3x8 bolts loose at ` this time.
將M3x8螺絲含上不鎖緊並配合P.10調整離
合器罩轉動順暢,再將M3x8螺絲鎖緊。
IMPORTANT: After fully tightening the M3x18
bolts, align the motor so that the hex starter coupler
rotates clockwise freely. Once the engine is aligned,
tighten all four M3x8 bolts on each side of the model.
鎖緊M3x18螺絲。

GAUI TAI SHIH HOBBY CORPORATION
Engine bracket mount assembly
Landing gear assembly-1
10
M3x18
M3x18
M3x3
M3x3
M3x12
M3x12
M3x6
M3x6
M3x6
Frame post
Double sided tape
Canopy clip
M3x18......................x2
M3x3........................x2
M3x6........................x3
M3x12......................x2
All screws on side plates should
be applied with thread lock.
All screws on side plates should
be applied with thread lock.
After engine has been installed,
please manually check the clutch bell
for smooth operation.

GAUI TAI SHIH HOBBY CORPORATION
Landing gear assembly
Main gear assembly-1
11
M3x6
M3x7
M3x6
M3x3
M3x3
M3x7
M3x7
M3x7
M3x7
M3x7
M3x7
M3x6........................x2
M3x7........................x7
M3x3........................x2
One-way sleeve
120T main gear
Main Gear Hub
Rear Main Gear(61T)
Rear main gear hub
All screws on side plates should
be applied with thread lock.
All screws should be applied with
thread lock.
3mm
2mm

GAUI TAI SHIH HOBBY CORPORATION
Main gear assembly-2
Main gear assembly-3
12
M3x22
N3X5.5L
Insert main shaft and assemble with
main gear assembly.
M3x22......................x1
N3x5.5L...................x1

GAUI TAI SHIH HOBBY CORPORATION
Main Rotor grip assembly
Swash plate assembly
13
M3x10
W6x10x1.5
B6x13x5
Rubber damper 75
or
Rubber damper 95
Rubber damper 75
or
Rubber damper 95
T6x13x3.5
W6.2x7.6x0.5
W4.1x10x1.4
W4.1x10x1.4
B6x13x3.5
M4x10
M3x6
M4x10
W6x10x1.5
B6x13x5
M3x6
T6x13x3.5 B6x13x3.5
W6.2x7.6x0.5
Main grip
Main rotor head
Stainless ball (4.8mm)
Long linkage ball (4.8mm)
Stop Plate
Spindle shaft
Main Grip Levers
M4x10.......................x2
M3x10.......................x1
Bearing 6x13x3.5.....x2
T.Bearing 6x13x3.5..x2
Bearing 6x13x5........x2
W6.2x7.6x0.5..........x2
W4.1x10x1.4...........x2
M3x6.........................x2
(L)
(S)
Bigger inner race
Smaller inner race
All screws should be applied with
thread lock.
All screws should be applied with
thread lock.

GAUI TAI SHIH HOBBY CORPORATION
Main Shaft collar
Main Rotor assembly
14
M3x3
Mast collar
Lift main shaft before installing the
mast collar on the main mast, then
tighten the mast collar securely.
M3x3
M3x16
N3X5.5L
M3x3........................x2
M3x16......................x1
N3x5.5L...................x1
All screws should be applied with
thread lock.
Other manuals for NX4
1
Table of contents
Other GAUI Toy manuals

GAUI
GAUI Hurricane 425 User manual

GAUI
GAUI FLYBARLESS V1.2.3 User manual

GAUI
GAUI Hurricane 255 User manual

GAUI
GAUI X4 Combo User manual

GAUI
GAUI X7 Flybarless User manual

GAUI
GAUI Hurricane 255 User manual

GAUI
GAUI Hurricane 425 User manual

GAUI
GAUI X4 Combo User manual

GAUI
GAUI X5 FES User manual

GAUI
GAUI NX4 User manual
Popular Toy manuals by other brands

Snelflight
Snelflight Hoverfly Instruction and maintenance manual

TF Model
TF Model Apache 600 manual

Fisher-Price
Fisher-Price VOICE TECH RESCUE HEROES Wendy Waters... instructions

Fisher-Price
Fisher-Price 74885 instructions

Jamara
Jamara VW Golf GTI 2,4 GHz Instruction

Liliput
Liliput L13303 Series instruction sheet