CLEANING AND DECONTAMINATION
16 CLEANING AND DECONTAMINATION | PIPETMAN®
Chapter 7
CLEANING AND DECONTAMINATION
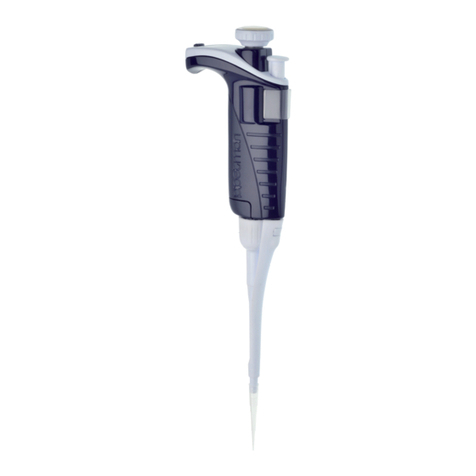
PIPETMAN®is designed so that the parts normally in contact with liquid contaminants can easily be cleaned and
decontaminated. However, because the models P2 and P10 contain miniaturized parts, it is best not to disassemble
these pipettes yourself. Please contact your local Gilson Service Center.
You can refer to the decontamination procedure available on the Gilson website (www.gilson.com).
Liquid must never enter the upper part (handle) of any pipette.
Cleaning for Single Channel Models
The pipette must be cleaned, as described below, before it is decontaminated. Soap solution is recommended for
cleaning PIPETMAN®.
External
1. Remove the tip ejector (refer to Changing the Tip Ejector for Single Channel Models on page 14).
2. Wipe the entire pipette and the tip ejector with a soft cloth or lint-free tissue soaked with soap solution to remove all
dirty marks. If the pipette is very dirty, a brush with soft plastic bristles may be used.
3. Wipe the entire pipette and the tip ejector with a soft cloth or lint-free tissue soaked with distilled water.
4. Refit the tip ejector and allow the pipette to dry.
Internal
Only the following components can be immersed in a cleaning solution: connecting nut, tip ejector, tip holder, piston
assembly, seal, and O-ring.
1. Disassemble the pipette (refer to Figure 11 on page 14).
2. Set aside the upper part in a clean, dry place.
3. Clean the individual components of the lower part of the pipette using an ultrasonic bath (20 minutes at 50°C) or with a
soft cloth and brushes.
The piston assembly and seals must be degreased with isopropanol or ethanol before being immersed in the ultrasonic
bath. Small round brushes with soft plastic bristles may be used to clean the interior of the tip holder.
4. Rinse the individual components with distilled water.
5. Let the parts dry by evaporation or wipe them with a clean soft cloth or lint-free tissue.
6. Reassemble the pipette as described (refer to Figure 11 on page 14).
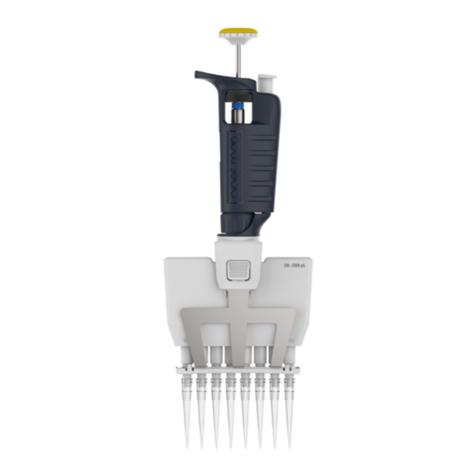
Cleaning for Multichannel Models
Only the following components can be immersed in a cleaning solution: tip ejector, ejector locks, and ejector spacer.
1. Remove the tip ejector and the ejector spacer.
2. Immerse the tip ejector, ejector locks, and ejector spacer in the cleaning solution or wipe them with a soft cloth or
lint-free tissue soaked with the cleaning solution.
3. Rinse the components with distilled water.
4. Wipe the entire pipette with a soft cloth or lint-free tissue soaked with the cleaning solution.
5. Wipe it with distilled water.
6. Let the parts dry by evaporation or wipe them with a clean soft cloth or lint-free tissue.
7. Refit the tip ejector (refer to Changing the Tip Ejector for Multichannel Models on page 15).
Autoclaving
The upper part (body) and the piston assembly of the pipette are not autoclavable. Only the following parts may be
autoclaved: tip ejector, tip holder, and connecting nut. The O-ring and seal are not autoclavable. They may be cleaned or
replaced with the ones found in SPARE PARTS on page 18.
1. Clean the parts to be autoclaved, especially the tip holder.
2. Put the parts in an autoclaving sack.
3. Autoclave for 20 minutes at 121°C, 1 bar relative pressure.
4. Check that the parts are dry before reassembling the pipette.
5. Set the pipette aside to equilibrate to room temperature.
6. Reassemble the pipette (refer to Figure 11 on page 14).