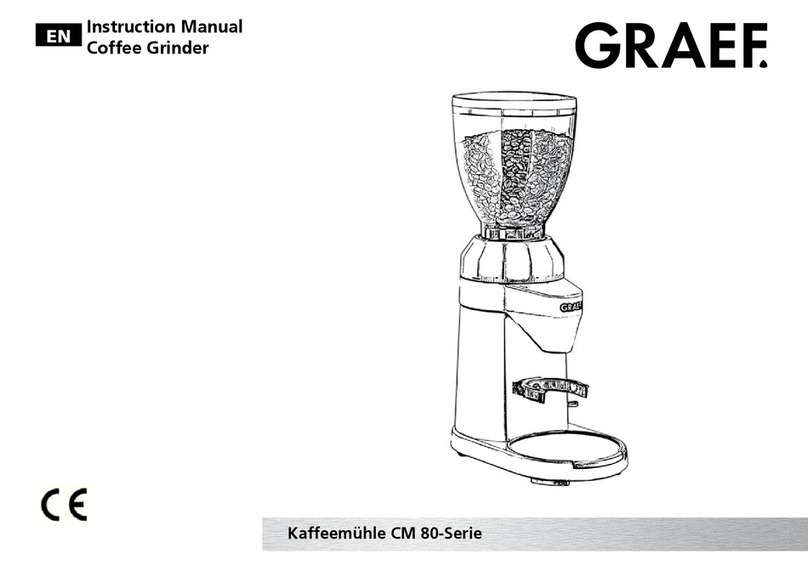
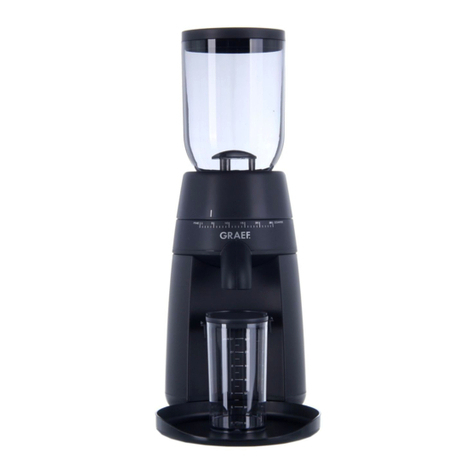
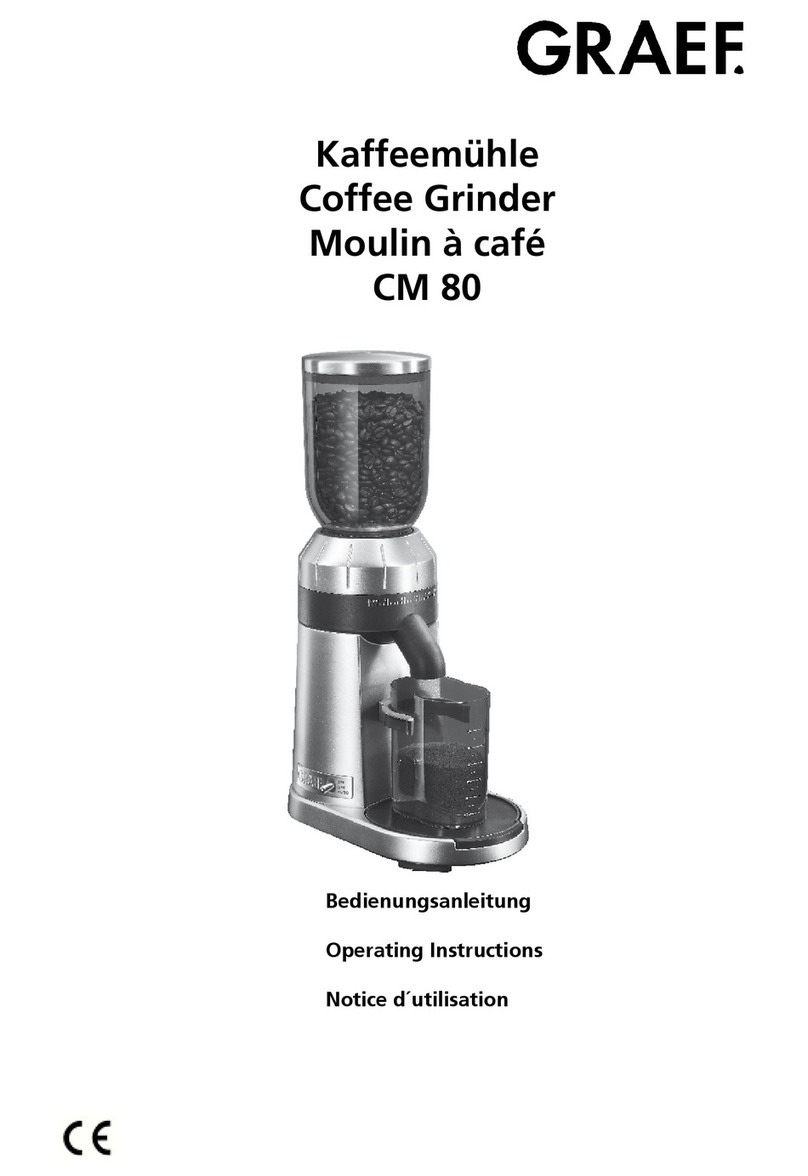
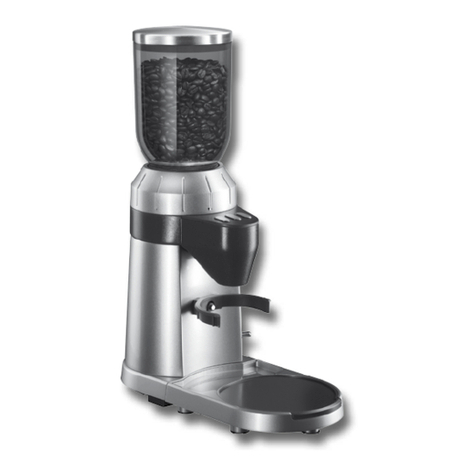
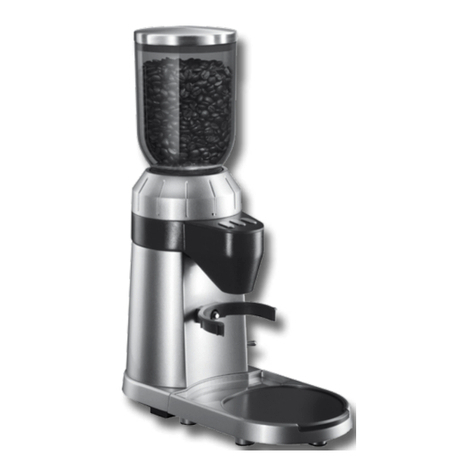
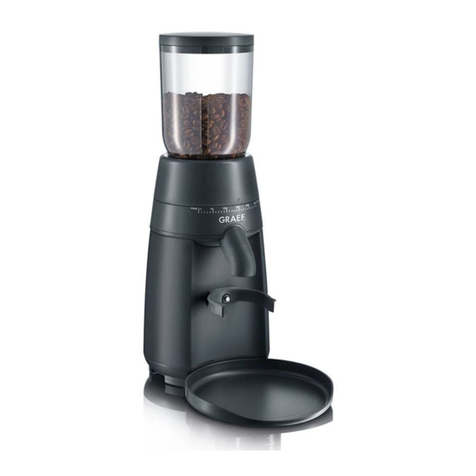
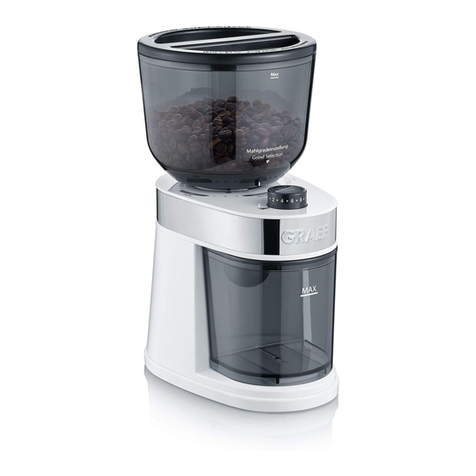
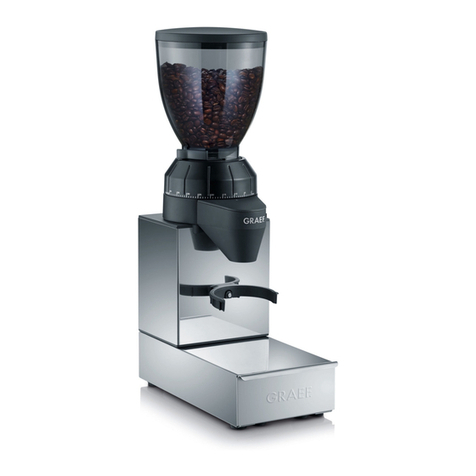
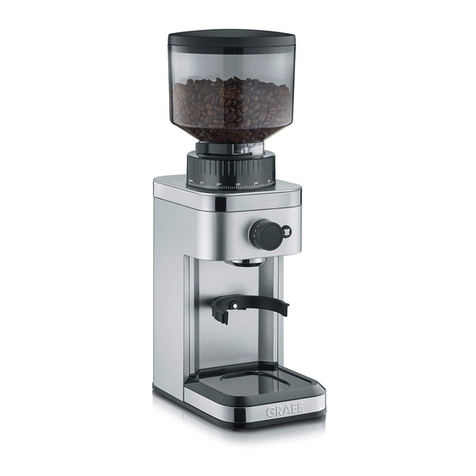
Graef CM 80-Serie User manual

EN Instruction Manual Coffee grinder
Kaffeemühle CM 80-Serie

2
Table of content
Safety Instructions................................. 3
Before the rst use ................................ 4
Unpacking ........................................... 4
Requirements for the installation location .... 5
Operating and speed settings .................... 5
Grind setting ....................................... 5
Grinding coffee..................................... 6
Grinding coffee directly in the group handle.. 6
Cleaning ............................................. 6
Cleaning the burrs ................................. 7
Adjustment of top burr ........................... 8
Customer service department ................... 8
Disposal.............................................. 8
Warranty ............................................ 9

3
EN
Safety Instructions
This appliance complies with the statutory
safety regulations. Improper use can, however,
lead to personal injury and property damage.
To handle the appliance safely, follow the in-
structions below:
•Check the appliance for external, visible
damage to the housing, the connector cable
and the plug before using it. Do not put a
damaged appliance into operation.
•If the machine’s connecting cable is dam-
aged, continued use of the machine is only
allowed it has been replaced with a new one.
Have it installed solely by the manufacturer
or its customer service or a similarly qualied
person to prevent hazards.
•Repairs are only allowed to be performed by
a specialist or by the Graef customer service
department. Improper repairs can lead to ex-
treme hazards for the user and damage the
appliance. Furthermore, the warranty claim
expires.
•Only Graef customer service is authorised to
repair the appliance during the warranty pe-
riod, otherwise the warranty expires for sub-
sequent damages.
•Defective components must be replaced sole-
ly with genuine spare parts. Fullment of the
safety regulations is only guaranteed if these
parts are used.
•Always disconnect the appliance from the
supply if it is left unattended and before as-
sembling, disassembling or cleaning.
•This appliance shall not be used by children.
Keep the appliance and its cord out of reach
of children.
•Appliance can be used by persons with redu-
ced physical, sensory or mental capabilities
or lack of experience and knowledge if they
have been given supervision or instruction
concerning use of the appliance in a safe way
and if they understand the hazards involved.
•Children shall not play with the appliance.
•Do not use the appliance if the rotating sieve
or the protecting cover is damaged or has vi-
sible cracks.
4
•The appliance is not intended to be used with
an external timer or a separate telecontrol
system.
•This appliance is intended to be used in
household and similar applications such as:
staff kitchen areas in shops, ofces and other
working environments; farm houses; by cli-
ents in hotels, motels and other residental
type environments; bed and breakfast type
environments.
•If the supply cord is damaged, it must be re-
placed by the manufacturer, its service or
similarly qualied persons in order to avoid
a hazard.
•Always pull the supply line from the electric
socket using the connector plug, not on the
connector cable.
•Never operate the appliance with wet hands.
•Do not use the packaging material as a toy.
Danger of suffocation.
•Do not use any aggressive or abrasive clean-
ing agents and do not use any solvents.
•Do not scratch off stubborn soiling with hard
objects.
•Do not wash in the appliance in water, do not
immerse it into water and do not put it in the
dishwasher.
•Do not try to regrind previously ground cof-
fee.
•Switch off the appliance and disconnect from
supply before changing accessories or ap-
proaching parts that move in use.
•Let the appliance cool off before cleaning.
•Make sure that no liquid gets into the interior
of the appliance.
•The appliance is suitable solely for grinding
coffee beans.
Before the rst use
Clean all parts as described in “Cleaning and
Care”.
Unpacking
To unpack the appliance, proceed as below:

5
EN
•Take the appliance out of the carton.
•Remove all pieces of the packaging.
•Remove any possibly extant labels on the cof-
fee grinder (do not remove the rating plate).
Requirements for the installation location
For safe and awless operation of the appli-
ance, the place of location must meet these
prerequisites:
•The appliance must be set up on a rm, at,
level, non-slip and heat resistant base that
has sufcient load bearing capacity.
•Select the place of location so that children
cannot reach the surfaces of the appliance.
•The appliance is not intended for installation
in a wall or a built-in cupboard.
•Do not set up the appliance in a hot, wet or
moist environment.
•The electric socket must be readily accessi-
ble so that the power cord can be easily un-
plugged.
Operating and speed settings
•Maximum operating time is 4 minutes. After
these 4 minutes please let the appliance cool
down to room temperature and start again.
Grind setting
You can inuence the composition of the coffee
with various grind settings.
The wide range of grind settings allows you to
make a precise adjustment.
Notice:
•The ner the coffee grounds, the longer the
grinding process takes.
•If you use a ne grind level, it is possible that
the coffee grounds clump together. During
grinding, slightly knock on the coffee bean
container cover so that any possible coffee
grounds clumps do not block the grinding.
•Accurate information on the grind setting can
not be made, since many factors such as type
of coffee / bean, room temperature, perso-
nal taste, etc. play a role.

6
•In general it takes a ner grind for espresso,
a medium grind for drip coffee and a coarser
grind for French press.
Grinding coffee
•Plug the plug into the electric socket.
•Fill the coffee bean container with coffee
beans.
Only use whole coffee beans.
•Select the grind by turning the grind adjust-
ment collar to the desired setting.
•To grind coffee beans, set the switch to the
‘On’ position.
•When the desired amount of coffee grounds
have been ground, set the switch to the ‘Off’
position. Remove the coffee grounds contain-
er.
Grinding coffee directly in the group handle
•Hold the group handle between the group
handle bracket.
•Set the switch to “Auto”
•Press the group handle onto the button be-
tween the group handle brackets.
•The coffee grounds ow into the group han-
dle.
•When the group handle is full, pull it back.
Cleaning
Old coffee grounds remaining in the appliance
can lead to oxidation. That spoils the beverage;
it can cause an unpleasant, rancid taste. The
appliances should always be in optimum con-
dition to be able to provide optimum results at
any time.
Ensure the appliance is switched off and un-
plugged from the power outlet.
•Clean the exterior of the appliance with a
soft, moist cloth. If heavily soiled, a mild de-
tergent can be used.
•Take off the coffee bean container. Press it
down and turn counter-clockwise.
•Take out the unused beans and put them in an
airtight container so they stay fresh.

7
EN
•Clean the coffee bean container and the cof-
fee grounds container with warm water and a
little detergent.
•After that, dry both container well.
Cleaning the burrs
If the coffee grinder is used frequently (every
day), the burrs need to be cleaned every three
weeks to ensure best performance of the cof-
fee grinder. Regular cleaning helps the burrs
achieve consistent grinding results, which is
especially important when grinding coffee for
espresso
•Remove the coffee bean container as de-
scribed in “Cleaning”.
•Turn the grind adjustment collar counter-
clockwise until the graphic arrow on the grind
adjustment collar is aligned with the rst ar-
row on backside of the appliance.
•Press the unlock button and turn the grind ad-
justment collar until the upper graphic arrow
is aligned on the second graphic arrow on the
backside of the appliance.
•Remove the grind adjustment collar including
the top burr.
•Lift out the top burr from the grind adjust-
ment collar and clean it using the burr clean-
ing brush.
•Also clean the upper burr with the cleaning
brush.
•After cleaning return the grind adjustment
collar to its position on the appliance.
•The upper graphic arrow is aligned with the
second graphic arrow (Align).
•Replace the top burr back into position in the
grind adjustment collar and turn clockwise to
the desired grind setting.
Notice: To check if the burr was inserted cor-
rectly, you can try to pull out the burr on the
metal ring. Now, the burr should not be remo-
vable.

8
Adjustment of top burr
By adjusting the burr you can adjust the grind
setting coarser or ner.
•Remove the top burr as described in “Clean-
ing the burrs”.
•Remove the two small screws with a screw
driver.
•Turn the burr one step to the left (coarser) or
to the right (ner).
•Turn back the screws.
•Replace the burr.
•Repeat the adjustment if it is not ne or
coarse enough.
Customer service department
If your Graef appliance becomes damaged or
you lose the instruction manual, please contact
your dealer or the Graef customer service de-
partment.
Disposal
At the end of its service life, this product must
not be disposed through normal domestic waste;
rather it must be disposed at a collection point
for recycling electronic domestic refuse. The
symbol on the product and in the operating in-
structions points this out. The materials can be
recycled in accordance with their markings. By

9
EN
recycling, making use of the materials or other
forms of recycling old units you are making an
important contribution to protecting our envi-
ronment. Please ask your municipal administra-
tion about the responsible disposal sites.
Warranty
2 year warranty
Starting with the date of purchase, we assume
a 24 month manufacturer’s warranty for defects
that are attributable to manufacturing and ma-
terial defects. Your legal warranty rights in ac-
cordance with § 439 ff. German Civil Code-E
remain unaffected by this clause. Not included
in the warranty are damages that have arisen
due to improper handling and use as well as de-
fects which have only a slight inuence on the
functioning or value of the unit. Furthermore,
shipping damages, unless our responsibility, are
excluded from warranty rights. Warranty claims
are excluded for damages that arise due to re-
pairs we or our representatives have not per-
formed. In case of a justied complaint, we will
repair or replace the defective product with a
awless product as we choose.
Other manuals for CM 80-Serie
1
Table of contents
Other Graef Coffee Grinder manuals

Graef
Graef CM800 User manual

Graef
Graef CM 203 User manual

Graef
Graef CM 70 series User manual

Graef
Graef CM 850 User manual

Graef
Graef CM90 User manual

Graef
Graef CM501 User manual

Graef
Graef CM 702 User manual

Graef
Graef CM500 Series User manual

Graef
Graef CM 80-Serie User manual

Graef
Graef CM 201 User manual