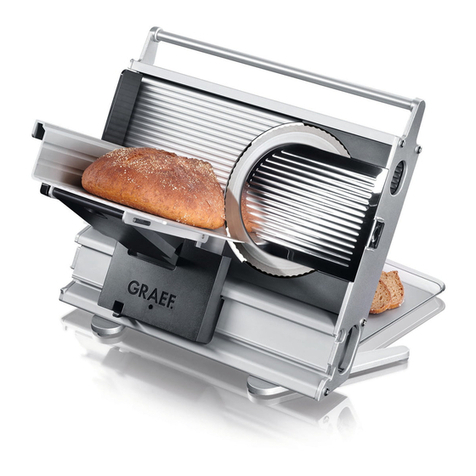
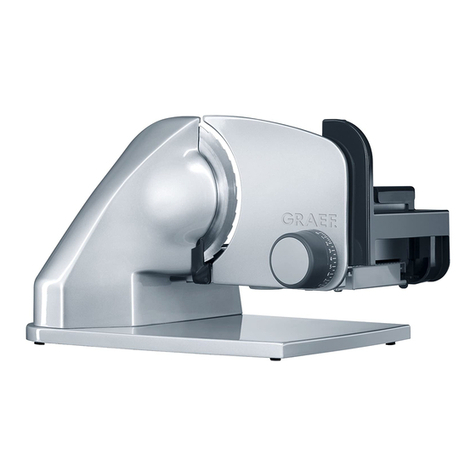
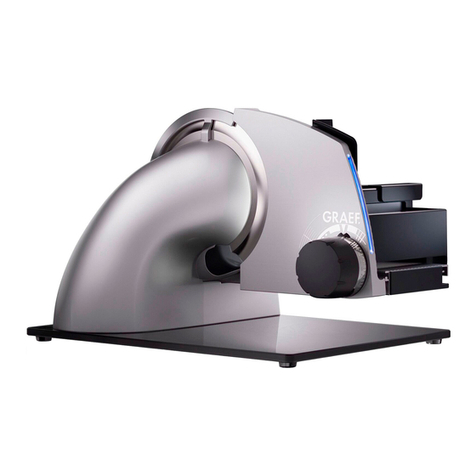
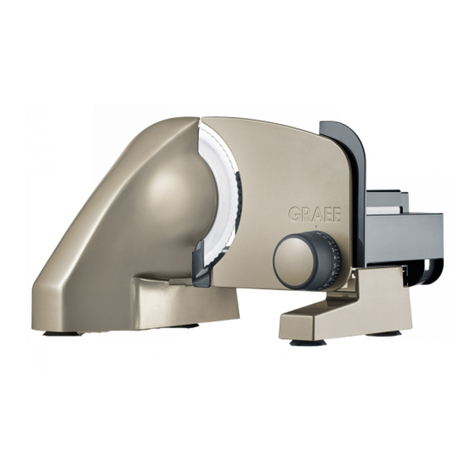
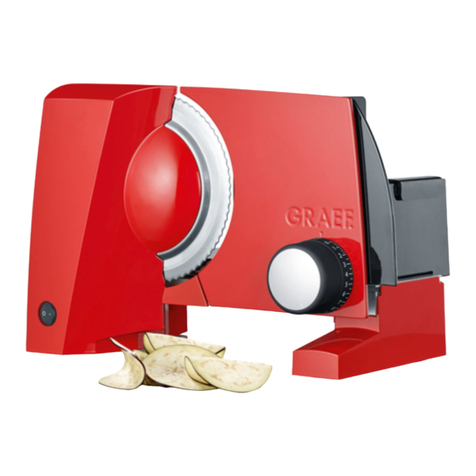
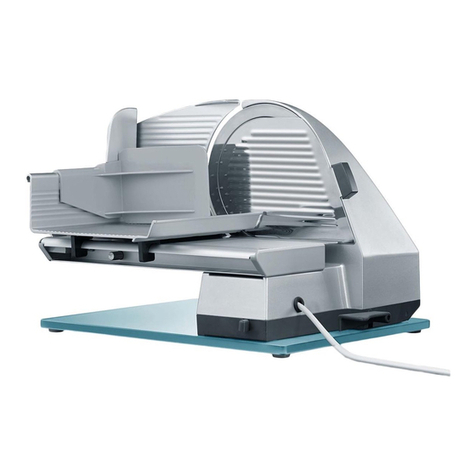
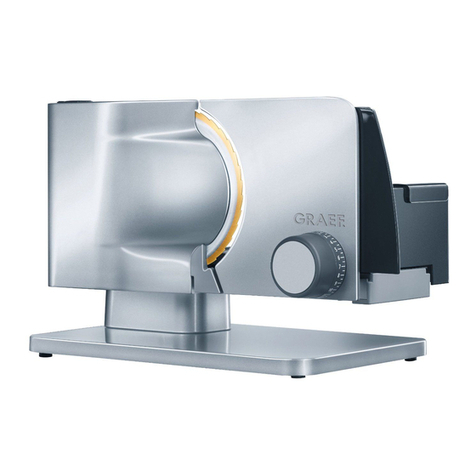
Graef EVO User manual

EVO
EN Operating Instructions Food Slicer

Schalter
Button
Arbeiten / Operation
45°
Reinigung/Messer / Cleaning/Blade

Schlitten abnehmen / Carriage removal

D
E
F G HI
K
J
L
AB
C
Technische Daten / Technical details EVO E 10 / E 11
A Gehäuse
B Drehknopf zur
Schnittstärkeneinstellung
C Standfuß
D Restehalter
E Schlitten
F Anschlagplatte
G Messer
H Messerabdeckplatte
I Moment- und
Dauerschalter
J Schlittenprol
K Kabelfach
L Schlittenriegel
Technische Daten:
Arbeitsbereich: (LxBxH)
345 x 225 x 240 mm
Schnittstärke: 0 - 20 mm
Schnitthöhe: 145 mm
Schnittlänge: 225 mm
Betriebsspannung: 230 Volt
Leistung 45 Watt,
max. 170 Watt
A Housing
B Control dial, for
adjustment of slicing
thickness
C Anti-slip foot
D Food holder
E Carriage
F Stop plate
G Blade
H Blade cover plate
I Quick-action and
continuous operation
switch
J Carriage prole
K Cable compartment
L Carriage lock
Technical data:
Work space: (LxWxH)
345 x 225 x 240 mm
Slice thickness: 0 - 20 mm
Cut height: 145 mm
Cut length: 225 mm
Operating voltage: 230 Volt
Power 45 Watt,
max. 170 Watt

A
B
C
Technische Daten / Technical details EVO E 20 / E 21 / EVO E 80 / E 81
A Gehäuse
B Drehknopf zur
Schnittstärkeneinstellung
C Glasbodenplatte
D Restehalter
E Schlitten
F Anschlagplatte
G Messer
H Messerabdeckplatte
I Moment- und
Dauerschalter
J Schlittenprol
K Kabelfach
L Schlittenriegel
Technische Daten:
Arbeitsbereich: (LxBxH)
345 x 235 x 250 mm
Schnittstärke: 0 - 20 mm
Schnitthöhe: 145 mm
Schnittlänge: 225 mm
Betriebsspannung: 230 Volt
Leistung 45 Watt,
max. 170 Watt
A Housing
B Control dial, for
adjustment of slicing
thickness
C Glas base plate
D Food holder
E Carriage
F Stop plate
G Blade
H Blade cover plate
I Quick-action and
continuous operation
switch
J Carriage prole
K Cable compartment
L Carriage lock
Technical data:
Work space: (LxWxH)
345 x 235 x 250 mm
Slice thickness: 0 - 20 mm
Cut height: 145 mm
Cut length: 225 mm
Operating voltage: 230 Volt
Power 45 Watt,
max. 170 Watt
D
EF G H¹ I
J
K
L

Table of content
Safety instructions........................................ 7
Unpacking .................................................... 9
Requirements on the installation location...... 9
Safety hazards.............................................. 9
Child safety lock........................................... 9
Short-time operation ................................... 9
Overload protection...................................... 9
Cutting material ......................................... 10
Using switch for intermittent cutting
operation ................................................... 10
Using switch for continuous cutting
operation ................................................... 10
Food holder................................................ 11
Cleaning..................................................... 11
Preservation of value - blade....................... 11
Removing the blade .................................... 11
Slide ......................................................... 12
After-sales service ...................................... 12
Troubleshooting .......................................... 13
Disposal...................................................... 14
Guarantee on motor ................................... 15

EN
Safety instructions
This unit is in conformity with the safety
instructions mentioned hereinbefore. However,
incorrect handling may lead to injury and
damage. For safe handling of this unit, please
observe the following safety instructions:
•Before using the unit check for any external
visible damage of the housing, the connection
cable and plug. Do not operate a damaged
unit.
•In case of a damage of the connection cable
of the machine, the unit may be replaced by
the manufacturer or the after-sales service or
a similarly qualied person only, in order to
avoid any danger.
•Repairs may be carried out only by an expert
or by Graef after-sales service. Incorrect
repairs may cause considerable hazards
for the user. In addition, any claim under
guarantee is forfeited.
•A repair of the unit during the guarantee
period may be carried out by Graef after-
sales service only as otherwise there is no
claim under guarantee in case of subsequent
damage.
•Defective parts must be replaced by original
spare parts only. It is only with these parts
that the safety requirements are met.
•This appliance should not be used by persons
(including children) with limited physical,
sensory and mental abilities or a lack of
experience and/or a lack of knowledge, unless
they are supervised by a person responsible
for their safety or have received instruction
on how the appliance is to be used.
•The appliance may not be used by children.
The appliance and its power cord must be
kept out of the reach of children.
•Children should be supervised to make sure
they do not play with the appliance.
•In the absence of supervision and prior to
assembly, during cleaning disconnect the unit
from the mains.
•The unit is not intended to be used with an
external timer or a separate remove control.

•This unit is intended for use in households and
similar use, such as: Staff kitchens in shops
and ofce; in agricultural estates; by guests
in hotels, motels and other living quarters; in
bed and breadfast boarding houses.
•Always disconnect the connection cable by
using plug; do not pull the connecting cable.
•Before connecting the unit compare the
connection data (voltage and frequency) on
the typeplate and your mains. These data
have to be in conformity so that no damage
can occur.
•Do not use the unit when the connection
cable or the plug is damaged.
•Before reusing, have the unit tted with a
new connection cable by the Graef after-
sales service or an authorised specialist.
•By no means open the housing of the unit.
An electric shock may be caused by touching
life connection and electrical mechanical
structures.
•Never touch live parts. They can cause an
electric shock or may result in death.
•Never carry the unit by its power cable.
•Never transport the unit during operation.
•Never operate the unit with wet hands.
•In idle state, turn the adjustment know
clockwise to zero setting so that the stop
plate covers the knife blade.
•Packaging materials must not be used for
playing. There is a danger of suffocation.
•Do not touch the blade of the knife with your
ngers. This is very sharp and may cause
serious injury.
•Make sure that the unit has been switched
off before cleaning or non-use and is not
connected up to the mains.
•Check whether the stop has been closed
(blade covered).
•Do not use any aggressive or scouring
detergent and no solvents.
•Do not scape off any persistent dirt with a
hard object.
•Do not rinse the unit in water or immerge in

EN
water.
•The unit must not be used without the food
holder (D) unless the size and shape of the
food permits use without.
Unpacking
Proceed as follows to unpack the unit:
•Remove the unit from the box.
•Remove the packaging parts.
•Remove any stickers on the unit (do not
remove the typeplate).
Requirements on the installation location
For safe and faultfree operation of the unit,
the following requirements of the installation
location have to be met:
•The unit has to be placed on a solid, at,
horizontal and non-slipping surface mit a
sufcient weight-carrying capacity.
•Choose the location in such a way that children
cannot reach the sharp blade of the unit.
Safety hazards
The very sharp blade(G) can cut off parts of the
body. Your ngers are especially endangered. For
this reason, do not reach into the space between
the stop plate (F) and the blade (G) as long as the
stop plate (F) is not closed completely, i.e. set to
“0”.
Child safety lock
In order to secure the blade (G), (the stop plate
(F) has to be closed (i.e. set to “0”)), the slide
(E) can be moved in front of the blade (G) and
the slide bar (L) can be pressed in. The slide (E)
is stuck.
Short-time operation
This unit has been tted with short-time
operation system of 5 minutes.
Overload protection
If the blade (G) is blocked by a hard object
(such as bones) during the cutting process, the
machine is switched off in order to protect the
gear and the motor. Carefully remove the cause

of blockage; in the process keep your ngers
away from the hazard area, and restart the
unit.
Cutting material
•The unit can be used to cut bread, ham,
sausage, cheese, fruit, vegetables, et cetera.
•By no means cut hard objects, such as frozen
food, bones, wood, sheet metal or similar.
Using switch for intermittent cutting operation
•Place a tray, a plate or something similar
below the unit.
•Choose the requested slicing thickness (B).
•Press the material gently to the stop plate (F)
and the slide (E) to the blade (G) evenly.
•Hold the upper switch (I) pressed and tap the
rear switch (I).
Note:Soft food (such as cheese or ham) can
be sliced best when cooled. Soft food can be
cut better when pushed slowly. When slicing
cucumbers or carrots, it is advantagous if they
are cut to equal lengths rst which are then fed
using the food holder (D).
Using switch for continuous cutting operation
•Place a tray, a plate or something similar
below the unit.
•Choose the requested slicing thickness (B).
•Press the material gently to the stop plate (F)
and the slide (E) to the blade (G) evenly.
•Hold the two switches (I) pressed and release
the upper switch rst.
•The switch for continuous operation is
activated; you can now start cutting the
material.
•In order to reactivate continuous cutting
operation, press one of the two switches (I).
•Note:Soft food (such as cheese or ham) can
be sliced best when cooled. Soft food can be
cut better when pushed slowly. When slicing
cucumbers or carrots, it is advantagous if
they are cut to equal lengths rst which are
then fed using the holder for remainders.

EN
Food holder
The unit must not be used without the food
holder (D) unless the size and shape of the food
permits use without.
As soon as the size or shape of the food permits
the use of the food holder, this has to be used.
•Place the remainders or smaller food on the
slide (E).
•Place the food holder (D) at the rear wall of
the slide and move the food holder (D) up to
the food to be cut.
•Proceed as described above in chapter
“Cutting”.
The food holder (D) permit slicing of smaller
food, such as mushrooms or tomatoes.
Cleaning
Remove the power plug before cleaning the
unit.
Use a soft and moist cloth to clean the outer
surfaces of the unit. Use a mild detergent in
case of heavy soiling.
Preservation of value - blade
Foralong-lasting sharpnessandforapreservation
of the value of your Graef blade we recommend
that the blade be cleaned in regular intervals,
especially after cutting cured meat or ham. They
contain salts which when on the blade surface
for a longer period of time could produce so-
called “rust lm” ( on “stainless steel” as well).
When cutting products which contain a lot of
water, such as tomatoes or cucumbers, a lack
or wrong (too “wet”) cleaning may produce
rust on the blade surface. For this reason we
recommend that you use a moist cloth and a bit
of detergent, if and when necessary, to clean
the blade directly after use. Never put the
blade in a dishwasher, rstly due to decrease
in sharpness and corrosion resistance (salts
attack the blade), and secondly due to safety in
handling the blade whilst loading and unloading
the dishwasher.
Removing the blade
Remove the power plug before removing the
blade.

Unscrew the blade (G) in regular intervals and
clean the unit on the inside. Do this, especially
“juicy” cutting material (tomatoes, fruit,
roasts, et cetera) are cut. Handle the blade (G)
with great care.
•Pull the slide towards yourself.
•Undo the blade cover plate (H) by turning it
45 deg. to the right. Note: You can turn the
blade cover plate (H) by 45 deg. by hand or
alternatively you put a coin (such as 1 Euro
coin) into the slot provided and turn the blade
cover plate (H) by 45 deg. then. Do not press
to much because it may happen you cannot
remove the blade (G) directly.
•Turn the blade lock 90 deg. to the right and
carefully remove the blade (G).
•Use a moist cloth to clean the inside of the
blade (G).
•From time to time the cogwheel of the blade
should be greased.
•Place the blade (G) and the blade cover plate
(H) in reverse order. Place the blade cover
plate (H), turn it clockwise by 45 deg. until it
snaps in briey and does not drop off.
•Place the blade with the greatest of care as it
is a very sharp object.
Slide
In order to clean the slide (E) better, remove it
from the unit.
•Pull the slide bar (L) out of the slide (E) on
the right-hand side.
•Pull the slide (E) towards yourself and remove.
•Use a moist cloth or running water to clean
all parts.
Important: Do not clean the slide in a dishwasher!
•Once a month, add some drops of resin-free
oil or petroleum jelly to the slideway. Use a
soft cottonwool cloth to remove excessive oil
/ petroleum jelly.
After-sales service
If you Graef unit should be damaged, please get
in touch with your specialist dealer or with a
Graef after-sales service.

EN
Troubleshooting
Problem Cause Solution
Slide moves sluggishly. Slide slide is dirty. Clean and grease the slide
slide.
Slide cannot be moved. Lock slide (child safety lock). Undo the slide lock.
Unit is switched off automati-
cally.
•Short-time operation: Automatic
shutdown after about 5 minutes.
•Overload protection: Blade has
been blocked.
•Switch the unit on
again.
•Carefully remove the
cause of blockage; in
the process keep your
ngers away from the
hazard area, and restart
the unit.

Disposal
At the end of its service life, this product
cannot be disposed of in normal domestic
waste but has to be disposed of at a collection
point for recycling electonic household
waste. The symbol on the product and in the
operating instructions point out to this fact.
Reuse the materials according to their
marking. By reusing, recycling or other
applying other forms of use of old units,
you render an important contribution to the
protection of our environment. Please ask
your municipal administration for the disposal
point.
Blade moves slugglishly. Cogwheels of the blade are not
greased or are dirty.
Undo and clean the bla-
de; use petroleum jelly to
grease the inside of the
blade (cogwheel of blade)
and the black ring.
Grinding noise caused by
blade.
Food residues on the blade poten-
tially
Remove, clean and grease
the blade.
Operating noises increase with
increasing use.
Gear is not greased sufciently. Undo and clean the blade;
use petroleum jelly to gre-
ase the inside of the blade
(cogwheel of blade) and
the black ring.
Blade does not cut well any-
more.
The blade is blunt and has to be
sharpened.
Send the blade in for shar-
pening. Please get in touch
with our after-sales ser-
vice. +49 (2932) 9703677

EN
2 years guarantee on motor (EVO E 10 / EVO E
20) / 3 years guarantee on motor (EVO E 80)
For this product we assume an additional
guarantee on the motor of 24 or 36 months
beginning with the date of sale. Your legal
warranty claim in conformity with Section 439 ff.
of The German Civil Code E shall be unaffected
by this regulation. The guarantee does not
cover any damage which is caused by incorrect
handling or use as well as defects which only
slightly inuence the function or the value of
the unit. Moreover, transport damage provided
we are not responsible shall be excluded from
the claims under guarantee. Guarantee shall
be ruled out for damage, the repair of which
has not been carried out by us or one of our
represenations. In case of justied complaints,
we shall repair the defective product or replace
it by a product without defects at our discretion.
Other manuals for EVO
1
Table of contents
Other Graef Kitchen Appliance manuals

Graef
Graef MS 701 User manual

Graef
Graef UNA User manual

Graef
Graef EURO 2200 User manual

Graef
Graef HE80 User manual

Graef
Graef MS 61 User manual

Graef
Graef 188 MASTER User manual

Graef
Graef Fleischwolf FW 500 User manual

Graef
Graef DA 506 User manual
Graef
Graef MS 703 User manual

Graef
Graef F1 FUTURA User manual

Graef
Graef Sliced Kitchen SKS 900 User manual

Graef
Graef CM102 User manual

Graef
Graef EVO User manual

Graef
Graef G 50 User manual

Graef
Graef H 9 User manual

Graef
Graef Sliced Kitchen CLASSIC C15 User manual

Graef
Graef MASTER User manual

Graef
Graef SKS 100 Series User manual
Graef
Graef Futura F 6 User manual

Graef
Graef Master M 20 User manual