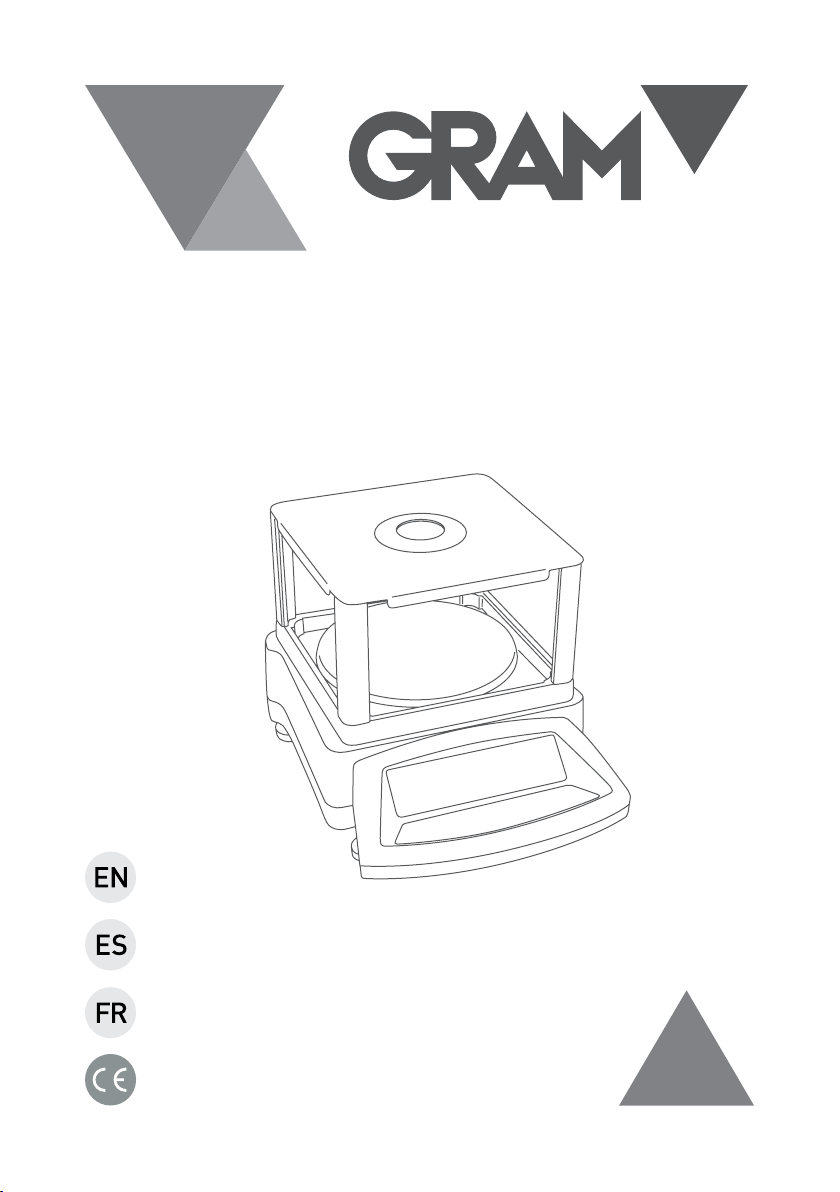
Gram AHS 300 User manual
SERIES / SERIE / SÉRIE
AHS
300 / 600 / 1200 / 3000
OPERATION MANUAL
MANUAL DE UTILIZACION
MANUEL D´UTILISATION
2
INDEX English
Instruction for use 5
Specifications 5
Display symbols 6
Keypad description 6
Keys function 6
Operation 7
Unit select 7
Counting function 7
Zero / Tare Function 7
Calibration 7
Instructions for external calibration 8
Interior calibration 8
Power 9
Low battery 9
Charging tips 9
Problems & solutions 9
Guarantee 10

3
ÍNDICE Español
Instrucciones de uso 11
Especificaciones 11
Símbolos del display 12
Descripción del teclado 12
Función de las teclas 12
Operación 13
Selección de la unidad de pesada 13
Función cuentapiezas 13
Función Cero / Tara 13
Calibración 13
Calibración externa 13
Calibración interna 14
Alimentación 14
Batería baja 14
Problemas y soluciones 15
Garantía 16
4
SOMMAIRE Français
Précautions & conseils d’utilisation 17
Specifications 17
Description de l’ecran 18
Description du clavier 18
Fonctions des touches 18
Mode d’utilisation 19
Sélection de l’unité de pesée 19
Fonction compte-pieces 19
Fonction de Zero / tare 19
Etalonnage 20
Etalonnage externe 20
Etalonnage interne 20
Alimentation 21
Batterie faible 21
Problemès & solutions 22
Garantie 23

5
ENGLISH
INSTRUCTION FOR USE
• Keep it away from high temperature or damp environment;
• Avoid objects impacting with the balance;
• The load placed on the weigh pan must not exceed the maximum
weighing capacity of the balance.
• Please warm up the balance for 15~20 minutes before operation.
• There should be no weight on the balance when the balance is switched on.
• Commodities should be placed at the center of the platter when being
weighed, and can’t exceed the dimension of the platter.
• If the balance is not used for a long period of time, recharge it every 3
months so as to ensure a long life of the battery. Fully recharge it before
using again. Take care not to keep the balance being charged for too long.
• Please note when the low battery symbol on the screen, the battery
needs to be recharged.
SPECIFICATIONS
MODE: Precision Electronic Balance.
Division: 30 000 ~ 1 200 000.
Load cell: 350Ωload cell.
DISPLAY: Large LCD display with built-in backlight.
POWER: DC9V and Built-in 6V1.3AH rechargeable battery.
Temperature: 5ºC ~ 40ºC ≤85% RH.
6
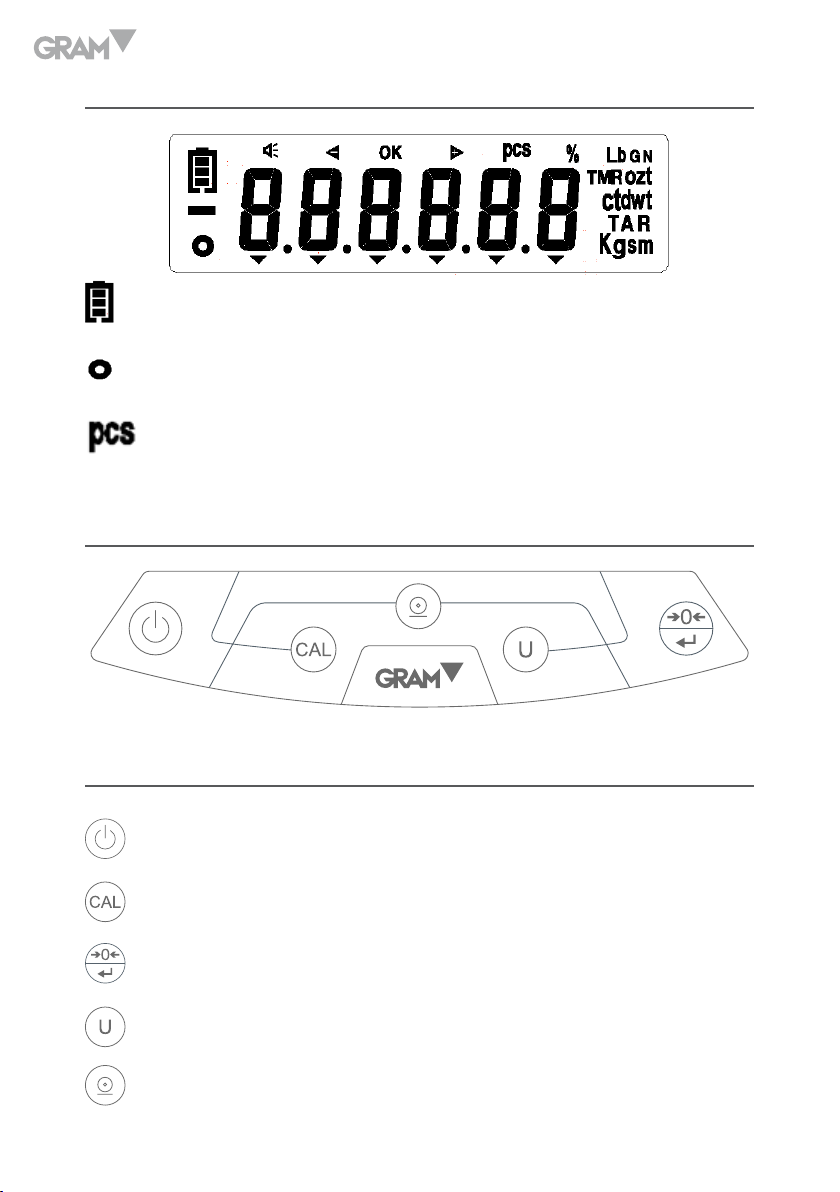
DISPLAY SYMBOLS
Battery status indication.
Stable indication.
Simple counting mode indication.
KEYPAD DESCRIPTION
KEYS FUNCTION
Switch on or off
Calibration.
Zero function/deduct the container weight.
Unit exchange/enter the counting function.
Print mode.

7
OPERATION
Unit select
Press the key to choose the desired unit weight.
Counting function
Place the measured objects, and press for abt 3 seconds, the balance
will show “COU”, then press to select 10, 20, 50, 100, 150, 200, 250 or
500. Finally press to confirm.
Press the key again to return back to the weighing mode.
Note: The larger quantity of sampling, the more precise unit weight counted out.
Zero / Tare Function
Press key will deduct the container weight or return the display to zero.
CALIBRATION
For maximum accuracy, calibration is required before use.
Indicators your balance may need to be calibrated:
• If your balance is not loading properly
• Your balance is stuck at zero
• Inconsistent/Inaccurate weights

8
Instructions for external calibration
1. First remove all objects from weighing tray.
2. Press for abt 3 seconds, the balance show “CAL”, calibration begins.
3. The balance will show the required weight for calibration. Place the
required weight as indicated on the screen on the center.
4. Once the required weight is placed on the balance it will show lines
“-------” across the screen, Then it will show another required weight
once more. Repeat the procedures until it set back to zero. Calibration
is complete.
Interior calibration
1. First remove all objects from weighing tray.
2. Press key for abt 3 seconds, the balance will show “CAL” and then
the required weight.
3. Press for abt 3 seconds, the balance will show “CAL” and the
required weight once more.
4. Place the required weight as indicated on the screen in the center. Once
the required weight is placed on the balance it will show lines ”------”
across the screen.
5. Then it will show & flash another required weight once more.
6. Repeat the procedure 4. & 5. until it set back to zero. Calibration is
complete.
9
POWER
Low battery
LCD series has the function of detecting the battery all the time. When
appears on the upper left corner of the display, the battery needs recharging.
If you don’t recharge in time, the power will be automatically cut off to protect
the battery after using 2~3 minutes. Please immediately recharge the battery.
Charging tips
In LCD series when Battery status indication is
and hold on. It means the
battery will be full after recharging 1~2 more hours (Usually, it takes about
8~10 hours to charge fully.).
PROBLEMS & SOLUTIONS
Problems Reason Ways to solve
When the screen appears
“------“ or "_ _ _ _" Interference/overload Power off/calibrate
Unstable weights
1.Environment is not good. Improve the environment
2. There is sth impacting
the pan. Remove the things
3. Unfixed the measured
objects. Fix the objects
Incosistent/inaccuate
weights
1.The balance didn’t
calibrate. Calibrate
2. Didn’t tare before
weighing. Tare
3. Low battery Recharging

10
GUARANTEE
This balance is guaranteed for one year from the delivery date. The guarantee
covers any fabrication defect of the material.
During this period, GRAM PRECISION, SL, covers the manpower and spare
parts costs for the reparation of the scale.
This guarantee does not cover the failures caused by an inappropriate use
or overload.
The guarantee does not cover the freight cost (transport) necessary to
repair the balance.
This manual suits for next models
4
Table of contents
Languages:
Other Gram Scale manuals

Gram
Gram D3 Series User manual

Gram
Gram CM-3 User manual

Gram
Gram Xtrem F User manual

Gram
Gram FH 100 User manual

Gram
Gram WHITE MEL SERIES User manual

Gram
Gram QUBIC ONE User manual

Gram
Gram EH 500 User manual

Gram
Gram GEC Series User manual

Gram
Gram S5i SERIES User manual

Gram
Gram FD 410 SERIES User manual

Gram
Gram SILK ISLAND User manual

Gram
Gram AHV Series User manual

Gram
Gram CR-30 User manual

Gram
Gram C7 Series User manual

Gram
Gram AM-3000 Installation manual

Gram
Gram SBZ-600 User manual

Gram
Gram FV 220 User manual

Gram
Gram AH series User manual

Gram
Gram K3iX Series User manual

Gram
Gram C3 Series User manual


