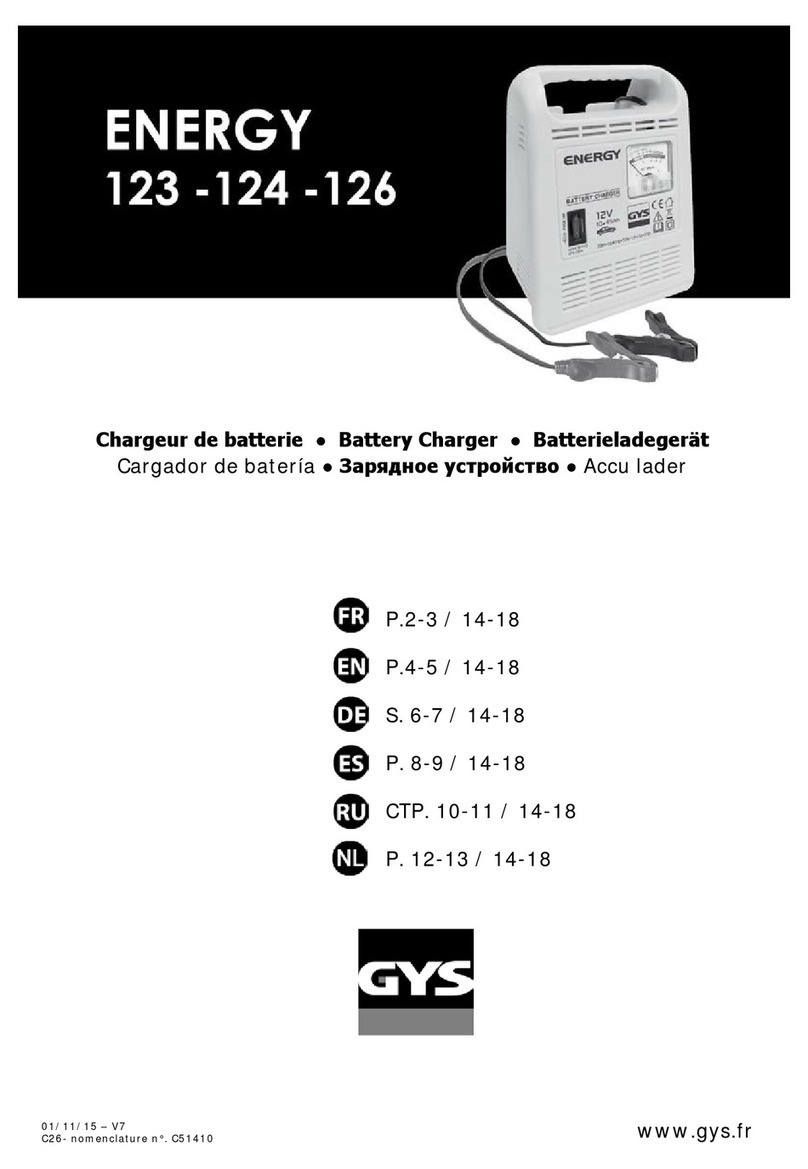
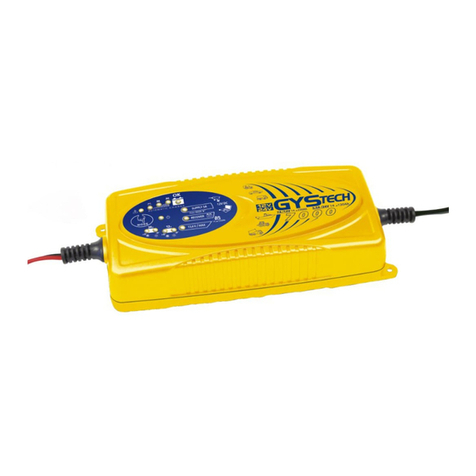
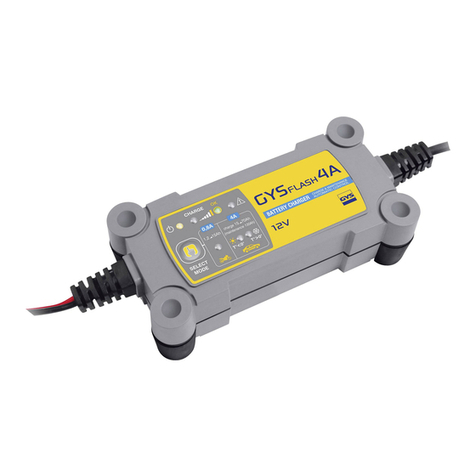
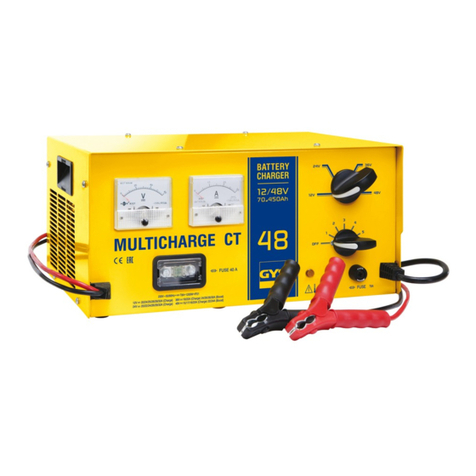
GYS TCB 90 User manual

160307 – V2
C13- nomenclature n°. 72168
NOTICE D'UTILISATION
INSTRUCTION MANUAL
BETRIEBSANLEITUNG
Chargeur de batterie ● Battery Charger ● Batterieladegeräte
S mmaire
Description générale..........2
Mode testeur .................... 2
Mode chargeur..................2
Protections .......................3
Batterie sulfatées,
démarrage, alimentation ... 3
Conseils et avertissements 3
Attestation
De conformité ...................3
C ntents
General description............
Tester function ..................
Charger function................
Protections .......................
Sulfated batteries-start
Powersupply......................5
Advices and warnings ........5
Declaration of conformity...5
Inhalt
Beschreibung.................... 6
Testfunktion ..................... 6
Ladefunktion..................... 6
Schutzfunktionen .............. 6
Sulfatierte Batterien
Start – Stromversorgung ... 7
Hinweise und Warnungen.. 7
Konformitätserklärung....... 7
Garantie ........................... 8
www.gys.fr
TCB 60
TCB 90
TCB 120

2
TCB 60 / TCB 90 / TCB 120
Descripti n générale
Nous vous félicitons pour votre choix car cet appareil a été conçu avec le plus grand soin.
Pour en tirer le maximum de satisfaction, nous vous conseillons de lire avec attention ce
manuel d'instruction. Conserver le pour pouvoir la relire plus tard si nécessaire.
Les chargeurs TCB 60, TCB 90 et TCB 120 sont des destinés à la recharge de batteries au
plomb à électrolyte liquide ou gélifié, de tension nominale de 12V, et de capacités indiquées
selon le tableau suivant:
minimum maximum
TCB 60 15 Ah 60 Ah
TCB 90 15 Ah 90 Ah
TCB 120 30 Ah 120 Ah
F ncti nnement en m de testeur
Quand il n’est pas connecté à l’alimentation secteur, ce chargeur est un testeur de batterie.
L’état de votre batterie est indiqué par les trois voyants LED:
•rouge : <12.3V : à recharger
•orange : entre 12.3 et 12.6V : charge moyenne
•vert >12.6V : bien chargé
Branchement en m de chargeur
Précautions préalables
•Choisir un local abrité et suffisamment aéré ou spécialement aménagé.
•Enlever les bouchons de la batterie (si celle–ci en est munie) et assurez-vous que le niveau
de liquide (électrolyte) est correct. Sinon ajouter de l’eau distillée. Nettoyer soigneusement
les bornes et les cosses de la batterie.
•Vérifier que la capacité (en Ampère-heure) et la tension (en Volt) de la batterie sont
compatibles avec votre chargeur.
Raccordement et débranchement
•Relier les pinces (+ rouge et - noire) aux bornes + et - de la batterie en assurant un bon
contact et respectant l'ordre suivant :
▪Connecter en premier la borne qui n'est pas reliée au châssis du véhicule.
▪Relier ensuite la borne sur le châssis, sur un point éloigné de la batterie et de toute
canalisation de combustible.
▪A l’aide de l’interrupteur, choisissez votre allure de charge.
•En dernier, connecter l’alimentation du chargeur au secteur 230V 50/60Hz.
•Après la charge, débrancher le chargeur de batterie de l'alimentation réseau puis retirer la
connexion du châssis et enfin la connexion de la batterie, dans cet ordre.
Déroulement de la charge
•Le voyant vert "POWER" au-dessus du fusible indique la présence du secteur.
•Le voyant orange indique que la charge est en cours.
•Il passe au voyant vert "OK" quand la charge est terminée.
•Si votre chargeur ne passe pas sur le voyant « vert » au bout d’un temps raisonnable, contrôler
d’abord le fusible (après avoir débranché votre appareil). S'il est bon, faites vérifier votre batterie
par un professionnel.
•Votre appareil recharge une batterie au courant maximum, puis passe automatiquement en allure
modérée pour compléter la charge à 100%. Cette fonctionnalité « floating » vous permet de
laisser votre batterie en charge indéfiniment, sans risque.

3
TCB 60 / TCB 90 / TCB 120
Pr tecti ns
Votre appareil a été conçu avec un maximum de protections :
•Les pinces de charge sont isolées, et il n'y a pas de tension sur les pinces tant que la batterie
n'est pas raccordée.
•L’inversion de polarité ne cause aucun danger. En cas d’erreur, un signal sonore vous avertit.
•Votre appareil est protégé contre les surintensités qui peuvent être créées par des batteries
défectueuses ou de fausses manœuvres par le fusible en face avant.
•Protection thermique : le transformateur de votre appareil est protégé par un thermostat
(refroidissement : environ ¼ d’heure).
C nseils et avertissements
•Ne pas tenter de recharger piles et batteries non rechargeables.
•Utiliser votre chargeur dans un endroit ventilé et ne pas faire d’étincelle à proximité.
•Respecter impérativement l'ordre de raccordement indiqué.
•L'appareil doit être placé de façon telle que la fiche de prise de courant soit accessible.
•Examiner le chargeur de batterie régulièrement, en particulier le câble, la fiche et l’enveloppe,
pour détecter tout dommage. Si le chargeur de batterie est endommagé, il ne doit pas être utilisé
avant sa réparation.
•Si le câble d'alimentation est endommagé, il doit être remplacé par le fabricant, son service après
vente ou une personne de qualification similaire, afin d'éviter un danger.
•Ne pas ouvrir l’appareil. Toute modification de modification non effectuée par un technicien de la
société GYS entraîne l’annulation de la garantie et de la responsabilité de la société GYS.
•Respecter le calibre du fusible indiqué sur l’appareil.
•Produit faisant l'objet d'une collecte sélective. Ne pas jeter dans une poubelle domestique.
Batteries sulfatées, démarrage, alimentati n
•Si votre batterie est sulfatée, le chargeur va signaler très vite que la batterie est chargée. Dans ce
cas, faites vérifier votre batterie par un professionnel
•Ne jamais laisser votre appareil branché sur votre voiture pendant un démarrage. Cela peut
casser le fusible.
•
Ne pas utiliser votre chargeur comme une alimentation auxiliaire. Il est interdit de consommer du
courant depuis la batterie pendant que le chargeur est branché.
Attestati n de c nf rmité
La société GYS atteste que les chargeurs décrits dans ce manuel :
TCB 60 / TCB 90 / TCB 120
sont fabriqués conformément aux exigences des directives européennes suivantes :
- Directive Basse Tension : 73/23/CEE - 19/02/1973 (amendée par 93/68/EEC)
- Directive CEM : 89/336/CEE - 03/05/1989 (amendée par 92/31/EEC, 93/68/EEC,
91/263/EEC),
ils sont pour cela conformes aux normes harmonisées :
- EN60335-2-29
- EN5501 .
Date de marquage CE/GS : Août 2006.
01/07/06 Nic las BOUYGUES
S ciété GYS Président Directeur Général/ CEO
134 BD des L ges
53941 Saint Berthevin
GYS China
669 Liany u r ad, Minhang
201107 Shanghai - China
4
TCB 60 / TCB 90 / TCB 120
General descripti n
Congratulations for the selection of this product, which has been designed with great care. To
get the best use of it, please read carefully the following instructions. Keep this instruction
manual safe, you may want to read it again later.
The chargers TCB 60, TCB 90 and TCB 120 are designed to charge lead acid batteries with
liquid or gel electrolyte, nominal voltage from 12V, and with capacity according to the
following table:
minimum maximum
TCB 60 15 Ah 60 Ah
TCB 90 15 Ah 90 Ah
TCB 120 30 Ah 120 Ah
Operating m de with tester functi n
When it is not connected to the mains supply, this charger is a battery tester. It lets you
know the state of the battery. The integrated voltmeter informs you by three LEDs:
•red : <12.3V : battery to be charged
•orange : between 12.3 and 12.6V : middle charge
•green : >12.6V : charged
C nnecti n in charger functi n
Preliminary precautions
•For indoor use, with good ventilation.
•Remove the battery caps if there is, and check the level of liquid. If it is not correct, filled up with
distilled water. Clean well the battery terminals.
•Check if the battery capacity and voltage are compatible with your charger.
Connection and disconnection
•Connect the clamps (+ red, - black) to + and - battery terminals, making sure you get a good
electric contact, respecting the following order.
▪Connect first the battery terminal not connected to the chassis of the vehicle.
▪Then connect the other connection to the chassis remote from the battery and any fuel
line.
▪Select the charge speed with the front switch
•At last, plug in your charger to 230 V 50/60 Hz mains supply.
•After charging, disconnected the battery charger from supply mains. Then remove the chassis
connection and the battery connection, in this order.
Charge process
•The green light "POWER" above the fuse indicates AC power connection.
•The orange light indicates that the charge is in progress.
•The green LED lights when the charge is finished.
•If the green LED is not lighting after quite a long time, check the front fuse after switching off
your product. If it still does not work, please check the battery by a professional.
•This product can charge automatically one battery with its rated loading current, and then
continue with a moderate speed to finish the loading 100%. With that function « floating », you
can leave the battery connected to your product unlimitedly without any risk.

5
TCB 60 / TCB 90 / TCB 120
Pr tecti ns
Your product has been developed with a maximum of protections.
•The clamps of the battery are isolated, and there is no voltage on the clamp as long as the
battery is not connected.
•The polarity reversal will not cause danger. In case of polarity error a buzzer sounds.
•Your charger is protected against over current that can occur with faulty batteries or false use of
the product by the front fuse.
•Thermal protection: the transformer of the product is protected by a thermal switch (cooling:
about ¼ h).
Advices and warnings
•Do not attempt to charge non rechargeable batteries.
•Use your charger in a ventilated area and do not make any spark in the near.
•Respect strictly the indicated connection order.
•The charger must be installed so that the mains plug is accessible.
•Check regularly the charger, specially the power cord, the plug and the case, to detect any
damage. If the charger is damaged, it must not be used before reparation.
•In case the power cord is damaged, be sure to stop using it at once. Sent it to nearby appoint
repair center that is authorized by manufacturer in order to avoid any danger.
•Do not open the product. All modification or attempt of modification not done by a technician of
GYS can lead to the cancellation of the warranty of the product and of the responsibility of the
firm GYS on this product.
•Respect the fuse rating indicated on the charger.
•
Separate collection required - Do not throw in a domestic dustbin.
Sulfated batteries - Start - P wer supply
•If your battery is sulfated, the green LED of your charger will light very quickly, as if the battery
was charged. Change your battery.
•Do not leave your charger plugged on your car when you start it. It can break the fuse.·
•Do not use your charger like an auxiliary power supply. It is forbidden to pull up current from the
battery when the battery is connected to the charger.
Declarati n f c nf rmity
The company GYS certifies that the products described on this manual :
TCB 60 / TCB 90 / TCB 120
are manufactured in compliance with the requirements of the following European directives :
- Low Voltage Directive : 73/23/EEC - 19/02/1973 (amended by 93/68/EEC)
- EMC Directive : 89/336/EEC - 03/05/1989 (amended by 92/31/EEC, 93/68/EEC,
91/263/EEC),
they therefore comply with the following harmonized standards :
- EN60335-2-29
- EN5501 .
The appliance is CE/GS-marked : August 2006.
01/07/06 Nic las BOUYGUES
S ciété GYS Président Directeur Général/ CEO
134 BD des L ges
53941 Saint Berthevin
GYS China
669 Liany u r ad, Minhang
201107 Shanghai - China
This manual suits for next models
2
Table of contents
Languages:
Other GYS Batteries Charger manuals

GYS
GYS GYSFLASH 15.24 XTREM User manual

GYS
GYS GYSFLASH 32.12 PL User manual

GYS
GYS 029200 User manual

GYS
GYS BATIUM 25/24 User manual

GYS
GYS GYSPACK 660 User manual

GYS
GYS TCB 60 User manual

GYS
GYS MULTICHARGE CT 48 User manual

GYS
GYS GYSFLASH 8.12 User manual

GYS
GYS GYSFLASH HERITAGE 6 A User manual

GYS
GYS Wattmatic 100 User manual

GYS
GYS BATIUM 25/24 User manual

GYS
GYS STARTPACK TRUCK User manual

GYS
GYS Inverter 70-12HF Maintenance and service guide

GYS
GYS GYSFLASH S 1.12 PL User manual

GYS
GYS GYSFLASH 1.12 User manual

GYS
GYS CT 160 User manual

GYS
GYS STARTIUM 330E User manual

GYS
GYS START 300 User manual

GYS
GYS GYSTECH 750 User manual

GYS
GYS CT 160 User manual