manuals.online logo
Brands
  1. Home
  2. •
  3. Brands
  4. •
  5. Hearth & Home
  6. •
  7. Fireplace Accessories
  8. •
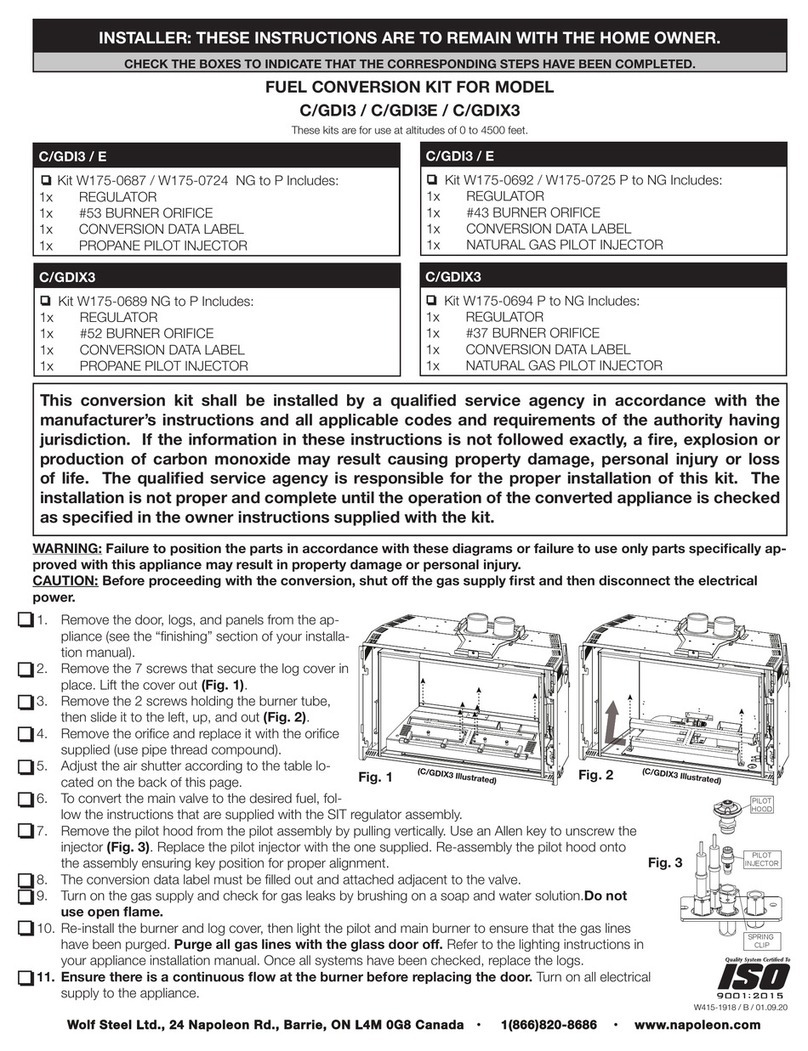
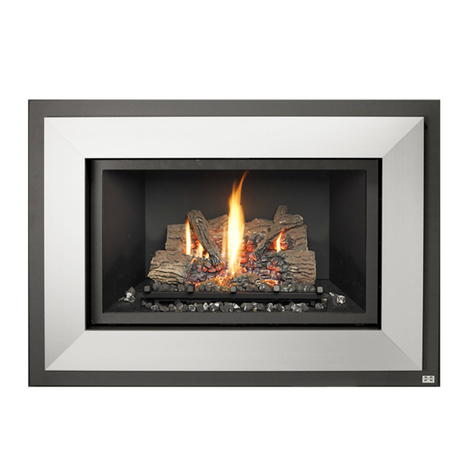
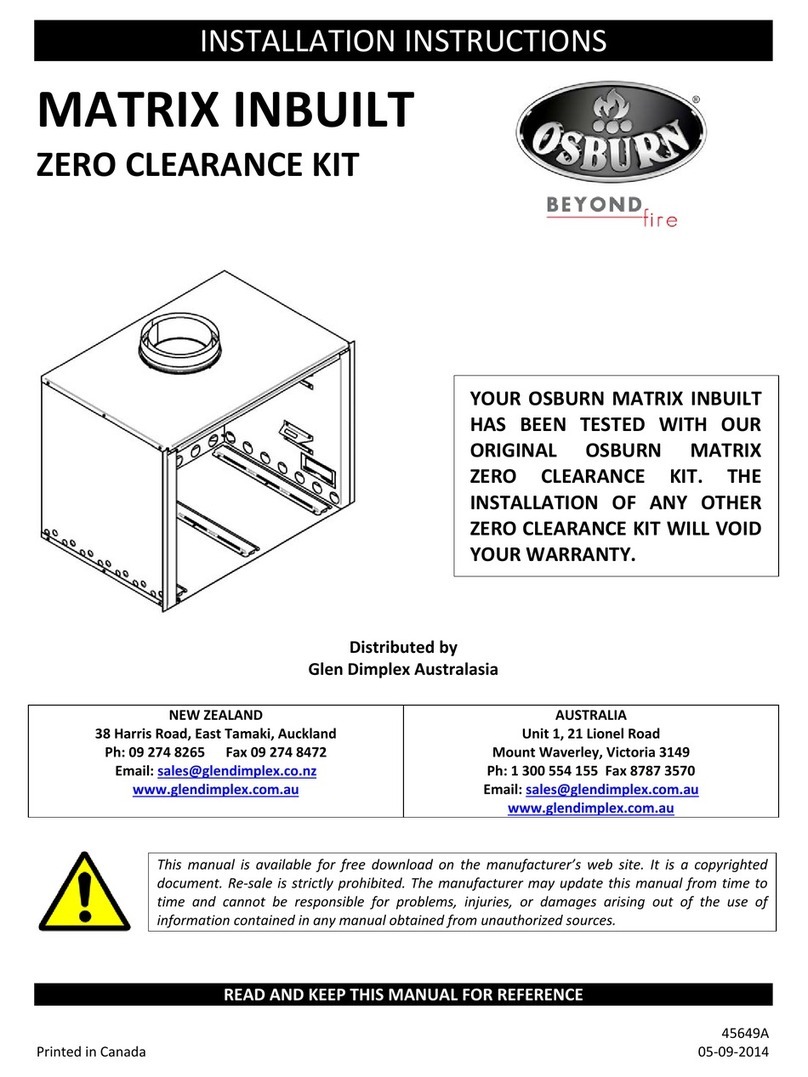
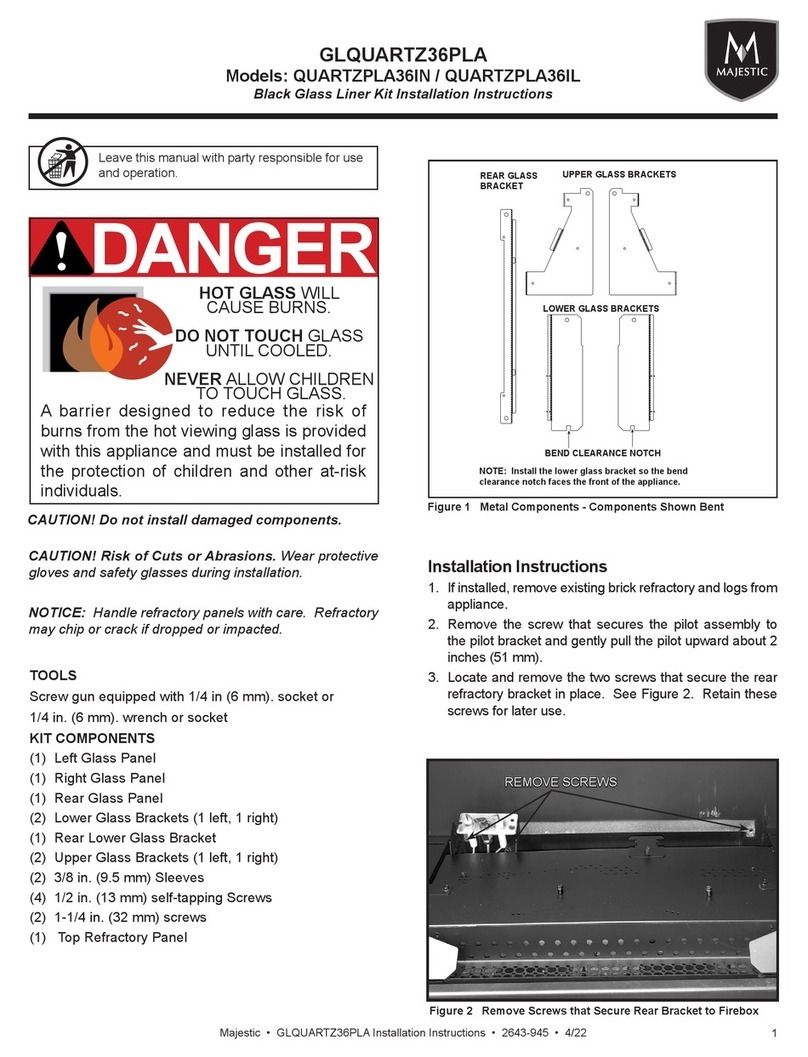
  9. Hearth & Home FBG-4832-EDGE User manual

Hearth & Home FBG-4832-EDGE User manual

1
Printed in U.S.A. Copyright 2003
Hearth & Home Technologies Inc.
20802 Kensington Boulevard, Lakeville, MN 55044 2009-900 6/03
Cutting Edge Insert Surround
FBG-4832-EDGE, FBIN-4432-EDGE
- Installation Instructions -
Figure 1
HANDLING
Treat this surround with the same care you would any
marble, tile, slate or other natural material. Although the
material is robust, it is susceptible to chipping or cracking
if not handled with the proper care. Try to manipulate the
surround by holding on to the metal brackets and lifting
from the center of the surround.
SAFETY
CAUTION: Dust raised when cutting and sanding this
material contains crystalline silica (Quartz-CAS #14808-60-
7), which has been classified by the InternationalAgency for
ResearchonCancer(IARC)asaprobableCarcinogen(Class
2A). Other Hazardous Ingredients- Aluminum Silicate
CAS#1302-78-9 and Fibrous Glass CAS#65997-17-3.
When sawing or cutting this material, wear a properly fit-
ted dust mask or respirator, safety glasses or goggles,
and gloves (see Figure 1). Whenever possible, cutting or
sanding of this material should be done outdoors. If cut-
tingor sanding indoors,provide mechanical ventilationand
dust collection to keep dust levels down.
TOOLS NEEDED
When trimming the surround for an inside or custom fit,
someor all ofthefollowingtoolswillbeneeded(see Figure 2).
•Safety Equipment as noted above
•Pencil or marker for tracking
•Masking tape
•Utility knife to cut template to correct size and shape
•Cutting tool: jig saw, circular saw or hand-saw
•Finishingtool: fileor sanding blockfor minor adjustments
•Finish: stain or paint if finish/color change is desired
Figure 2
If dust from sanding or cutting comes in contact with the
eyes, flush eyes with water to remove dust. If irritation
persists, seek medical attention.
FIREPLACE SIZE
The minimum fireplace opening that this surround can
beused on is slightly larger than if a metal surround were
used.
Insert Surround Width Height
FBG-4832-EDGE 37" 27-1/2"
FBIN-4432-EDGE 32-1/4" 24-1/4"
Do not cut the surround smaller than these dimensions.
Description Part No.
Template 2009-952
ON/OFF Rocker Switch 060-511
Service Parts List
2
SURROUND PREPARATION
This surround can be used in the same manner that a
conventional metal surround is used, or it can be custom
cut to fit inside the opening of your existing fireplace or to
another desired shape.
For Outside Fit:
If staining or painting is desired, it should be done prior to
installation. See the Finishing section.
For Inside Fit:
Use the included template to both determine and verify
the desired size and shape of your surround. Tape the
template over the existing fireplace opening, making sure
that it is centered on the opening and the bottom of the
template is flush with the fireplace opening (see Figure 3).
Figure 3
With a pen or marker, reach through the opening of the
templateand carefully trace the fireplace opening onto the
backofthetemplate(seeFigure4).Thetemplateis marked
for two sizes of surrounds. Make sure the correct size is
noted in the upper, right hand corner.
Using a utility knife, cut the template to the shape that you
just traced.
Fit the cut template into your fireplace opening to verify
that your tracing and cutting are accurate. Make any
necessaryadjustments tothe template including retracing
and cutting with a new template if needed (see Figure 5).
Figure 4
Figure 5
Figure 6
Cutting:
Cutting and trimming should be done outdoors to reduce
the mess and the possible inhalation of airborne particles.
Place the surround, face up, on the hexacomb material
included in the packaging, supported at a comfortable
working height.
Tapeyour template to the insideperimeter ofthe surround.
Properpositioning iscritical. Notethat thetemplate should
be face up on the face of the surround.
Use the template as your guide for cutting, or trace the
perimeter of your template on to the surround for a guide.
3
Figure 7
Choose a tool or tools for cutting. A jigsaw is best for
irregular shapes or curves. A circular saw or hand saw
are good for straight cuts.A hand-saw is the best method
for minimizing dust. See Figures 7, 8 and 9.
Figure 8
Figure 9
Figure 10
After completing the cutting, check your work by carefully
positioning the surround in the opening of the fireplace.A
file or sanding block is effective for making minor adjust-
ments to the perimeter or to smooth cuts (see Figure 10).
Figure 11
Finishing:
Once satisfied with the size and fit of the surround you
may want to finish the surround using one of the following
techniques.
Oil based stains can be applied just as they would be on a
wood product to better match the fireplace or woodwork
(see Figure 11). Test for color matching on the back side
of the surround prior to staining if desired.
RCK-PRIMER is an almond colored spray primer that is
recommended as a base coat for other paints and can
also be used as a finish coat.
Once primed, paints with a temperature rating of 350oF.
or higher (such as Stove Bright paints) may also be used
as a finish coat.
4
Figure 12
INSTALLING SURROUND
1. Removethe two screws located at the bottomcorners
of the insert (see Figure 12).
Figure 13
Figure 15
Figure 16
INSTALLING DOOR
This surround is designed for use with Chateau, Prism or
DF style doors. Line up the four slots on the brackets on
the back of the door with the four pins on the surround
and slip the door into place (see Figure 17).
For DF style doors use the four shoulder screws included
to attach the access door. Insert two shoulder screws into
the top two holes (see Figure 15). Then insert the bottom
two screws through the slots in the access door and into
the bottom two holes.
For Chateau doors, you may want to paint the portion of
the surround that is exposed through the filagree arch in
the door with high temperature, black paint.
See the instructions included with the door for additional
information.
HAND
BEND
PILOT HOLES
FOR
DF DOORS
TAB
7. Replace the two screws that were removed in Step 1.
8. Carefully slide the fireplace insert and surround into the
fireplace opening until the surround contacts the face of
the fireplace for an outside fit or until the face of the
surroundisflushwiththefaceofthe fireplaceforaninsidefit.
3. Locatethe coiledon/off switch wires on the insert and
connect the wires to the on/off switch.
4. Remove the shipping bracket from the surround by
removing the two screws on either side of the bottom
of the surround frame. Once this is removed, be
more careful in handling the surround. Hold the
surround by the top metal bracket and lift evenly (see
Figure 14).
2. Locate the slot in the metal control panel of the
fireplace insert and push the enclosed on/off switch
through the control panel label and into the slot (see
Figure 13).
6.Place the surround on the face of the insert, lift the sur-
roundand slide thetwotabsonthetopofthe insert intothe
two slots on the horizontal surround lip (see Fig 16).
5.Bend the attachment tabs located at the bottom of the
surround (see Fig 15). The holes on the tabs will line up
with the screw holes at the bottom corners of the insert.
Figure 14
Figure 17

Other Hearth & Home Fireplace Accessories manuals
Hearth & Home IntelliFire Touch NGK-MI-IFT User manual

Hearth & Home

Hearth & Home IntelliFire Touch NGK-MI-IFT User manual

Hearth & Home ST36-CFP User manual

Hearth & Home

Hearth & Home ST36-CFP User manual

Hearth & Home LOGS-AZTEC User manual

Hearth & Home

Hearth & Home LOGS-AZTEC User manual

Hearth & Home PIER-DV36IN User manual

Hearth & Home

Hearth & Home PIER-DV36IN User manual

Hearth & Home FRAME-V12 User manual

Hearth & Home

Hearth & Home FRAME-V12 User manual

Hearth & Home LOGS-NDI30 User manual

Hearth & Home

Hearth & Home LOGS-NDI30 User manual

Hearth & Home BRICK-MI30 User manual

Hearth & Home

Hearth & Home BRICK-MI30 User manual

Hearth & Home CK-30 Operating instructions

Hearth & Home

Hearth & Home CK-30 Operating instructions

Hearth & Home CS-36 User manual

Hearth & Home

Hearth & Home CS-36 User manual

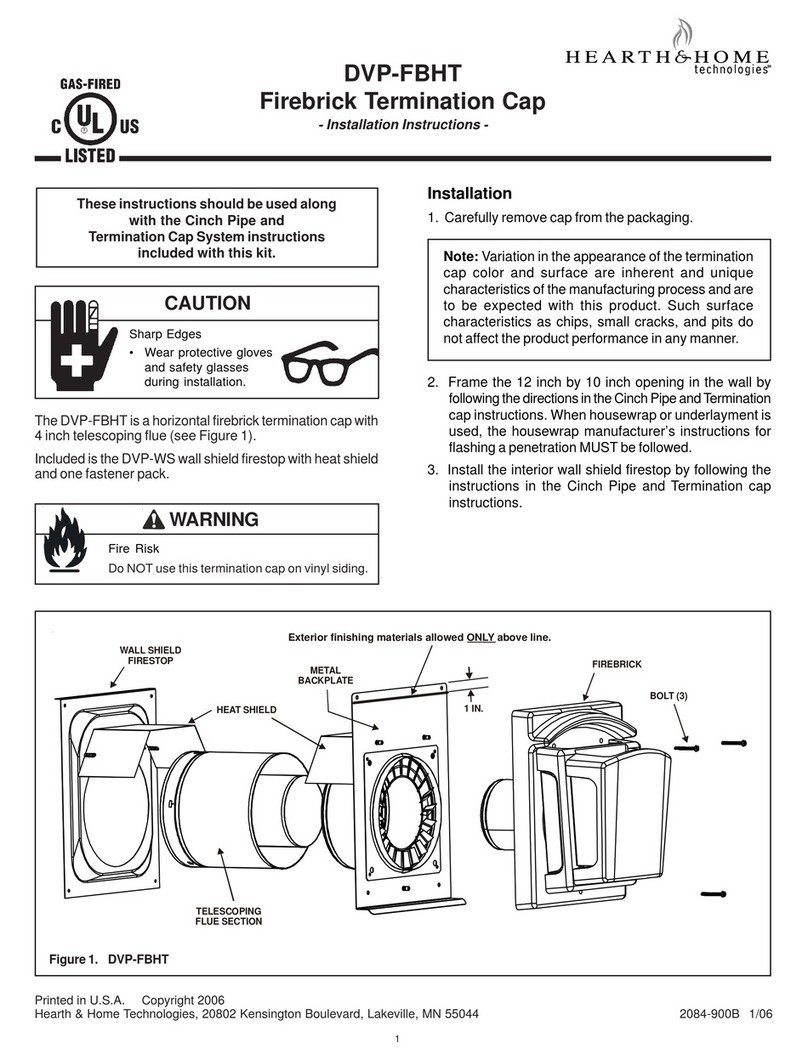
Hearth & Home Firebrick Termination Cap DVP-FBHT User manual

Hearth & Home

Hearth & Home Firebrick Termination Cap DVP-FBHT User manual

Hearth & Home QUADRA-FIRE Castile Insert Programming manual

Hearth & Home

Hearth & Home QUADRA-FIRE Castile Insert Programming manual

Hearth & Home CFTF-32 User manual

Hearth & Home

Hearth & Home CFTF-32 User manual

Hearth & Home 6K User manual

Hearth & Home

Hearth & Home 6K User manual

Hearth & Home RAVE3012I User manual

Hearth & Home

Hearth & Home RAVE3012I User manual

Hearth & Home XLR-LOGS User manual

Hearth & Home

Hearth & Home XLR-LOGS User manual

Hearth & Home PH-MR User manual

Hearth & Home

Hearth & Home PH-MR User manual

Hearth & Home FOLIO Series User manual

Hearth & Home

Hearth & Home FOLIO Series User manual

Hearth & Home MEDIA-AMBER-MS User manual

Hearth & Home

Hearth & Home MEDIA-AMBER-MS User manual

Hearth & Home MESH-RETRO1928 User manual

Hearth & Home

Hearth & Home MESH-RETRO1928 User manual

Hearth & Home LOGS-NDI35 User manual

Hearth & Home

Hearth & Home LOGS-NDI35 User manual

Hearth & Home LOGS-550BE-B User manual

Hearth & Home

Hearth & Home LOGS-550BE-B User manual

Hearth & Home LOGS-INFINITY User manual

Hearth & Home

Hearth & Home LOGS-INFINITY User manual

Hearth & Home 6000C-IFT User manual

Hearth & Home

Hearth & Home 6000C-IFT User manual

Hearth & Home CAK4A User manual

Hearth & Home

Hearth & Home CAK4A User manual
Popular Fireplace Accessories manuals by other brands

EmberGlow RVS304 Supplemental installation instructions

EmberGlow

EmberGlow RVS304 Supplemental installation instructions

Montigo PL Series Installing

Montigo

Montigo PL Series Installing

pleasant hearth ZCB100 instruction manual

pleasant hearth

pleasant hearth ZCB100 instruction manual

Fires of Tradition Octavia Install instructions

Fires of Tradition

Fires of Tradition Octavia Install instructions

Heatilator ADI60 Log Placement Instructions

Heatilator

Heatilator ADI60 Log Placement Instructions

Napoleon W175-0681 instructions

Napoleon

Napoleon W175-0681 instructions

HEAT GLO GL-36D installation instructions

HEAT GLO

HEAT GLO GL-36D installation instructions

Valor H6 Series installation instructions

Valor

Valor H6 Series installation instructions

RIKA Cooper E 15701 manual

RIKA

RIKA Cooper E 15701 manual

Brofer MDF 25 User's installation and operation manual

Brofer

Brofer MDF 25 User's installation and operation manual

Valor 546LFB installation manual

Valor

Valor 546LFB installation manual

Miles Industries Valor LEGEND G4 780JN Installation and owner's manual

Miles Industries

Miles Industries Valor LEGEND G4 780JN Installation and owner's manual

pleasant hearth OAK100 manual

pleasant hearth

pleasant hearth OAK100 manual

Astria Fireplaces MAGNIFLAMEOD30NM manual

Astria Fireplaces

Astria Fireplaces MAGNIFLAMEOD30NM manual

Emberside SPKES-NG installation instructions

Emberside

Emberside SPKES-NG installation instructions

Hearth and Home Technologies Cinch Pipe & Termination Cap System installation instructions

Hearth and Home Technologies

Hearth and Home Technologies Cinch Pipe & Termination Cap System installation instructions

Napoleon GSS42CFN Installation and operation manual

Napoleon

Napoleon GSS42CFN Installation and operation manual

etex Promat PROMAFOUR boards How-to

etex

etex Promat PROMAFOUR boards How-to

manuals.online logo
manuals.online logoBrands
  • About & Mission
  • Contact us
  • Privacy Policy
  • Terms and Conditions

Copyright 2025 Manuals.Online. All Rights Reserved.