manuals.online logo
Brands
  1. Home
  2. •
  3. Brands
  4. •
  5. HiB
  6. •
  7. Indoor Furnishing
  8. •
  9. HiB Verve 50 Cabinet User manual

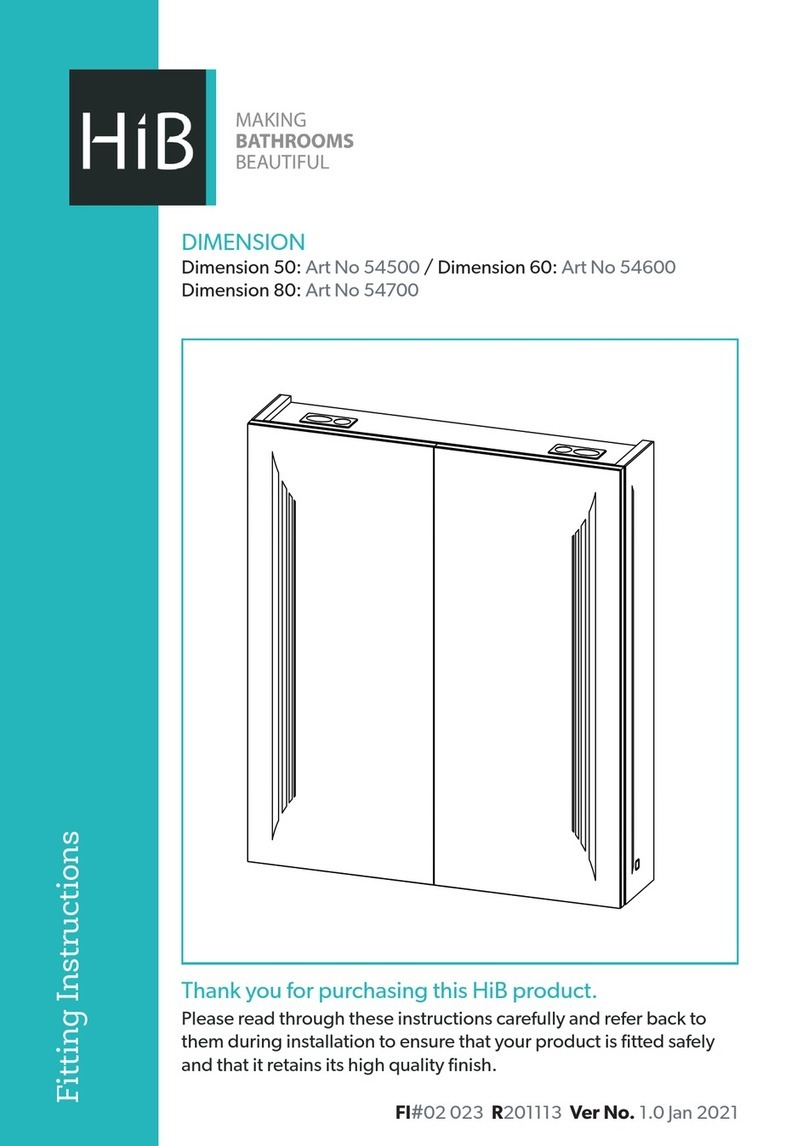
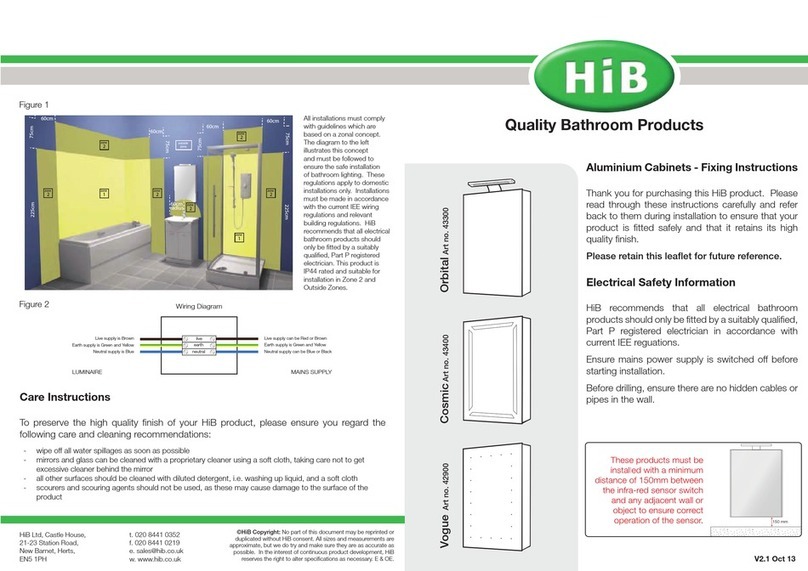
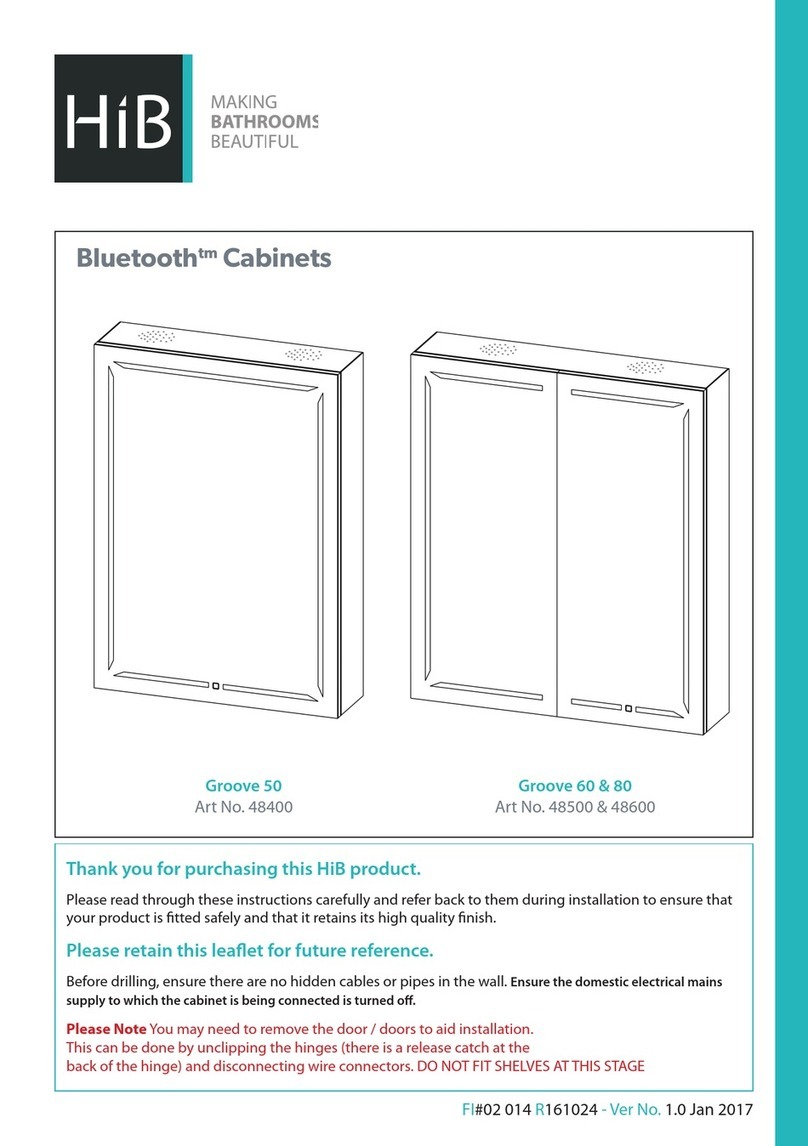
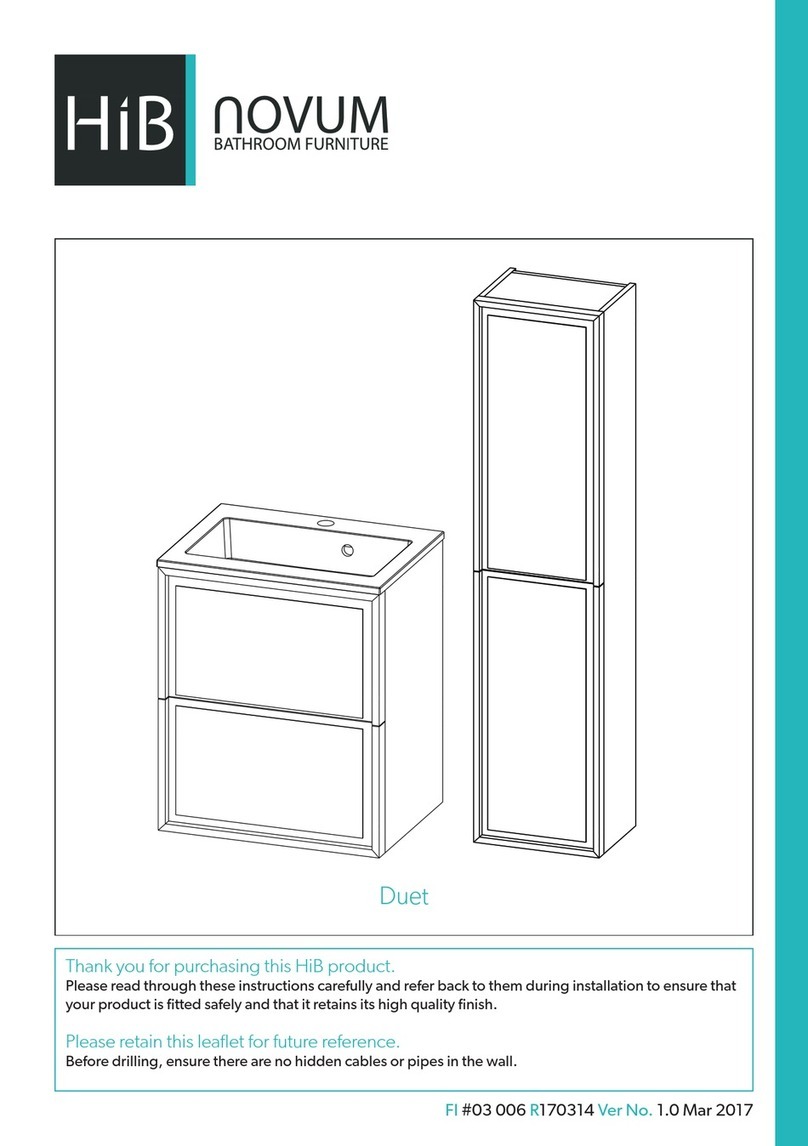
HiB Verve 50 Cabinet User manual

2 &Outside Zone
Thank you for purchasing this HiB product.
FI #02 021 R191118 Ver No. 1.0 Jan 2020
Verve 50, 60 & 80 Cabinet
Before drilling, ensure there are no hidden cables or pipes in the wall. Ensure the domestic electrical
mains supply to which the product is being connected is turned off for installation.
Please retain this leaflet for future reference.
Please read through these instructions carefully and refer back to them during installation to ensure that
your product is fitted safely and that it retains its high quality finish.
Electrical Safety Information
HiB recommends that all electrical bathroom products must be installed in accordance with current
building and wiring regulations. If in doubt please contact an electrician.
Verve 60 & 80
Art No. 52800 & 52900
Verve 50
Art No. 52700
2
Installation
WARNING
It is important to follow manufacturer’s installation guidelines to ensure the cabinet is
fixed securely to the wall.
Please use the supplied wall fixing bracket and follow the correct installation method. If
the instructions are not followed appropriately there is an increased safety risk to the user.
NB. Cabinets must be installed with a minimum distance of 150mm between the infra-red sensor
switch and any adjacent wall or object to ensure correct operation of the sensor
1. Position the cabinet in a suitable location (according to the zonal diagram on the back page
(Fig. D) ensuring that the mains supply cable is within reach of the cable connection point of
the cabinet.
2. Carefully mark the desired position of the top of the cabinet on the wall using a so pencil.
3. Remove the cabinet from the wall and using a spirit level, mark a horizontal line 40mm below
the pencil mark. Hold the mounting bracket in place with the holes corresponding with the
marked line. Ensure the bracket is central, and mark the position of the holes (Fig. A).
4. Before drilling, ensure there are no hidden cables or pipes behind the mounting points.
Drill the required holes in the marked positions. If drilling through tile, use a ceramic drill bit.
Insert the wall plugs level with the surface of the wall. If fitting to a tiled surface, wall plugs
should be inserted below the tile surface to avoid cracking. NB. For plasterboard walls,
specialist fixings should be purchased, available from any DIY or hardware store. Fix the
bracket to the wall using the screws provided.
5. Temporarily hang the cabinet on the top bracket (Fig.B), and mark the position of the bottom
mounting hole on the wall using a so pencil, then remove the cabinet from the wall.(Fig. C)
6. Drill a hole in the wall where you have marked with the so pencil. Insert a wall plug level with
the surface of the wall as per step 4.
7. Ensure the domestic electrical mains supply to which the product is being connected is
turned off. Connect the domestic mains supply according to Fig.E - OVERLEAF.
8. When the product is wired correctly, hang the cabinet on the top bracket (Fig.B) and
secure the cabinet with a screw through the bottom mounting hole (Fig.C). Take care not
to overtighten the screw against the mirror glass, the screw is not load bearing - It is only
intended to prevent the cabinet from moving away from the wall.
9. When the cabinet is correctly fitted, adjust the shelf support brackets to your desired height
ensuring the matching brackets are level. This is done by slightly loosening the screw, do not
remove the screw completely. Once in position tighten screw to secure the bracket and put
the glass shelf into the shelf support bracket.
hib.co.uk 3
(Fig .A)
(Fig .C)
Operating Instruction
To switch on/off
Slowly move your hand past the sensor located
on the right hand side of the cabinet.
2-Pin charging socket(s) are suitable for
charging and powering electric razors,
trimmers and toothbrushes.
NB. On first use of the charger socket, inserting
the plug may prove to be stiff. Reasonable
force may be required to fully insert the plug.
Make sure that the cabinet is held firmly so that
it is not pushed off the wall. Aer a few uses,
stiffness will ease and the socket will function as
normal.
Sensor
(Fig .B)
To charge a mobile phone
Place a suitable mobile phone with wireless
charging capabilities directly on top of the
wireless phone charging pad. The phone will
indicate that it is receiving charge.
Wireless phone charging pad - Please be
advised not to put metallic items on top of the
wireless charger.
Wireless phone
charging pad
©HiB Copyright: No part of this document may be reprinted or duplicated without HiB consent. All sizes and measurements are approximate, but we do try and
make sure they are as accurate as possible. In the interest of continuous product development, HiB reserves the right to alter specifications as necessary. E & OE.
T: +44 (0)20 8441 0352 F: +44 (0)20 8441 0219 E: sales@hib.co.uk hib.co.uk
Building 3, North London Business Park, Oakleigh Road South, New Southgate, London. N11 1GN
This product is IP44 rated and is suitable for installation in zones: 2 &Outside Zone
All installations must comply
with guidelines which are
based on a zonal concept.
The diagram (Fig. D) illustrates
this concept and must be
followed to ensure the safe
installation of electrical
appliances in the bathroom.
These regulations apply to
domestic installations only.
Installations must be made in
accordance with the current
IEE wiring regulations and
relevant building regulations.
Live
Earth
Neutral
MAINS SUPPLY
LUMINAIRE
Live supply can be Red or Brown
Earth supply is Green and Yellow
Neutral supply can be Blue or Black
Live is Brown
Earth is Green and Yellow
Neutral is Blue
Electrical Safety Information
HiB recommends that all electrical bathroom
products must be installed in accordance with
current building and wiring regulations. If in
doubt please contact an electrician. Ensure
mains power supply is switched off before
starting installation.
USB Socket - If an appliance is connected and
the current draw exceeds 1.5A, the USB driver
will automatically go into protective shutdown
mode and the LED light on the USB socket will
flash. Disconnecting the appliance will reset
the USB driver.
Any appliance that requires more than the
1.5A current should not be used in the USB
socket
Wireless phone charging pad - Please be
advised not to put metallic items on top of the
wireless charger.
(Fig.D)
Care Instructions
Do not use abrasives or solvents when
cleaning this product.
Wipe off all water spillages as soon as possible
using a so, damp cloth.
Aercare Service
In the unlikely event that this product should
fail please contact HiB customer services,
contact details shown below.
Wiring Diagram (Fig.E)
WEEE compliance
Must not be mixed with
general household waste

This manual suits for next models

5

Other HiB Indoor Furnishing manuals

HiB Maxi 73106100 User manual

HiB

HiB Maxi 73106100 User manual

HiB Austin User manual

HiB

HiB Austin User manual

HiB Novum Kingsbury Series User manual

HiB

HiB Novum Kingsbury Series User manual

HiB austin 9101900 Manual

HiB

HiB austin 9101900 Manual

HiB Vogue User manual

HiB

HiB Vogue User manual

HiB Arcane Curve 50 Black 79500100 User manual

HiB

HiB Arcane Curve 50 Black 79500100 User manual

HiB Novum N19FSCLMBL User manual

HiB

HiB Novum N19FSCLMBL User manual

HiB Vanquish 50 User manual

HiB

HiB Vanquish 50 User manual

HiB NOVUM N19FS50MBL User manual

HiB

HiB NOVUM N19FS50MBL User manual

HiB Mars 43500 User manual

HiB

HiB Mars 43500 User manual

HiB 21700 Manual

HiB

HiB 21700 Manual

HiB Ether 50 50500 User manual

HiB

HiB Ether 50 50500 User manual

HiB novum Prima User manual

HiB

HiB novum Prima User manual

HiB novum GENESIS NF02TP50 Series User manual

HiB

HiB novum GENESIS NF02TP50 Series User manual

HiB Ether 50 User manual

HiB

HiB Ether 50 User manual

HiB Novum NF02SBU50 Series User manual

HiB

HiB Novum NF02SBU50 Series User manual

HiB Qubic 50 User manual

HiB

HiB Qubic 50 User manual

HiB Eris Slim 50 User manual

HiB

HiB Eris Slim 50 User manual

HiB Dusk 50 User manual

HiB

HiB Dusk 50 User manual

HiB NOVUM Camber User manual

HiB

HiB NOVUM Camber User manual

HiB 54500 User manual

HiB

HiB 54500 User manual

HiB NOVUM N18BS60MWH User manual

HiB

HiB NOVUM N18BS60MWH User manual

HiB Proton User manual

HiB

HiB Proton User manual

HiB 78721000 Install guide

HiB

HiB 78721000 Install guide

Popular Indoor Furnishing manuals by other brands

BDI Deploy Assembly instructions

BDI

BDI Deploy Assembly instructions

Novogratz 4609801COMNUK Assembly instructions

Novogratz

Novogratz 4609801COMNUK Assembly instructions

JWA GARRISON 75134 Assembly instruction

JWA

JWA GARRISON 75134 Assembly instruction

Kvik DBU4810.060 Assembly instructions

Kvik

Kvik DBU4810.060 Assembly instructions

Safavieh Furniture Estella ACC5722 quick start guide

Safavieh Furniture

Safavieh Furniture Estella ACC5722 quick start guide

Blooma Apolima 3663602424147 manual

Blooma

Blooma Apolima 3663602424147 manual

DIVERSIFIED WOODCRAFTS LT-3222 Assembly instructions

DIVERSIFIED WOODCRAFTS

DIVERSIFIED WOODCRAFTS LT-3222 Assembly instructions

Julian Bowen Limited SAN106 Assembly instructions

Julian Bowen Limited

Julian Bowen Limited SAN106 Assembly instructions

Hailey Home AT0901 Assembly instructions

Hailey Home

Hailey Home AT0901 Assembly instructions

Walker Edison BS64MX Assembly instructions

Walker Edison

Walker Edison BS64MX Assembly instructions

Avenue Six WALLSTREET Assembly instructions

Avenue Six

Avenue Six WALLSTREET Assembly instructions

Okamura Alt Piazza Series Instructions for use

Okamura

Okamura Alt Piazza Series Instructions for use

Vivo DESK-V000KL instruction manual

Vivo

Vivo DESK-V000KL instruction manual

Indiana Furniture Square One 17-4 Assembly instructions

Indiana Furniture

Indiana Furniture Square One 17-4 Assembly instructions

FIAM. PALLADIO UNO FIX 2150/S Product information

FIAM.

FIAM. PALLADIO UNO FIX 2150/S Product information

Forward Industries HM-ST010-001 Assembly instructions

Forward Industries

Forward Industries HM-ST010-001 Assembly instructions

Coaster 315993QF Assembly instructions

Coaster

Coaster 315993QF Assembly instructions

Möbelix COMV711LB Assembling Instruction

Möbelix

Möbelix COMV711LB Assembling Instruction

manuals.online logo
manuals.online logoBrands
  • About & Mission
  • Contact us
  • Privacy Policy
  • Terms and Conditions

Copyright 2025 Manuals.Online. All Rights Reserved.