manuals.online logo
Brands
  1. Home
  2. •
  3. Brands
  4. •
  5. Honeywell
  6. •
  7. Security System
  8. •
  9. Honeywell Fire Lite Alarms SWIFT Datasheet

Honeywell Fire Lite Alarms SWIFT Datasheet

Other Honeywell Security System manuals
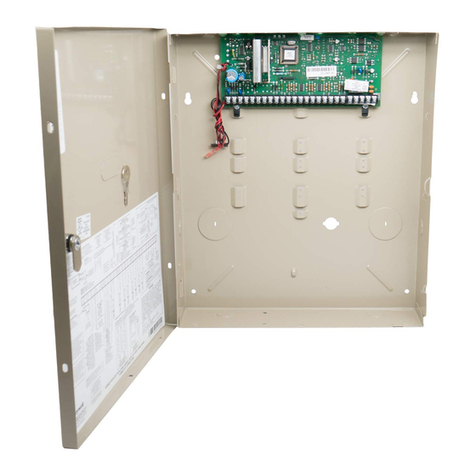
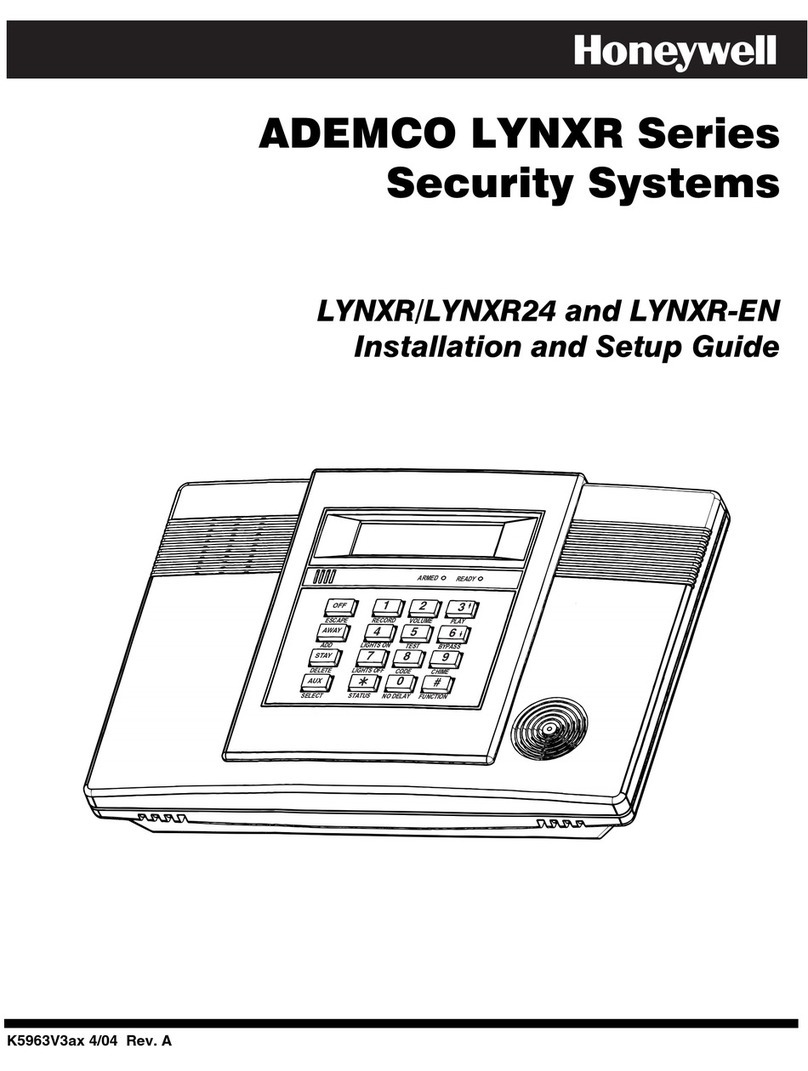
Honeywell LYNXR Assembly instructions

Honeywell

Honeywell LYNXR Assembly instructions

Honeywell ADEMCO 4110XM User manual

Honeywell

Honeywell ADEMCO 4110XM User manual

Honeywell VISTA-128BP User manual

Honeywell

Honeywell VISTA-128BP User manual

Honeywell Galaxy Keyprox Technical specifications
Honeywell

Honeywell Galaxy Keyprox Technical specifications

Honeywell VISTA-21iP User manual

Honeywell

Honeywell VISTA-21iP User manual

Honeywell Galaxy 8 User manual

Honeywell

Honeywell Galaxy 8 User manual

Honeywell ESSER User manual

Honeywell

Honeywell ESSER User manual

Honeywell Friedland GlobalGuard User manual

Honeywell

Honeywell Friedland GlobalGuard User manual

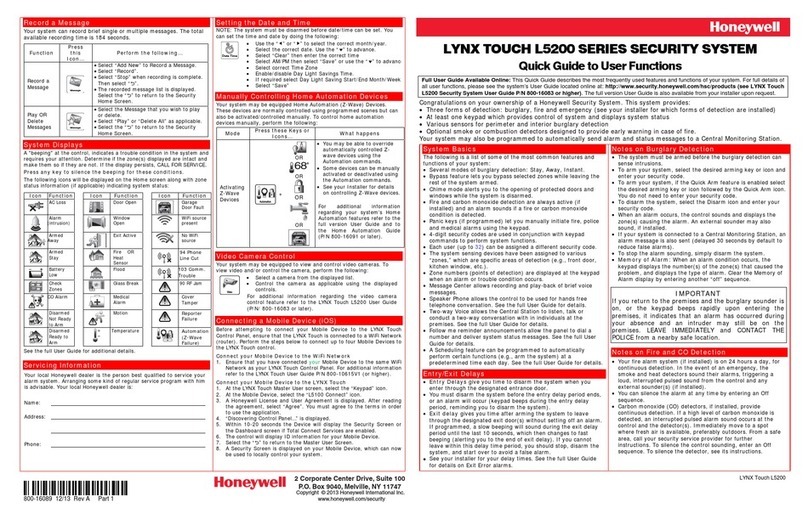
Honeywell LYNX Touch L5210 Series User manual

Honeywell

Honeywell LYNX Touch L5210 Series User manual

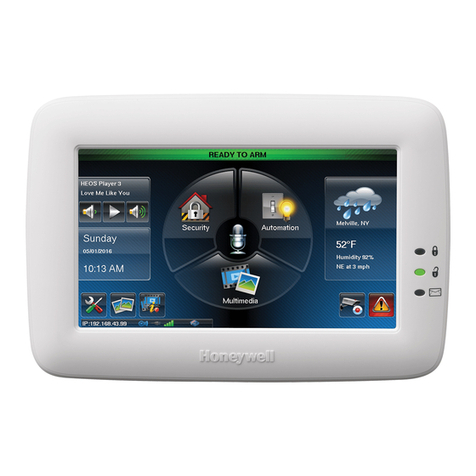
Honeywell Tuxedo Touch User manual

Honeywell

Honeywell Tuxedo Touch User manual

Honeywell LYNX Touch L5210 Series Assembly instructions

Honeywell

Honeywell LYNX Touch L5210 Series Assembly instructions

Honeywell Fire-Lite Alarms MS-9200UDLSC User manual

Honeywell

Honeywell Fire-Lite Alarms MS-9200UDLSC User manual

Honeywell RAPID EYE K9696V2 User manual

Honeywell

Honeywell RAPID EYE K9696V2 User manual

Honeywell Domonial User manual

Honeywell

Honeywell Domonial User manual

Honeywell DTPI8M User manual

Honeywell

Honeywell DTPI8M User manual

Honeywell ADEMCO LYNXR-ISIA Assembly instructions

Honeywell

Honeywell ADEMCO LYNXR-ISIA Assembly instructions

Honeywell ESSER TAM User manual

Honeywell

Honeywell ESSER TAM User manual

Honeywell SEF8MS User manual

Honeywell

Honeywell SEF8MS User manual

Honeywell Friedland FGGA07 Series User manual

Honeywell

Honeywell Friedland FGGA07 Series User manual

Honeywell Ademco VISTA-20P User manual

Honeywell

Honeywell Ademco VISTA-20P User manual

Honeywell Comtronics Smart Homes User manual

Honeywell

Honeywell Comtronics Smart Homes User manual

Honeywell LYNX Touch L5210 Series Operating instructions

Honeywell

Honeywell LYNX Touch L5210 Series Operating instructions

Honeywell ADEMCO VISTA-10P Assembly instructions

Honeywell

Honeywell ADEMCO VISTA-10P Assembly instructions

Honeywell MA-2000 User manual

Honeywell

Honeywell MA-2000 User manual

Popular Security System manuals by other brands

Polon-Alfa 4000 Installation and maintenance manual

Polon-Alfa

Polon-Alfa 4000 Installation and maintenance manual

Nexcom NViS 14162 Series user manual

Nexcom

Nexcom NViS 14162 Series user manual

Eminent EM8670 Quick install

Eminent

Eminent EM8670 Quick install

urmet domus alpha 1060 INSTALLATION AND USE BOOKLET

urmet domus

urmet domus alpha 1060 INSTALLATION AND USE BOOKLET

SmartPool YardGuard YG03 manual

SmartPool

SmartPool YardGuard YG03 manual

DSC PC5964 Mounting instructions

DSC

DSC PC5964 Mounting instructions

Secure USAB-1 operating instructions

Secure

Secure USAB-1 operating instructions

B&B 480 SERIES Operation & maintenance manual

B&B

B&B 480 SERIES Operation & maintenance manual

ADEMCO VISTA-20P Series Installation and setup guide

ADEMCO

ADEMCO VISTA-20P Series Installation and setup guide

Inner Range Concept 2000 user manual

Inner Range

Inner Range Concept 2000 user manual

Johnson Controls PENN Connected PC10 Install and Commissioning Guide

Johnson Controls

Johnson Controls PENN Connected PC10 Install and Commissioning Guide

Aeotec Siren Gen5 quick start guide

Aeotec

Aeotec Siren Gen5 quick start guide

Swann SW-P-MC2 Specifications

Swann

Swann SW-P-MC2 Specifications

Ecolink Siren+Chime user manual

Ecolink

Ecolink Siren+Chime user manual

EDM Solution 6+6 Wireless-AE installation manual

EDM

EDM Solution 6+6 Wireless-AE installation manual

Siren LED GSM operating manual

Siren

Siren LED GSM operating manual

Detection Systems 7090i Installation and programming manual

Detection Systems

Detection Systems 7090i Installation and programming manual
FRIEDLAND MA10 Installation and operating instructions

FRIEDLAND

FRIEDLAND MA10 Installation and operating instructions

manuals.online logo
manuals.online logoBrands
  • About & Mission
  • Contact us
  • Privacy Policy
  • Terms and Conditions

Copyright 2025 Manuals.Online. All Rights Reserved.

SWIFT®
INSTALLATION QUICK START GUIDE
2
REQUIRED TOOLS AND EQUIPMENT TO CREATE A MESH NETWORK
Small Flathead Screwdriver Batteries
CR123A 3v
(Panasonic or Duracell)
One per each device
SWIFT Gateway and Devices
All SWIFT devices must be in the factory
default state and updated to the current
version of SWIFT Tools.
SWIFT Detector Bases
Windows® Laptop with
SWIFT Tools
Magnet
STOP! Complete a site survey, which includes a Link Test and RF Scan, before continuing.
W-USB Software Interface
W-USB software may need to be
updated before use with SWIFT
Tools. SWIFT Tools will automatically
update the software, if necessary.
WIRELESS DEVICE PREP
BEFORE WIRELESS INSTALLATION
Install the gateway
It is recommended that the gateway be completely installed and wired
before making connections to any wireless devices. The gateway is powered
by either the Fire Alarm Control Panel’s SLC or by 24V power. Refer to the
SWIFT Wireless system manual #LS10036-000FL-E for more information.
Ensure you are running the latest version of SWIFT Tools
Use SWIFT Tools to update all devices to the latest firmware version. All devices must be
running the latest firmware for proper functionality.
RESET DEVICES TO FACTORY DEFAULT
Use SWIFT Tools to reset devices to the
factory default state
1. Insert the W-USB adapter into your computer and launch
the SWIFT Tools application
2. On the home screen, select Site Survey, Create Mesh Net-
work, or Diagnostics.
3. Click Operations and select Set device to factory default.
4. You are now on the Reset Devices screen. Select the desired
device and click Reset.
Ensure devices are in the Factory Default state
With the address code wheels set to 000, insert one battery into the device.
The LED on the front will blink red if the device is in the factory default
state.
If the device is not in the factory default state, follow the directions below.
Back
Front
5
PREPARE WIRELESS DEVICES
1Tamper each device by removing the base or faceplate.
Use a screwdriver to set the
address on each device. Each
device must have a different
SLC address.
2
3Insert four batteries into the device.
4Twist detectors into their bases.
Replace faceplates on modules.
6
ASSIGN A PROFILE
1
Click Create on the Create New
Jobsite screen.
Note: An existing jobsite can also
be used.
2
4Click Start on the home screen
to create a mesh network.
5Click Create or Import to start profile
assignment.
6
Note: W-USB software
may need to be updated
before use with SWIFT
Tools. SWIFT Tools will
automatically update the
software, if necessary.
Insert the W-USB into your laptop’s
USB port. Launch SWIFT Tools.
Enter jobsite information.
1. Enter jobsite name.
2. Enter jobstite location/
description.
3. Click Create.
3Click Create New
Profile.
7
7Name the profile.
Assign a Mesh ID number between 1-255.
Each mesh/gateway must have a different ID number.
8
9Click Create.
10 In the communicator panel, select the gateway and devices to
which the profile will be assigned. When the mesh is fully formed,
devices that have the same profile, will be in the same mesh net-
work.
Note: To assign a profile to a device, it must be within 20 ft. of the
laptop/W-USB connection. It may be necessary to move the laptop/
W-USB closer to the device.
8
11 Once all desired devices are selected and displayed in the Assign Pro-
file table, click Assign.
Profiles are now being assigned to the selected devices. Depending
on the number of devices, profile assignment may take several min-
utes to complete.
12
13 If more devices need
profiles assignments,
all devices in the Assign
Profile table must be
removed first before
adding new ones. Click
the Xto remove devices
from the Assign Profile
table.
Note: Only 49 devices
can be assigned to one
gateway.
14 Install all devices in their final locations.
9
15 Once all devices are installed, open the profile assignment screen
and click Next. This will bring you to the Mesh Formation Screen.
On the Mesh Formation screen, select the profile from the Select a
Gateway in Range table.
16
17 For security purposes, you will be prompted for a password. If
your gateway is unlocked, a Lock Gateway prompt will display.
Conversely, if your gateway is unlocked, an Unlock Gateway
prompt will display. Enter the gateway password and click OK.
18 When the correct password is entered, a Hall Sensor Activation
window will display. You will then have 120 seconds to place a
magnet on the gateway sensors to unlock the device.
10
19 Click Start Mesh Formation.
The mesh network is now forming.
20
21 Once the mesh has formed, you can either start restructuring
the mesh manually or the system will do it automatically.
22 Mesh restructuring can take up to 6 minutes to complete.