manuals.online logo
Brands
  1. Home
  2. •
  3. Brands
  4. •
  5. HP
  6. •
  7. Power Supply
  8. •
  9. HP StorageWorks MSA20 Guide

HP StorageWorks MSA20 Guide

Other manuals for StorageWorks MSA20

1

This manual suits for next models

4

Other HP Power Supply manuals

HP 6296A Service manual

HP

HP 6296A Service manual

HP SCR-1P Series Service manual

HP

HP SCR-1P Series Service manual

HP 6259B User manual

HP

HP 6259B User manual

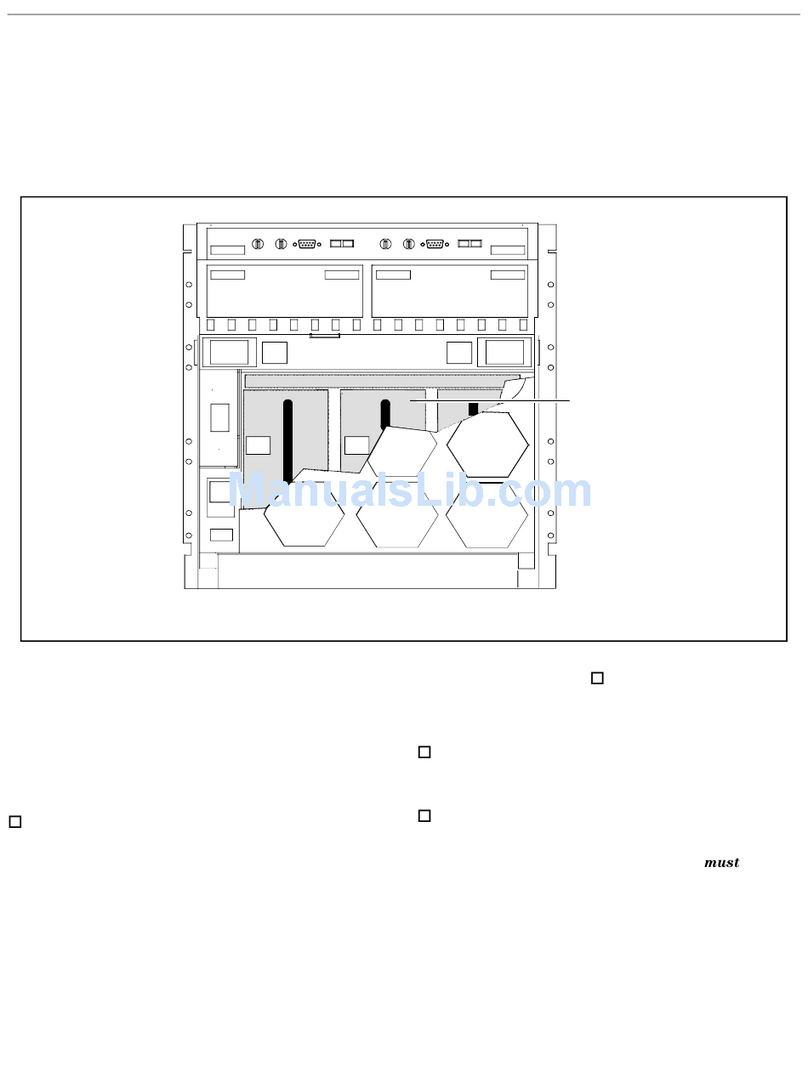
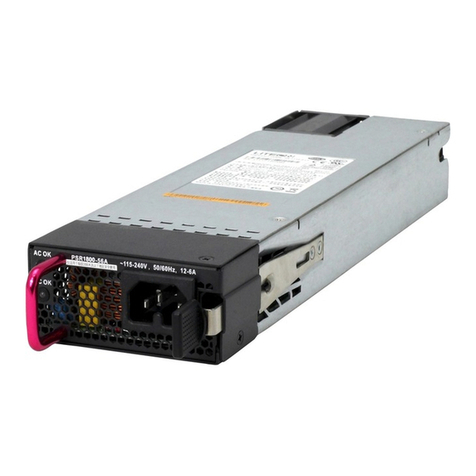
HP PSR1800-56A User manual

HP

HP PSR1800-56A User manual

HP 59501A User manual

HP

HP 59501A User manual

HP StorageWorks 7110 - Virtual Array User manual

HP

HP StorageWorks 7110 - Virtual Array User manual

HP StorageWorks 1000 - Modular Smart Array Operating instructions

HP

HP StorageWorks 1000 - Modular Smart Array Operating instructions

HP 711A User manual

HP

HP 711A User manual

HP 6102A Service manual

HP

HP 6102A Service manual

HP HVB Series User manual

HP

HP HVB Series User manual

HP 6034A User manual

HP

HP 6034A User manual

HP 712B Owner's manual

HP

HP 712B Owner's manual

HP FlexFabric 11900 2500W AC User manual

HP

HP FlexFabric 11900 2500W AC User manual

HP ProCurve J8161A User manual

HP

HP ProCurve J8161A User manual

HP 6205C Service manual

HP

HP 6205C Service manual

HP 6205C Service manual

HP

HP 6205C Service manual

HP 6259B Service manual

HP

HP 6259B Service manual

HP PSR750-A User manual

HP

HP PSR750-A User manual

HP StorageWorks SN6000 User manual

HP

HP StorageWorks SN6000 User manual

HP 722A Service manual

HP

HP 722A Service manual

HP HVB Series User manual

HP

HP HVB Series User manual

HP 59501B Service manual

HP

HP 59501B Service manual

HP 6217A Service manual

HP

HP 6217A Service manual

HP StorageWorks 2300 - Disk System Quick guide

HP

HP StorageWorks 2300 - Disk System Quick guide

Popular Power Supply manuals by other brands

Videx 520MR Installation instruction

Videx

Videx 520MR Installation instruction

Poppstar 1008821 Instructions for use

Poppstar

Poppstar 1008821 Instructions for use

TDK-Lambda LZS-A1000-3 Installation, operation and maintenance manual

TDK-Lambda

TDK-Lambda LZS-A1000-3 Installation, operation and maintenance manual

TDK-Lambda 500A instruction manual

TDK-Lambda

TDK-Lambda 500A instruction manual

Calira EVS 17/07-DS/IU operating instructions

Calira

Calira EVS 17/07-DS/IU operating instructions

Monacor PS-12CCD instruction manual

Monacor

Monacor PS-12CCD instruction manual

VOLTIMA MagicBox 15 Installation and operating instructions

VOLTIMA

VOLTIMA MagicBox 15 Installation and operating instructions

Miller Auto Deltaweld 452 owner's manual

Miller

Miller Auto Deltaweld 452 owner's manual

BCP PUOUBK How to install

BCP

BCP PUOUBK How to install

HC 2210 manual

HC

HC 2210 manual

Agilent Technologies 6032A Service manual

Agilent Technologies

Agilent Technologies 6032A Service manual

Radial Engineering SB-48UB user guide

Radial Engineering

Radial Engineering SB-48UB user guide

Puls CT5.241 installation manual

Puls

Puls CT5.241 installation manual

OCZ ZX1250W Technical specifications

OCZ

OCZ ZX1250W Technical specifications

iseg ECH 238 manual

iseg

iseg ECH 238 manual

Agilent Technologies 6631B Service manual

Agilent Technologies

Agilent Technologies 6631B Service manual

Power XXL A Series instruction manual

Power

Power XXL A Series instruction manual

Epson Stylus Scan 2500 Product information sheet

Epson

Epson Stylus Scan 2500 Product information sheet

manuals.online logo
manuals.online logoBrands
  • About & Mission
  • Contact us
  • Privacy Policy
  • Terms and Conditions

Copyright 2025 Manuals.Online. All Rights Reserved.

HP StorageWorks
Power Supply Replacement
Instructions
These instructions apply to the MSA1500 cs,
MSA20, and EVA 4000/6000/8000 products.
The part may also be used in other HP products.
Please refertodocumentationforyourspecific
product for detailed replacement instructions.
Printed on at least 50% total recycled fiber with at least
10% post-consumer paper.
Copyright ©2005 Hewlett-Packard Development Company, L.P.
First edition April, 2005
Product names mentioned herein may be trademarks of their
respective companies as reflected by an associated footnote.
The information in this document is subject to change without
notice.
Printed in the U.S.A.
www.hp.com
spacer
*5697-5245*
Warranty Information
If the product in which this part is being replaced is still under
HP warranty, then the replacement part(s) referred to in these
Replacement Instructions is provided under the terms and conditions
of the Hewlett-Packard Company Limited Warranty for that
product. A copy of this Limited Warranty may be viewed at:
http://h18006.www1.hp.com/products/storageworks/warranty.html
If this is a trade sale part (product out of warranty), then the replacement
part(s) referred to in these Replacement Instructions is provided under
HP's express limited warranty statement, which may be viewed at:
http://customerops.corp.hp.com/1sw/pdm_om/warranty_support/
policies/2330100.doc
The replacement part takes on either the Limited Warranty Period of the
part being replaced or a ninety-day period that begins upon installation
of the replacement part, whichever is greater.
The only warranty for this replacement product is as noted above.
Nothing in these replacement instructions should be construed as
constituting an additional warranty. The information provided in these
replacement instructions is provided "AS IS" and HP is not liable for
technical or editorial errors or omissions contained herein.
1 About This Document
This document describes the procedure for replacing the power
supply used in MSA 1500 cs and MSA20 products, and EVA
4000/6000/8000 products.
NOTE:
Because this component is used in several products, the
drawings may reflect a different enclosure than the one you
have. The removal and replacement procedure is the same
for each product.
2 Before you begin
Observe the following precautions when replacing a power supply.
CAUTION:
Removing a power supply significantly changes the air flow
within the enclosure. Both power supplies must be installed
for the enclosure to cool properly. If a power supply fails,
leave it in place in the enclosure until a new power supply
is available to install.
If cabling is obstructing access to the power supply, carefully
move the cables out of the way to avoid loosening any
connections.
Parts can be damaged by electrostatic discharge. Use
proper anti-static protection. Refer to the documentation that
shipped with your system for additional information.
Have a copy of the product User Guide available for
reference. You can download a copy of the User Guide
from the product support page on the HP web site.
Page 1
3 Verifying component failure
Before replacing a power supply, use the following methods to verify
the component failure.
EVA Products
CAUTION:
If Command View EVA does not present a status consistent
with that of the power supply status indicator, or if Command
View or the System Event Analyzer indicates multiple
hardware failures, contact HP support for assistance. The HP
support web site is located at http://www.hp.com/support
•Analyzeanyfailuremessagesyoumayhavereceivedfromsystem
monitoring (System Event Analyzer).
•Check status using Command View EVA:
1. In the Navigation pane, select Storage system >
Hardware > Rack > Controller enclosure > Controller
2. In the Content pane, select the Enclosure tab. The status is
displayed in the Power System field. The status should be
Failed
3. To help identify the correct enclosure, click Locate > Locate
On to display Locate Confirmed on the controller operator
control panel (OCP). The blue Unit ID indicator will also turn on.
•Check the power supply status indicator. See Figure 1.Itshouldbe
amberoroff.
1. Status indicator
2. Power supply 0 (EVA), 1 (MSA)
3. Power supply 1 (EVA), 2 (MSA)
Figure 1 Power supply status indicator
MSA products
•Check the power supply status indicator. See Figure 1.Itshouldbe
amber or off.
•On an MSA 1500 cs, check the controller LCD for the following
message:
409 STORAGE BOX #<n> POWER SUPPLY FAILED
•On an MSA20, check the enclosure fault indicator. See Figure 2.It
should be amber.
1
Figure 2 MSA20 enclosure fault indicator
4 Removing a power supply
1. Disconnect the AC power cord from the power supply.
2. While moving the wine-colored latch to the left (1, Figure 3), grasp
thehandleandpullthepowersupplyoutoftheenclosure(2).
Figure 3 Removing a power supply
5Installingapowersupply
1. Remove any connector protector that may be covering the AC
power connector on the new power supply.
2. While pressing in on the mounting latch (1, Figure 4), slide the
power supply into the enclosure until it is fully seated (2).
3. Connect the AC power cord to the power supply.
Page 2
1
2
0138a
Figure 4 Installing a power supply
6 Verifying proper operation
After replacing the power supply, check the following to verify that the
component is operating properly:
•Check the power supply status indicator. It should be green.
•On an MSA20, ensure the enclosure fault indicator is off.
•On an MSA 1500 cs, the controller LCD should display the following
message:
408 STORAGE BOX #<n> POWER SUPPLY OK
•On an EVA product, from Command View EVA
• Navigate back to the component and check the status. It should
be
• TurnoffthelocatefunctionbyclickingLocate > Locate Off
7 Returning the failed component
Please follow the return instructions provided with the new component.
Page 3