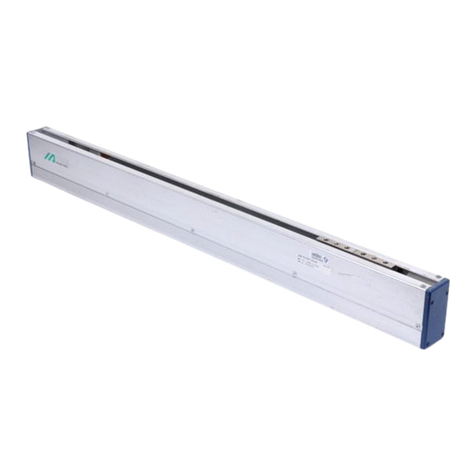
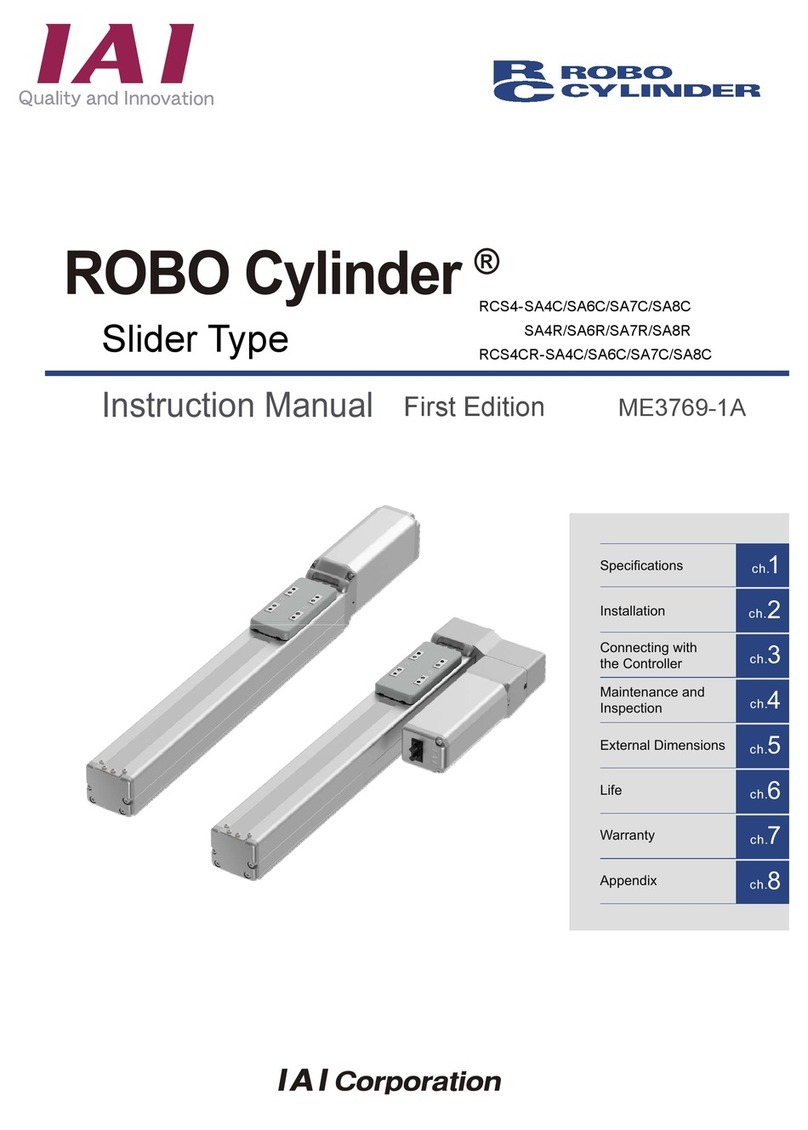
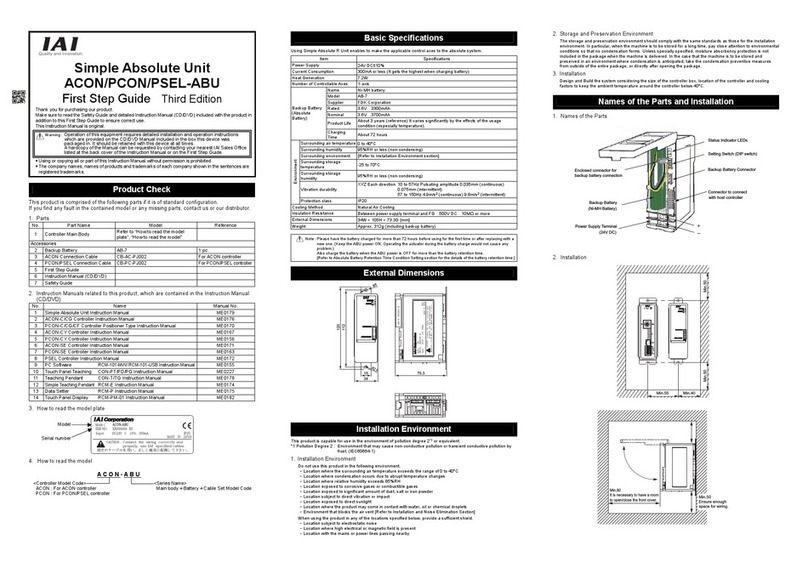
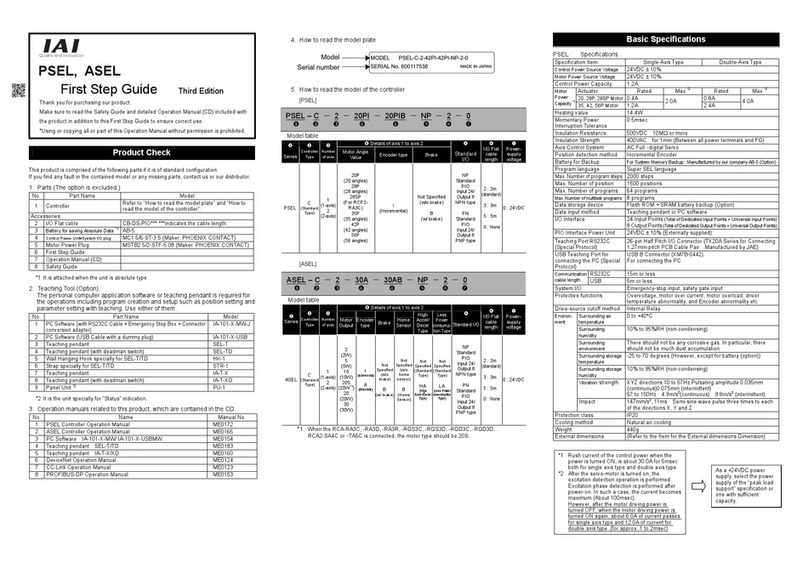
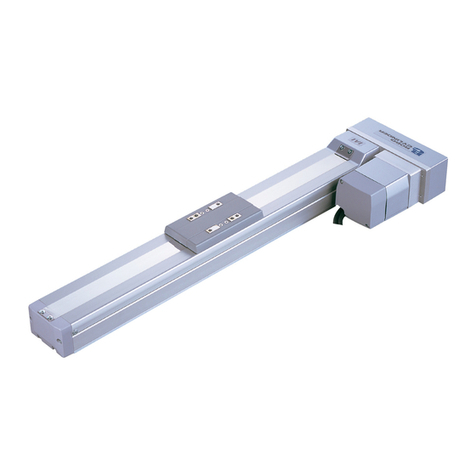
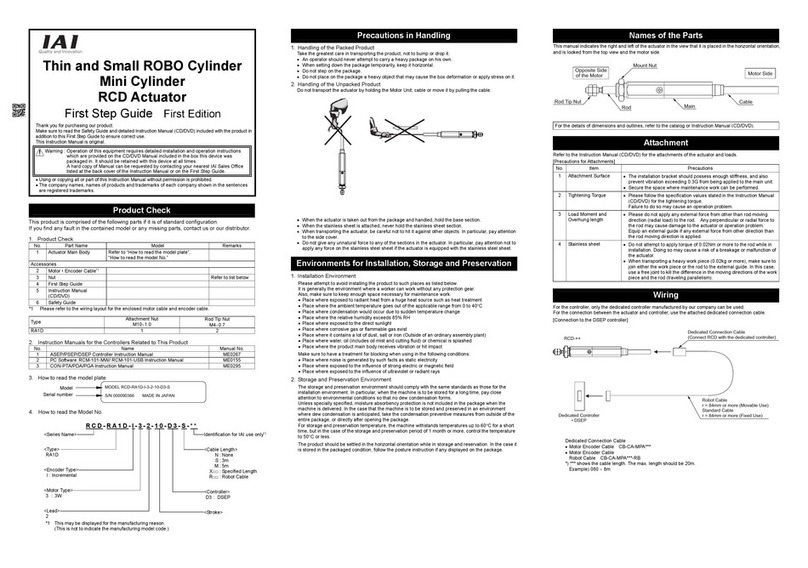
IAI ROBO Cylinder RGD3C User manual

IAI America, Inc.
ROBO Cylinder
Third Edition
Motor Straight Type (Coupling Type): RA3C, RGS3C, RGD3C, RA4C, RGS4C and RGD4C
Motor Straight Type (Built-in Type): RA3D, RGS3D, RGD3D, RA4D, RGS4D and RGD4D
Motor Reversing Type: RA3R, RGS3R, RGD3R, RA4R, RGS4R and RGD4R
Rod Type
RCA Actuators
Motor Straight Type (Coupling Type): RA3C and RA4C
Motor Straight Type (Built-in Type): RA3D and RA4D
Motor Reversing Type: RA3R and RA4R
RCAW Actuators, Dustproof/Splash-proof Type
Operating Manual

Safety Precautions (Please read before using the product.)
Before installing, operating, maintaining or inspecting this product, please peruse this operating manual as
well as the operating manuals and other related documentations for all equipment and peripheral devices
connected to this product in order to ensure the correct use of this product and connected
equipment/devices. Those performing installation, operation, maintenance and inspection of the product
must have sufficient knowledge of the relevant equipment and their safety. The precautions provided
below are designed to help you use the product safely and avoid bodily injury and/or property damage.
In this operating manual, safety precautions are classified as “Danger,” “Warning,” “Caution” and
“Note,” according to the degree of risk.
Danger Failure to observe the instruction will result in an imminent danger leading to
death or serious injury.
Warning Failure to observe the instruction may result in death or serious injury.
Caution Failure to observe the instruction may result in injury or property damage.
Note The user should take heed of this information to ensure the proper use of the
product, although failure to do so will not result in injury.
It should be noted that the instructions under the Caution and Note headings may also lead to
serious consequences, if unheeded, depending on the situation.
All instructions contained herein provide vital information for ensuring safety. Please read the contents
carefully and handle the product with due caution.
Please keep this operating manual in a convenient place for quick reference whenever needed, and also
make sure that the manual will get to the end-user.
Danger
[General]
zDo not use this product for the following applications:
1. Medical equipment used to maintain, control or otherwise affect human life or physical health
2. Mechanisms and machinery designed for the purpose of moving or transporting people
3. Important safety parts of machinery
This product has not been planned or designed for applications requiring high levels of safety. Use of
this product in such applications may jeopardize the safety of human life. The warranty covers only the
product as it is delivered.
[Installation]
zDo not use this product in a place exposed to ignitable, inflammable or explosive substances. The
product may ignite, burn or explode.
zWhen installing the product, be sure to securely support and affix it (including the work). Failure to do so
may cause the product to tip over, drop or malfunction, resulting in injury.

zAvoid using the product in a place where the main unit or controller may come in contact with water or
oil droplets.
zNever cut and/or reconnect the cables supplied with the product for the purpose of extending or
shortening the cable length. Doing so may result in fire.
[Operation]
zDo not enter the machine’s range of operation while the product is operating or standing by. The
actuator may move suddenly, causing injury.
zDo not pour water onto the product. Spraying water over the product, washing it with water or using it in
water may cause the product to malfunction, resulting in injury, electric shock, fire, etc.
[Maintenance, Inspection, Repair]
zNever modify the product. Unauthorized modification may cause the product to malfunction, resulting in
injury, electric shock, fire, etc.
zDo not disassemble and reassemble the components relating to the basic structure of the product or its
performance and function. Doing so may result in injury, electric shock, fire, etc.
Warning
[General]
zDo not use the product outside the specifications. Using the product outside the specifications may
cause it to fail, stop functioning or sustain damage. It may also significantly reduce the service life of the
product. In particular, observe the maximum loading capacity and speed.
[Installation]
zIf the machine will stop in the case of system problem such as emergency stop or power failure, design
a safety circuit or other device that will prevent equipment damage or injury.
zBefore supplying power to and operating the product, always check the operation area of the equipment
to ensure safety. Supplying power to the product carelessly may cause electric shock or injury due to
contact with the moving parts.
zWire the product correctly by referring to the operation manual. Securely connect the cables and
connectors so that they will not be disconnected or come loose. Failure to do so may cause the product
to malfunction or cause fire.
[Operation]
zBefore operating the moving parts of the product by hand (for the purpose of manual positioning, etc.),
confirm that the servo is turned off (using the teaching pendant). Failure to observe this instruction may
result in injury.
zDo not scratch the cables. Scratching, forcibly bending, pulling, winding, crushing with heavy object or
pinching a cable may cause it to leak current or lose continuity, resulting in fire, electric shock,
malfunction, etc.
zTurn off the power to the product in the event of power failure. Failure to do so may cause the product
to suddenly start moving when the power is restored, thus resulting in injury or product damage.
zIf the product is generating heat, smoke or a strange smell, turn off the power immediately. Continuing
to use the product may result in product damage or fire.
zIf noise or abnormally high vibration is detected, stop the operation immediately. Continuing to use the
product may result in product damage, malfunction due to damage, runaway machine, etc.
zIf any of the product’s protective functions (alarms) has actuated, turn off the power immediately.
Continuing to use the product may result in injury due to product malfunction, or cause product
breakdown or damage. After the power has been cut off, identify and remove the cause of the problem,
and then reconnect the power.

zDo not step on the product, use it as a footstool or place any object on it. You may slip and fall or the
product may tip over or drop, resulting in injury. Malfunction, runaway product, etc., may also result due
to product breakdown or damage.
[Maintenance, Inspection, Repair]
zBefore commencing maintenance/inspection, servicing, replacement or any other work on the product,
be sure to completely cut off the power supply to the product. Also take heed of the following
precautions:
1. Put up a sign bearing “WORK IN PROGRESS. DO NOT TURN ON POWER” or other warning
statement to that effect, to prevent a bystander from accidentally turning on the power.
2. If multiple operators work together to perform maintenance/inspection work, the operators should
always give verbal cues to one another to ensure safety before turning on/off the power or
moving any axis.
[Disposal]
zDo not throw the product into flames. The product may explode or toxic gases may generate.
Caution
[Installation]
zDo not use the product in a place exposed to direct sunlight (ultraviolet ray), dusty place or place where
air contains salt or iron powder, humid place, or in any ambience where the product may come in
contact with organic solvent, hydraulic oil containing phosphate ester, etc. If used in theses
places/ambiences, the product may lose its function over a short period of time or suffer rapid
performance deterioration, or the service life of the product may be reduced.
zDo not use the product in an ambience where it may come in contact with corrosive gases (sulfuric acid,
hydrochloric acid, etc.). The product may lose its strength due to rust.
zProvide sufficient shielding measures if the product is used in any of the following places. If proper
measures are not taken, the product may malfunction:
1. Place where large current or strong magnetic field generates
2. Place where arc discharge occurs due to welding work, etc.
3. Place where noise generates due to electrostatic, etc.
4. Place where the product may come in contact with radiation
zDo not install the product in a place subject to vibration or shock.
zProvide an emergency stop device in an easily accessible position so the device can be immediately
actuated should danger occur during operation. Failure to do so may result in injury.
zProvide sufficient maintenance space when installing the product. If sufficient space is not available,
daily inspection, maintenance and other necessary work cannot be carried out, resulting in system
shutdown or product damage.
zWhen transporting or installing the product, support the product using a lift or suspension equipment or
carry it with multiple operators working together, and exercise due caution to ensure safety.
zWhen installing the product, do not hold the moving parts or cables of the product. Doing so may result
in injury.
zUse IAI’s genuine cables to connect the actuator and controller. Also use IAI’s genuine components for
the actuator, controller, teaching pendant, etc.
zThe brake mechanism is designed to prevent the slider from dropping upon turning off the power when
the actuator is installed vertically. Do not use the brake mechanism as a safety brake.
zWhen installing, adjusting or carrying out any other work on the actuator, put up a sign bearing “WORK
IN PROGRESS. DO NOT TURN ON POWER” or other warning statement to that effect, to prevent the
product from being powered on accidentally. If the power is turned on accidentally, injury may result due
to electric shock or sudden movement of the actuator.

[Operation]
zTurn on the power to individual equipment one by one, starting from the equipment at the highest level
in the system hierarchy. Failure to do so may cause the product to start suddenly, resulting in injury or
product damage.
zDo not insert a finger or object in the openings in the product. It may cause fire, electric shock or injury.
zDo not step on the product, use it as a footstool or place any object on it. It may cause scoring, dents or
deformation of the driving part, resulting in product damage, unintended stopping due to damage, or
performance drop.
[Maintenance, Inspection, Repair]
zWear protective goggles when applying grease to the actuator. Failure to do so may result in eye
inflammation due to spattered grease.
Note
[Installation]
zIf the product is used in a vertical setup, be sure to use the vertical specification (with brake).
zProtection covers or other guards must be provided for the moving parts of the equipment to avoid
direct contact with the operators.
zDo not configure a control circuit that will cause the work to drop in case of power failure. Configure a
control circuit that will prevent the table or work from dropping when the power to the machine is cut off
or an emergency stop is actuated.
zThe following conditions must be met in order to improve the straightness of the table movement and
ensure the smooth movement of the ball screw and linear guides:
1. Flatness of the mounting surface must be within 0.05 mm.
2. The mounting surface area must be large enough to ensure the rigidity of the actuator.
[Installation, Operation, Maintenance]
zWhen handling the product, wear protective gloves, protective goggles, safety shoes or other necessary
gear to ensure safety.
[Maintenance, Inspection, Repair]
zWhen performing maintenance, apply the specified grease to the guides and ball screw. Pay special
attention not to let fluoride grease mix with lithium grease. The machine may be damaged due to poor
lubrication, increased resistance, etc.
[Disposal]
zWhen the product becomes no longer usable or necessary, dispose of it properly as an industrial waste.
Others
IAI shall not be liable whatsoever for any loss or damage arising from a failure to
observe the items specified in “Safety Precautions.”

Prohibited Handling of Cables
When designing an application system using IAI’s actuators and controllers, incorrect wiring or connection
of each cable may cause unexpected problems such as a disconnected cable or poor contact, or even a
runaway system. This section explains prohibited handling of cables. Read the information carefully to
connect the cables properly.
1. Do not let the cable flex at a single point.
2. Do not let the cable bend, kink or twist.
3. Do not pull the cable with a strong force.
4. Do not let the cable receive a turning force at a
single point.
6. Do not pinch, drop a heavy object onto or cut
the cable.
5. When fixing the cable, provide a moderate slack
and do not tension it too tight.
Steel band
(piano wire)
Bundle loosely.
Use a curly
cable.
Do not use a spiral tube where
the cable flexes frequently.

Cable
Cable bearer
Power line
Signal lines (flat cable)
Duct
7. Notes on using cable bearers
zDo not let the cable get tangled or kinked in a cable bearer or flexible tube. When bundling the cable,
keep a certain degree of flexibility (so that the cable will not become too taut when bent).
zDo not cause the cables to occupy more than
60% of the space in the cable bearer.
zDo not lay signal lines together with circuit lines
that create a strong electric field.
zThe supplied cables are not robot cables. Accordingly,
never store the cables in a cable bearer.
zAlways use a robot cable
for each relay cable. Bending radius (r)
zUse a cable bearer with a bending
radius (r) of 50 mm or greater.

Table of Contents
1. Foreword ......................................................................................................................................1
2. Safety Precautions.......................................................................................................................1
2.1 Basic Operating Instructions ...........................................................................................1
2.2 Maintenance and Inspection ...........................................................................................1
3. Warranty.......................................................................................................................................2
3.1 Warranty Period...............................................................................................................2
3.2 Scope of Warranty...........................................................................................................2
4. Names of the Parts ......................................................................................................................3
4.1 Standard, Motor Straight Type (Coupling Type): No Guide............................................3
4.2 Standard, Motor Straight Type (Built-in Type): No Guide...............................................4
4.3 Standard, Motor Reversing Type ....................................................................................5
4.4 Single-guide Type: Standard, Motor Straight Type (Example of Coupling Type)..........6
4.5 Double-guide Type: Standard, Motor Straight Type (Example of Coupling Type).........7
4.6 Dustproof/Splash-proof Type: Motor Straight Type (Example of Coupling Type)..........8
5. Transporting and Handling...........................................................................................................9
5.1 Handling the Actuator......................................................................................................9
5.1.1 Handling the Packed Unit ...........................................................................................9
5.1.2 Handling the Actuator After It is Unpacked ................................................................9
5.2 Handling the Actuator Assembly...................................................................................10
5.2.1 Condition of Shipment from IAI (Assembled)...........................................................10
5.2.2 Handling after Assembly with Peripheral Equipment...............................................10
6. Operating and Storage Environment........................................................................................11
6.1 Operating Environment..................................................................................................11
6.2 Storage Environment.....................................................................................................11
7. Installation..................................................................................................................................12
7.1 Installing the Main Body ................................................................................................12
8. Wiring Cable...............................................................................................................................22
9. Connecting the Air Tube of the RCAW Dustproof/Splash-proof Type...................................23
10. Maximum Speed ......................................................................................................................24
11. Load on the Actuator................................................................................................................25
12. Actuators with a Switch (Optional)...........................................................................................25
13. High Acceleration/Deceleration and Power-saving Options ..................................................26
13.1 Applicable Actuator Models...........................................................................................26
13.2 Specifications of High Acceleration/Deceleration Actuators.........................................26
13.3 Notes..............................................................................................................................27
13.4 Applicable Controller Models (ACON, ASEL)...............................................................27
14. Maintenance.............................................................................................................................28
14.1 Maintenance Schedule..................................................................................................28
14.2 Visual Inspection of the Machine Exterior.....................................................................28
14.3 Cleaning.........................................................................................................................28
14.4 Applying Grease to the Sliding Surface of the Rod ......................................................29
14.5 Reduction Belt [Motor Reversing Type] ........................................................................30
14.5.1 Inspecting the Belt ....................................................................................................30

14.5.2 Applicable Belt ..........................................................................................................30
14.5.3 Adjusting the Belt Tension........................................................................................31
14.5.4 Replacing the Belt of the Motor Reversing Type: RA3R/RA4R Types....................32
14.6 Replacing the Motor.......................................................................................................37
14.6.1 Replacing the Motor of the Motor Straight Type (Coupling Type): RA3C/RA4C
Types.........................................................................................................................37
14.6.2 Replacing the Motor of the Motor Reversing Type: RA3R/RA4R Types.................44
14.7 Replacing the Bellows of the RCAW Dustproof/Splash-proof Type.............................50
15. Cable Drawings........................................................................................................................53


1
1. Foreword
Thank you for purchasing an IAI product.
This manual explains the structure, correct operation and maintenance of the actuator.
Please read this manual carefully before using the product.
For more complete information on operating the actuator, please also refer to the controller operating
manual.
2. Safety Precautions
2.1 Basic Operating Instructions
•Please do not attempt to use or operate the actuator in any manner not indicated in this manual or the
controller manual.
•Please be sure to use only the cable provided by IAI to connect the actuator and controller.
•Please do not allow people within the moving range of the unit when it is in operation or when the
power is ON since this is dangerous.
2.2 Maintenance and Inspection
•When doing maintenance and inspection work, always shut down the controller power first.
•When doing inspection, make sure that no one can inadvertently turn the power ON.
•Make sure that a sign indicating work in progress is clearly visible.
•If several persons are working, be sure to watch out for each other's safety. In particular, check before
turning power ON or OFF and let others know if you are doing work involving axis movement.
(Note)
•The content of this manual is subject to change without notice for the purpose of improvement.
•This manual was created with utmost attention to accuracy. Should you find any error, however, or if
you have any question, please contact IAI’s Sales Engineering or Technical Service Section.

2
3. Warranty
3.1 Warranty Period
Warranty period shall be either of the following periods whichever ends first:
•18 months after shipment from our factory
•12 months after delivery to a specified location
•2500 hours of operation time
3.2 Scope of Warranty
If a breakdown occurs within the period specified above and is due to the manufacturer's error, we will
repair the unit at no cost. However, the following items are not covered by this warranty.
•Faded paint or other changes that occur naturally over time.
•Consumable components that wear out with use (stainless sheet, etc.).
•Unit seems to be noisy or similar impressions that do not affect machinery performance.
•Damage resulting from improper handling by the user or lack of proper maintenance.
•Any alterations made by other than IAI or its representatives.
•Breakdowns caused by using controllers made by other manufacturers.
•Any damages caused by fire and other natural disasters or accidents.
The warranty pertains to the purchased product itself and does not cover any damages that might arise
from a breakdown of the supplied product.
Any repairs will be done at our factory. Even if the product is still covered under the warranty period, we
will assess a separate charge for sending technicians to the customer's site.

3
4. Names of the Parts
The names of the actuator parts are indicated below.
In this manual, the right and left are determined by viewing the actuator from the top and from the motor
side.
4.1 Standard, Motor Straight Type (Coupling Type): No Guide
zRCA-RA3C, RCA-RA4C
Caution: The cable directly connected to the actuator is not robot cable even when ordered
with robot cable option. When designing, please be sure not to give repeated
bending loads to this cable. The robot cable is applicable only to the connecting
cables.
Rod side Motor side
Right
Left
Rod Rod cove
r
Cylinder tube Head cove
r
Motor unit
Cable
Rod tip adapte
r

4
4.2 Standard, Motor Straight Type (Built-in Type): No Guide
zRCA-RA3D, RCA-RA4D
Caution: The cable directly connected to the actuator is not robot cable even when ordered
with robot cable option. When designing, please be sure not to give repeated
bending loads to this cable. The robot cable is applicable only to the connecting
cables.
Rod side Motor side
Right
Left
Rod Rod cove
r
Cylinder tube Head cove
r
Motor unit
Cable
Rod tip adapte
r

5
4.3 Standard, Motor Reversing Type
zRCA-RA3R, RCA-RA4R
Caution: The cable directly connected to the actuator is not robot cable even when ordered
with robot cable option. When designing, please be sure not to give repeated
bending loads to this cable. The robot cable is applicable only to the connecting
cables.
Rod side Motor side
Right
Left
Rod Rod cove
r
Cylinder tube Head cove
r
Motor unit
Cable
Rod tip adapte
r
Pulley case

6
4.4 Single-guide Type: Standard, Motor Straight Type (Example of Coupling Type)
zRCA-RGS3C
Caution: The cable directly connected to the actuator is not robot cable even when ordered
with robot cable option. When designing, please be sure not to give repeated
bending loads to this cable. The robot cable is applicable only to the connecting
cables.
Rod side Motor side
Right
Left
Rod Rod cove
r
Cylinder tube
Head cove
r
Motor unit
Cable
Guide bracket Guide bearing
Guide rod

7
4.5 Double-guide Type: Standard, Motor Straight Type (Example of Coupling
Type)
zRCA-RGD3C
Caution: The cable directly connected to the actuator is not robot cable even when ordered
with robot cable option. When designing, please be sure not to give repeated
bending loads to this cable. The robot cable is applicable only to the connecting
cables.
Rod side Motor
side
Rod Rod cove
r
Cylinder tube
Head cove
r
Motor unit
Cable
Guide bracket Guide bearing
Guide rod
Right
Left

8
4.6 Dustproof/Splash-proof Type: Motor Straight Type (Example of Coupling
Type)
zRCAW-RA3C
Caution: The cable directly connected to the actuator is not robot cable even when ordered
with robot cable option. When designing, please be sure not to give repeated
bending loads to this cable. The robot cable is applicable only to the connecting
cables.
Rod side Motor side
Right
Left
Rod Rod cove
r
Cylinder tube Head cove
r
Motor unit
Cable
Bellows
Intake/
exhaust port
Rod tip adapter

9
5. Transporting and Handling
5.1 Handling the Actuator
5.1.1 Handling the Packed Unit
Unless otherwise specified, each actuator (axis) is shipped individually.
Please take care that the shipping box is not dropped or subjected to strong impact during transport.
•The operator should not carry heavy shipping boxes by themselves.
•If the shipping box is left standing, it should be in a horizontal position.
•Do not climb on top of the shipping box.
•Do not place heavy objects on top of the shipping box.
5.1.2 Handling the Actuator After It is Unpacked
Lift the actuator up by the base to remove it from the packing.
•When transporting the actuator, be careful not to hit it against nearby structures or object. In particular,
exercise caution to protect the motor unit and pulley case against impact.
•Do not exert excessive force on any part of the actuator.
•Be careful not to cause the cables to receive a tensile force.
Supplement) Please refer to Section 4 above for the names of the actuator parts.

10
5.2 Handling the Actuator Assembly
Pay attention to the following instructions when transporting an assembly of actuator axes.
5.2.1 Condition of Shipment from IAI (Assembled)
The actuators you have ordered are assembled at IAI, after which the assembly receives a shipping
inspection and is shipped in an outer frame with skids.
The assembly is packed with the rod securely affixed so that it will not move unexpectedly during
transportation. In the case of a combined unit, the actuator ends are secured to prevent swinging due to
external vibration.
•The package is not designed with special considerations for protection against impact due to
dropping or collision, so please handle the package with care. Also, do not place any heavy object
on the outer frame, as it is not strong enough to withstand loads.
•When suspending the package using ropes, etc., pass the ropes from underneath the reinforcement
frames at the bottom of the skids. When lifting with a forklift, also place the forks underneath the
skids.
•Set down the package carefully so as not to apply impact to the assembly or cause it to bounce.
After unpacking, handle the actuator assembly correctly by observing the instructions given below.
5.2.2 Handling after Assembly with Peripheral Equipment
When transporting the actuators that have been assembled with peripheral equipment either at IAI or on
your site, observe the instructions given below.
•Secure the rod so that it will not move suddenly while transporting the actuator.

•If any actuator end is protruding, secure it to prevent swinging due to external vibration.
•If the actuator ends are not secured, do not apply any impact force exceeding 0.3 G during
transportation.
•When suspending the actuator-assembled peripheral equipment using ropes, etc., make sure the
ropes do not contact the actuators directly.
•Pass the ropes over appropriate cushion materials, and make sure the loads from the ropes will be
received by the base of each actuator.
•Secure the end of the Y-axis using a separate rope to maintain the axis in a stable horizontal position.
At this time, be careful not to apply loads on the screw cover.
•Be careful not to allow the brackets, covers and connector box of each actuator to receive loads.
Also protect the cables from pinching or excessive deformation.
This manual suits for next models
15
Table of contents
Other IAI Controllers manuals

IAI
IAI X-SEL User manual

IAI
IAI ROBO Cylinder RCP2 Series User manual

IAI
IAI ROBO Cylinder RCP2 Series User manual

IAI
IAI PCON-CY User manual

IAI
IAI RCP6 Series User manual

IAI
IAI ERC2 Installation manual

IAI
IAI RCP3 User manual

IAI
IAI acon User manual

IAI
IAI RCM-P User manual

IAI
IAI ROBO Cylinder RCP2 Series User manual
Popular Controllers manuals by other brands

Daktronics
Daktronics SPORTSOUND SSR-200 GEN II Operation manual

Woodward
Woodward DTSC-200 installation manual

Jamara
Jamara COOL RUNNING 081458 Instruction

PEITIAN ROBOTICS
PEITIAN ROBOTICS ARC5 Series manual

DERUN LIGHTING TECHNOLOGY
DERUN LIGHTING TECHNOLOGY DR-CON-IR20M-3CH-LV user manual

National Instruments
National Instruments PXI-7356 Getting started