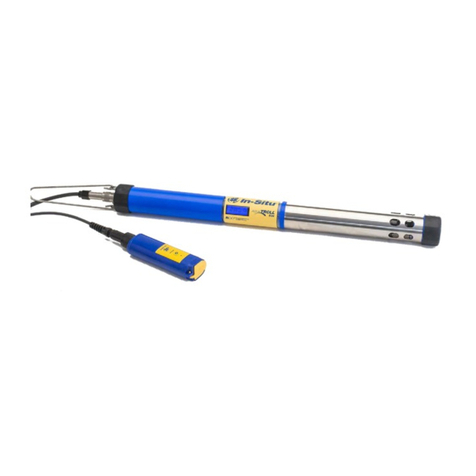
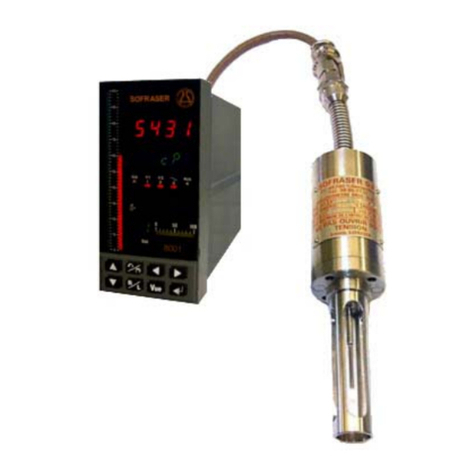
Multi-Parameter Water Quality TROLL®
C
D
6Connect to the TROLL 9500—
7When connected, the device appears in the Navigation tree
below the COM port. Select the TROLL and set its clock—
MP TROLL 9500
Quick STaRT Guide
5Launch the software—
Win-Situ: Double-click the desktop shortcut .
ASelect the TROLL. The software retrieves and displays informa-
tion about the device and all installed sensors. This can take a
moment . . .
BSelect Edit
CIn the next screen, select the Clock option
DFollow the Wizard to synchronize the device clock with the PC
clock
AHighlight the COM port in the Navigation tree
BClick or tap Find
8Quick-Cal the Basic water quality sensors
ADetach the Cal Cup. Empty out liquid and remove small sponge (if present). Rinse
sensors with DI water
BFill Cal Cup to the line with Quick Cal solution and re-attach—not too tight
CEstablish software connection as above. Select Parameters in the Navigation tree
DClick or tap Quick Cal. Select sensors to calibrate. Click or tap Run to start pH,
ORP, and Conductivity calibration
EFor Polarographic DO: Turn probe upside-down and pour out some solution so
DO sensor membrane is in air and temperature sensor is completely covered. Re-
attach cap loosely. Select vented cable or supply barometric pressure for accurate
results. Select Run to complete DO calibration. Details are in Section 3 of the
Operator’s Manual
FRemove Cal Cup, pour out the Quick Cal solution, rinse the front end of the probe,
and attach the restrictor
E
B
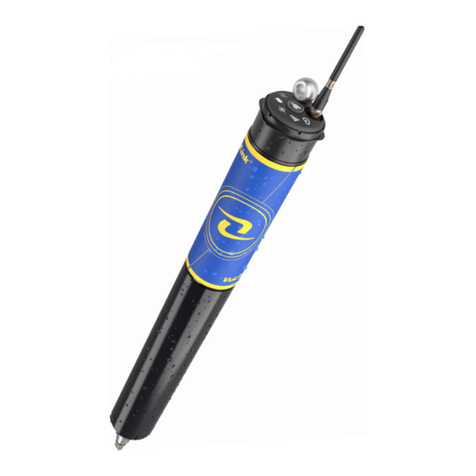
Your new Multi-P arameter TROLL 9500 arrives with the following installed:
• Removable Basic sensors pH, ORP, Polarographic Dissolved Oxygen, Conductivity (as required)
• Alkaline batteries—if shipped with Polarographic DO sensor, to keep the sensor conditioned
• Permanent sensors Barometric Pressure, Temperature, Pressure/Level (optional), Turbidity (optional)
The Cal Cup is attached with water in the bottom to keep the sensors hydrated
A
C
B
Battery
compartment
Sealed
body
Restrictor
Nose cone
TROLL 9500
USB or Serial port
Serial
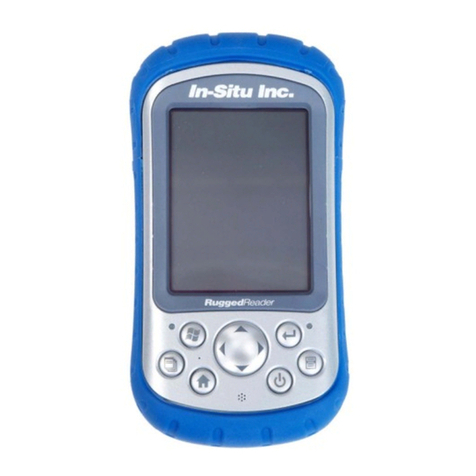
RuggedReader clock. Set
it first if wrong (Start Menu
> Settings > System tab >
Clock)
A
B
OR Pocket-Situ: Tap the Start menu, tap Pocket-Situ 4
B
A
Win-Situ 4
A
B
Pocket-
Situ 4
Mating the Twist-Lock connectors is
easy after you do it once. Detailed
steps and photos are on the back of this
Quick Start Guide.
TIP: Set up the port with a Direct connection
to One device at 19200 baud
port
1Install Win-Situ®4 to your local hard drive from
the In-Situ software CD or the In-Situ website.
Optional: Install the desktop component of Pocket-
Situ 4 to the same computer. Then use the In-Situ Software
Manager to install it on the RuggedReader®at your next
ActiveSync®connection.
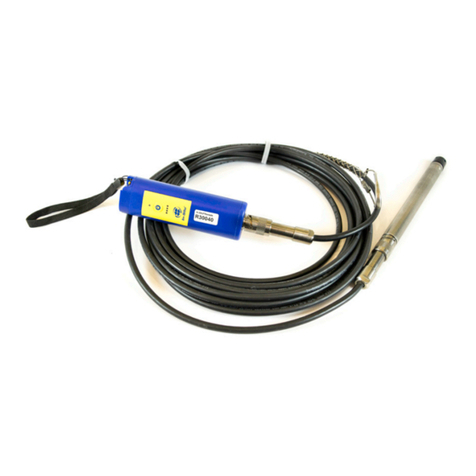
3Attach a TROLL Com to the TROLL
9500 or to its cable.
Tip: After plugging in a USB TROLL Com, follow the prompts
to install the drivers. Then use Windows®Device Manager to
determine which COM port the USB TROLL Com is using.
2Install batteries:
Tip: If using a USB TROLL Com, be sure to
select the option “Install USB TROLL Com
Drivers” when installing Win-Situ.
4Plug the TROLL Com into a USB or serial port
on a desktop/laptop PC, or into the serial port
on a RuggedReader handheld PDA.
ARemove battery compartment cover
BInsert batteries
CReplace cover and tighten
On first connection, be sure to select the
correct COM port for a USB connection.
Set up the port for a Direct connection to
One device at 19200 baud.
Direct Connect TROLL Com
Cable Connect TROLL Com
RuggedCable™

