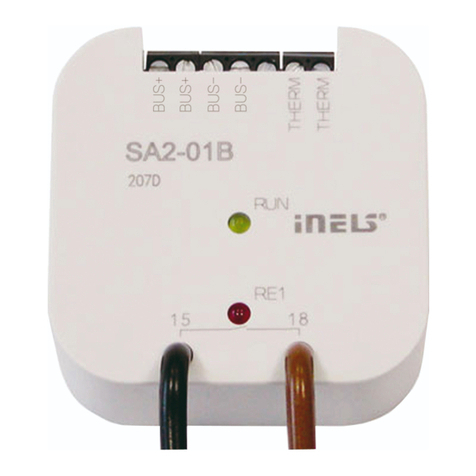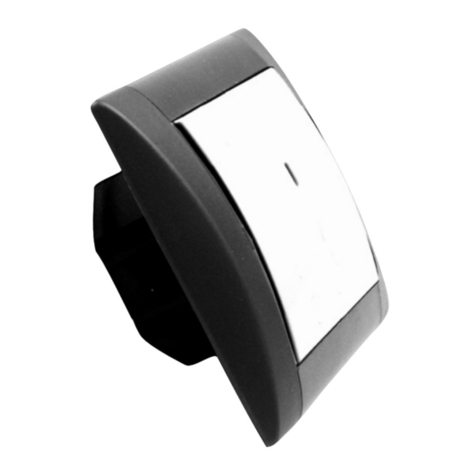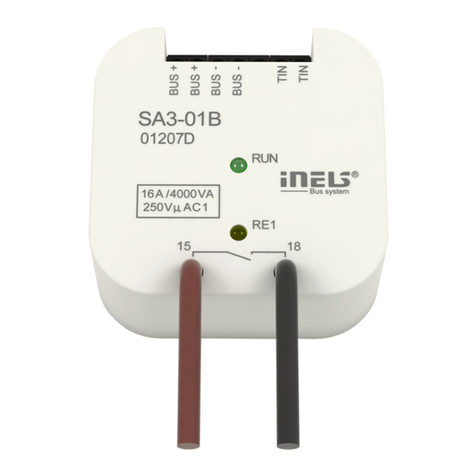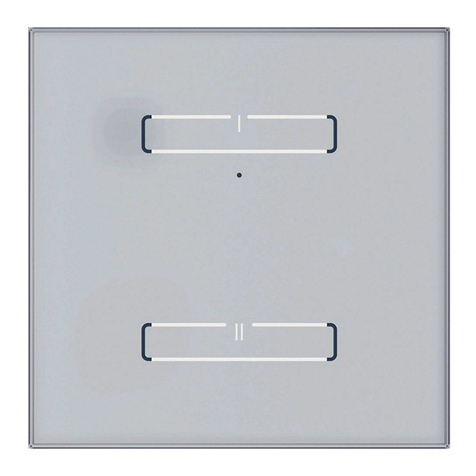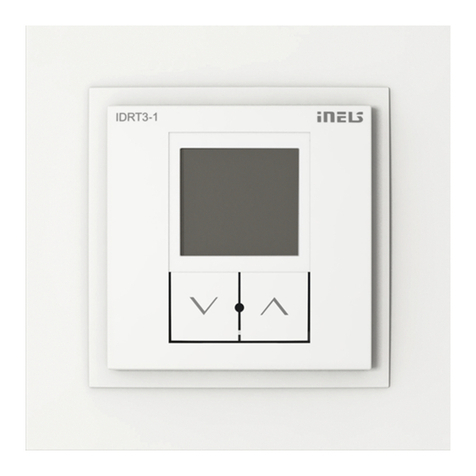
Technické parametry / Technical parameters
Všeobecné instrukce / General instructions
Temperature measuring:
Range / accuracy of temp.measuring:
Heating/cooling circuit correction:
Manual control of heating/cooling
circuit:
Heating/cooling circuitstatus
indication:
Installation BUS:
Supply voltage/rated current:
Terminals:
OPERATING CONDITIONS
Operation temperature:
Protection degree:
Overvoltage category:
Pollution degree:
Operation position:
Installation:
Dimensions:
Weight:
YES, built-in thermo sensor, NTC
0 .. +55°C / 0.3°C in range
± 3 °C
2x buttons
2x two colored LED
BUS
27 V DC/20 mA, from BUS
0.5 - 1 mm2
0 .. +50 °C
IP 20
II.
2
vertical, downward with BUS terminal
into installation box
90 x 52 x 65 mm
75g
ANO, vestavěný teplotní senzor, NTC
0 .. +55°C; 0.3°C z rozsahu
± 3 °C
2x tlačítko
2x dvojitá LED
BUS
27 V DC/20 mA, ze sběrnice BUS
0.5 - 1 mm2
0 .. +50 °C
IP 20
II.
2
svislá, svorkou BUS dolů
do instalační krabice
90 x 52 x 65 mm
75 g
Měření teploty:
Rozsah a přesnost měření teploty:
Korekce okruhu vytápění/chlazení:
Manuální ovládání okruhu vytápění/
chlazení:
Indikace stavu okruhu vytápění/
chlazení:
Instalační sběrnice:
Napájecí napětí/jm. proud:
Svorkovnice:
PROVOZNÍ PODMÍNKY
Pracovní teplota:
Stupeň krytí:
Kategorie přepětí:
Stupeň znečištění:
Pracovní poloha:
Instalace:
Rozměry:
Hmotnost:
ELKO EP, s.r.o. | Palackého 493 | 769 01 Holešov, Všetuly | Czech republic |
Tel.: +420 573 514 276, +420 573 514 211 | Fax: +420 573 514 227 | www.inels.com
ELKO EP, s.r.o. | Palackého 493 | 769 01 Holešov, Všetuly | Česká republika |
Mobil: +420 778 520 926 | Tel.: +420 573 514 275, +420 | 573 514 211 |
Fax: +420 573 514 227 | www.inels.cz
MODELOVÝ PŘÍKLAD OVLÁDÁNÍ, VŠECHNY FUKCE JSOU PROGRAMOVATELNÉ
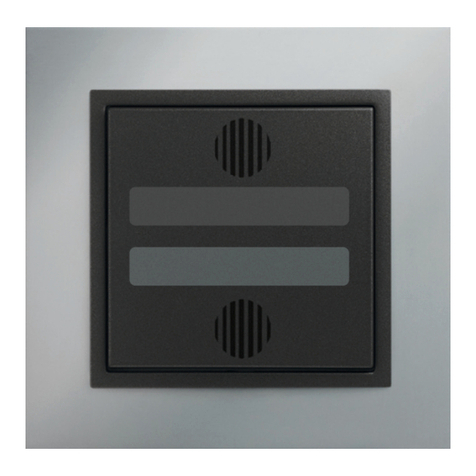
OVLÁDÁNÍ TERMOREGULÁTORU
Otočný ovladač slouží pro korekci nastavené teploty v rozmezí +/- 3 °C. Dále tlačítko
0/1 slouží k aktivaci přiřazeného okruhu vytápění. Zapnutí okruhu vytápění signalizuje
přilehlá LED dioda. Svítí-li levá LED dioda zeleně je okruh vytápění aktivní. Pokud levá LED
svítí barvou oranžovou, znamená to, že přiřazený okruh vytápění je aktivní a zároveň zdroj
vytápění topí. Pomocí tlačítka„znak ruka/ hodinky“ na levé straně ovládáme kruh vytápění
a to tak, že pokud svítí LED na pravé straně krytu zeleně, vytápí okruh dle nastavené
teploty na otočném ovladači, avšak do první změny dle programového nastavení (denní
a noční režim, týdenní program apod.) v programu SW iDM. V případě, že LED na pravé
straně svítí červeně, znamená to, že okruhu vytápění neustále topí na teplotu, která je
nastavena na otočném ovladači termoregulátoru.
PŘIPOJENÍ DO SYSTÉMU
Vodiče datové sběrnice systému iNELS se připojují na svorkovnici jednotky BUS+ a BUS-,
přičemž není možné svorky vzájemně zaměnit. Pro datovou sběrnici je nutno použít
kroucený pár vodičů. Datová komunikace i napájení jednotek jsou vedeny v jednom páru
vodičů, přičemž je nutné dodržet průřez pro napájecí vodiče s ohledem na úbytek napětí
na vedení a maximální odebíraný výkon.
KAPACITA A CENTRÁLNÍ JEDNOTKA
K centrální jednotce CU2-01M lze připojit dvě samostatné sběrnice BUS prostřednictvím
svorek BUS1+, BUS1- a BUS2+, BUS2-. Na každou sběrnici lze připojit až 32 jednotek,
celkově lze tedy přímo k centrální jednotce připojit až 64 jednotek. Další jednotky lze
připojit pomocí jednotek MI2-02M, které generují další sběrnice BUS. Tyto se připojují
k jednotce CU2-01M přes komunikační sběrnici TCL2 a celkem je možno připojit až 2
jednotky MI2-02M k CU2-01M.
KOMUNIKAČNÍ SBĚRNICE SYSTÉMU
Sběrnice musí být provedena kabelem, který obsahuje kroucený pár vodičů pro datovou
sběrnici systému s minimálním průřezem vodičů 0.5 mm2. Stíněný kabel je nutné použít
v případě instalace kabelů sběrnice do prostředí s možností elektromagnetických
interferencí (např. při souběhu se silovým vedením, v blízkosti elektrických strojů a
přístrojů, při průchodu NN rozvaděčem apod).
Sběrnicový kabel se instaluje v souladu s jeho mechanickými vlastnostmi, které udává
výrobce (do trubky/lišty, pod omítku, do země, závěsný apod.) Pro zvýšení mechanické
odolnosti kabelů doporučujeme vždy kabel instalovat do elektroinstalační trubky
vhodného průměru.
Celková délka vedení sběrnice pro 1 CU2-01M, popřípadě MI2-02M, může být 1100 m
(550 m pro každou sběrnici).
Topologie komunikační sběrnice BUS je volná s vyjímkou topologie kruhu.
NAPÁJENÍ SYSTÉMU
K napájení jednotek systému doporučujeme napájecí zdroje ELKO EP PS-50/27, DR-60-
24, PS-100/iNELS. Počet napájecích zdrojů v systému je dán součtem jmenovitých proudů
připojených jednotek s odpovídající rezervou. Větší počet zdrojů na rozsáhlé sběrnici
eliminuje také úbytek napětí na dlouhém vedení. Pokud je v instalaci použit systém
elektrické zabezpečovací signalizace, doporučujeme použít zálohovaný zdroj PS-100/
iNELS v krytu s ochranným kontaktem.
VŠEOBECNÉ INFORMACE
Jednotka je schopna pracovat jako samostatný prvek bez centrální jednotky jen ve velmi
omezeném rozsahu svých funkcí. Pro plnou využitelnost jednotky je nutné aby jednotka
byla napojena na centrální jednotku systému CU2-01M, nebo na systém, který tuto
jednotku již obsahuje, jako jeho rozšíření o další funkce systému.
Všechny parametry jednotky se nastavují přes centrální jednotku CU2-01M v software
iNELS Designer and Manager.
CONTROL OF THERMOCONTROLLER
Rotary controller serves to adjust temperature in a range +/- 3°C. Button 0/1 serves to
activate assigned circuit of heating. LED diode signalizes that heating circuit is ON. In case
left LED diode shines green, the heating circuit is active. In case left LED diode shines orange,
it means that assigned circuit is active and heating source heats. By using a button”symbol
hand/clock” on the left side, you can control heating circuit in a way that in case LED diode
on the right shines green, the circuit functions according to the temperature set on the
rotary controller until the rst change according to the programmed setting (daily and night
mode, weekly program etc.) in program SW iDM. In case LED diode on right side shines red, it
means that heating circuits continuously heats to the temperature which is set on the rotary
controller of the thermo-controller device.
CONNECTION INTOTHE SYSTEM
Wires of data BUS of iNELS system are to be connected to a terminal block of unit BUS+ and
BUS-, it I not possible to change the terminals. It is essential to use a twisted pair of wires
for data BUS. Data communication and supply of units are lead in one pair of wires, it is
necessary to observe prole for supply wires with regards to voltage loss on the lead and
maximal consumed output.
CAPACITY AND CENTRAL UNIT
It is possible to connect two independent BUSes to a central unit CU2-01M. Such connection
is done by terminals BUS1+, BUS1- and BUS2+, BUS2-. To each BUS, it is possible to connect
up to 32 units, meaning in total you can connect up to 64 units directly to a central unit.
Other units can be connected by using units MI2-02M, that generate other BUSes. These are
connected to a central unit CU by a communication BUS TCL2. In total you can connect up
to 2 MI2-02M units to one central unit.
COMMUNICATION BUS OF THE SYSTEM
The BUS has to be made a cable which is made of twisted pair of wires for data BUS of the
system with minimal prole of wires 0.5 mm2. Shielded cable needs to be used in case the
BUS cables are installed in an environment with a possibility of electromagnetic interference
(e.g. in case of side-run with power lead, close to electric machines and devices, when
passing NN through a switchboard etc.).
The BUS cable is to be installed in accordance with its mechanic features, that are given by
its manufacturer (into a conduit/rail, under a plaster, into a ground, hanging etc.)To increase
its mechanical immunity we recommend installation of the cable into an electro-installation
conduit of a sucient prole.
The total length of the bus for 1 CU2-01M, or MI2-02M, can be 1100 m (550 m for each BUS).
Topology of communication BUS is free except for circle topology.
SUPPLYING THE SYSTEM
To supply system we recomend to use power supplies of company ELKO EP PS-50/27, DR-60-
24, PS-100/iNELS.The number of power supplies in the system depends on the sum of rated
currents of connected units with a sucient reserve. Installation of higher number of power
supplies on a large bus eliminates voltage loss on a long lead. In case the system contains
a system of electric safety signalization, we recommend to use a backed-up power supply
with a charger PS-100/iNELS in a cover with protective contact.
GENERAL INFORMATION
The unit is able to be operated individually without a central unit but very limited on
functions.To use all the functions of the unit it is necessary to connect it to a central unit CU2-
01M, or to a system that already contains this unit and enlarge thus the system functions.
All parameters are set by a central unit CU2-01M in software iNELS Designer and Manager.
