manuals.online logo
Brands
  1. Home
  2. •
  3. Brands
  4. •
  5. Insignia
  6. •
  7. Bathroom Fixture
  8. •
  9. Insignia ECO Series User manual

Insignia ECO Series User manual

www.insigniashowers.com Last Modied: 11/05/2021
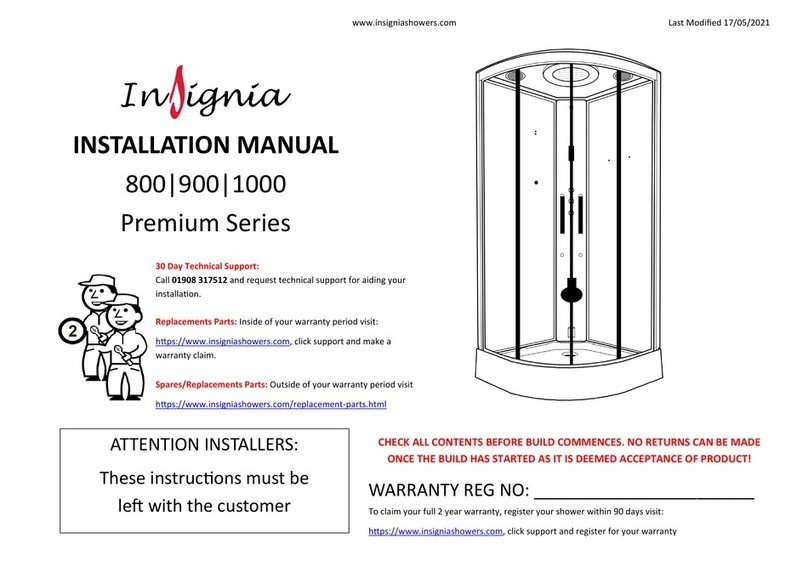
INSTALLATION MANUAL
800|900|1000
ECO Series
ATTENTION INSTALLERS:
These instrucons must be
le with the customer WARRANTY REG NO: _______________________
CHECK ALL CONTENTS BEFORE BUILD COMMENCES. NO RETURNS CAN BE MADE
ONCE THE BUILD HAS STARTED AS IT IS DEEMED ACCEPTANCE OF PRODUCT!
30 Day Technical Support:
Call 01908 317512 and request technical support for aiding your
installaon.
Replacements Parts: Inside of your warranty period visit:
hps://www.insigniashowers.com, click support and make a
warranty claim.
Spares/Replacements Parts: Outside of your warranty period visit
hps://www.insigniashowers.com/replacement-parts.html
www.insigniashowers.com Last Modied: 11/05/2021
02
Contents
Installaon Assistance (Video Links) 3
Thank you for your purchase 4
Tips for assembly 5
Braided Hose QR Code/Link 6
Pressure/Tool requirements 7
Box contents 8
Installing the Waste and Levelling the Tray 9
Connecng the Framework 10
Applying RubberGum 11
Installing the Back Panels 12
Installing the Column 13
Installing the Fixed Glass Panels 14
Installing the Glass Seals 15
Installing the Roof 16
Installing the Door Wheels 17
Installing the Accessories 18
Water Valve Connecons 19
Signing o your shower 20
Spare Parts List 21
Steam Room & Shower Safety Guide 22
WEEE Compliance Statement 23
www.insigniashowers.com Last Modied: 11/05/2021
03
Installaon Assistance
Looking for assistance with the Install?
GREAT NEWS!
We have our easy to follow Installaon videos
live online NOW to make your installaon
process easier than ever before!
Simply click the link below and watch the
installaon process.
Shower Cabin
Please note: this build video is for an Insignia Planum Shower, however 90%
of the process is the same for assembly so it should help you on your way!
www.insigniashowers.com Last Modied: 11/05/2021
04
Thank you for your recent purchase of an Insignia shower. Please read this booklet
with great care to ensure you get the best out of your build and have a shower that
will last for many years to come! Like everything, in order to obtain a rst class
product that will serve you well for many years, the eort and correctness put into the
assembly will reect in the quality of your nish.
www.insigniashowers.com Last Modied: 11/05/2021
05
Before we start, here’s our 4 top ps which may assist you...
TIP 1—Building Your Shower
This product is suitable for a DIY build, providing you are condent in your DIY abilies. Please look through this build guide and decide
on whether you feel condent in undertaking this task. If you are not, seek the services of a professional and show them these
instrucons before hiring.
TIP 2—Hard Water
Due to the nature of this product we highly advise the purchase and ng of a water soener.
(Please note: limescale build up may cause damage to your shower and will not be covered under warranty)
TIP 3—Installaon
These showers are designed to be free standing and movable from their locaon should you have the need to replace anything.
ALWAYS USE Flexible braided water inlet pipes (not supplied) and not central heang plasc type! Get your WRAS Approved Flexible
Braided Hoses here. (www.insigniashowers.com/wras-approved-braided-hoses.html)
NEVER FIX with rigid pipes, NEVER FIX the unit to the wall or oor.
TIP 4—Sealing
When using Insignia’s RubberGum, please ensure the product does not come in contact with your silicone as this will cause the
RubberGum to fail and will not adhere as intended. Rubbergum is immediately waterproof and will gain addional strength over me.
www.insigniashowers.com Last Modied: 11/05/2021
06
www.insigniashowers.com Last Modied: 11/05/2021
07
We recommend a BAR pressure between 2.5 and 3.4 BAR. If
you have a combi boiler system no problem should be
experienced. If you have a gravity feed older type installaon
(hot water tank type usually less than 1 BAR) you will almost
certainly need a pump. We cannot advise on which type of
pump is used, locaon or design because all house plumbing
layouts vary. This is a job for your installer/plumber. The end
delivery however must fall within the scope above.
Important Note Do not exceed 3.4 BAR pressure under any
circumstances. Warranty is void if so as damage will occur. If
you have a combi supply, please use a pressure reducing valve
if required to lower the BAR pressure to the shower.
Please Remember that this product is free standing and is
designed to be pulled away from the wall.
The waste hose must be of a exible type (1m exible waste
supplied).
The water supply pipes must be that of a exible braided type
(not supplied).
DO NOT OVERTIGHTEN THE BRAIDED HOSES AS IT CAN CAUSE
THE CONNECTION TO POP AFTER A FEW WEEKS OF USE.
Always t easy to get to isolaon taps on both hot and cold
water supply (not supplied). Just like a dishwasher or washing
machine, this product MUST be isolated when not in use.
• Scissors
• Knife
• Spirit Level
• Tape Measure
Pressure/Water Requirements Tools Required
• RubberGum (supplied)
• Plumbers Mait (not supplied)
• Hot and cold isolaon valves (not supplied)
• 2x Braided hoses (not supplied) Steam version
requires 3. If you haven’t purchased these already,
simply click the following link below or copy in to
any web browser. For ease we have listed the
required pack below for your install.
• Shower cabins require pack 1
hps://www.insigniashowers.com/wras-approved-
braided-hoses.html
Parts Required
You will require:
• Philips Screwdriver
• Electric Drill
• Safety Gloves
• Safety Glasses
www.insigniashowers.com Last Modied: 11/05/2021
08
What’s in the Boxes?
Box Contents Quanty
Tray Shower Tray
Waste + Hose
Glass Shelf
Riser Rail for hand shower
Screw Pack
Flexible seal (12mm)
Flexible seal (7mm)
Shower hose
1
1
1
1
1
2
2
1
[ ]
[ ]
[ ]
[ ]
[ ]
[ ]
[ ]
[ ]
Glass Room Glass Doors
Front Fixed Glass
2
2
[ ]
[ ]
Column Complete Column
Hand Shower
1
1
[ ]
[ ]
Backwalls Le Back Panel
Right Back Panel
1
1
[ ]
[ ]
Screw Pack Contents
Product Code Descripon Quanty
SP097 Door Handles 2
SP276
SP276A
SP072
Twin Door Wheels Non-Push
Twin Door Wheels Push buon
Door stops
4
4
8
ST10 10mm Screws 8
ST16 16mm Screws 28
ST20 or WN20 20mm Nut and Bolt or Wing Nut 12
SW9 Small Washers 20
DB9 Drill Piece 1
Framework Top Rail
Boom Rail
Outer Fixed Uprights
Inner upright posts
Magnec door seals
Rear ap door seals
Framework Securing Clips
1
1
2
2
2
2
4
[ ]
[ ]
[ ]
[ ]
[ ]
[ ]
[ ]
Roof Roof with ngs 1[ ]
VERY IMPORTANT
Have you got everything? If not please contact the Insignia directly on 01908 317 512.
Remember NEVER book your tradesman unl everything has arrived, been checked and is
present. No replacement/missing parts can be obtained free of charge during or aer the
build. Any claims can only be within the mescale permied (48 hours aer delivery) and
always BEFORE build.
www.insigniashowers.com Last Modied: 11/05/2021
09
Twist to adjust
Step 1 — Level the Tray and connecng the waste
www.insigniashowers.com Last Modied: 11/05/2021
10
Step 2 — Connecng framework
Wider rail on top
Narrow rail at the boom
1
2
3
Internal View
Framework securing clips x4
www.insigniashowers.com Last Modied: 11/05/2021
11
Step 3 — RubberGum the tray
Apply RubberGum to raised
secons of the tray and remove
backing paper.
Step 4 — Fix framework to the tray
PRESS FRAME
DOWN FIRMLY
ONTO THE
RUBBERGUM.
www.insigniashowers.com Last Modied: 11/05/2021
12
ST16 x12
Step 5 — Connecng the back panels
DO NOT SCREW BACK PANELS TO THE TRAY.
PRESS PANELS
DOWN FIRMLY
ON TO THE
RUBBERGUM.
www.insigniashowers.com Last Modied: 11/05/2021
13
Step 7 — Column Connecon
Rear View (aach nuts and bolts or wing nuts from rear)
Below diagram shows the nut/bolt install
————————
SW9 x 12
ST20 x 12
or
WN20 x 12
————————
or
www.insigniashowers.com Last Modied: 11/05/2021
14
Step 8 — Fixed Glass Connecon
Slide glass in Aach Upright
Use outer hole x
Internal View
x
x
Repeat process for other side
ST16 x 2
www.insigniashowers.com Last Modied: 11/05/2021
15
Step 9 — Fing the glass seals
Fit seal inside the shower between the glass and framework
Step 10 — Fing the door stops Internal View — Top Rail
Internal View — Boom Rail
ST10 x8
SP072 x8
2x 7mm Seals
12mm 7mm
2x 12mm Seals
www.insigniashowers.com Last Modied: 11/05/2021
16
Step 11 — Aaching the Roof
ST16 x6
Screw from the rear
Step 12 — Fit door handles, seals
and magnets
www.insigniashowers.com Last Modied: 11/05/2021
17
Step 13 — Fit top door wheels x 4
Slide cover o
Door
Tighten to secure wheels
into door runners.
DO NOT OVERTIGHTEN
Step 14 — Fit boom door wheels x 4
Slide cover o
Door
Step 15 — Fing the doors
Slide covers on
www.insigniashowers.com Last Modied: 11/05/2021
18
Step 16 — Accessory Installaon
Slide cover o
Slide cover o
www.insigniashowers.com Last Modied: 11/05/2021
19
Monsoon Head
Jets
Cold Water Inlet Hot Water Inlet
Step 17 — Valve/Water Connecons
Hand Shower
2 x Washers located on
the back of the valve
Connection for steam generator
(steam version only)
www.insigniashowers.com Last Modied: 11/05/2021
20
Now your shower is assembled, there is just few steps before you can sign the shower o.
1. Please ensure all the connecons are waterght including the waste, body jets, internal and external
hoses and steam connecons (model dependent).
2. Once you are happy, check the shower funcons by switching on the overhead shower and then adjust the
selector knob (top knob) to the hand shower and then onto the body jets. Whilst the water is running, check
external hoses for any signs or water drips or leaks and ghten accordingly.
Please note, when tesng the body jets, water will shoot towards the open doors and the user.
3. Do not aim the hand shower directly at the joints of your shower as this does not fall under “normal showering
condions”. However, due to Insignia’s unique design of the shower tray, water will only leak back in to the tray
so you won’t get ooded.
4. Visually check the water ow in to the waste and adjust the feet of the tray accordingly to ensure the direcon
of the water ows towards to the waste to prevent over puddling (a small amount of puddling is normal).
5. Never use the shower unl all checks have been made and the installer is 100% happy in the knowledge no
hose leaks are present.
7. Any RubberGum which has squeezed out between the panels and the tray, simply cut o using a sharp, clean
knife blade.
6. Now push the shower from it’s base into it’s nal posion. NEVER PUSH THE GLASS OR FRAME into its nal
resng posion.
Happy Showering!
Signing off your shower

This manual suits for next models

3

Other Insignia Bathroom Fixture manuals

Insignia GT4000 User manual

Insignia

Insignia GT4000 User manual

Insignia Platinum Series User manual

Insignia

Insignia Platinum Series User manual

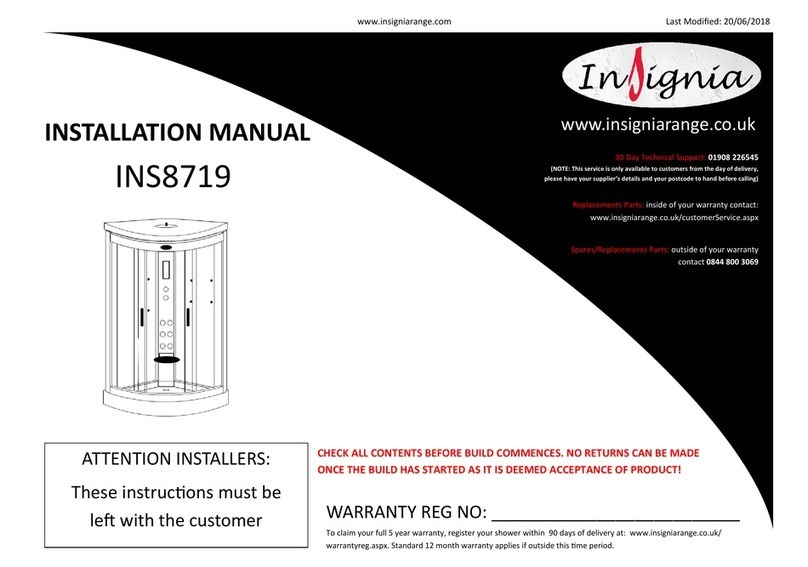
Insignia INS8719 User manual

Insignia

Insignia INS8719 User manual

Insignia 1800 Series User manual

Insignia

Insignia 1800 Series User manual

Insignia INS8058.1R User manual

Insignia

Insignia INS8058.1R User manual

Insignia MC115RT User manual

Insignia

Insignia MC115RT User manual

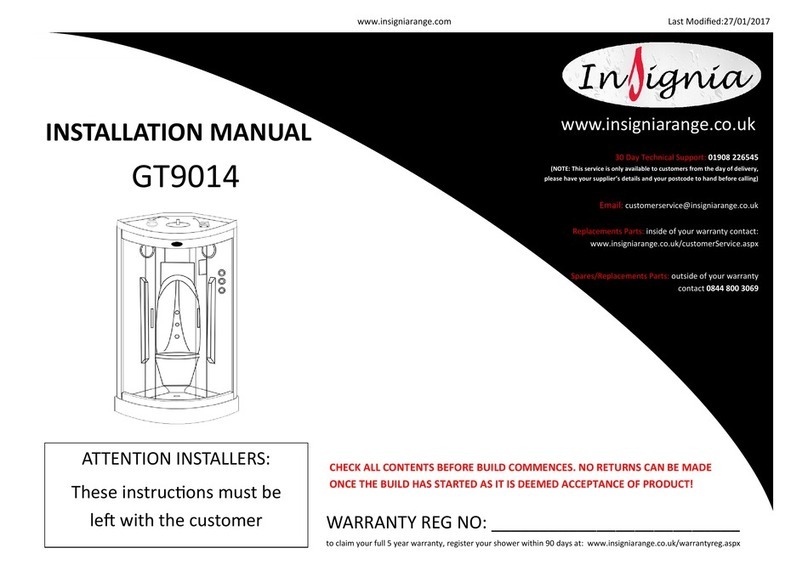
Insignia GT9014 User manual

Insignia

Insignia GT9014 User manual

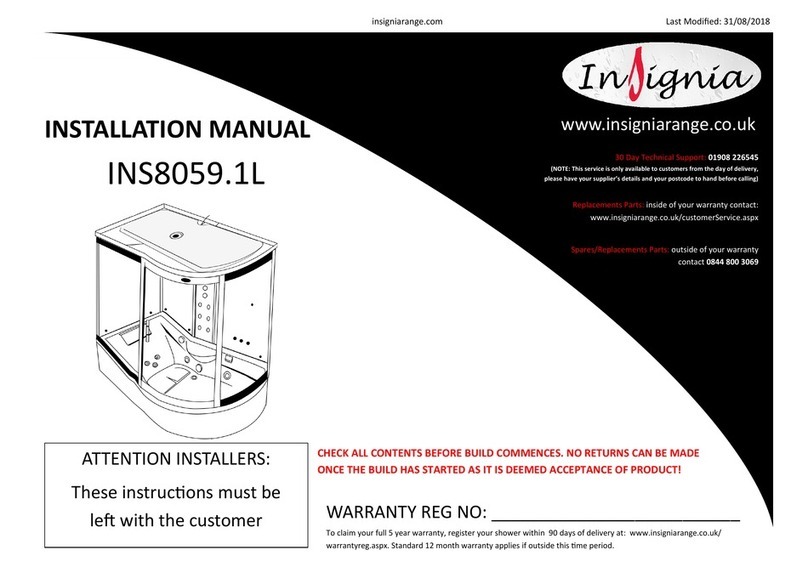
Insignia INS8059.1L User manual

Insignia

Insignia INS8059.1L User manual

Insignia Premium Series User manual

Insignia

Insignia Premium Series User manual

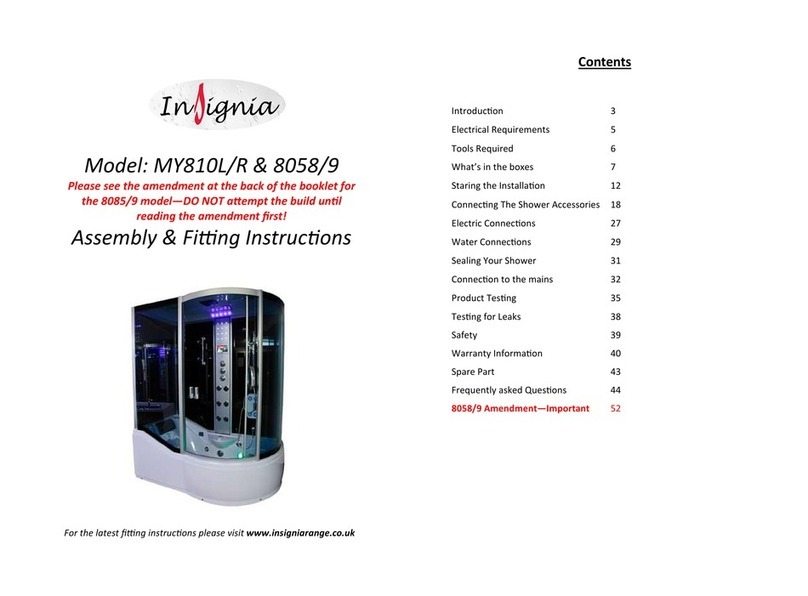
Insignia MY810L User manual

Insignia

Insignia MY810L User manual

Insignia Premium Series User manual

Insignia

Insignia Premium Series User manual

Insignia Premium Series User manual

Insignia

Insignia Premium Series User manual

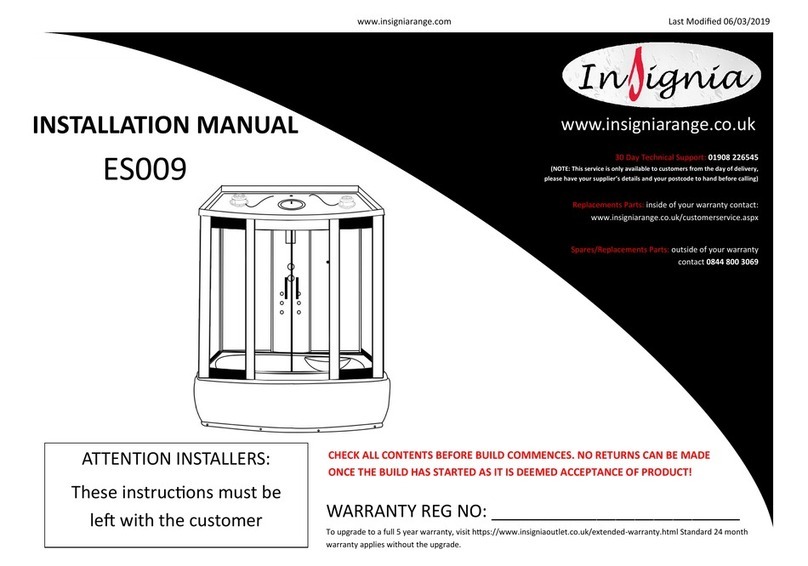
Insignia ES009 User manual

Insignia

Insignia ES009 User manual

Insignia Diamond Series User manual

Insignia

Insignia Diamond Series User manual

Insignia 1500 Series User manual

Insignia

Insignia 1500 Series User manual

Insignia GT6000 User manual

Insignia

Insignia GT6000 User manual

Insignia Monochrome Series User manual

Insignia

Insignia Monochrome Series User manual

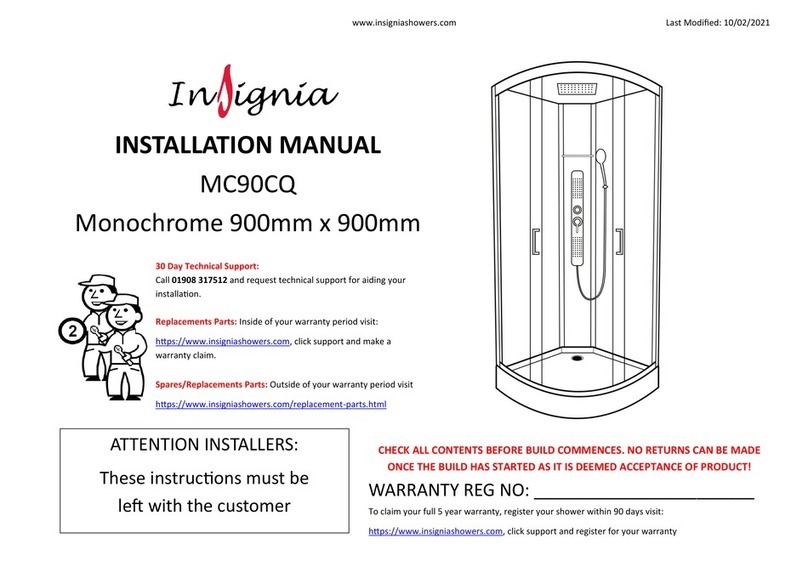
Insignia MC90CQ User manual

Insignia

Insignia MC90CQ User manual

Insignia Diamond Series User manual

Insignia

Insignia Diamond Series User manual

Insignia Platinum Series User manual

Insignia

Insignia Platinum Series User manual

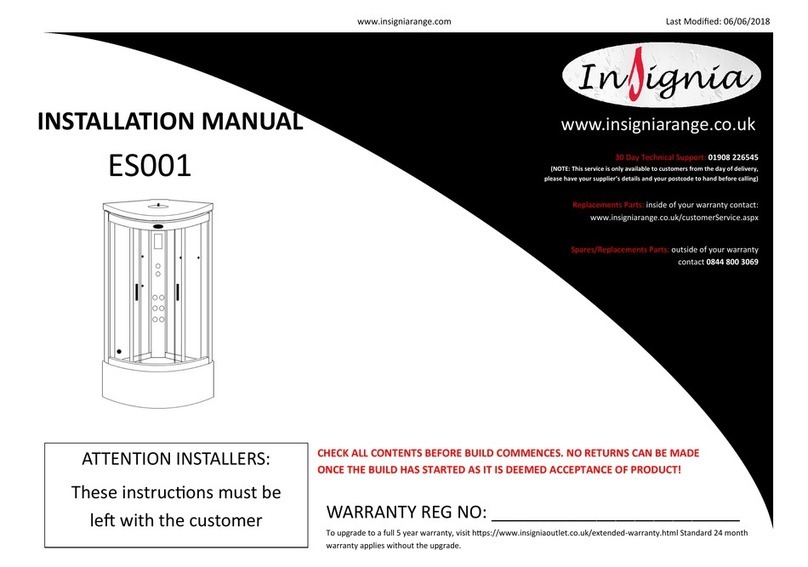
Insignia ES001 User manual

Insignia

Insignia ES001 User manual

Insignia S7804 User manual

Insignia

Insignia S7804 User manual

Insignia KSY1450 Series User manual

Insignia

Insignia KSY1450 Series User manual

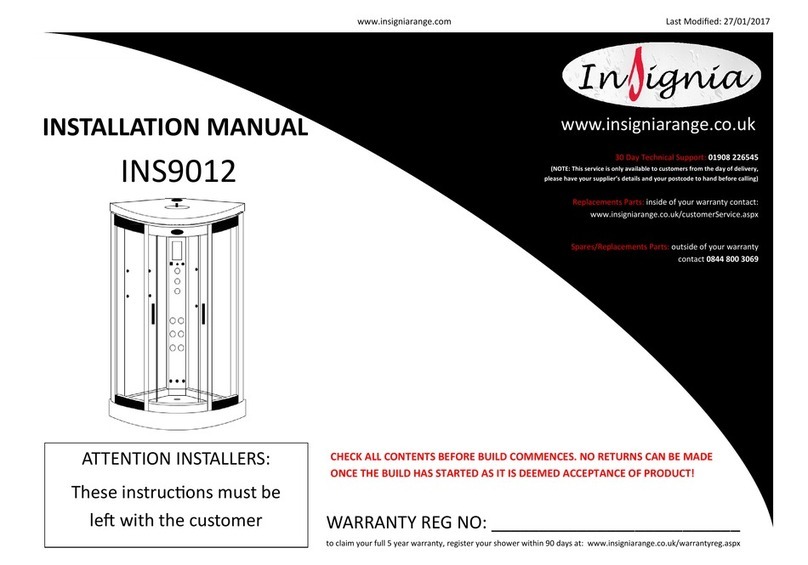
Insignia INS9012 User manual

Insignia

Insignia INS9012 User manual

Popular Bathroom Fixture manuals by other brands

KWC AVA 2.0 21.462.460.000 Installation and service manual

KWC

KWC AVA 2.0 21.462.460.000 Installation and service manual

Helvex TV-201 installation guide

Helvex

Helvex TV-201 installation guide

Santec Klassica 70847410 quick start guide

Santec

Santec Klassica 70847410 quick start guide

Steamist ChromaSense Installation and operating instructions

Steamist

Steamist ChromaSense Installation and operating instructions

Oceanic OCEACDVM37C Instruction booklet

Oceanic

Oceanic OCEACDVM37C Instruction booklet

Tenzo SL3VD-HC-XX Installation manual & users guide

Tenzo

Tenzo SL3VD-HC-XX Installation manual & users guide

Pfister KENZO RT6 Series manual

Pfister

Pfister KENZO RT6 Series manual

Kohler K-1394 Series installation guide

Kohler

Kohler K-1394 Series installation guide

Franke KWC F5ST2003 2030036209 Installation and operating instructions

Franke

Franke KWC F5ST2003 2030036209 Installation and operating instructions

METHVEN SATINJET WALL SHOWER installation guide

METHVEN

METHVEN SATINJET WALL SHOWER installation guide

CEBIEN UP-I Quick installation

CEBIEN

CEBIEN UP-I Quick installation

Franke AQRM650 Installation and operating instructions

Franke

Franke AQRM650 Installation and operating instructions

Orbit A8 Assembly guide

Orbit

Orbit A8 Assembly guide

Brizo Kintsu 693406 Series quick start guide

Brizo

Brizo Kintsu 693406 Series quick start guide

John Lewis LUX user guide

John Lewis

John Lewis LUX user guide

HAFRO COLONNA G-STEAM user manual

HAFRO

HAFRO COLONNA G-STEAM user manual

agape Novecento XL ACER1072 Assembly instructions

agape

agape Novecento XL ACER1072 Assembly instructions

Franke ANIMA ANMX500 Installation and operating instructions

Franke

Franke ANIMA ANMX500 Installation and operating instructions

manuals.online logo
manuals.online logoBrands
  • About & Mission
  • Contact us
  • Privacy Policy
  • Terms and Conditions

Copyright 2025 Manuals.Online. All Rights Reserved.