SECTION
PAGE
Adjustment
Without
removal
of parts
With removal of outer parts
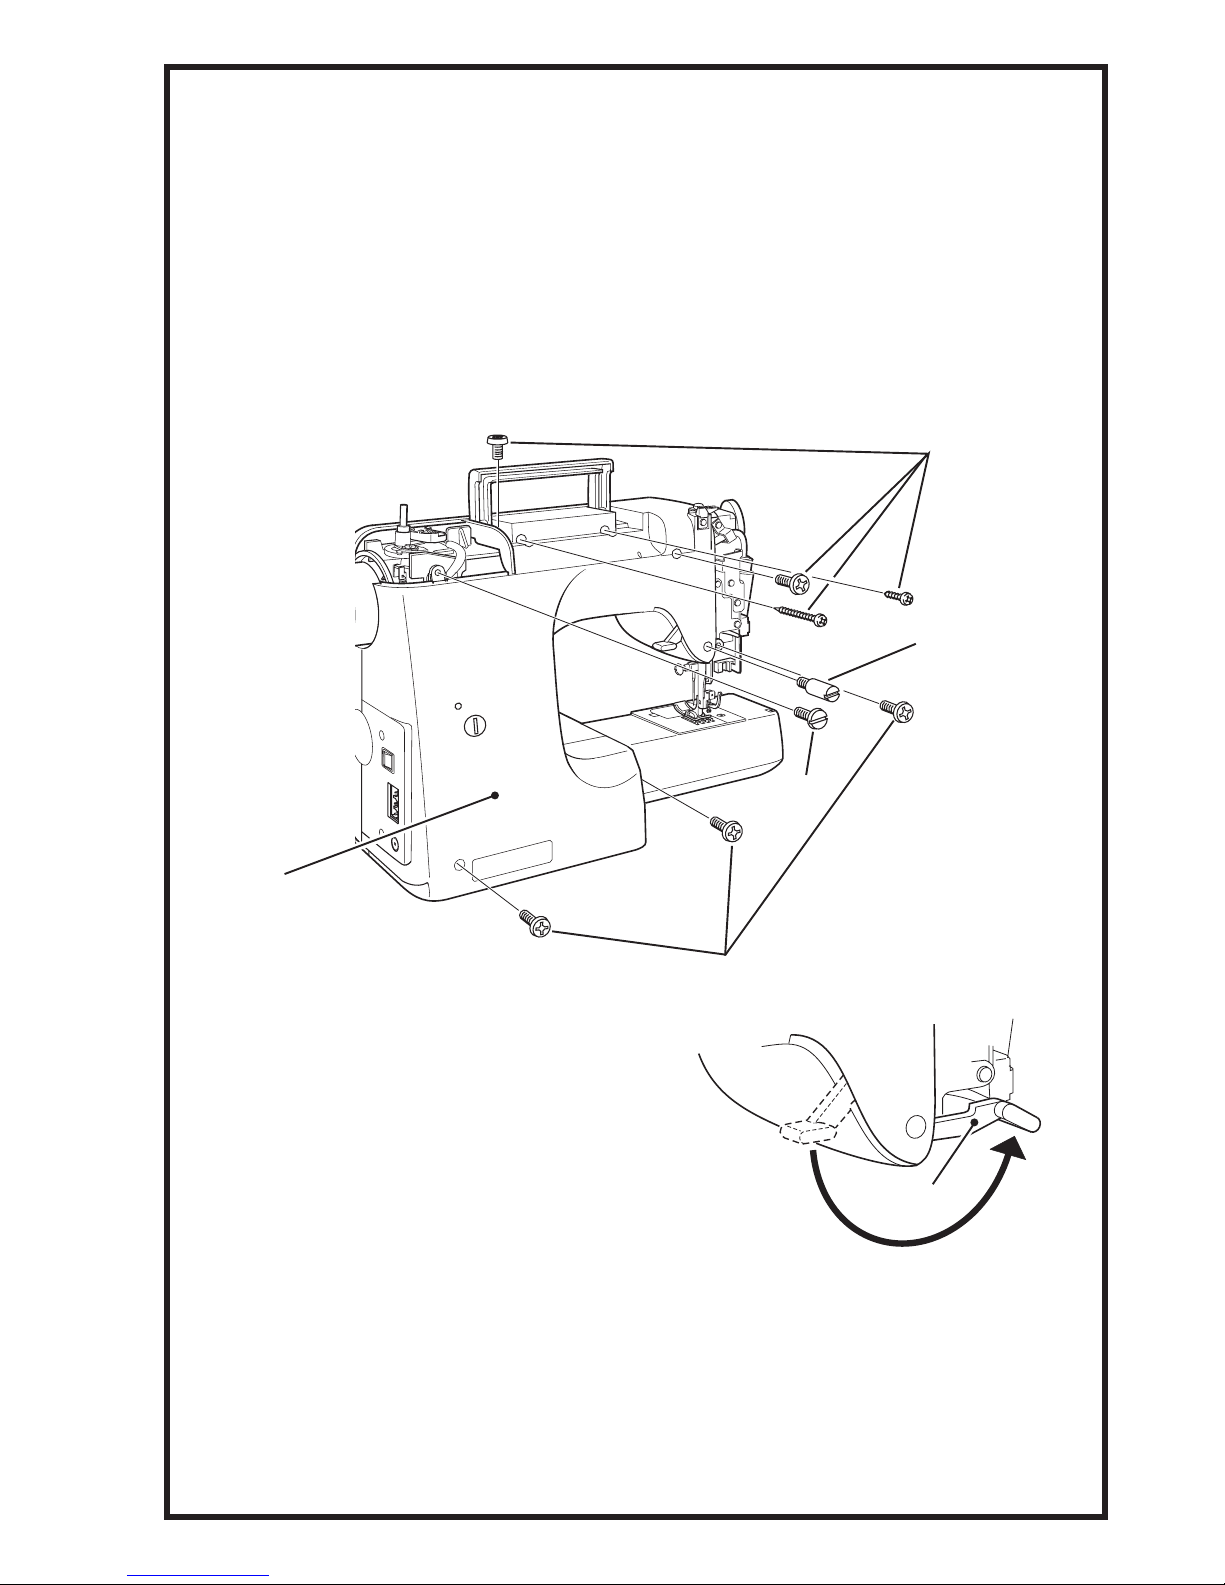
Front
cover
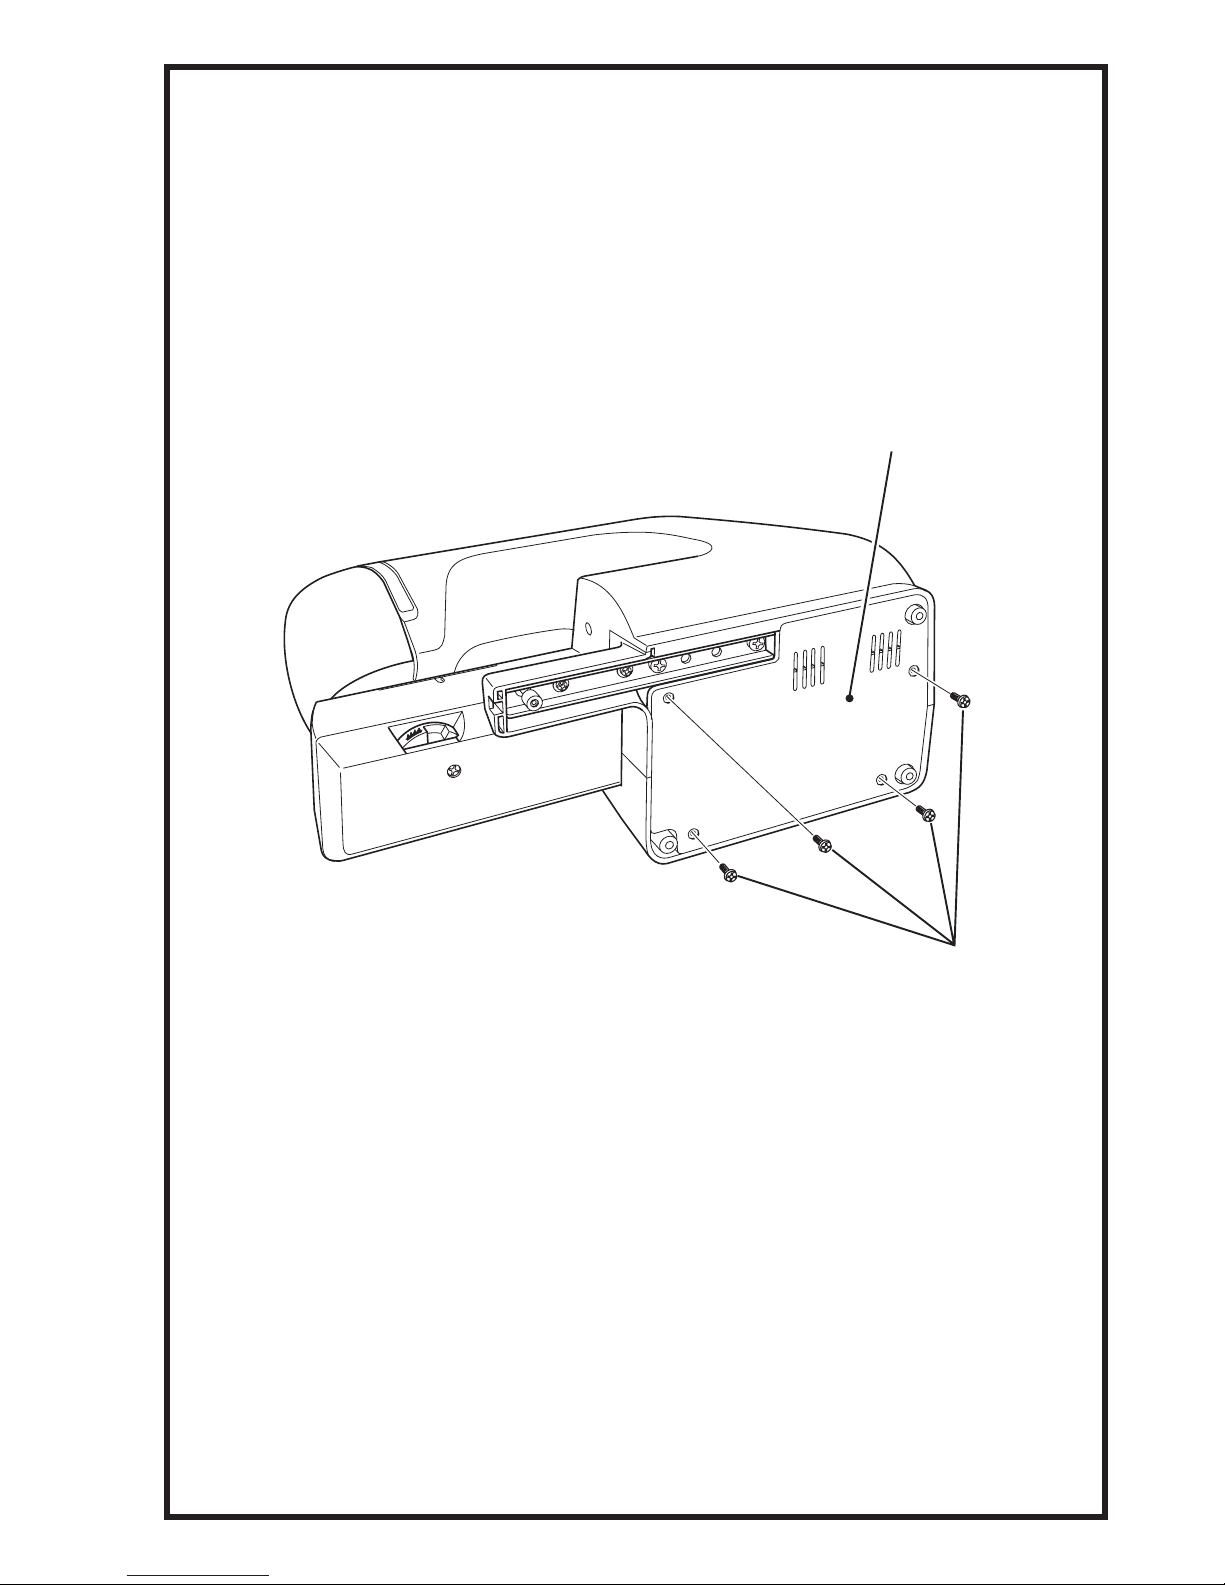
Back
cover
Face
cover
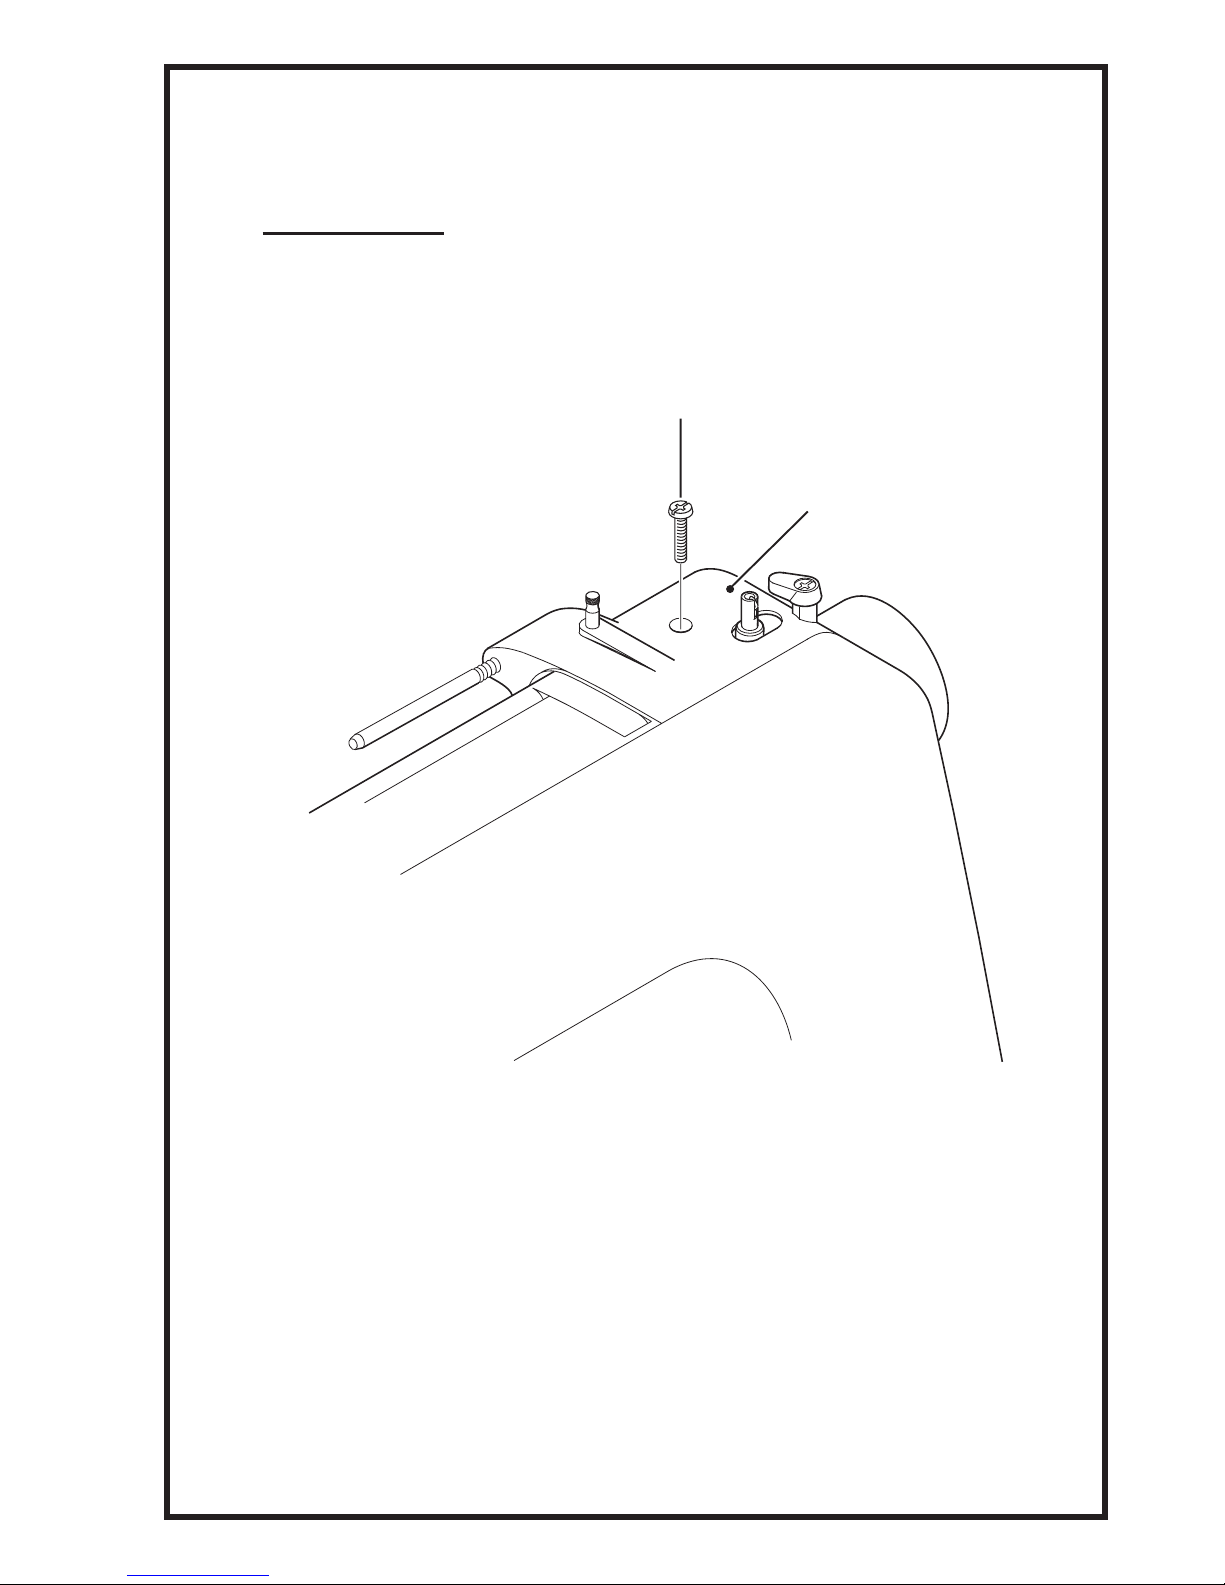
Spool
pin
stand
SV
cover
Needle
plate
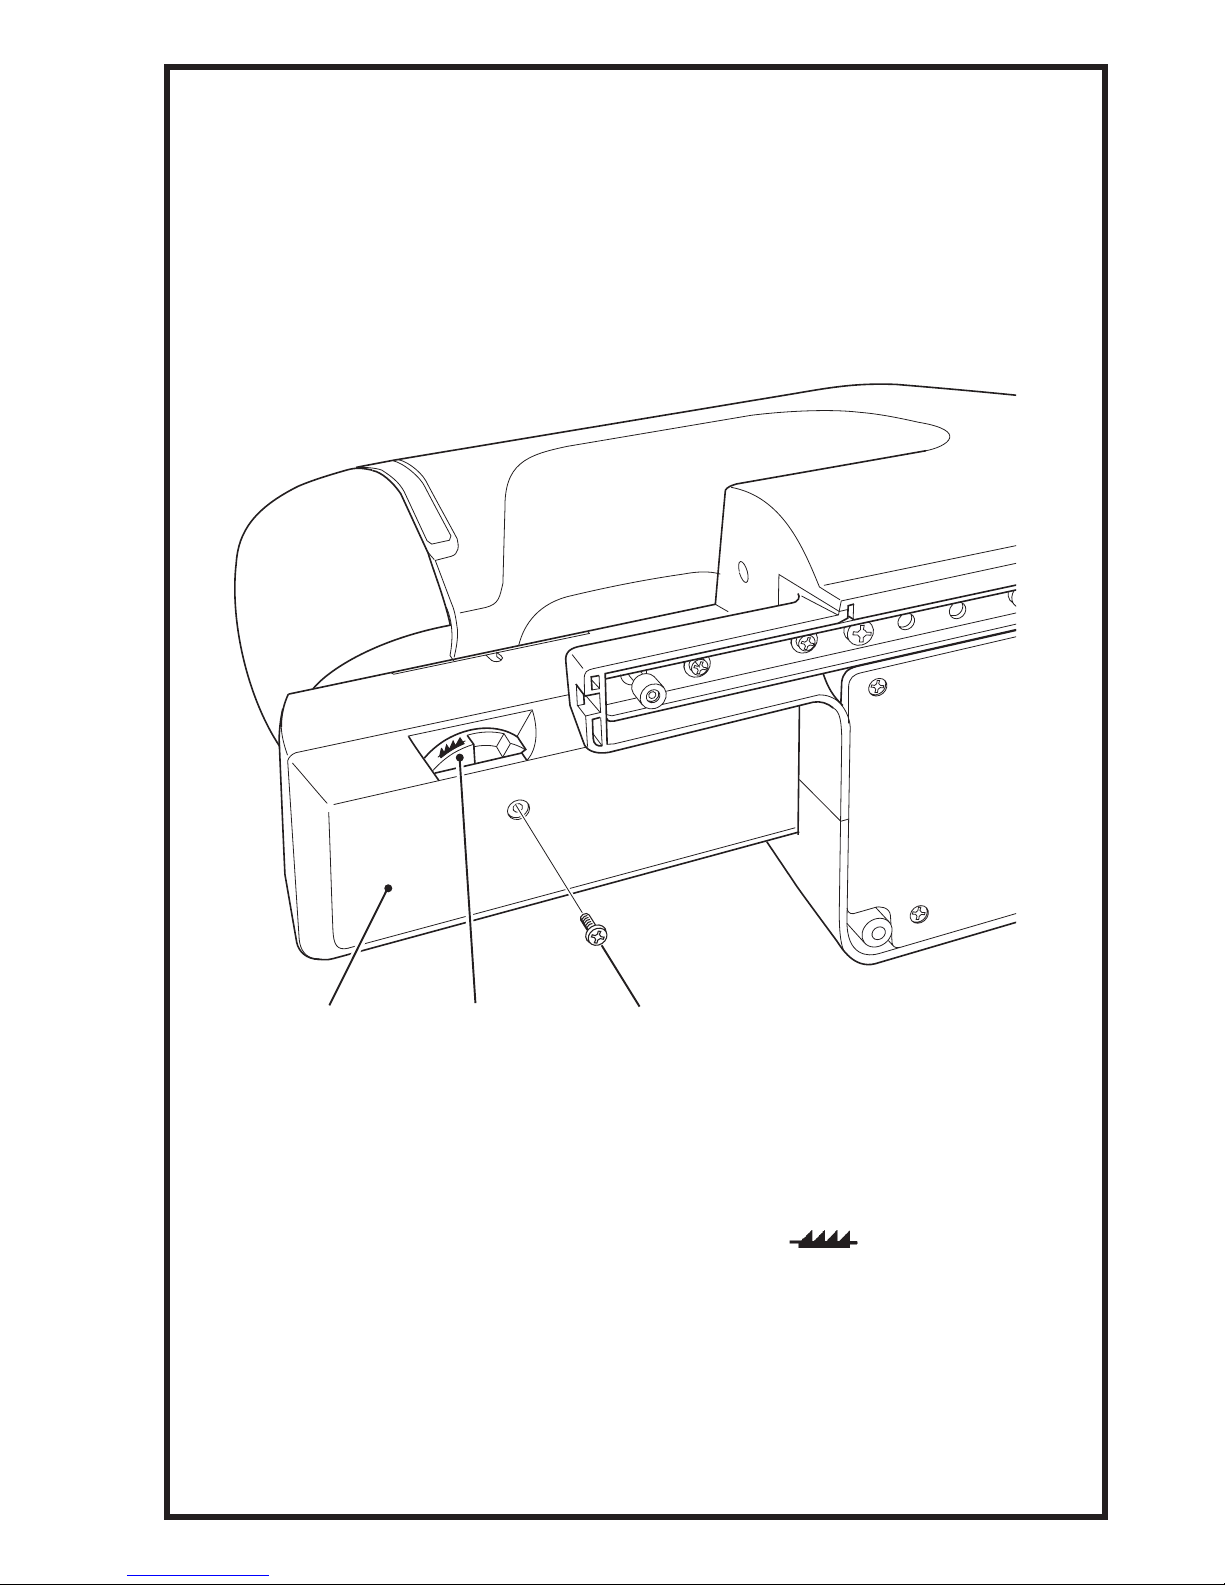
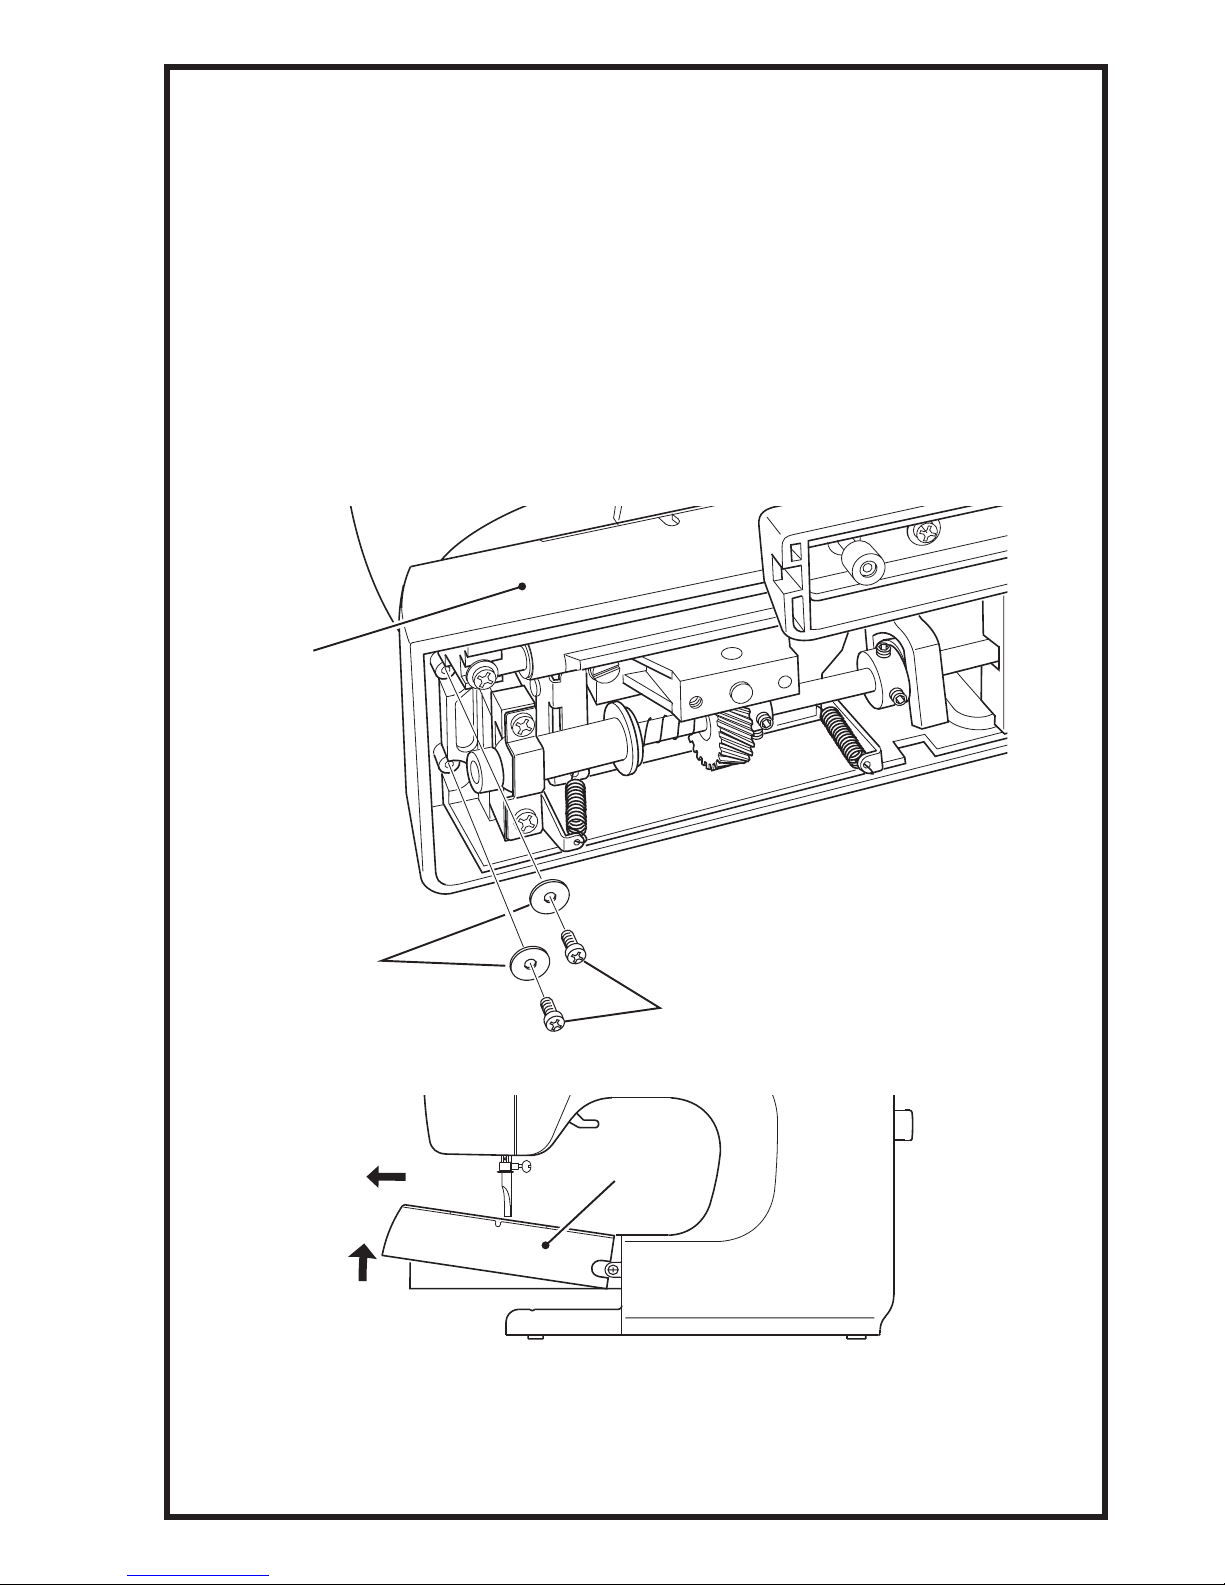
Bottom
cover
Base
cover
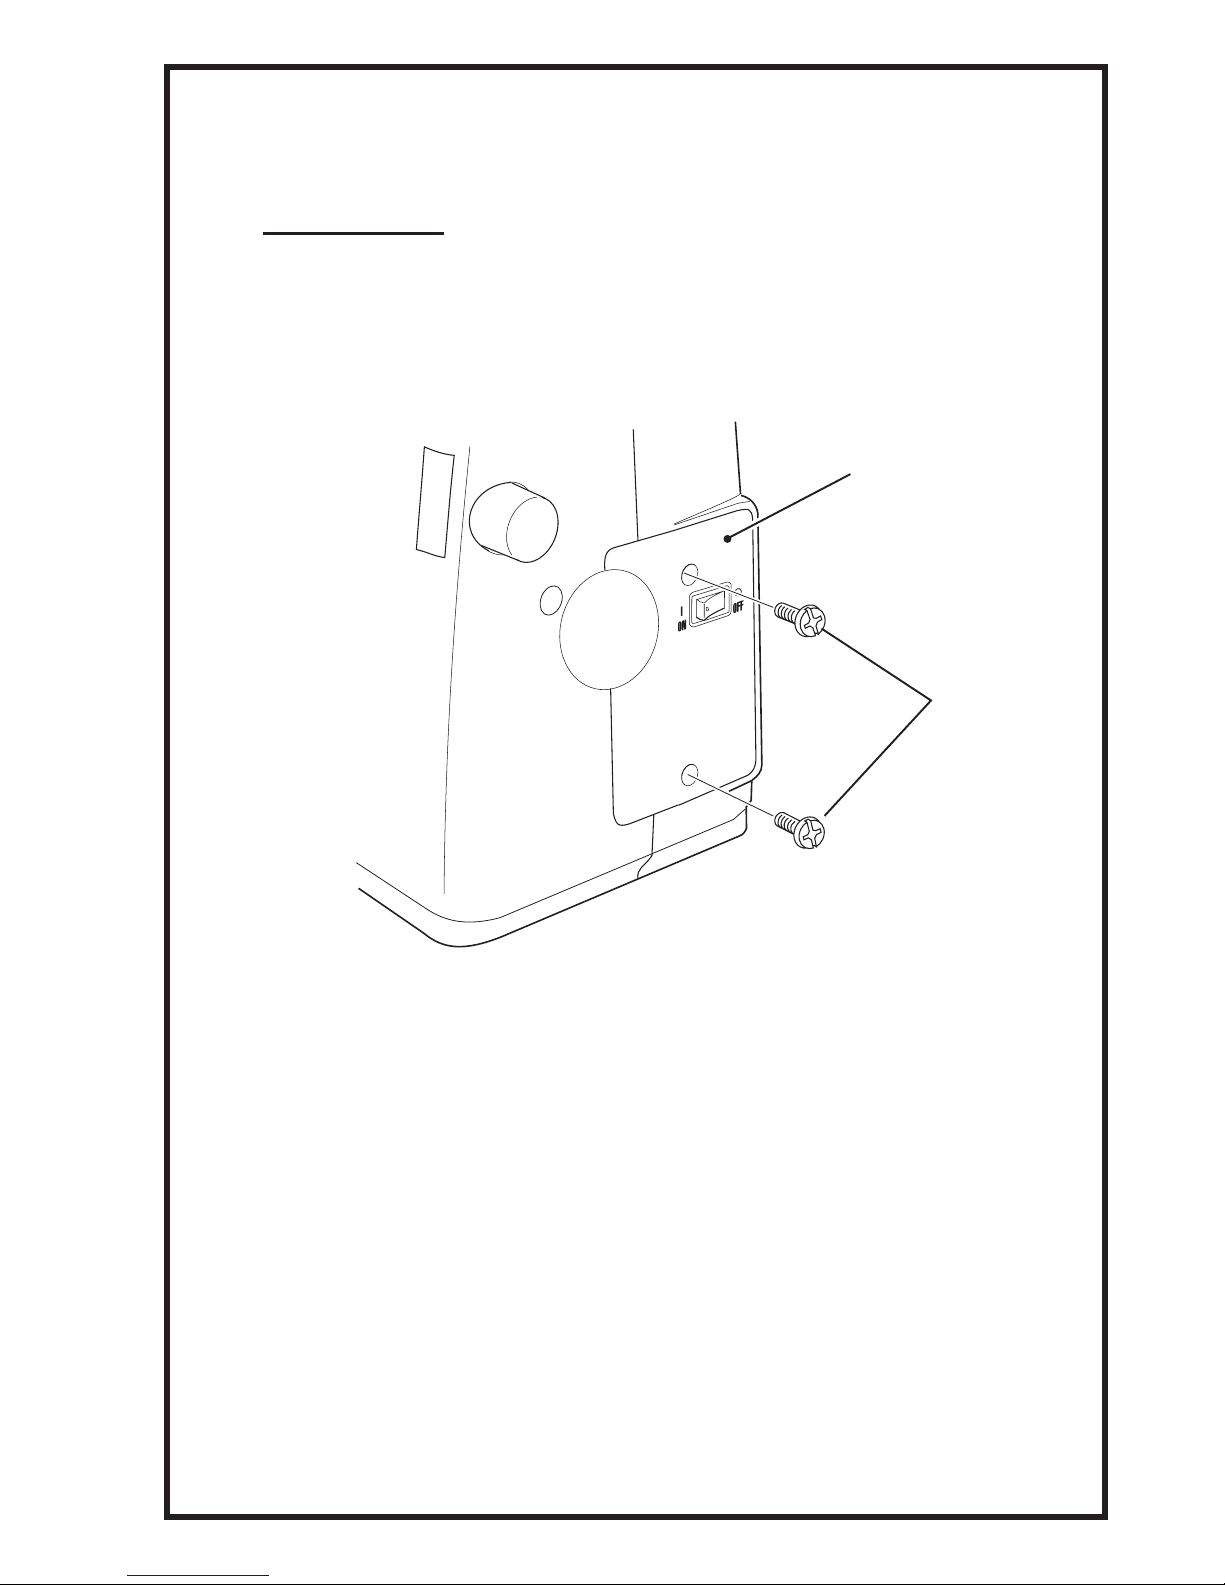
Te r m i n a l
cover
2 - 1 L-Positioner {
2 - 2 Needle Position at Straight
Stitchi ng {
2 - 3 Needle Position at Zigzag
Stitchi ng {
2 - 4 Maximum Zigzag Width {
2 - 5 Needle Side Motion {
2 - 6 Clearance between Zigzag
Cam and Cam Follower {
2 - 7 Feed Dog Height {
2 - 8 Space Between Feed dog
and Hole of Needle Plate {{
2 - 9 Feed Dog Timing Vertical
Movement {
2 - 9 Feed Dog Timing Lateral
Movement {
2 - 10
2 - 11
2 - 12 Buttonhole Sewing - '0'
Feeding (B) {
2 - 13 Balance of Stitch Length-
Stretch Stitching {
2 - 14 Presser Fot Height {
2 - 15 Needle Height {
2 - 16 Needle Clearance to Shuttle {{
2 - 17 Needle Timing to Shuttle {{
2 - 18 Adjustment of Stitch Selector {
2 - 19 Belt Tension {
2 - 20 Hooking Fork Position of
Needle Threader {
2 - 21 Bobbin Winder {
2 - 22 Buttonhole Changer {
2 - 23 Rubber Foot Height {
2 - 0
1
[ 2 ] ADJUSTMENTS
* Adjustment can be made with or without removal of outer parts.