manuals.online logo
Brands
  1. Home
  2. •
  3. Brands
  4. •
  5. Kaba
  6. •
  7. Door Lock
  8. •
  9. Kaba Saflok RT Series User manual

Kaba Saflok RT Series User manual

Other Kaba Door Lock manuals

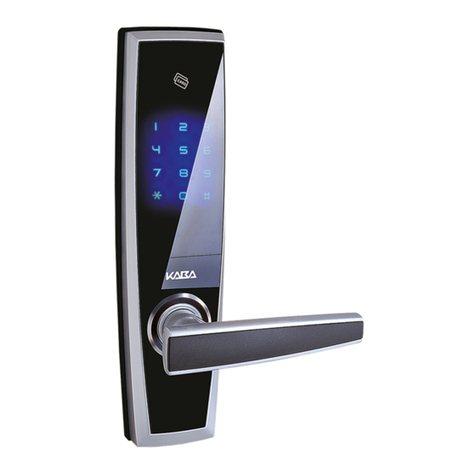
Kaba C-lever User manual

Kaba

Kaba C-lever User manual

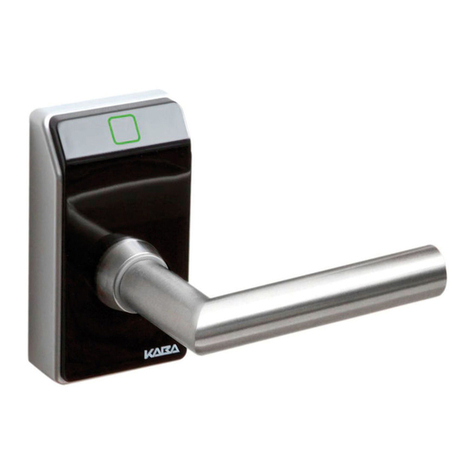
Kaba C-lever compact User manual

Kaba

Kaba C-lever compact User manual

Kaba E-PLEX 3x65 Deadlatch/Exit Mortise User manual

Kaba

Kaba E-PLEX 3x65 Deadlatch/Exit Mortise User manual

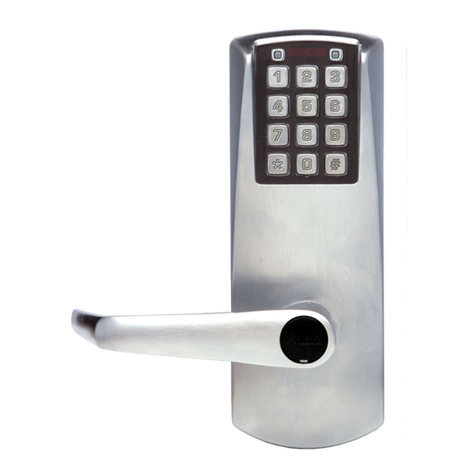
Kaba E-PLEX User manual

Kaba

Kaba E-PLEX User manual

Kaba Solitaire 710-II Series User manual

Kaba

Kaba Solitaire 710-II Series User manual

Kaba Solitaire 710-II Series User manual

Kaba

Kaba Solitaire 710-II Series User manual

Kaba 1547-K5 User manual

Kaba

Kaba 1547-K5 User manual

Kaba c-lever 2662-K5 User manual

Kaba

Kaba c-lever 2662-K5 User manual

Kaba E-Plex 5900 User manual

Kaba

Kaba E-Plex 5900 User manual

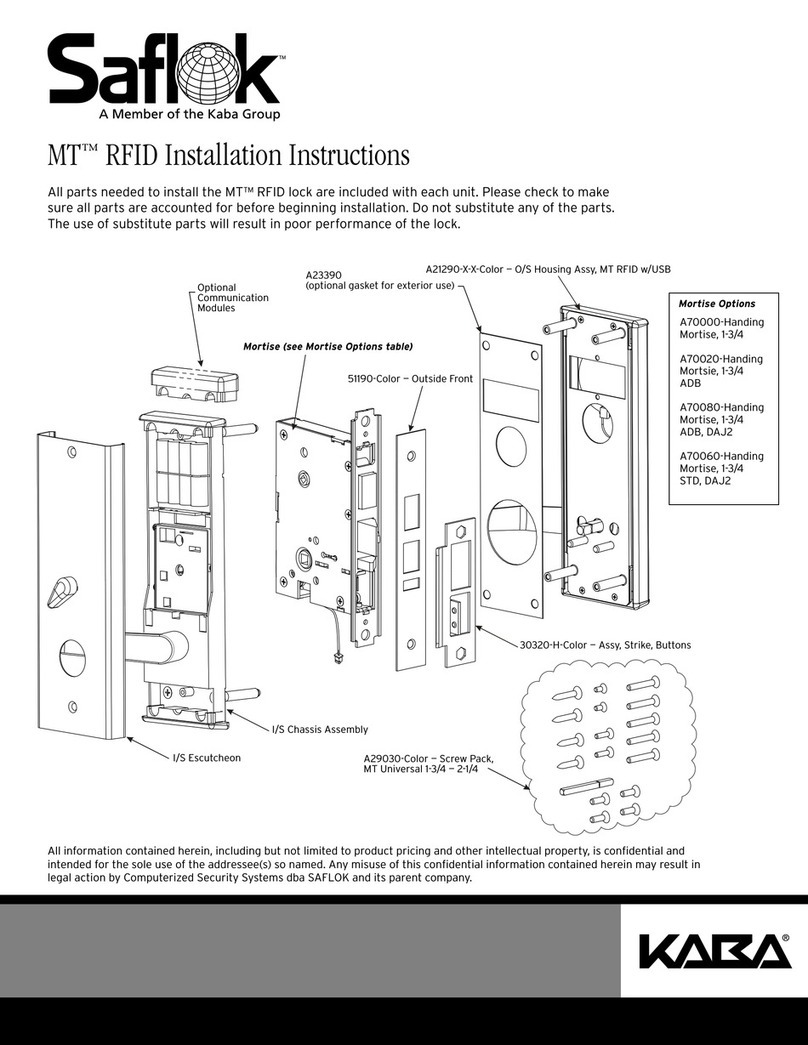
Kaba Saflok MT RFID User manual

Kaba

Kaba Saflok MT RFID User manual

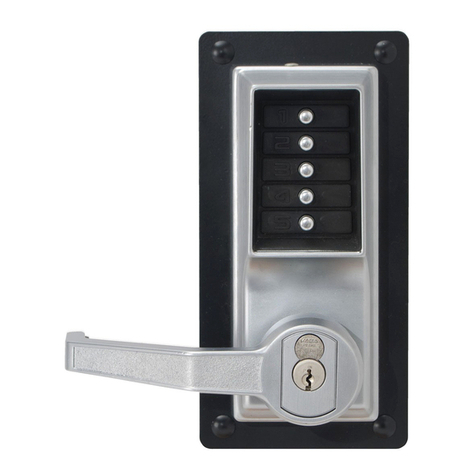
Kaba Simplex 1000 Series User manual

Kaba

Kaba Simplex 1000 Series User manual

Kaba E-PLEX STANDARD Series User manual

Kaba

Kaba E-PLEX STANDARD Series User manual

Kaba E-PLEX 2000 User manual

Kaba

Kaba E-PLEX 2000 User manual

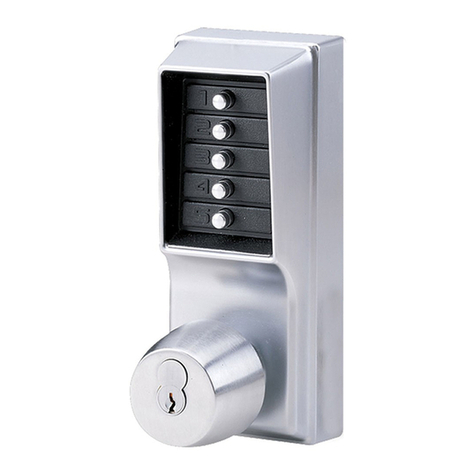
Kaba PowerLever 15 Series User manual

Kaba

Kaba PowerLever 15 Series User manual
Kaba c-lever acc. EN1906 Cl.1 User manual

Kaba

Kaba c-lever acc. EN1906 Cl.1 User manual

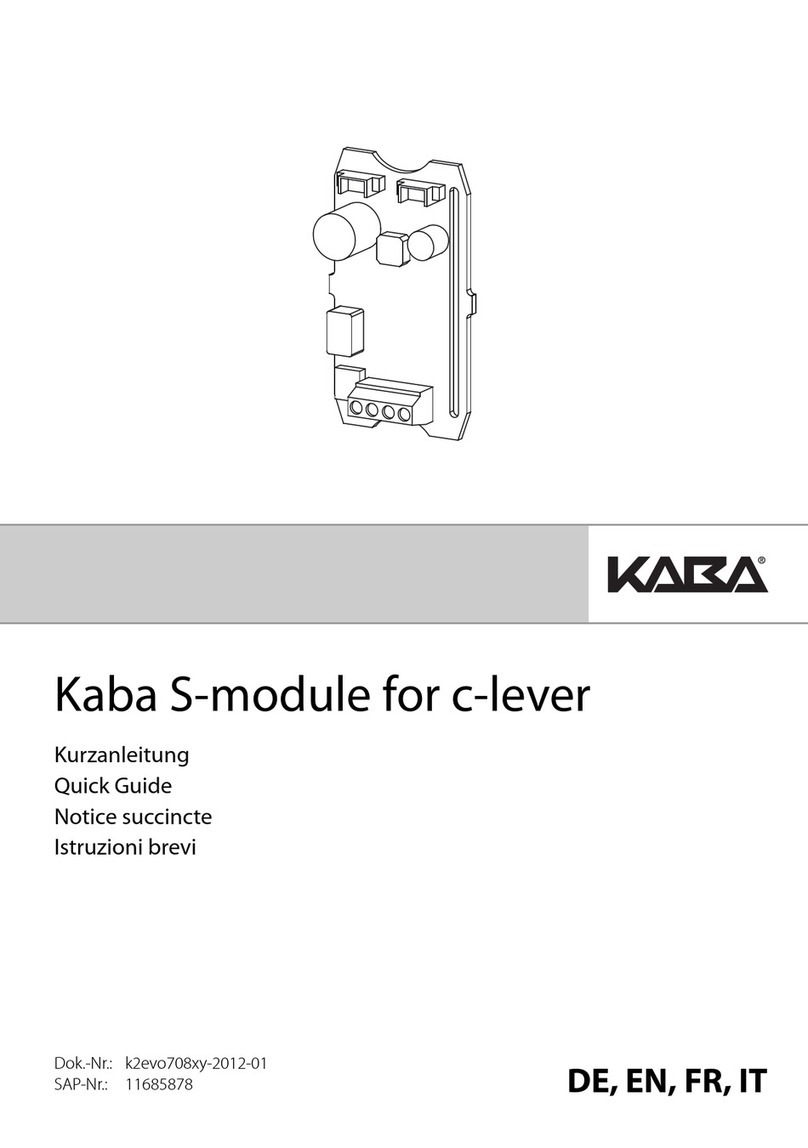
Kaba S-module User manual

Kaba

Kaba S-module User manual

Kaba Combi B 30 User manual

Kaba

Kaba Combi B 30 User manual

Kaba E-PLEX 2000 User manual

Kaba

Kaba E-PLEX 2000 User manual

Kaba Confidant RFID Kit 2 User manual

Kaba

Kaba Confidant RFID Kit 2 User manual

Kaba E-PLEX 5X51 User manual

Kaba

Kaba E-PLEX 5X51 User manual

Kaba E-PLEX 50XX SERIES User manual

Kaba

Kaba E-PLEX 50XX SERIES User manual

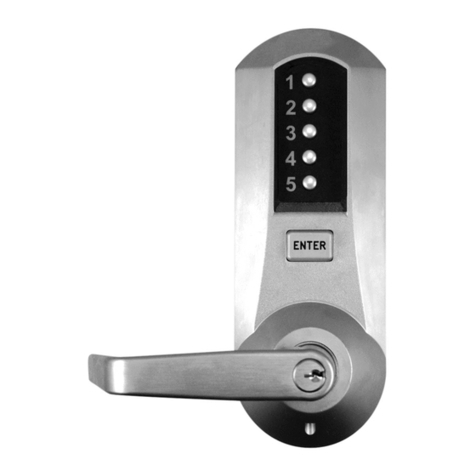
Kaba 5 00 Series User manual

Kaba

Kaba 5 00 Series User manual

Kaba 7002 Series User manual

Kaba

Kaba 7002 Series User manual

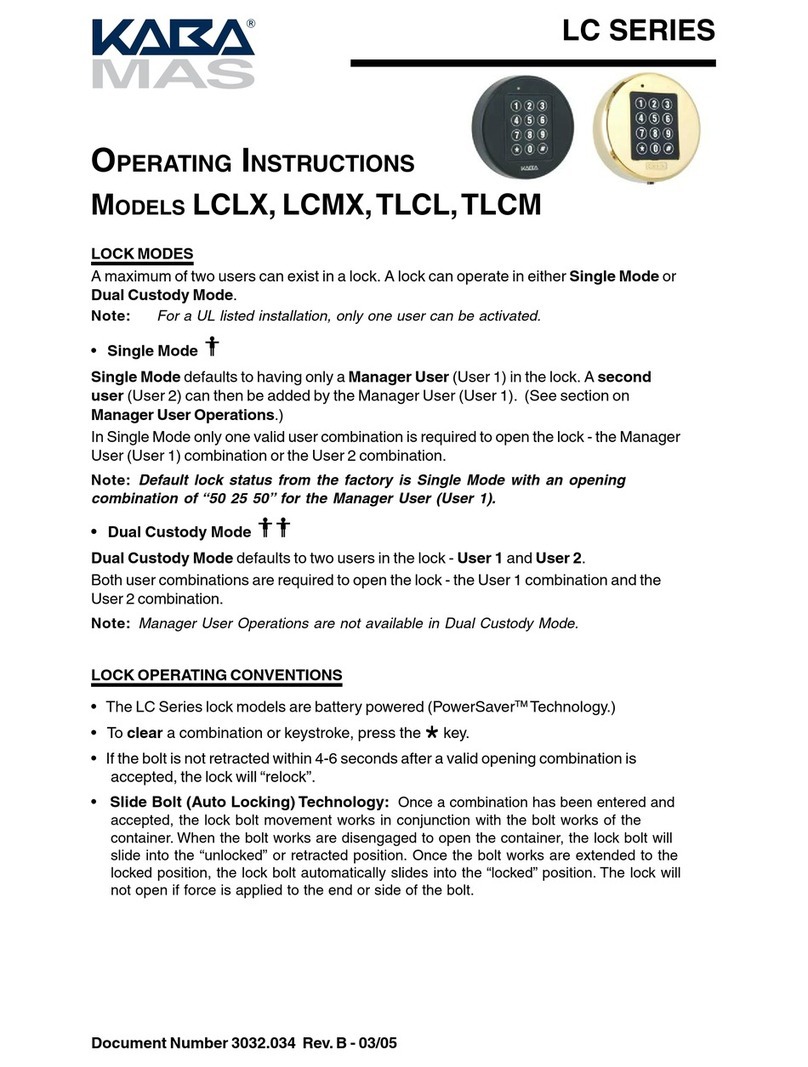
Kaba LCLX User manual

Kaba

Kaba LCLX User manual
Popular Door Lock manuals by other brands

Dorma MUNDUS PREMIUM US 10 Mounting instruction

Dorma

Dorma MUNDUS PREMIUM US 10 Mounting instruction

Defiant LG600BRA4BGT Instructions for installation

Defiant

Defiant LG600BRA4BGT Instructions for installation

TRU-BOLT M1740024 manual

TRU-BOLT

TRU-BOLT M1740024 manual

Opera ARCA SLIDE installation instructions

Opera

Opera ARCA SLIDE installation instructions

tell CODELOCK CL5500 Series installation instructions

tell

tell CODELOCK CL5500 Series installation instructions

ABH LR6000 installation instructions

ABH

ABH LR6000 installation instructions

Assa Abloy effeff 827A-IP Mounting instructions

Assa Abloy

Assa Abloy effeff 827A-IP Mounting instructions

Iseo MA1A installation guide

Iseo

Iseo MA1A installation guide

ID Lock 150 user manual

ID Lock

ID Lock 150 user manual

Lockly ACCESS TOUCH PRO user manual

Lockly

Lockly ACCESS TOUCH PRO user manual

iLoq G50S user guide

iLoq

iLoq G50S user guide

SDC Z7835 installation instructions

SDC

SDC Z7835 installation instructions

ilco 452 Installation

ilco

ilco 452 Installation

Samsung shs-h705 user guide

Samsung

Samsung shs-h705 user guide

TRU-BOLT 08102017 user manual

TRU-BOLT

TRU-BOLT 08102017 user manual

CDVI 500-LADJ quick start guide

CDVI

CDVI 500-LADJ quick start guide

Igloohome Deadbolt 2S Metal Grey Installer/user guide

Igloohome

Igloohome Deadbolt 2S Metal Grey Installer/user guide

eSSL FL-300 user manual

eSSL

eSSL FL-300 user manual

manuals.online logo
manuals.online logoBrands
  • About & Mission
  • Contact us
  • Privacy Policy
  • Terms and Conditions

Copyright 2025 Manuals.Online. All Rights Reserved.

PK3617_07_12
IMPORTANT: Wear Safety glasses before starting the replacement of parts.
RT Series Rework Installation Sheet
Current PCB
Switch
Holder
New
Cam
Protective
Bracket
New privacy
Switch
New PCB
1
4 6
A
B
C
D
5
2 3
Remove screw and take out battery pack
Remove foam, cam & screws and discon-
nect cables
Assemble New PCB
Option
Option
Option
Motor (See step 4)
Pass cables in
housing gap push
cables away from
the screw head
Place the plastic clip to hold the cables in place. Make sure
the clip is not on the cables before to hold it with the screw
Before placing PCB connect
standard cables and cables
for door option if applicable
at orientation as shown
Use screws from step 4
Override Switch
(See step 4)
Remove PCB
Remove 5 screws and take off the back
plate Assemble protective bracket and hold with
one of the 5 screws from step 2
Screw below center label
Protective Bracket
RT Series LOCK PCB + PRIVACY MECH. PARTS
1.800.999.6213
www.safloksupport.com
7
10 11
12 13
8 9
Connect privacy switch to PCB. Location
as shown
Assemble new cam. Move switch lever
(see arrow) first and assemble cam after
Remove protective bracket
Assemble back plate with 5 screws Assemble battery pack with screw
Assemble the switch holder, pass the wires
underneath it. Make sure the screw head is
underneath as shown.
Assemble privacy switch on switch holder
Switch lever orientation
Screw Head
Place Cam
orientation as shown
Align cam &
back plate
Pass cables
through back
plate hole
Side contact
Be careful that the spring does not jump and is still in its position
5X
Align marks
RT Series Rework Installation Sheet
PK3617_07_12