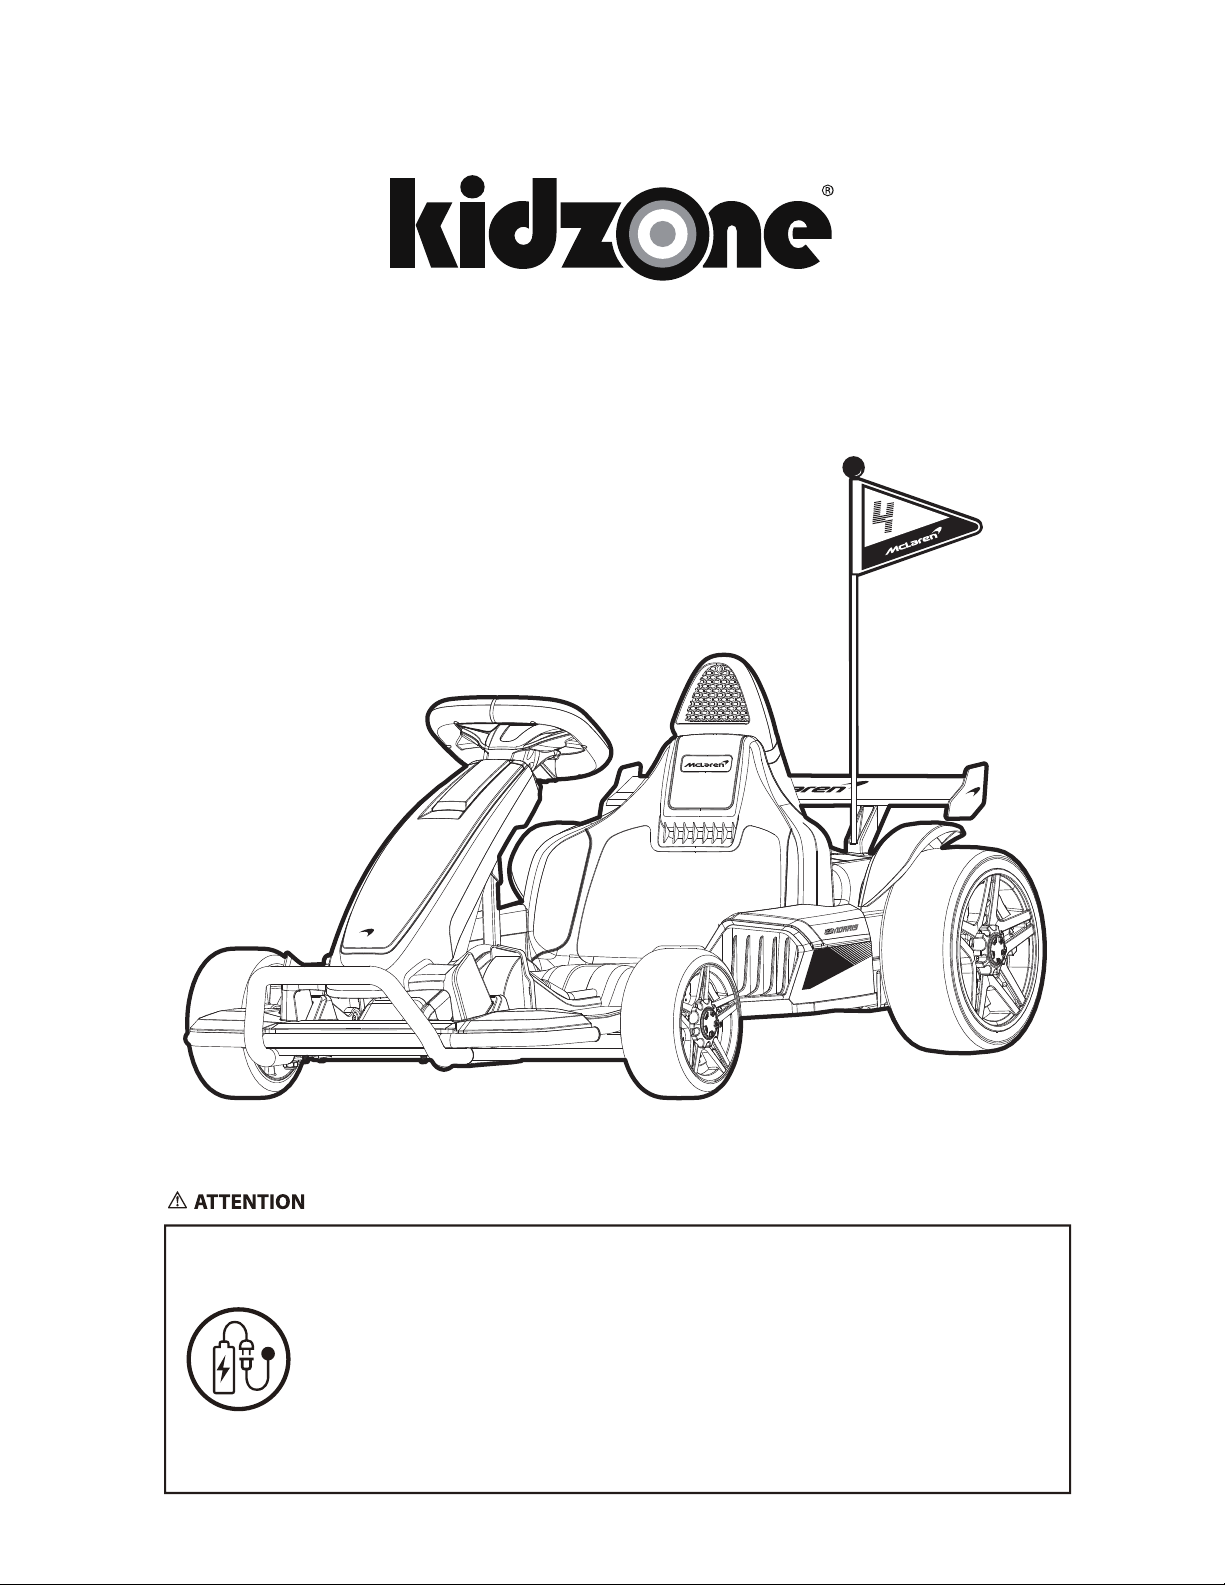
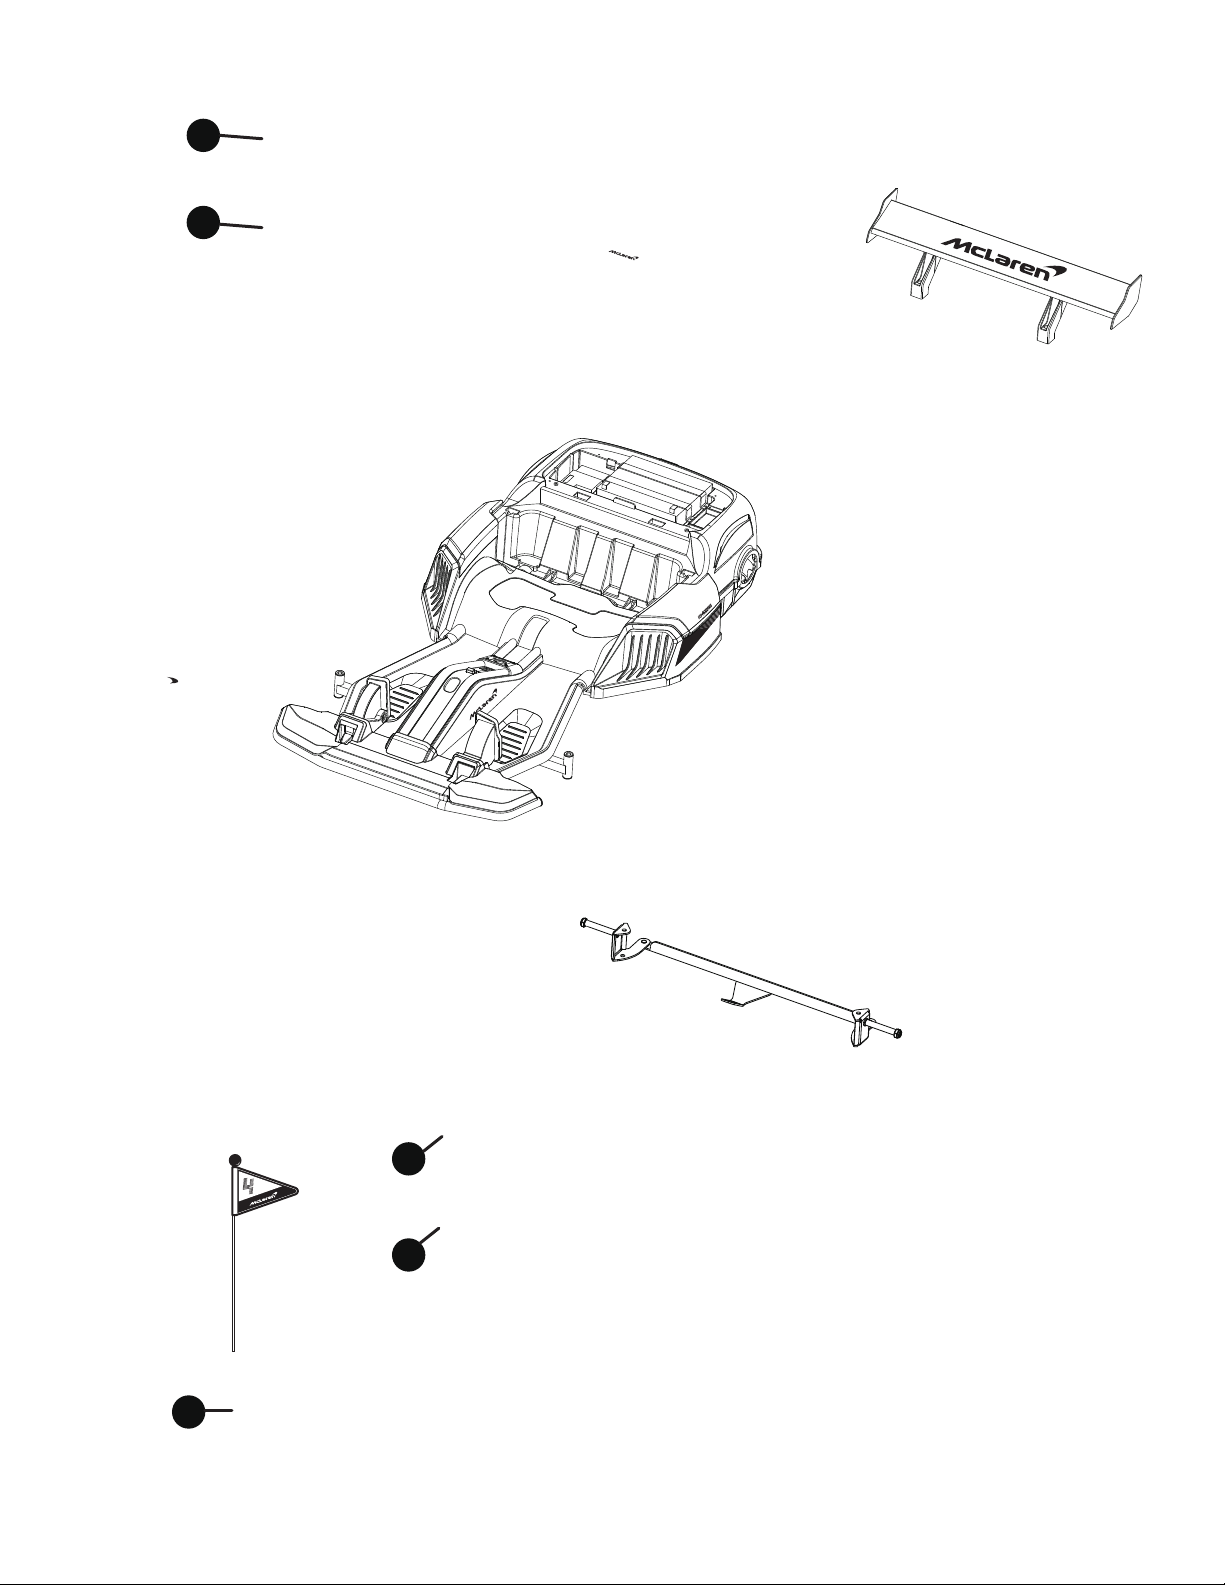
Kidzone MCL35 F1 User manual
Other Kidzone Motorized Toy Car manuals

Kidzone
Kidzone 060-ROT-02V2 User manual

Kidzone
Kidzone 060-ROT-25L User manual

Kidzone
Kidzone 360 Rotation Bumper Car User manual

Kidzone
Kidzone 060-ROT-02 User manual

Kidzone
Kidzone 060-ROT-06V2 User manual

Kidzone
Kidzone 060-ROT-09 User manual

Kidzone
Kidzone Licensed McLaren 765LT Ride ON User manual

Kidzone
Kidzone 060-ROT-17L User manual

Kidzone
Kidzone Ride On SUV w/ Personalize License Plate User manual

Kidzone
Kidzone Licensed Bentley Bacalar Ride On User manual

Kidzone
Kidzone 060-ROT-23L User manual

Kidzone
Kidzone JC111B User manual

Kidzone
Kidzone 060-ROT-01L User manual

Kidzone
Kidzone 060-ROT-06 User manual

Kidzone
Kidzone 060-ROT-02V2 User manual

Kidzone
Kidzone 060-ROT-22L User manual

Kidzone
Kidzone 060-ROT-04 User manual

Kidzone
Kidzone Licensed Bentley Bacalar Ride On User manual

Kidzone
Kidzone 060-ROT-07 User manual

Kidzone
Kidzone Licensed Audi RS6 Ride ON User manual