manuals.online logo
Brands
  1. Home
  2. •
  3. Brands
  4. •
  5. Kohler
  6. •
  7. Bathroom Fixture
  8. •
  9. Kohler BEAM K-23056T User manual

Kohler BEAM K-23056T User manual

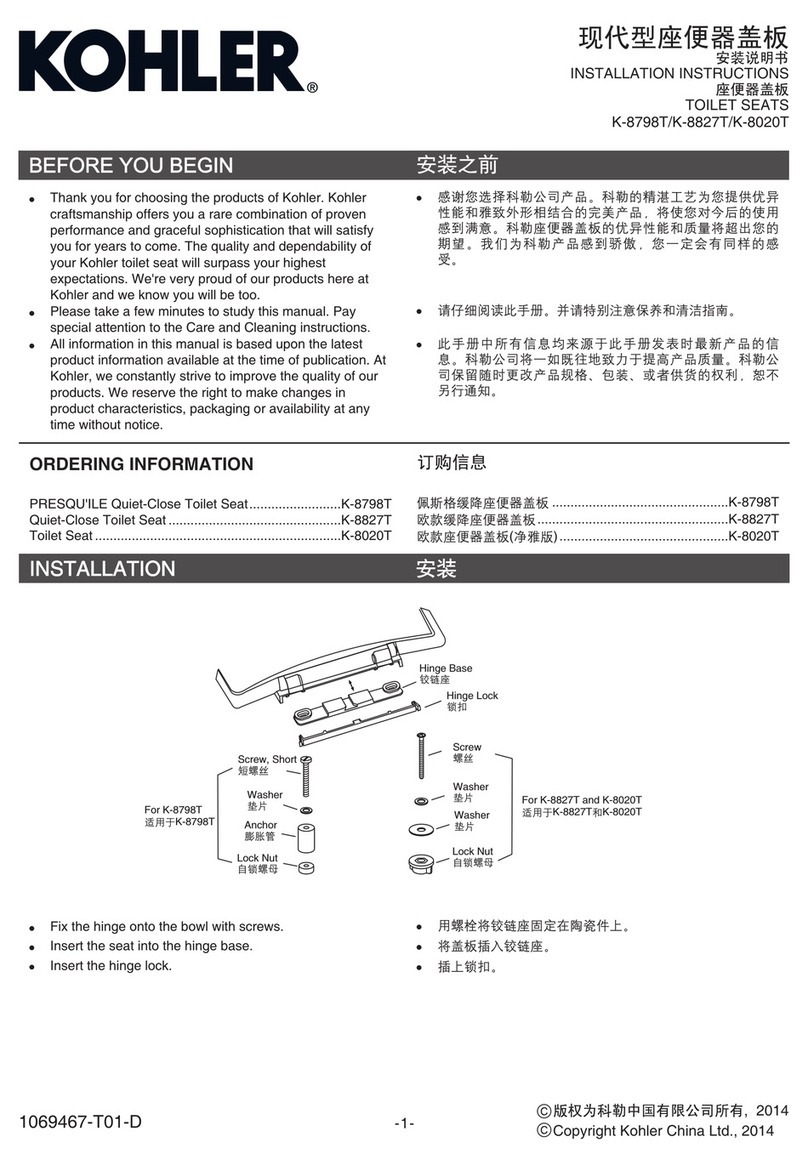
BEAM
INSTALLATION INSTRUCTIONS
SENSOR FACEPLATE
K-23056T/K-23056TW
-1-
KOHLER CHINA INVESTMENT CO., LTD NO.158, JIANG CHANG SAN ROAD,
JING'AN DISTRICT, SHANGHAI, PRC POST CODE: 200436
( ) 158 200436
©
©
Copyright Kohler China Investment Co., Ltd. 2018
2018
BEFORE YOU BEGINBEFORE YOU BEGIN
PRODUCT SPECIFICATIONSPRODUCT SPECIFICATIONS
·
·
·
·
Read installation guide in illustration and word file
carefully, and install the tank according to instructions in
the guide to avoid product damage and installation
inconvenience caused by inappropriate operation.
All data contained is based upon the last product
information available at the time of publication. Kohler
Company reserves the right to implement changes of
product characteristics, packaging and availability at any
time without further notice.
Do not apply erosive cleanser and solvent in the tank,
which will damage tank spares and result in leakage in the
tank. Kohler will not be responsible for any damage
related to above mentioned cleanser or solvent.
Do not apply spares that are not provided by Kohler, and
please note that glass adhesive tape shall not be applied
to the installation of Kohler spares. Kohler will not be
responsible for any damage related to installation with
spares not provided by Kohler.
·
·
·
·
Region/
SKU number/SKU
Rated voltage/
Rated operational voltage/
Maximum instantaneous power/
Outer dimension of product/
(L*W)
Weight of product/
Ambient temperature of usage/
Flush control board LED light color/
LED
Entry induction distance/
Exit induction distance/
Entry Induction time/
Exit induction time/
Full flush induction time/
Half flush induction time/
China/
K-23056T
220V-240V~, 50/60 Hz /
6V 10%
8W
225mm 160mm
(Length x Width) X
About/ 2 Kg
1-55 C°
Warm white 4K color temperature/
4k
700mm 30mm
900mm 30mm
1s
3~8s
60s
8~60s
Asia/ (Taiwan/ )
K-23056T (K-23056TW)
220V-240V~, 50/60 Hz (110V~, 60 Hz)/
6V 10%
8W
225mm 160mm
(Length x Width) X
About/ 2 Kg
1-55 C°
Warm white 4K color temperature/
4k
700mm 30mm
900mm 30mm
1s
3~8s
60s
8~60s
1331845-T01-B
-2-
ROUGHING-IN
PACKAGING LISTPACKAGING LIST
UNIT : mm
Kohler reserves the right to change marked dimensions without prior notice.
Reference Value
225 1.5
160 1.5
10 1
69.5 1.5
80.8 1.5
M8 2 core male connector cable to connect power
M8
M8 3 core female connector cable to conncet air pump
M8
S/No. Material No. Material Description
English
Material Description
Chinese Unit
1
2
3
4
6
7
8
5
1306552-*
1297096
1331845-T01
1331845-T8
1331137
1331114 or
1331117
1331139
1059169/
1284513/
1284514
Beam Sensor Faceplate
Positioning Plate
Installation Instruction
Service Parts Page
Pump Control Module Assy
Transformer Assy
220v or 110v
Carton Individual
Fixed Tube/
Fixation Plate/
Screw
220V 110V
/
/
1pcs
1pcs
1pcs
1pcs
1pcs
1pcs
1set
4pcs/
4pcs/
4pcs
A: Transformer Installation
Warning:
Before the in wall tank is installed, the transformer is installed
on the wall first. (It is recommended to place transformers on
the ceiling or other hidden and easy to operate places.) As
illustrated, the output connector of transformer (with 2 core
female connector) through the bushing pipe (the bushing pipe
dia. 16~ 20 is recommended) into water tank. Connect
the input terminal of transformer(black) with power supply
220V/110V AC. Customer can use the PVC pipe for wiring.
See figure
Don't mistake the input and output terminal,
or it may cause damage to the product. Insulation
measures must be taken at the connection. Otherwise,
short-circuit current may occur and damage the
transformer.
A
(2 )
16~ 20mm)
AC220V/110V
Output AC 6V
AC6V
Input AC 220V/110V (Black)
AC220V/110V ( )
Transformer Assy.
Ceiling
Bushing Pipe
Low-voltage AC
Transformer Output
Connector (In Tank)
()
1331845-T01-B
-3-
4. Install air pump assembly to faceplate, connect emergency
flush air hose to outlet pipe in faceplate. Connect output
signal cable and input signal cable together, and tighten
nut. See figure
4.
B: Faceplate Installation
1. After the transformer and the circuit are properly connected,
the in wall tank is installed according to the installation
instructions until the construction of the false wall in front of
the water tank is completed.
2. When tighten four locknuts on support board, adjust to
"OPEN" mark as shown. See figure
3. Tighten four screws to "LOCK" mark after installing support
board as shown. See figure
B
1.
2. OPEN
3. LOCK
Supporting Board
Locknut
Fixing Lock
Supporting Board
Locknut
Emergency Flush Air Hose
Input Signal Cable
Input Signal Cable
Rib A
A
Slot A
A
Slot B
B
Rib B
B
5. Install air pump assembly needs attention: the slot of
faceplate and the rib of air pump needs install properly to
correspond. (A-A/B-B) Prevent installation improperly. See
figure
6. Connect big flush air hose and half flush hose to outlet joint
in air pump assembly. Connect power output cable of
transformer and power input cable of faceplate together,
and tighten nut. Put the lock on the cover directly on the
reversed lock on support board, then push the cover and
lock it. The installation shall begin from bottom to top. See
figure
Note: Cut the excessive parts of air hose if necessary
and fix it onto the tank fastener.
5.
A-A/B-B
6.
Half Flush
Full FlushManual Flush
Transformer Power
Output Cable
Faceplate Power Input Cable
Full Flush Air Hose
Half Flush Air Hose
Faceplate
Lock
Supporting Board
Faceplate
1331845-T01-B
-4-
7. The installation of pinch plate, the pinch plate installation
provides another method for faceplate, that is, the
faceplate don't rely on the position of the in wall tank and
the mask, and can directly install the faceplate to the false
wall. The location of faceplate to refer the 1 meter high
from the finished floor to center of faceplate is
recommended. 7~20mm thickness is recommended for the
wall of the pinch plate and at least 80mm gap is reserved.
Recommended the installation hole size of
201 X 136 mm. See figure
8. The installation of mask, 4 holes with diameter of 10mm
and depth of 16mm are needed to be reserved at the
locating hose. Drill 10mm holes through air hose on the
side of mask. See figure
7.
1
7~20mm
80mm 201 X 136 mm
8. 4 10mm 16mm
10mm
+2
0+2
0
+2
0+2
0
At least 80mm gap reserved
80mm
Air hose
Pinch plate
Finished wall
Supporting
Board
7~20mm recommended
7~20mm
201
136
+2
0
+2
0
Height Suggested/ 1150 4
Finished Floor
1098 4
1066 4
1048 4
267 5
100 3
35 2
52~230
478 3
438 3
230 3
180 3
667 4
1000
205 3
Air hose
Finished
wall
Fix Mask Onto Wall
10 Hole through hose
10
10 Depth 16,
Space reserved
10 16 72
1331845-T01-B

This manual suits for next models

1

Other Kohler Bathroom Fixture manuals

Kohler K-432 Assembly instructions

Kohler

Kohler K-432 Assembly instructions

Kohler PARALLEL 23492T-4 User manual

Kohler

Kohler PARALLEL 23492T-4 User manual

Kohler Elevation 76665T-E User manual

Kohler

Kohler Elevation 76665T-E User manual

Kohler K-T12007 Assembly instructions

Kohler

Kohler K-T12007 Assembly instructions

Kohler Waterlite tower 3866 User manual

Kohler

Kohler Waterlite tower 3866 User manual

Kohler K-1805 Quick start guide

Kohler

Kohler K-1805 Quick start guide

Kohler K-T950 Assembly instructions

Kohler

Kohler K-T950 Assembly instructions

Kohler SINGULIER 10880M-4 Operation manual

Kohler

Kohler SINGULIER 10880M-4 Operation manual

Kohler STERLING SP1900A Series User manual

Kohler

Kohler STERLING SP1900A Series User manual

Kohler ARCHER 72700X-4 User manual

Kohler

Kohler ARCHER 72700X-4 User manual

Kohler K-T15601 User manual

Kohler

Kohler K-T15601 User manual

Kohler K-2440 User manual

Kohler

Kohler K-2440 User manual

Kohler K-8515 User manual

Kohler

Kohler K-8515 User manual

Kohler K-8360-BN Assembly instructions

Kohler

Kohler K-8360-BN Assembly instructions

Kohler K-T8224 User manual

Kohler

Kohler K-T8224 User manual

Kohler K-7500 User manual

Kohler

Kohler K-7500 User manual

Kohler Triton K-7307 Assembly instructions

Kohler

Kohler Triton K-7307 Assembly instructions

Kohler K-671 Assembly instructions

Kohler

Kohler K-671 Assembly instructions

Kohler FAMILY CARE K-23205T User manual

Kohler

Kohler FAMILY CARE K-23205T User manual

Kohler C3-149/K-18649T-HC-0 User manual

Kohler

Kohler C3-149/K-18649T-HC-0 User manual

Kohler K-1239 User manual

Kohler

Kohler K-1239 User manual

Kohler Finial K-316 Assembly instructions

Kohler

Kohler Finial K-316 Assembly instructions

Kohler K-2315 Assembly instructions

Kohler

Kohler K-2315 Assembly instructions

Kohler K-960 User manual

Kohler

Kohler K-960 User manual

Popular Bathroom Fixture manuals by other brands

Lenoxx TR100 instruction manual

Lenoxx

Lenoxx TR100 instruction manual

Moen 3865 Series installation guide

Moen

Moen 3865 Series installation guide

Panasonic DH-3VL1 Operating and installation instructions

Panasonic

Panasonic DH-3VL1 Operating and installation instructions

Sanela SLU 22B Instructions for use

Sanela

Sanela SLU 22B Instructions for use

Hans Grohe Raindance S 100 3-Jet 04340 0 Series Installation/User Instructions/Warranty

Hans Grohe

Hans Grohe Raindance S 100 3-Jet 04340 0 Series Installation/User Instructions/Warranty

Eastbrook CORINIUM ROUND instruction manual

Eastbrook

Eastbrook CORINIUM ROUND instruction manual

GRE AR1035W instruction manual

GRE

GRE AR1035W instruction manual

NOVUM EDGE J3 Series Installation

NOVUM

NOVUM EDGE J3 Series Installation

Bristan 1500 Installation instructions and user guide

Bristan

Bristan 1500 Installation instructions and user guide

Hans Grohe Raindance Rainfall 150 Instructions for use/assembly instructions

Hans Grohe

Hans Grohe Raindance Rainfall 150 Instructions for use/assembly instructions

FROST NOVA2 FITTING INSTRUCTION

FROST

FROST NOVA2 FITTING INSTRUCTION

Signature Hardware BEASLEY SHOWER 948689 manual

Signature Hardware

Signature Hardware BEASLEY SHOWER 948689 manual

Arrow DOOR 523n-70 installation manual

Arrow

Arrow DOOR 523n-70 installation manual

Relax Light 67-B1 Assembly instructions

Relax

Relax Light 67-B1 Assembly instructions

OVE BEL 34 installation manual

OVE

OVE BEL 34 installation manual

Triton Aspirante 8.5kW Installation and operating instructions

Triton

Triton Aspirante 8.5kW Installation and operating instructions

Sanela 93044 Instructions for use

Sanela

Sanela 93044 Instructions for use

Camargue 28590743 manual

Camargue

Camargue 28590743 manual

manuals.online logo
manuals.online logoBrands
  • About & Mission
  • Contact us
  • Privacy Policy
  • Terms and Conditions

Copyright 2025 Manuals.Online. All Rights Reserved.