manuals.online logo
Brands
  1. Home
  2. •
  3. Brands
  4. •
  5. Kwikset
  6. •
  7. Door Lock
  8. •
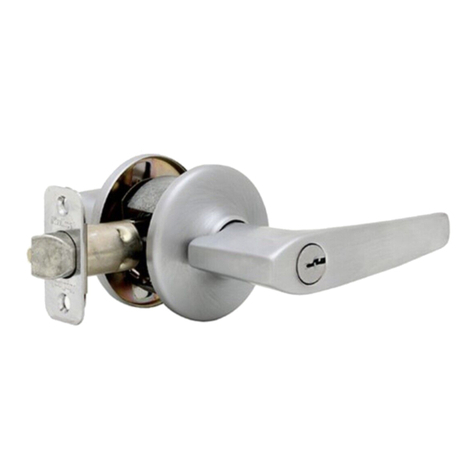
  9. Kwikset 69925-001 User manual

Kwikset 69925-001 User manual

Other Kwikset Door Lock manuals

Kwikset SMARTCODE 9260CNT-514S User manual

Kwikset

Kwikset SMARTCODE 9260CNT-514S User manual

Kwikset 599 P&T User manual

Kwikset

Kwikset 599 P&T User manual

Kwikset 62822 / 01 User manual

Kwikset

Kwikset 62822 / 01 User manual

Kwikset Smartcode 914 User manual

Kwikset

Kwikset Smartcode 914 User manual

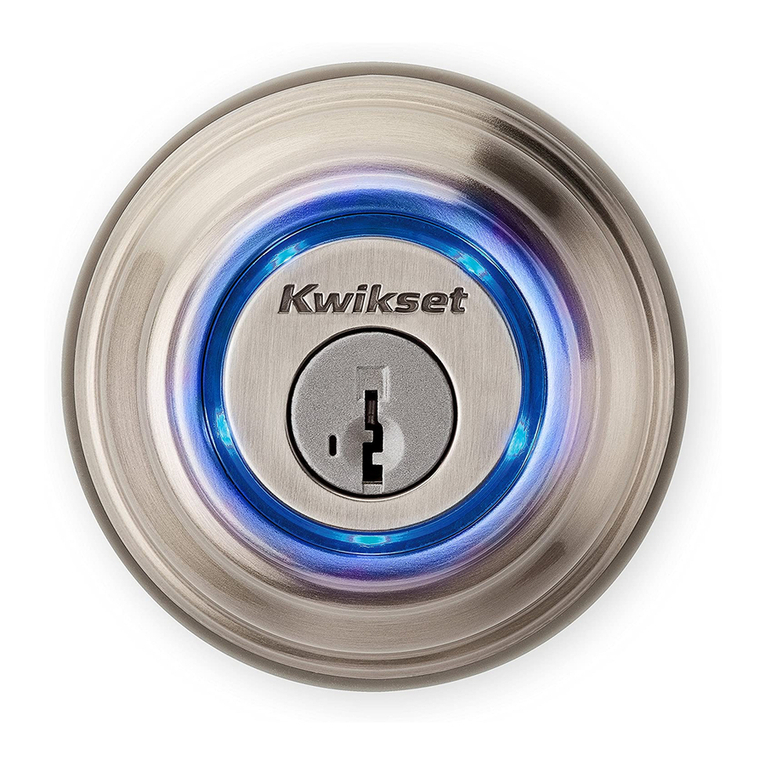
Kwikset Kevo User manual

Kwikset

Kwikset Kevo User manual
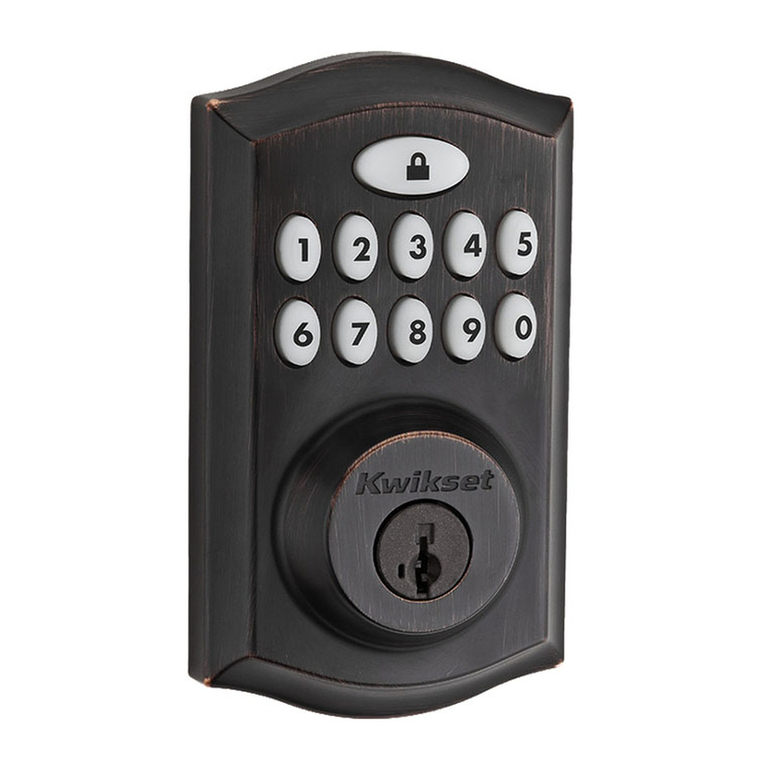
Kwikset CP/BP 49726 / 02 User manual

Kwikset

Kwikset CP/BP 49726 / 02 User manual

Kwikset 816 User manual

Kwikset

Kwikset 816 User manual

Kwikset Kevo User manual

Kwikset

Kwikset Kevo User manual

Kwikset Kevo User manual

Kwikset

Kwikset Kevo User manual

Kwikset OBSIDIAN User manual

Kwikset

Kwikset OBSIDIAN User manual

Kwikset 28756 User manual

Kwikset

Kwikset 28756 User manual

Kwikset 62541/01 User manual

Kwikset

Kwikset 62541/01 User manual

Kwikset Kevo User manual

Kwikset

Kwikset Kevo User manual

Kwikset Aura User manual

Kwikset

Kwikset Aura User manual

Kwikset Premis User manual

Kwikset

Kwikset Premis User manual

Kwikset Premis Installation guide

Kwikset

Kwikset Premis Installation guide

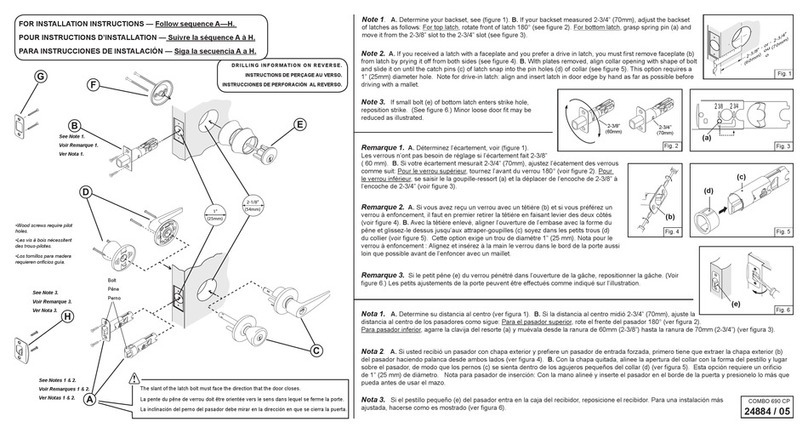
Kwikset Combo 690 CP User manual

Kwikset

Kwikset Combo 690 CP User manual

Kwikset 818 User manual

Kwikset

Kwikset 818 User manual

Kwikset 62822/01 User manual

Kwikset

Kwikset 62822/01 User manual

Kwikset 699 FN User manual

Kwikset

Kwikset 699 FN User manual

Kwikset 553 User manual

Kwikset

Kwikset 553 User manual

Kwikset Powerbolt 2 User manual

Kwikset

Kwikset Powerbolt 2 User manual

Kwikset Signature Series Austin 720AUL 11P CP User manual

Kwikset

Kwikset Signature Series Austin 720AUL 11P CP User manual

Kwikset 62883-002 User manual

Kwikset

Kwikset 62883-002 User manual
Popular Door Lock manuals by other brands

Dorma MUNDUS PREMIUM US 10 Mounting instruction

Dorma

Dorma MUNDUS PREMIUM US 10 Mounting instruction

Defiant LG600BRA4BGT Instructions for installation

Defiant

Defiant LG600BRA4BGT Instructions for installation

TRU-BOLT M1740024 manual

TRU-BOLT

TRU-BOLT M1740024 manual

Opera ARCA SLIDE installation instructions

Opera

Opera ARCA SLIDE installation instructions

tell CODELOCK CL5500 Series installation instructions

tell

tell CODELOCK CL5500 Series installation instructions

ABH LR6000 installation instructions

ABH

ABH LR6000 installation instructions

Assa Abloy effeff 827A-IP Mounting instructions

Assa Abloy

Assa Abloy effeff 827A-IP Mounting instructions

Iseo MA1A installation guide

Iseo

Iseo MA1A installation guide

ID Lock 150 user manual

ID Lock

ID Lock 150 user manual

Lockly ACCESS TOUCH PRO user manual

Lockly

Lockly ACCESS TOUCH PRO user manual

iLoq G50S user guide

iLoq

iLoq G50S user guide

SDC Z7835 installation instructions

SDC

SDC Z7835 installation instructions

ilco 452 Installation

ilco

ilco 452 Installation

Samsung shs-h705 user guide

Samsung

Samsung shs-h705 user guide

TRU-BOLT 08102017 user manual

TRU-BOLT

TRU-BOLT 08102017 user manual

CDVI 500-LADJ quick start guide

CDVI

CDVI 500-LADJ quick start guide

Igloohome Deadbolt 2S Metal Grey Installer/user guide

Igloohome

Igloohome Deadbolt 2S Metal Grey Installer/user guide

eSSL FL-300 user manual

eSSL

eSSL FL-300 user manual

manuals.online logo
manuals.online logoBrands
  • About & Mission
  • Contact us
  • Privacy Policy
  • Terms and Conditions

Copyright 2025 Manuals.Online. All Rights Reserved.

Backset •
69925001 Rev 01
Installation Guide
*Passage knobs only: Call
Kwikset to order a service kit
for 21/4" (57 mm) thick doors.
23/8" (60 mm)
or
23/4" (70 mm)
13/8"–13/4"*
35 mm–44 mm*
21/8"
54 mm
1"
25 mm
Hold the latch in front of the door hole, with
the latch face lush against the door edge.
If the latch holes are centered in the door hole,
no adjustment is required. Proceed to step 3.
If the latch holes are NOT centered, adjust
latch. See “Latch Adjustment” (step 2C).
Latch Adjustment (only if needed)
Move the pin to
extend the latch.
not centered
centered
23/8" (60 mm)
23/4" (70 mm)
Centerline
13/8" (35 mm)
13/4" (44 mm)
21/4" (57 mm)
Edge of the door
Fold
Drilling Template
Instructions continue on reverse
Template is only needed if a new hole must be drilled in the door.
Face of the door
wood block
door frame
door frame
Privacy
Knobs
Passage
Knobs Optional
Optional
Emergency Unlock Tool
(privacy locks only)
Parts in the BoxRequired Tools
Latch
Strike
Screws
Not required for
all applications
Additional Tools
(if needed)
wood block Allen wrench
Door edge NOT
chiseled
Door edge chiseled
slant of latch bolt faces door frame
Remove plates.
Install drive-
in collar.
or
A
B
C
A
A
H
J
L
B
E
C
D
F
GK
Q
P
N
M
A
AB
C (x2)
Prepare door and check dimensions
1
Adjust the backset of the latch (if needed)
2
Install latch
3
Do not use harsh chemicals or
solvents to clean your lock.
Mechanical lock
Use a damp cloth to wipe away
any excess dirt or debris.
Electronic lock
Use a damp cloth on the lock’s exterior to wipe
away any excess dirt or debris. Use a dry cloth
to clean interior components.
or
C (x2)
align
Save the bedroom/bathroom emergency
unlock tool (E) for future use.
Privacy locks only
!
clockwise
Press latch bolt to
install exterior knob.
If knob won’t sit lush,
rotate turnbutton to align.
Insert screws and
tighten by hand.
Install interior knob base.
Push up on knob base while tightening screws
to keep latch horizontal and centered.
Install knob.
Tighten the pre-installed set screw.
Remove knob.
Loosen the pre-installed set screw.
counterclockwise
A
Close door and test latch operation. If latch is
loose in the strike, adjust strike tab so it grips
the latch bolt better when the door is closed.
B
IMPORTANT: If installing a passage
lock on an entry door, make sure
the knob with the screw holes is
on the interior side of the door.
exterior
A
B
D
C
E
F
G
Align round edges.
tab
Tip: Pull knob slightly
away from door to see
where screws insert.
G
J2/N2/L2/Q2
J1/N1/L1/Q1
D (x2)
E
G
J2/N2/L2/Q2
H/M/K/P
F
Install knobs
4
Install strike on door frame
6
5
If you’re looking for quality home doors & windows, visit our website.