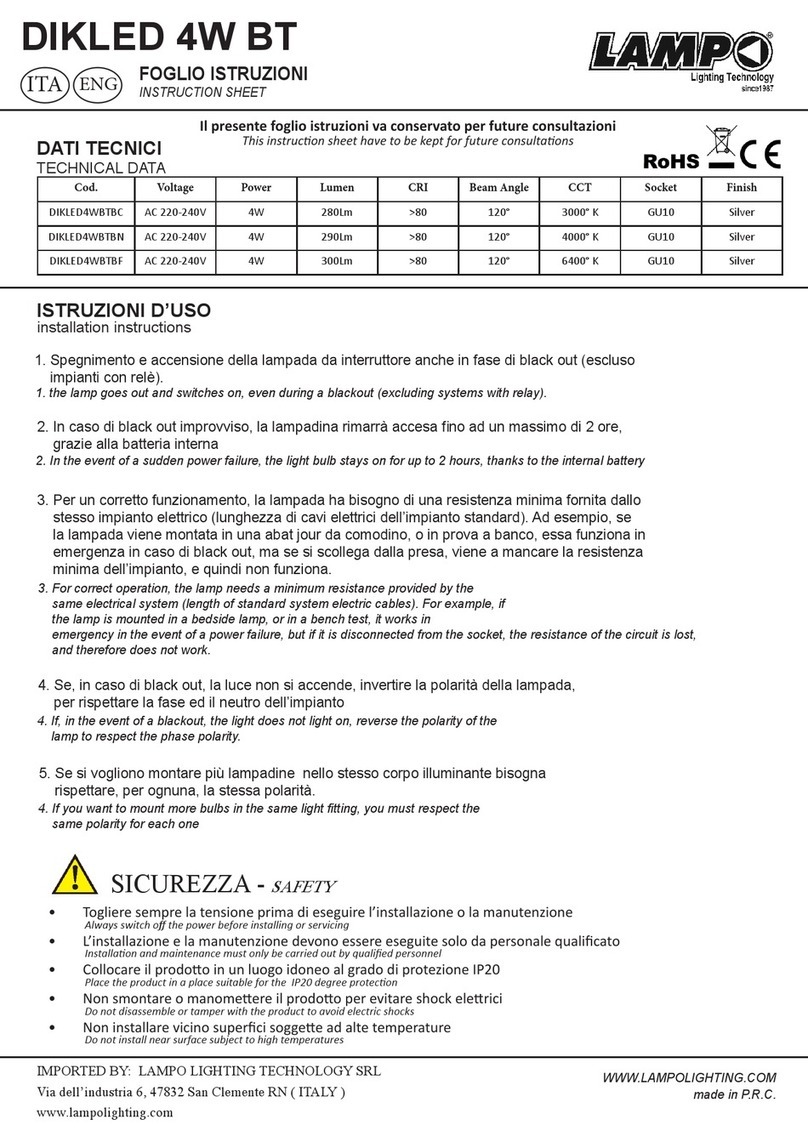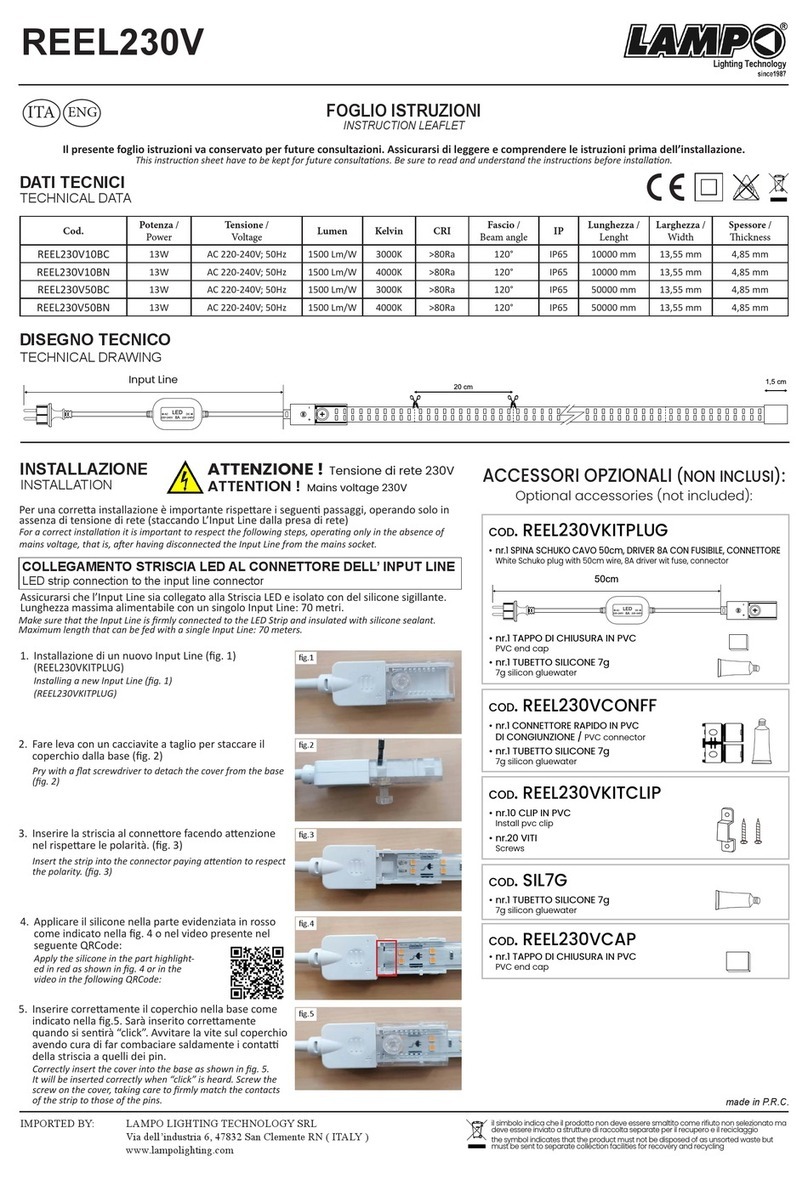
ISTRUZIONI DEL TELECOMANDO
REMOTE CONTROL INSTRUCTIONS
serie Fari Solar LED
FOGLIO ISTRUZIONI
INSTRUCTION SHEET
ITA ENG
ISTRUZIONI PER L’INSTALLAZIONE
INSTALLATION INSTRUCTION
30~45° 30~45°
Sul tetto
On the rooftop
Sul muro
On the wall
PANNELLO FOTOVOLTAICO
PHOTOVOLTAIC PANEL
made in P.R.C.IMPORTED BY: LAMPO LIGHTING TECHNOLOGY SRL - Via dell’industria 6, 47832 San Clemente RN ( ITALY ) www.lampolighting.com
• Do not cover the product with objects during use. The product is designed with sucient
heat dissipaon, and covering the product with any object may impede it, aecng its
life.
• Solar panels should be installed facing unobstructed sunlight.
• If the cable or connector of these solar baery powered LED oodlights is damaged,
please contact our technical helpline or a qualied technician.
• Installaon and maintenance must only be performed by qualied personnel
• Place the product in a place suitable for IP65 degree of protecon
• Do not install near surfaces subject to high temperatures
SAFETY
SICUREZZA
(il simbolo indica che il
prodoo non deve esse-
re smalto come riuto
non selezionato ma deve
essere inviato a struure
di raccolta separate per il
recupero e il riciclaggio)
(the symbol indicates that
the product must not be
disposed of as unsorted
waste but must be sent
to separate collecon
facilies for recovery and
recycling)
21
LDPE
04
• Non coprire il prodoo. Il prodoo è progeato con per una correa dissipazione
del calore e coprire il prodoo con qualsiasi materiale può pregiudicarne il correo
funzionamento.
• I pannelli fotovoltaici devono essere installa rivol verso la luce solare senza ostacoli.
• Se il cavo o il conneore di ques proieori a LED alimenta a baeria solare vengono
danneggia, si prega di contaare la nostra linea di assistenza tecnica o un tecnico
qualicato.
• L’installazione e la manutenzione devono essere eseguite solo da personale qualicato
• Collocare il prodoo in un luogo idoneo al grado di protezione IP65
• Non installare il prodoo vicino superci soggee ad alte temperature
100% Luminosità* - Brightness*
PROGRAMMA AUTOMATICO - Automatic program
+ Luminosità - Brightness*
- Luminosità - Brightness*
ON / OFF
50% Luminosità* - Brightness*
Pulsante Timer 3H/5H/8H* - 3H/5H/8H Timer Button*
Da eeuare solamente quando il faro si accende in programma "AUTO"(al buio)
Dopo aver premuto il pulsante mer desiderato, il faro lampeggerà:
3 volte per scelta 3H; 5 volte per scelta 5H; 8 volte per scelta 8H.
Indicando che l'impostazione è andata a buon ne.
Memorizza ulma impostazione del mer per i giorni successivi, no ad
eventuale nuova impostazione.
To be carried out only when the headlight comes on in the "AUTO" program.
Aer pressing the desired mer buon, the beacon will ash:
3 mes for choice 3H; 5 mes for choice 5H; 8 mes for choice 8H.
Indicang that the seng was successful.
Stores the last mer seng for the following days, unl a new seng is made.
È la modalità predenita del faro.
Quando la luminosità
raggiunge <10 ~ 15 Lux il faro si accende.
Quando la luminosità sarà >10 ~ 15 Lux il faro si spegne e la baeria inizia a
ricaricarsi.
It is the default mode of the oodlight.
When the brightness reaches <10 ~ 15 Lux the light turns on.
When the brightness is >10 ~ 15 Lux the light turns o and the baery starts to
charge.
Premere il pulsante per aumentare gradualmente la luminosità del fareo.
La luce lampeggerà per 3 volte quando raggiungerà il massimo della
luminosità. Rimarrà memorizzata tu i giorni la luminosità scelta no ad
un'eventuale nuova impostazione
Press the buon to gradually increase the brightness of the spotlight. The
light will ash 3 mes when it reaches maximum brightness. The chosen
brightness will remain memorized every day unl a possible new seng
Premere il pulsante per diminuire gradualmente la luminosità del fareo. La
luce lampeggerà per 3 volte quando raggiungerà il minimo della luminosità.
Rimarrà memorizzata tu i giorni la luminosità scelta no ad un'eventuale
nuova impostazione
Press the buon to gradually decrease the brightness of the spotlight. The
light will ash 3 mes when it reaches the minimum brightness. The chosen
brightness will remain memorized every day unl a possible new seng
Premendo il pulsante ON, se opportunamente ricaricato, il fareo si accende,
premendo il pulsante OFF il fareo si spegne e resea eventuali mer
precedentemente imposta.
Pressing the ON buon, if suitably recharged, the oodlight turns on, pressing
the OFF buon the oodlight turns o and resets any previously set mers.
Premere il pulsante per impostare la luminosità al 100%. Rimarrà memorizzata
tu i giorni la luminosità scelta no ad un'eventuale nuova impostazione
Press the buon to set the brightness to 100%. The chosen brightness will
remain memorized every day unl a possible new seng
Premere il pulsante per impostare la luminosità al 50%. Rimarrà memorizzata
tu i giorni la luminosità scelta no ad un'eventuale nuova impostazione
Press the buon to set the brightness to 50%. The chosen brightness will
remain memorized every day unl a possible new seng
Pulsan per seaggio in fase di produzione (non per l’utente)
Buons for seng during producon (not for user)
* Nota: l’impostazione predenita è 100% luminosità, ma per risparmiare le baerie, gli uten possono impostare la luminosità e la durata di accensione tramite il telecomando.
Note: The default is 100% brightness, but to save baeries, users can set the brightness and the me by remote control.
Funzione memoria - Memory function
Memorizza ulme impostazioni scelte
Remember last seng chosen
Il fareo viene fornito con le baerie scariche. Per funzionare ha bisogno di caricarsi completamente. Quando il fareo si accende di sera, le spie indicano il livello di carica.
The oodlight is supplied with low baeries. It needs to fully charge to work. When the oodlight turns on in the evening, the lights of the "Baery indicator" show the charge level.
