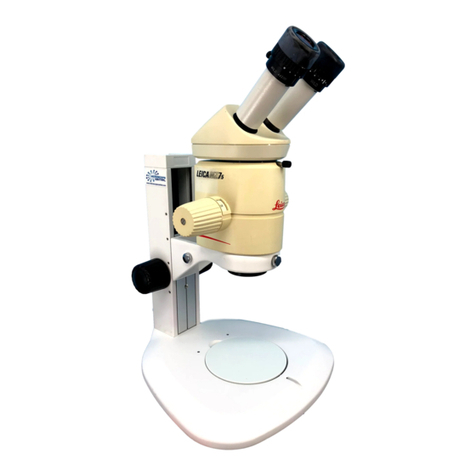
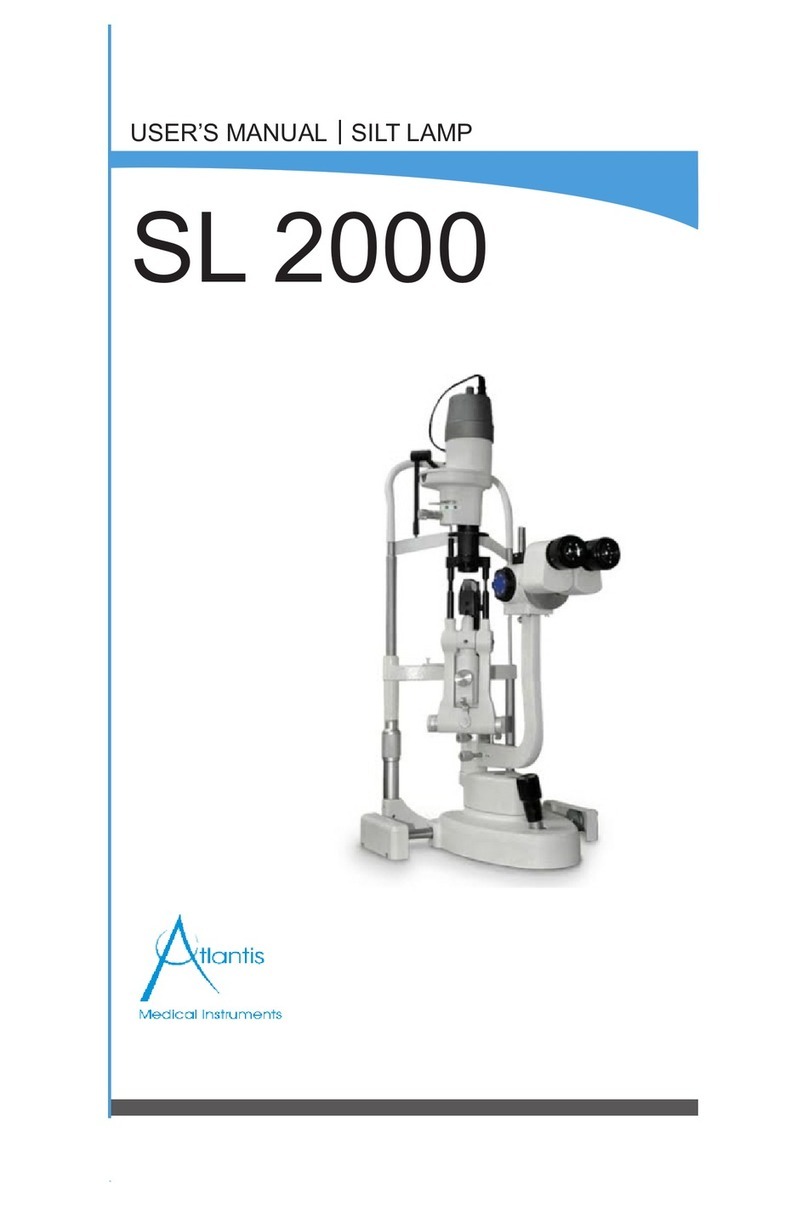
Leica EZ5 User manual

Leica EZ5
User manual

2 User manual Leica EZ5
Contents
Safety concept
Safetyconcept.....................................6
Symbols...........................................8
Description........................................9
Installation
Systemdiagram...................................10
Installing the basic equipment . . . . . . . . . . . . . . . . . . . . . . 12
Assembly.........................................13
Assembly.........................................15
Operation
Operation ........................................17
Special instructions
Whattodo,if…...................................25
Maintenance .....................................26
Calculating total magnification and
the object field diameter . . . . . . . . . . . . . . . . . . . . . . . . . . . 29
Optical data of the Leica EZ5. . . . . . . . . . . . . . . . . . . . . . . . 30
Dimensions of the Leica EZ5 . . . . . . . . . . . . . . . . . . . . . . . . 31
Leica Microsystems around the world . . . . . . . . . . . . . . . 32

User manual Leica EZ5 3
Thank you for your confidence in our product. We wish you much
enjoyment and success with your new EZ5 stereomicroscope from
Leica Microsystems.
The new Leica EZ5 is an exciting addition to the extensive product
range offered by our Swiss Stereomicroscopy business unit. The
Leica EZ5 has been designed specifically with a view to OEM appli-
cations. In order to safeguard against ESD, the entire stereomicro-
scope – including the optional cold light source and the stand – has
been constructed with antistatic materials.
While developing the Leica EZ5, we took the greatest care to ensure
that its operation would be simple and self-explanatory. Even
so, please take a little time to read the accompanying operating
instructions. This is the best way to familiarize yourself with all the
features of your stereomicroscope and use it to its full advantage.
And if you have any questions, please contact your Leica repre-
sentative or Leica Microsystems (Switzerland) Ltd., Heerbrugg,
Switzerland. We are gladly at your service. CUSTOMER SERVICE is
a big thing with us – before and after the sale (see page 36).
Leica Microsystems (Switzerland) Ltd.
Stereo & Macroscope Systems
www.stereomicroscopy.com
Dear User,

4 User manual Leica EZ5
Safety concept
General notes Read the operating instructions and safety notes before
commissioning.
Proper use The Leica EZ5 is a precision optical instrument designed to
facilitate visual examination of objects, object details or speci-
mens in the fields of technology and science by magnifying them.
The equipment is supported by a full range of stands, illumination
systems and accessories.
Non-intended use • Using the instrument in any way other than that described in
these instructions may result in personal injury or damage to
property.
• The Leica EZ5 must not be used in examinations of or opera-
tions on the eye.
• Optical systems and mechanical parts must never be
unscrewed from each other unless expressly indicated
in the instructions.
Place of use • The Leica EZ5 is primarily intended for use in enclosed
premises.
• If it is used outdoors, the Leica EZ5 must be protected from
dust and moisture. Electrically powered illumination systems
and stands produced by Leica Microsystems must not be used
outdoors.
Integration in a
third-party product
When installing Leica products into third-party products, note the
following: The manufacturer of the complete system or its dealer
is responsible for following all applicable safety instructions, laws
and guidelines.

User manual Leica EZ5 5
Use in clean
rooms
The Leica EZ5 is suitable for use in clean rooms and can be pre-
pared for such use as described on page 27. Please observe the
following rules:
• Never use any procedure other than the one described in these
operating instructions to clean the Leica EZ5 and its acces-
sories. Do not use unsuitable cleaning agents, chemicals or
equipment. Never use chemicals to clean colored surfaces and
accessories with rubberized parts. This may damage surfaces
and abraded particles may contaminate preparations.
• If a user uses chemicals to clean any Leica instrument without
our written approval, he does so at his own risk.
• We will be glad to offer special solutions upon request that
are sufficient for most circumstances. Some products can be
modified, or we can offer different accessories for use in clean
rooms.
Servicing Only Leica Microsystems-trained service technicians are permit-
ted to carry out repairs. Only original Leica Microsystems spare
parts may be used.
Responsibilities of
the person(s)
in charge of
instrument
• Ensure that all staff who are responsible for operating the
equipment have read and understood these instructions,
particularly the safety notes.
• Ensure that the Leica EZ5 is operated, maintained and repaired
only by authorized and trained staff.

6 User manual Leica EZ5
Workplaces equipped with stereomicroscopes facilitate and
improve the viewing task, but they also impose high demands on
the eyes and holding muscles of the user. Long periods of uninter-
rupted activity may cause asthenopic complaints and injury to
the musculoskeletal system. Appropriate measures should be
adopted to reduce physical stress:
• optimal arrangement of workplace, work assignments and
work flow (changing tasks frequently).
• thorough training of the personnel, giving consideration to
ergonomic and organization aspects.
The ergonomic optics concept and the design of the Leica EZ5
aim to limit the strain on the user to the lowest possible level.
Direct contact with eyepieces is a potential transmission method
for bacterial and viral infections of the eye. Users should be made
aware of the potential risk of infection. This risk can be minimized
by using personal eyepieces or removable eyecups (see page 19).
Eyecups can be purchased separately. For more information,
contact your Leica partner.
Safety concept

User manual Leica EZ5 7
Liquids Exercise particular care when handling liquids.
The instrument may be damaged by spilled liquids.
Legal requirements Adhere to general and local regulations relating to accident
prevention and environmental protection.
Disposal The products described here must be disposed off in accordance
with applicable local laws and regulations.

8 User manual Leica EZ5
Symbols
You will see these symbols in the operating instructions
Safety instructions
This symbol indicates especially important information that must
be read and complied with. Failure to follow these instructions
may endanger personnel!
Failure to follow these instructions may impair the system's
performance or damage the instrument.
Important information
This symbol indicates additional information or explanations that
intend to provide clarity.
Action
▶ This symbol refers to actions described in the text that are to
be carried out.
Explanatory notes
• This symbol indicates additional notes and explanations
provided in the text.

User manual Leica EZ5 9
Greenough based
optical system
The optical system of the Leica EZ5 consists of two beam paths
converging at 10°. The lens pairs of each optical path are posi-
tioned close together, so the stereomicroscope can be of very
"slender" design, especially towards the base of the instrument.
The advantages of this design are that it has a small space
requirement for use on bonders and in machine applications,
unobstructed access to specimens, plenty of space for tools and
a completely clear view of the object field.
The Greenough system enables cost-effective correction of aber-
rations such as chromasia, image field curvature, and distortion
with minimal effort. The new Leica EZ5 uses the most corrected
area of each lens for image production. This provides superior
optical performance with large, level and undistorted fields of
view and chromatically optimized, high-contrast images.
ESD protection The Leica EZ5 together with its cold light source and stand is
made from highly conductive materials with area resistivity of
2×10¹¹ Ohm/square. Charges are cut from 1000V to 100V in less
than 2 seconds.
Description
Leica EZ5 with
swing-arm system

10 User manual Leica EZ5
System diagram
Low eyepoint eyepieces:
Eyepieces, fixed:
10x/20 (10 447 281)
16x/16 (10 447 132)
20x/12 (10 447 134)
Eyepieces, adjustable:
10x/20 (10 447 282)
16x/16 (10 447 133)
20x/12 (10 447 135)
High eyepoint eyepieces:
Eyepieces, fixed:
10x/20B (10 447 278)
16x/15B (10 447 138)
Eyepieces, adjustable:
10x/20B (10 447 280)
16x/15B (10 447 139)
10 447 343
10 446 372 10 446 390 10 447 100
10 447 104
10 447 424 10 446 342
10 447 009
10 447 152
10 446 392
10 446 387
10 446 386
10 446 378
10 447 255
13 312 610
13 312 614
13 312 613
13 312 611
10 446 344
10 447 259
10 447 09810 447 097
10 446 375
10 447 008
10 447 007
10 447 006 10 446 377
10 447 26010 446 436
Leica EZ5
10 447 201

User manual Leica EZ5 11
1 EZ5 optics carrier
2 Eyepieces
3 Objectives
4 Carriers/focus arms
5 Focusing columns
6 L2 waveguide
7 Swing-arm stands
8 Leica L2 cold light source
9 Flex-arm accessories
For detailed descriptions, please refer to brochure M1-188-4en.

12 User manual Leica EZ5
Installing the basic equipment
The components 1 Eyepieces, fixed and/or adjustable
2 Optics carrier, Leica EZ5
3 Additional objective, optional
4 Focusing column with microscope carrier

User manual Leica EZ5 13
Optics carrier
Stand
▶Insert the optics carrier gently in the
microscope carrier.
▶Fix the optics carrier in the desired
position with the clamp screw.
Additional objective
(optional)
Optics carrier
▶Screw the selected lens counterclock-
wise until it is seated firmly in place.
Protective
glass cover
(optional)
▶Screw the protective glass cover firmly
onto the thread directly on the Leica EZ5.
This cover cannot be used at the same
time as an additional objective.
Eyepieces
Tubes
▶Push eyepieces as far as they will go into
the tubes.
▶Check that they are seated firmly and
precisely in place.
You can use your Leica EZ5 together with a
fixed or adjustable eyepiece. For models in
which a graticule is included in an eyepiece
for measurement or photography, two eye-
pieces are necessary.
Assembly

14 User manual Leica EZ5
Soft eyecups Eyepieces are supplied with soft eyecups,
which you can attach to the eyepieces in order to …
– prevent eye infections if several users are working with the
same instrument (see page 6).
– protect your eyeglasses from scratching.
Cold light source
Leica L2 Stand
The Leica L2 cold light source and its
glass fiber waveguides is the preferred
illumination system for the Leica EZ5
stereomicroscope. A number of match-
ing adapters are available for connect-
ing the Leica L2 cold light source to
various stereomicroscope stands and
for stand-alone operation.
Illumination
systems
For detailed information about installation and use, please refer to
the operating instructions for the Leica L2.
For more sophisticated requirements, e.g. photography, we offer
a range of high-performance transmitted-light stands and low-
voltage illumination systems. Ask your Leica sales representative
for more details.

User manual Leica EZ5 15
Graticule
Adjustable
eyepieces
The following graticules and stage micrometers for calibrating
may be ordered:
• Graticule 10mm/0.1mm
• Graticule 5mm/0.1mm
• Graticule 5mm/0.05mm
• Graticule 100 Div./0.002“
• Graticule 100 Div./0.001“
• Graticule 150 Div./0.0005“
• Crosshairs
• Stage micrometer 50mm, 0.1/ 0.01mm graduation
• Stage micrometer 1“, 0.001“ graduation
A 10× focusing and framing graticule is available for photographic
applications.
For models in which a graticule is included in an eyepiece for
measurement or photography, two eyepieces are necessary.
Graticules can be inserted in the adjustable eyepieces and the
eyepieces for eyeglass wearers:
▶Use the stereomicroscope to determine the side on which the
scale is inscribed. The scale should not appear reversed.
▶Remove the insert from the bottom of the eyepiece and place it
on the bench with the knurled side down.
Assembly

16 User manual Leica EZ5
▶Hold the graticule by the edges to avoid leaving fingerprints,
and push it into the holder from the side.
▶Replace the insert in the eyepiece and press it firmly into
place.
▶Insert the eyepiece in the tube and turn the eyepiece in the
tube to align the graticule correctly.
The procedure for taking measurements is described in the
"Measuring" operating instructions.

User manual Leica EZ5 17
Control elements
and functions of the
standard equipment
1 Magnification changer, right drive knob
with magnification scale
2 Focusing knob
3 Fixing screw secures the optics carrier
in the microscope carrier
4 Adjustable tubes:
Interpupillary distance adjustable from 55 – 75 mm
5 Eyepieces
6 Thread for lens / protective glass
(figure shows ring illuminator)
Operation
1
2
3
4
5
6

18 User manual Leica EZ5
Requirements
for working
comfortably
• Make sure that your Leica EZ5 is adjusted correctly. You must
make all the settings described here precisely in order to be
able to take full advantage of its outstanding optical and ergo-
nomic advantages.
• Set your work area up for the best possible conditions.
Consider the height of the bench and chair.
• Use the whole seat surface and the backrest.
• Ensure that your lower arms are supported.
• When carrying out other tasks, perform exercises to relax and
relieve muscle tension.
The Leica EZ5 with a 60° viewing angle offers optimum viewing
height on the inclined stereomicroscope.
Interpupillary
distance, exit pupil
The interpupillary distance is adjustable in
a range from 55 – 75mm.
The exit pupil is the distance between the eye
and the eyepiece. It is
– 12mm for standard eyepieces 10×/20, 16×/16
and 20×/12, fixed and adjustable.
– 22mm for eyepieces 10×/23B and 16×/15B,
fixed and adjustable, and also for the wide-
field eyepieces for eyeglass wearers, 10×/21B,
16×/14B, 25×/9.5B and 40×/6B.
▶Move your eyes slowly towards the eyepieces
and push the tubes together or apart with two
hands until you see a single, round image field
with no shadowing with both eyes.
55
75
12 / 22

User manual Leica EZ5 19
Eyecups Eyepieces are supplied with detachable
eyecups (see also page 8).
If you do not wear eyeglasses and want
close contact with the eyecups:
▶Place eyecups on the
eyepieces.
If you wear eyeglasses for work:
▶Fold the eyecups backwards.
• In this way, the eyecups will prevent
your eyeglasses from being scratched.
Adjust working
distance,
focusing = creating
a clear image
In order to focus, the operator uses the focusing drive to raise/
lower the stereomicroscope until the desired object site is in the
focus = working distance of the objective. To see the working
distances for the various objectives, please refer to the table on
page 30.
The focusing drive can be operated with the right or left hand.
▶Place the object under the
objective.
▶Set the lowest magnification.
• You should set the lowest
magnification because it is
easier to find the desired
object site in a large object field.
▶Look into the eyepieces.
▶Use the drive knob to bring the object into focus.
Operation
Note: The instruments shown on this page are example illustrations only, and
may differ slightly from the actual appearance of the Leica EZ5.

20 User manual Leica EZ5
Setting the ease of
adjustment of the
focusing drive
Is the focus movement too loose or too tight? Does the outfit tend
to slide downwards? The force required to adjust the focusing
drive can be increased or reduced depending on the weight of
the equipment and the user's personal preference:
▶Hold the drive knobs in both hands and turn them towards each
other until the desired resistance is obtained when focusing.
Turning optics
carrier
sideways
The optics carrier can be turned sideways
in the microscope carrier if the user wants
to work from the side:
▶Loosen the clamping screw.
▶Turn the optics carrier to one side as
required.
▶Tighten the clamping screw.
Zoom magnification
changer
On the Leica EZ5, the magnification can be changed non-incre-
mentally. The magnification changer can be operated with the
right or left hand. A magnification scale has been provided on the
right-hand drive knob, and is graduated with values from 1 to 5.
Changing
magnification
The table on page 30 shows the magnifications and object field
diameters relative to the position magnification changer and the
eyepiece/objective combination being used.
▶Look into the eyepieces.
▶Bring the object into focus (page 19)
▶Turn the magnification changer
until the desired magnification
has been set.
Table of contents
Other Leica Microscope manuals

Leica
Leica DM500 User manual

Leica
Leica DM5500 B User manual

Leica
Leica DM2700 M User manual

Leica
Leica M500 OH3 User manual

Leica
Leica Sp5 WLL STED Operation instructions

Leica
Leica DMI6000 B User manual

Leica
Leica DM500 User manual

Leica
Leica DM1000 LED User manual

Leica
Leica S Series User manual

Leica
Leica M525 OH4 User manual
Popular Microscope manuals by other brands

3B SCIENTIFIC PHYSICS
3B SCIENTIFIC PHYSICS 1013373 instruction manual

Bresser
Bresser 40x-1280x operating instructions

Niigata seiki
Niigata seiki XTDB-SP2N instruction manual

TTS
TTS Flexi-Scope user guide

Levenhuk
Levenhuk DTX 30 user manual

Fisher Science Education
Fisher Science Education S90000 user guide