manuals.online logo
Brands
  1. Home
  2. •
  3. Brands
  4. •
  5. Leviton
  6. •
  7. Control Unit
  8. •
  9. Leviton Vizia RF+ VRP15-1LW User manual

Leviton Vizia RF+ VRP15-1LW User manual

Scene Capable Plug-In Appliance Module
Cat. No. VRP15-1LW
Incandescent: 1800W Fluorescent: 1800VA
Resistive: 15A Motor: 1/2HP
Rated: 120VAC, 60Hz
INSTALLATION INSTRUCTIONS
DI-030-VRP15-02A-X1
INTRODUCTION
Leviton’s ViziaRF +TM components are
designed to communicate with each other
via Radio Frequency (RF) to provide remote
control of your lighting. Using RF technology
allows Leviton to provide the greatest signal
integrity possible. Each module in Leviton’s
Vizia RF +TM component line is a Z-Wave®
enabled device. In a Z-Wave®network, each
device is designed to act as a router. These
routers will re-transmit the RF signal from one
device to another until the intended device
is reached. This ensures that the signal is
received by its intended device by routing the
signal around obstacles and radio dead spots.
CAUTION:
Remember to exercise good common sense
when using the Timer features of your remote,
especially when scheduling unattended
devices. There can be some unexpected
consequences if not used with care. For
example, an empty coffee pot can be remotely
turned on. If that should happen, your coffee
pot could be damaged from overheating. If an
electric heater is turned on by remote control
while clothing is draped over it, a re could
result. DO NOT USE the remote for the control
of high power heating appliances such as
portable heaters. DO NOT change location
after unit is enrolled in Z-wave®network.
NOTES:
• If using a non-Leviton Programmer/Remote,
refer to the Programmer/Remote instruction
sheet for including a device.
• If using VRCPG install checklist go directly to
step B.
A) If using a Leviton Z-Wave®Programmer/
Remote, Cat. No. VRCPG, press the Menu
button and scroll down to System. Press the
center button to select System Menu. Choose
Advanced. Press the center button to select
Advanced Install.
Including Scene Capable
Plug-In Appliance Module
into Z-Wave
®
Network:
Step 3
Attaching Scene Capable
Plug-In Appliance Module to
Wall Receptacle:
Step 2
• Plug the Scene Capable Plug-in Appliance
Module into wall receptacle. Verify that
receptacle is live. If controlled by a wall switch,
the switch must be kept ON at all times.
Attaching Load to Scene
Capable Plug-In Appliance
Module:
Step 1
NOTE: In order to use your Vizia RF +TM Scene
Capable Plug-In Appliance Module in a Z-Wave®
network, it must be included in the network using
a Primary Programmer/Remote, such as Leviton’s
Cat. No. VRCPG. Before including your module,
please refer to the Primary Programmer/Remote
instruction sheet for complete information. Refer
to Step 3 for further details.
• Locate load to be controlled by Scene Capable
Plug-In Appliance Module and ensure it is
fully operational. Attach load plug into module
receptacle noting proper polarity of blades.
NOTE: Use check boxes when Steps are
completed.
INSTALLING YOUR APPLIANCE MODULE
B) While standing close to the module
(approximately 1 foot), press the center
button to <Include> device in the network.
NOTE: Only one device may be included
at a time. DO NOT put multiple devices into
the Inclusion mode at any time.
C) While the Programmer/Remote is in the
Inclusion mode and the LED is ON on
the Scene Capable Plug-In Appliance
Module, press the ON/OFF button on the
module. The Programmer/Remote will verify
inclusion and the LED will turn OFF on the
Scene Capable Plug-In Appliance Module.
NOTE: If the LED on the Scene Capable
Plug-In Appliance Module turns solid
Red while including, there has been
a communication error. Refer to
Troubleshooting section.
D) The Primary Programmer/Remote will
assign a node ID number (Name) for this
module.
NOTE: This ID number (Name) will be
stored in the controller to be used for future
reference.
NOTE: You may name or edit this device at
this time.
E) The module is now installed in the
network.
NOTE: If the module has been successfully
included in the network and the user tries to
include it again without rst excluding it from
the network, the module will retain the rst
node ID it had received and ignore the second.
• Switch ON/OFF
• Scene capable
• ON/OFF LED
• Two way communication
• RF reliability
• Ease of installation – No new wiring
• Compatible with other Z-Wave®enabled
devices
FEATURES
Step 2 cont’d Step 3 cont’d
Programming and
ON/OFF Button
1 ON
2 ON
3 ON
4 ON
OFF
OFF
OFF
OFF
Programmer/Remote
Cat. No. VRCPG
Center Button
Menu Button
WARNINGS AND CAUTIONS:
• To be installed and/or used in accordance with appropriate electrical codes and regulations.
• If you are unsure about any part of these instructions, consult an electrician.
WARNINGS AND CAUTIONS:
• Unplug unit when servicing xture or changing bulbs.
• Save this instruction sheet. It contains important technical data along with testing and
troubleshooting information which will be useful after installation is complete.
Including Scene
Capable Plug-In
Appliance Module
into Z-Wave®
Network:
LIMITED 5 YEAR WARRANTY AND EXCLUSIONS
Leviton warrants to the original consumer purchaser and not for the benet of anyone else that this product at the time of its sale by Leviton is free of defects in materials and workmanship under normal and proper use for ve years from
the purchase date. Leviton’s only obligation is to correct such defects by repair or replacement, at its option, if within such ve year period the product is returned prepaid, with proof of purchase date, and a description of the problem to
Leviton Manufacturing Co., Inc., Att: Quality Assurance Department, 201 North Service Road, Melville, New York 11747. This warranty excludes and there is disclaimed liability for labor for removal of this product or reinstallation.
This warranty is void if this product is installed improperly or in an improper environment, overloaded, misused, opened, abused, or altered in any manner, or is not used under normal operating conditions or not in accordance with any
labels or instructions. There are no other or implied warranties of any kind, including merchantability and tness for a particular purpose, but if any implied warranty is required by the applicable jurisdiction, the duration of any such
implied warranty, including merchantability and tness for a particular purpose, is limited to ve years. Leviton is not liable for incidental, indirect, special, or consequential damages, including without limitation, damage to, or
loss of use of, any equipment, lost sales or prots or delay or failure to perform this warranty obligation. The remedies provided herein are the exclusive remedies under this warranty, whether based on contract, tort or otherwise.
OPERATION
TROUBLESHOOTING
DI-030-VRP15-02A-X1
© 2009 Leviton Mfg. Co., Inc.
NOTE: It is very important to accurately exclude
devices from the network when moving or
removing a device from a Z-Wave®network.
This ensures that all information has been
removed from your Primary
Programmer/Remote’s information table and is
not counted on to be a part of the mesh network.
A)
If using a Leviton Z-Wave®Programmer/
Remote, Cat. No. VRCPG, press the Menu
button and scroll down to System. Press
the center button to select System Menu.
Choose Advanced. Press the center button
to select Advanced Install.
B) While standing close to the module, press the
center button to <Exclude> device from the
network.
NOTE: Only one device may be excluded at
a time.
C) While the Programmer/Remote is in the
Exclusion mode and the LED is ON on the
Scene Capable Plug-In Appliance Module,
press the ON/OFF button on the module. The
Programmer/Remote will verify Exclusion and
the LED will turn OFF on the Scene Capable
Plug-In Appliance Module.
If the Scene Capable Plug-In Appliance
Module is ashing Amber while in the
Exclusion mode, the Programmer/Remote is
still trying to communicate with the module.
Wait until the device stops ashing, then
press the ON/OFF button.
Excluding Scene Capable
Plug-In Appliance Module
from Network:
Step 4
Factory Default:
If your module is not responding, or you are
unable to control it after you have tried to
Include/Exclude it multiple times, it may be
necessary to reset the module to its original
factory settings. To accomplish this, proceed as
follows:
• Unplug the module and wait 5 seconds. Plug
the module back in and within 20 seconds
press and hold the programming button until
the LED turns Amber and then ashes Red.
The module is now reset. Once the module is
reset, it will be necessary to Re-Include it to a
network before it can be used.
CAUTION: SETTING A DEVICE TO A
FACTORY DEFAULT DOES NOT EXCLUDE
THAT DEVICE FROM A NETWORK. THE
EXCLUSION PROCEDURE MUST BE
FOLLOWED TO REMOVE THE DEVICE FROM
THE PRIMARY REMOTE’S INFORMATION
TABLE. FAILURE TO DO SO MAY RESULT IN
SYSTEM THAT IS SLOW TO RESPOND, OR
MAY FAIL TO RESPOND TO SOME DEVICES.
IF YOU HAVE TO RESET THE CONTROLLER
WITHOUT EXCLUDING IT GO TO THE
REMOVE FAILED MENU AND REMOVE THIS
DEVICE FROM YOUR VRCPG REMOTE. REFER
TO VIZIARF+ APPLICATION GUIDE
(WWW.LEVITON.COM).
Step 3 cont’d Step 4 cont’d
Press ON/OFF Button
Wall
Receptacle
Load plug
Scene Capable Plug-In
Appliance Module
NOTE: Remote must be in close proximity (approx. 1 ft)
to Scene Capable Plug-In Appliance Module when
including in the network.
VRCPG
Programmer/Remote
NOTE: For complete details on operating the
Primary Programmer/Remote, refer to the
individual device’s instruction sheet.
ON: Press the ON/OFF button on the Scene
Capable Plug-In Appliance Module or
appropriate addressed “ON” button on the
applicable controller. The Load will turn
ON.
OFF: Press the button on the Scene Capable
Plug-In Appliance Module or appropriate
addressed “OFF” button on the applicable
controller. The Load will turn OFF.
If the Scene Capable Plug-In Appliance Module
appears to be functioning improperly, proceed
with the following steps:
1. Conrm that the device is being supplied from
a 120V, 60Hz AC source ONLY.
2. Conrm that the Load being controlled is in
proper working order. Local switch, ON (check
for burned-out bulbs).
3. Conrm that the Load being controlled does
not exceed the module limit (128 devices).
4. Conrm that unit is programmed properly.
Select Device List to verify that it has been
included in the Z-Wave®network.
MANUAL OPERATION OUT OF NETWORK:
The Scene Capable Plug-in Appliance Module
can control the Load before being included in
the Z-Wave®network. After powering up the
Scene Capable Plug-In Appliance Module, wait
20 seconds then use ON/OFF button to turn the
Load ON or OFF.
NOTE: If a power interruption should occur while
the module in ON, the light load will return to its
previous state when power is restored.
For additional information, contact Leviton’s
Techline at 1-800-824-3005 or visit Leviton’s
website at www.ViziaRF+.com
Protected under U.S. Patent Number 6,388,399
and patents pending and licensed under
U.S. Patents Numbers 5,905,442, and 5,982,103
FCC COMPLIANCE STATEMENT
This device complies with Part 15 of the FCC
Rules. Operation is subject to following two
conditions: (1) this device may not cause
harmful interference, and (2) this device must
accept any interference received, including
interference that may cause undesired
operation of the device.
This equipment has been tested and found
to comply with the limits for a Class B Digital
Device, pursuant to Part 15 of the FCC
Rules. These limits are designed to provide
reasonable protection against harmful
interference in a residential installation.
This equipment generates, uses, and can
radiate radio frequency energy and, if not
installed and used in accordance with the
instructions, may cause harmful interference
to radio communications. However, there is
no guarantee that interference will not occur
in a particular installation. If this equipment
does cause harmful interference to radio or
television reception, which can be determined
by turning the equipment OFF and ON,
the user is encouraged to try to correct the
interference by one or more of the following
measures:
• Reorient or relocate the receiving Antenna.
• Increase the separation between the
equipment and the receiver.
• Connect the equipment into an outlet on
a circuit different from that to which the
receiver is connected.
• Consult the dealer or an experienced radio/
tv technician for help.
FCC CAUTION
Any changes or modications not expressly
approved by Leviton Manufacturing Co., Inc.,
could void the user's authority to operate the
equipment.
ARTWORK PRINT SPECIFICATIONS
FOLD SCHEME / BINDERY DIAGRAM
PART NUMBER REV DESCRIPTION
Line Screen:
Angle:
Resolution:
Offset Flexo
Other
Body Material:
Bindery
Thickness:
Trim
Perfect Bind
Die cut Saddle Stitch
Drill
Fold
The information in this document is the exclusive PROPRIETARY property of LEVITON MANUFACTURING COMPANY, INC. It is disclosed
with the understanding that acceptance or review by the recipient constitues an undertaking by the recipient. (1) to hold this information in strict
confidence, and (2) not to disclose, duplicate, copy, modify or use the information for any pupose other than that for which disclosed.
© 2009 Leviton Mfg. Co., Inc.
Unpublished, All Rights Reserved
PlantApprovals:
ARN: Pilot Rev:ECO Number:
Artwork Release Date:
Artwork Print Specification Sheet Rev A04 .eps
PMCQA
Artist:
Notes:
Other
Cust Other
S & A
Mktg Eng
FOR LEVITON USE ONLY
SPECIFICATIONS :
PROCESS :
MANUAL INTERIORS / BINDERY / FOLD SCHEME :
COMMENTS :
For manuals - designates cover specifications
Dimensions:
Material:
Thickness:
Finish:
:
Spot
CMYK
1:
4:
3:
2:
Color(s): over
1:
4:
3:
2:
Fonts:
Spot
CMYK
1:
4:
3:
2:
Color(s): over
1:
4:
3:
2:
Fonts:
Fold Line
Die Cut Punch/Drill Hole
Glue
Kiss Cut Cellophane
Fold Line
Die Cut
Die Line Key:
DI-030-VRP15-02A-X1
08 J. Tang A. Steele
B. Hamlitsch/P. Patel
A. Mancuso
J. Lowe
1674
Dave Hunt
8.5" x 9.75"
40 lb.
Instruction sheet
Black
1 1
9.75"
2.44"
8.5" 4.25"
Part No. Part No.
FINAL

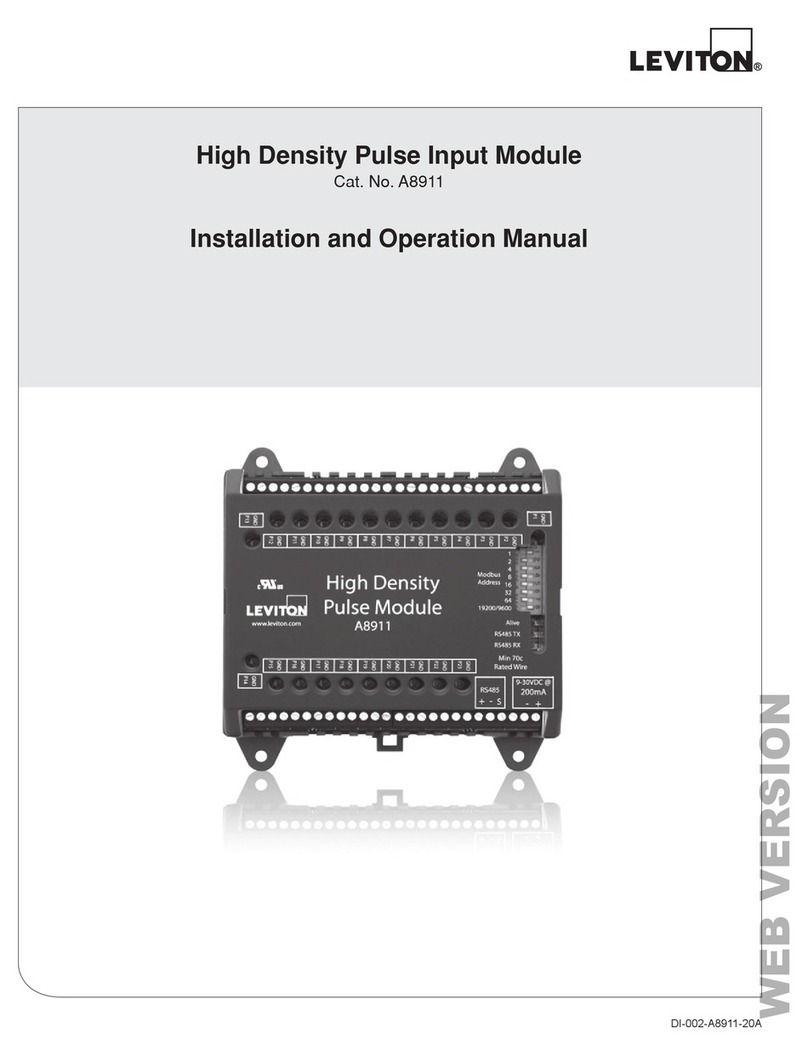
Other Leviton Control Unit manuals

Leviton CP series Operation manual

Leviton

Leviton CP series Operation manual

Leviton VerifEye A8911 User manual

Leviton

Leviton VerifEye A8911 User manual

Leviton 476TL-T12 User manual

Leviton

Leviton 476TL-T12 User manual

Leviton miniZ Series User manual

Leviton

Leviton miniZ Series User manual

Leviton SGAMP User manual

Leviton

Leviton SGAMP User manual

Leviton N7516 Original operating instructions

Leviton

Leviton N7516 Original operating instructions

Leviton SPLCH User manual

Leviton

Leviton SPLCH User manual

Leviton Decora Smart DW15A Series User manual

Leviton

Leviton Decora Smart DW15A Series User manual

Leviton VRCS4-1L Vizia RF + User manual

Leviton

Leviton VRCS4-1L Vizia RF + User manual

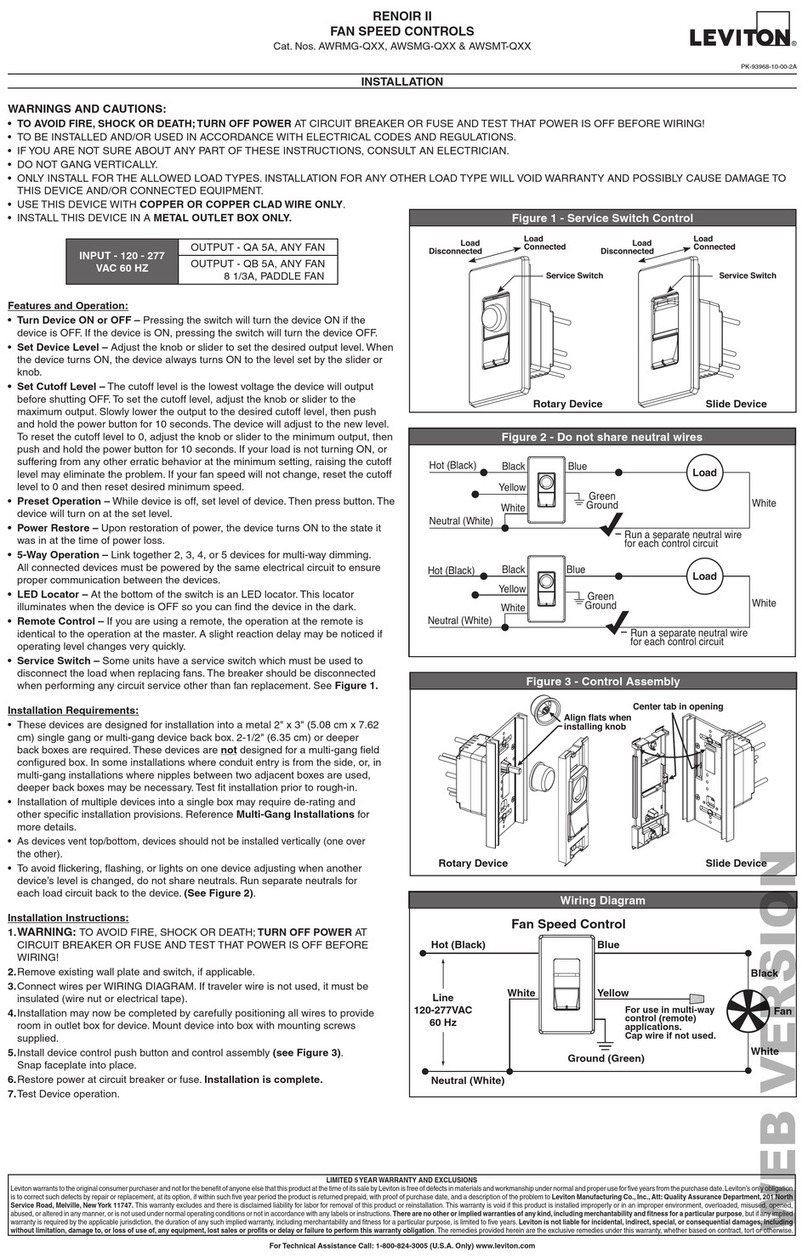
Leviton RENOIR II Series User manual

Leviton

Leviton RENOIR II Series User manual

Leviton decora 6630 User manual

Leviton

Leviton decora 6630 User manual

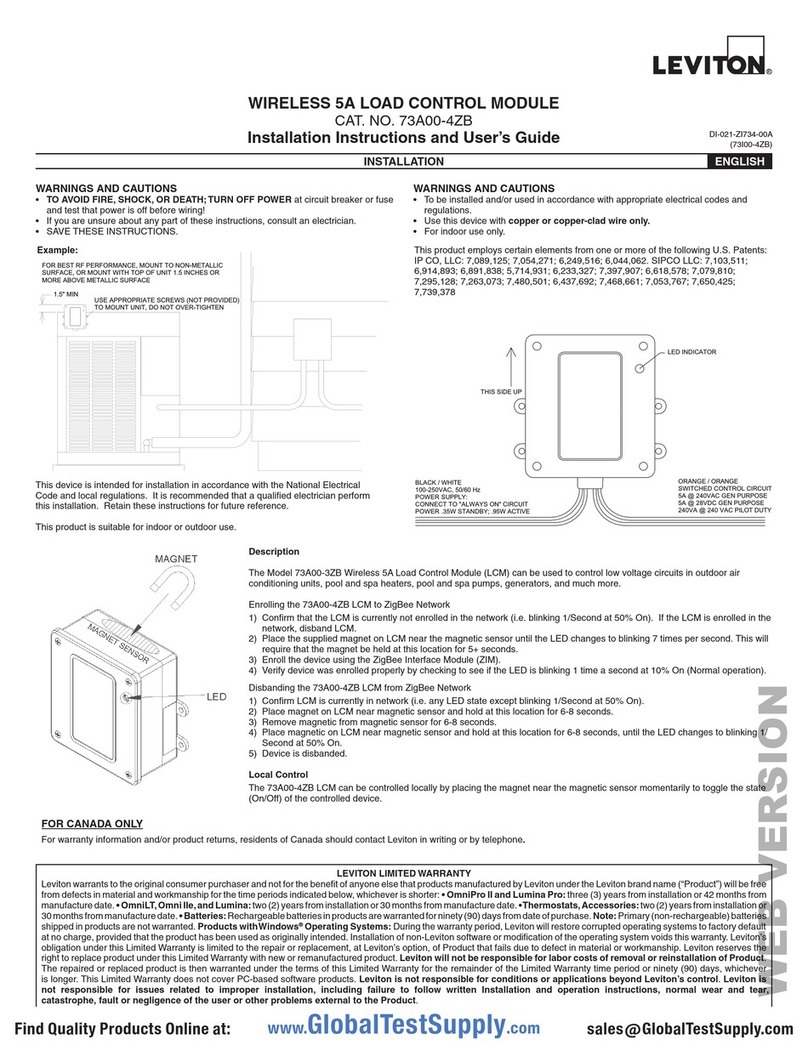
Leviton 73A00-3ZB Mounting instructions

Leviton

Leviton 73A00-3ZB Mounting instructions

Leviton Decora Illumatech User manual

Leviton

Leviton Decora Illumatech User manual

Leviton 47616-DSB User manual

Leviton

Leviton 47616-DSB User manual

Leviton SureSlide 6637 User manual

Leviton

Leviton SureSlide 6637 User manual

Leviton DOS02 User manual

Leviton

Leviton DOS02 User manual

Leviton 71I00-1 Mounting instructions

Leviton

Leviton 71I00-1 Mounting instructions

Leviton SGAMP User manual

Leviton

Leviton SGAMP User manual

Leviton MC 6300 Owner's manual

Leviton

Leviton MC 6300 Owner's manual

Leviton 10A11-1 Mounting instructions

Leviton

Leviton 10A11-1 Mounting instructions

Leviton Opt-X SDX Series User manual

Leviton

Leviton Opt-X SDX Series User manual

Leviton Decora Sureslide 6629-3, 1.5A User manual

Leviton

Leviton Decora Sureslide 6629-3, 1.5A User manual

Leviton VIZIA RF PLUS VRC0P-1LW User manual

Leviton

Leviton VIZIA RF PLUS VRC0P-1LW User manual

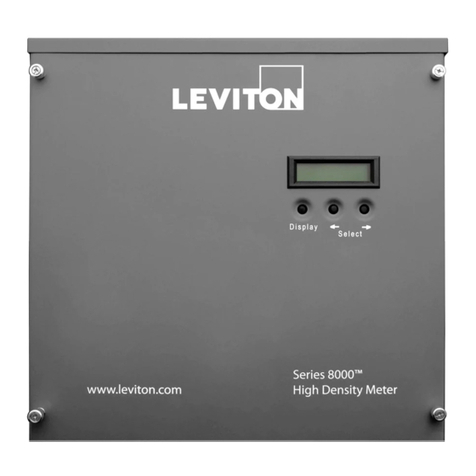
Leviton Verifeye 8000 Series User manual

Leviton

Leviton Verifeye 8000 Series User manual

Popular Control Unit manuals by other brands

EmpirBus NXT MCU user manual

EmpirBus

EmpirBus NXT MCU user manual

ALT N90700 Installation & Care Guide

ALT

ALT N90700 Installation & Care Guide

powersoft LiteMod user guide

powersoft

powersoft LiteMod user guide

Rockwell Automation Trusted T8834 manual

Rockwell Automation

Rockwell Automation Trusted T8834 manual

Siemens ZS-30 Operation and installation instructions

Siemens

Siemens ZS-30 Operation and installation instructions

Hayward BYCS Series Installation, operation and maintenance instructions

Hayward

Hayward BYCS Series Installation, operation and maintenance instructions

Emerson Fisher V250 instruction manual

Emerson

Emerson Fisher V250 instruction manual

HWH 725 SERIES Operator's manual

HWH

HWH 725 SERIES Operator's manual

ID Lock 202 MULTI user manual

ID Lock

ID Lock 202 MULTI user manual

Control Techniques Unidrive M400 quick start guide

Control Techniques

Control Techniques Unidrive M400 quick start guide

Junkers MB LAN Installation instruction

Junkers

Junkers MB LAN Installation instruction

DHC audioShare installation guide

DHC

DHC audioShare installation guide

ECO DELTA POWER ECO-M-72S Series installation manual

ECO DELTA POWER

ECO DELTA POWER ECO-M-72S Series installation manual

ABB OMD200 Installation and operating instruction

ABB

ABB OMD200 Installation and operating instruction

Meec tools 080-208 Operating instructions in original

Meec tools

Meec tools 080-208 Operating instructions in original

System Sensor M500RAP Installation and maintenance instructions

System Sensor

System Sensor M500RAP Installation and maintenance instructions

Toto TET1UBi2-CP installation manual

Toto

Toto TET1UBi2-CP installation manual

Pentair E-Box MAESTRO Lite Installation and operation guide

Pentair

Pentair E-Box MAESTRO Lite Installation and operation guide

manuals.online logo
manuals.online logoBrands
  • About & Mission
  • Contact us
  • Privacy Policy
  • Terms and Conditions

Copyright 2025 Manuals.Online. All Rights Reserved.