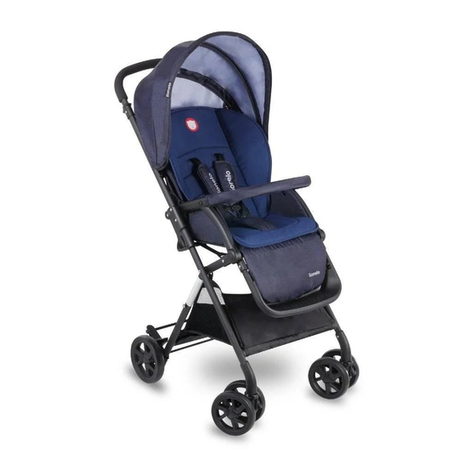
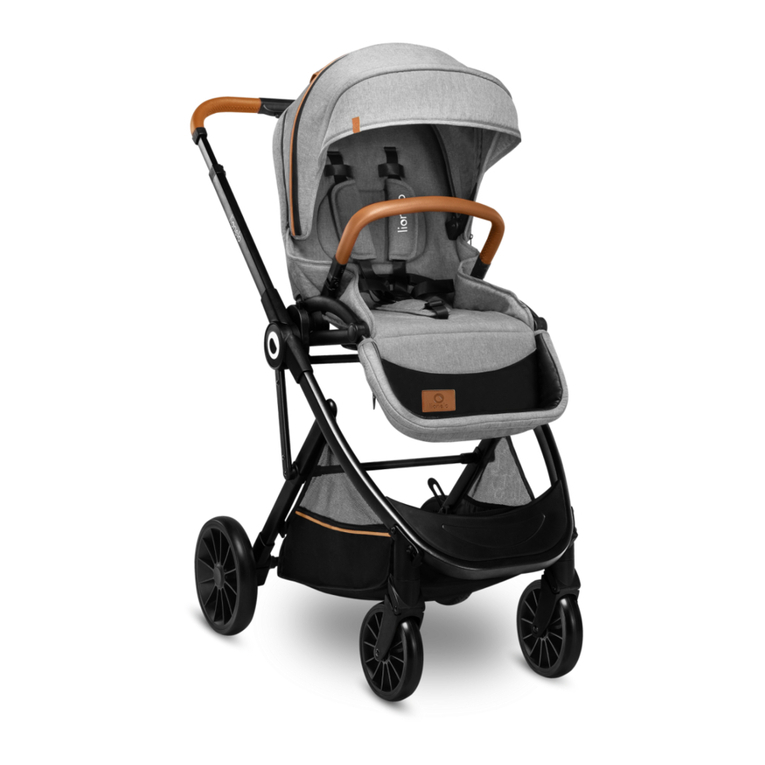
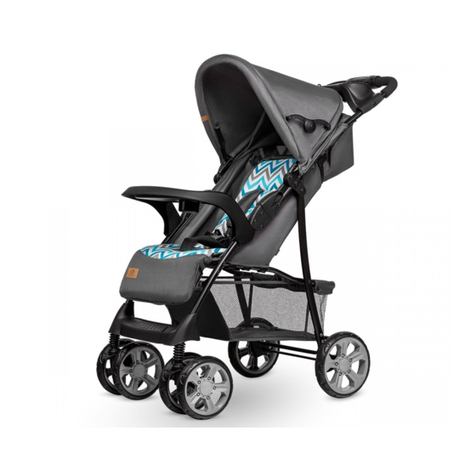
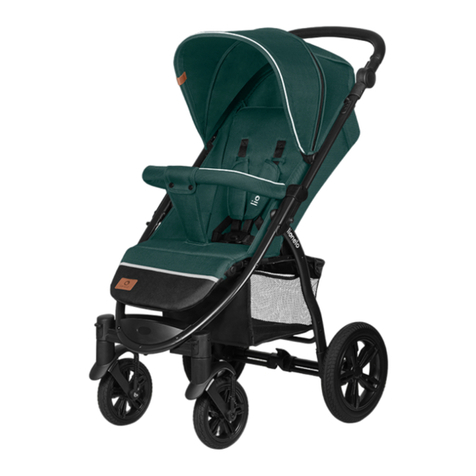
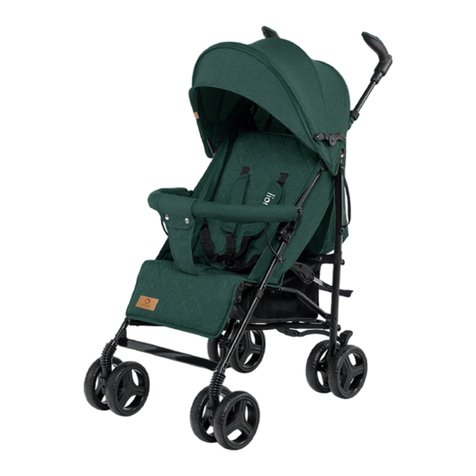
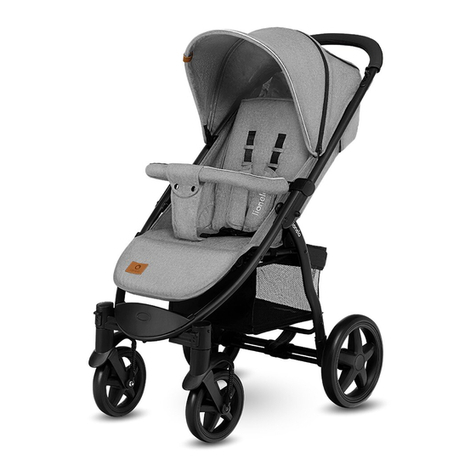
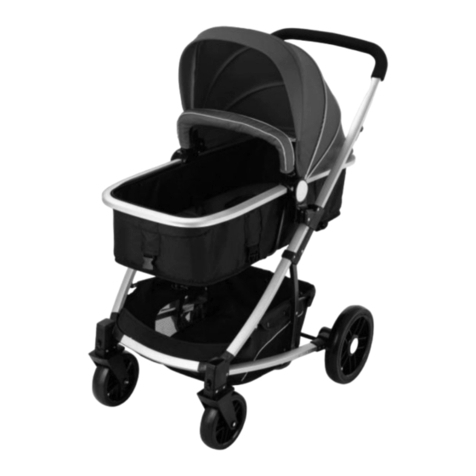
Lionelo Alexia User manual

Alexia
Zoey
Baby stroller
Wózek dziecięcy
Kinderwagen
Коляска
Passeggino
Poussette bébé
Carrito de bebé
Kinderwagen
www.lionelo.com
User manual
Instrukcja obsługi
Bedienungsanleitung
Инструкция по эксплуатации
Manuale d’uso
Manuel de l’Utilisateur
Manual de usuario
Handleiding

A
B
1
2
3
5
4
7
9
10
12
11
13
14
15
6
8

1
4 4a 4b
2 3

5
6
7 8
5a
6a
5b
6b
1
2

9 10
10a

EN Introduction
Dear Customer!
Thank you for placing trust in us and choosing Lionelo product.
Our products are manufactured with utmost care to provide
your child with comfortable and above all safe travel. Thanks
to high-quality materials and modern solutions, we provide you
with aproduct perfect for everyday use.
Before you use the product for the rst time, please read this
operating manual carefully. Wrong use of the product may pose
athreat to child’s life.
Should you have any remarks or questions concerning the
product, please do not hesitate to contact us:
The product satises requirements of EN1888-1:2018 standard.
IMPORTANT! Please read this manual carefully before use
and keep for future reference
Producer:
BrandLine Group Sp. zo. o.
ul. A. Kręglewskiego 1, 61-248 Poznań, Poland

EN
WARNING:
IMPORTANT! READ CAREFULLY AND KEEP
FOR FUTURE REFERENCE
1. Never leave the child unattended.
2. Ensure that all the locking devices are engaged
before use.
3.
To avoid injury ensure that the child is kept away
when unfolding and folding this product.
4. Do not let the child play with this product.
5. This seat unit is not suitable for children under
6 months.
6. Always use the restraint system.
7.
Check that the seat unit attachment devices are
correctly engaged before use.
8.
This product is not suitable for running or skating.
9. The suitable age range is from 6 months to 36
months and the maximum loading weight is
15 kgs.
10. If you wish to take the child out or put it inside the
stroller, make sure the parking device on the wheel
is locked.
11. Maximum basket load is 2 kg.
12. Any load attached to the handle, rear side of the

EN
backrest or sides of the stroller may affect its
stability.
13. The product is intended for one child only.
14.
Do not use accessories which have not been
approved by the manufacturer.
15.
Use only spare parts which have been supplied or
recommended by the manufacturer/distributor.
16.
Keep the product away from re and sources
of heat.
17. Do not use the product on stairs.
List of parts (g. A, B)
1. Stroller folding key
2. Sunshade
3. Bow
4. Basket
5. Footrest
6. Parking device
7. Rear wheels
8. Front wheels
9. Air hole
10. Rotating wheels locking key
11. Rear wheels releasing key
12. Front wheels releasing key
13. Folding interlock
14. Mug holder
15. Seat regulation belt

EN
How to assemble and disassemble the stroller
1.
How to unfold stroller frame: open unfolding lock (13), next
pull the handle up until you can hear aclick (g. 1). Make
sure the frame has been properly unfolded.
2.
Howtoattachfrontwheels: slidethe wheel shank in corresponding
holes on the stroller frame until you can hear aclick (g. 2). To
remove front wheels, press the releasing button (12) and then
take wheels out.
3.
How to attach rear wheels: slide the wheel shank in
corresponding holes on the stroller frame, as showed by
the arrow (g. 3). To remove rear wheels, press the releasing
button (11) and then take wheels out.
How to fold stroller frame
Press the stroller folding keys (1) in the order presented in g.
4. Fold the stroller as demonstrated by the arrow (g. 4a). Make
sure the unfolding interlock is secured (g. 4b).
How to use harness
1.
How to adjust safety belts: insert belts into the buckle until
you can hear aclick (g. 5). To undo the belts, press the
button in the buckle (g. 5a).
2.
Adjust length of belts to child’s height with the use of
buckles (g. 5b).
How to assemble and disassemble safety belts
To disassemble belts, pull the buckle through the hole in the
seat. To assemble it, insert the belts again. There are two belts
heights to choose from.

EN
Rotating wheels locking button
1.
Front rotating wheels: to unlock them, rmly slide the
interlock button (10) upwards (g. 6). To lock them, slide
the interlock button downwards (g. 6a).
2. Parking mechanism: to lock it, press the pedal as showed
by the arrow no. 1 (g. 6b). To unlock it, press the pedal as
showed by the arrow no. 2 (g. 6b).
3. Note: make sure the stroller is locked when parked.
How to adjust backrest
1. To set the seat in the sitting position, slide the buckle on
the belt located in the back of the seat upwards (g. 7).
2.
To lower the backrest, pull the buckle on the backrest
adjustment belt at the back of the seat (g. 7).
How to adjust footrest
To lower the footrest, press buttons in holes on both sides of
the footrest and then push the footrest down. To lift the footrest,
pull it up until you can hear adistinctive click (g. 8).
Mosquito net compartment
The mosquito net compartment is under the footrest.
How to adjust sunshade
To adjust the sunshade, you need to slide it forward or backward
and position as per your liking (g. 9).
How to adjust bow
To remove the bow, press releasing keys (g. 10) and then take
the bow out (g. 10a). If you can hear aclick, it means the bow
has been properly installed.

EN
How to clean and maintain
1. Clean dust and sand off the stroller wheels and frame on
aregular basis. To clean these parts, you can use awet
cloth and soft cleaning agents.
2.
To clean the stroller upholstery and basket, use awet cloth.
3.
Regularly inspect particular parts of the stroller for their
correct functions, durability and potential damage. If you
identify any defects, please contact the authorized service
center.
4. Use only spare parts which have been recommended by
the manufacturer.
5. Do not use strong chemicals to clean this product.
The pictures are for reference only. The real design of the products may differ
from the pictures presented.

PL
Wprowadzenie
Drogi Kliencie!
Dziękujemy za obdarzenie nas zaufaniem iwybranie produktu
marki Lionelo.
Nasze produkty wykonywane są znajwiększą starannością,
by zapewnić Twojemu dziecku komfortową podróż oraz –
przede wszystkim – by zadbać ojego bezpieczeństwo. Dzięki
wykorzystaniu wysokiej jakości materiałów inowoczesnych
rozwiązań technologicznych zapewniamy użytkownikom produkt,
który doskonale sprawdza się wcodziennym użytkowaniu.
Przed pierwszym użyciem produktu prosimy o uważne
przeczytanie niniejszej instrukcji użytkowania. Nieprawidłowe
używanie produktu może stanowić zagrożenie dla życia dziecka.
Jeśli masz jakiekolwiek uwagi lub pytania do zakupionego
produktu, skontaktuj się znami:
Produkt spełnia wymagania normy EN1888-1:2018.
WAŻNE! Przeczytaj instrukcję uważnie przed użyciem
izachowaj do wglądu wprzyszłości
Producent:
BrandLine Group Sp. zo.o.
ul. A. Kręglewskiego 1, 61-248 Poznań, Polska

PL
OSTRZEŻENIA:
WAŻNE! PRZECZYTAJ UWAŻNIE IZACHOWAJ
NA PRZYSZŁOŚĆ JAKO ODNIESIENIE
1. Nigdy nie zostawiaj dziecka bez opieki.
2.
Upewnij się przed użyciem, czy wszystkie
urządzenia blokujące są włączone.
3. Aby uniknąć obrażeń, upewnij się, czy dziecko jest
odsunięte kiedy rozkłada się lub składa niniejszy
wyrób.
4. Nie pozwalaj dziecku bawić się tym wyrobem.
5. To siedzisko nie jest odpowiednie dla dzieci w
wieku poniżej 6. miesiąca życia.
6. Zawsze używaj systemu zapięć.
7.
Sprawdź, czy urządzenia mocujące siedzisko są
prawidłowo załączone przed użyciem.
8.
Niniejszy wyrób nie jest odpowiedni do biegania
ani jazdy na rolkach.
9. Wózek przeznaczony jest dla dzieci w wieku od
6 do 36 miesięcy. Wózek przeznaczony jest dla
dzieci o wadze do 15 kg.
10.
Jeśli chcesz wyciągnąć dziecko zwózka, lub
je do niego włożyć, upewnij się, że mechanizm
postojowy na kole jest zablokowany.
11. Maksymalne obciążenie kosza wynosi 2 kg.

PL
12.
Jakiekolwiek obciążenie zamocowane na rączce,
tyle oparcia lub na bokach wózka może wpływać
na jego stabilność.
13.
Produkt przeznaczony jest do użytku przez jedno
dziecko.
14.
Nie należy używać akcesoriów niezatwierdzonych
przez producenta.
15.
Należy stosować wyłącznie części zamienne
dostarczone lub zalecane przez producenta/
dystrybutora.
16. Trzymaj produkt zdala od ognia iźródeł ciepła.
17. Nie należy używać produktu na schodach.
Lista części (rys. A, B)
1. Przycisk składania wózka
2. Daszek
3. Pałąk
4. Kosz
5. Podnóżek
6. Mechanizm postojowy
7. Koła tylne
8. Koła przednie
9. Okienko wentylacyjne
10. Przycisk blokady kół obrotowych
11. Przycisk zwalniający kół tylnych
12. Przycisk zwalniający kół przednich
13. Blokada rozłożenia

PL
14. Uchwyt na kubek
15. Pasek regulacji siedziska
Montaż idemontaż wózka spacerowego
1. Rozkładanie ramy wózka: otwórz blokadę rozłożenia (13),
następnie pociągnij rączkę do góry, aż usłyszysz kliknięcie
(rys. 1). Upewnij się, że rama została rozłożona prawidłowo.
2. Montaż kół przednich: wsuń trzpień kół wodpowiadające
im otwory na ramie wózka, aż usłyszysz kliknięcie (rys. 2).
Aby zdjąć koła przednie, wciśnij przycisk zwalniający (12),
anastępnie wyciągnij koła.
3.
Montaż kół tylnych: wsuń trzpień kół wodpowiadające
im otwory na ramie wózka, wkierunku wskazanym przez
strzałkę (rys. 3). Aby zdjąć koła tylne, wciśnij przycisk
zwalniający (11), anastępnie wyciągnij koła.
Składanie ramy wózka
Wciśnij przyciski składania wózka (1) zgodnie zkolejnością
wskazaną na rys. 4. Złóż wózek wkierunku wskazanym przez
strzałkę (rys. 4a). Upewnij się, że blokada rozłożenia jest
zablokowana (rys. 4b).
Użycie uprzęży
1.
Regulacja pasów bezpieczeństwa: włóż pasy do klamry
aż usłyszysz kliknięcie (rys. 5). Aby rozpiąć pasy, wciśnij
przycisk znajdujący się wklamrze (rys. 5a).
2.
Dostosuj długość pasów do wysokości dziecka za pomocą
znajdujących się na nich klamer (rys. 5b).
Montaż idemontaż pasów bezpieczeństwa
Aby zdemontować pasy, przełóż klamrę przez otwór wsiedzisku.

PL
Wcelu montażu, ponownie włóż pasy. Dostępne są dwie pozycje
wysokości zapięcia pasów.
Przycisk blokady kół obrotowych
1.
Przednie koła obrotowe: aby odblokować, przesuń przycisk
blokady (10) energicznie do góry (rys. 6). Aby zablokować,
przesuń przycisk blokady wdół (rys. 6a).
2.
Mechanizm postojowy: aby zablokować, wciśnij pedał
wkierunku wskazanym przez strzałkę nr 1 (rys. 6b). Aby
odblokować, wciśnij pedał wkierunku wskazanym przez
strzałkę nr 2 (rys. 6b).
3. Uwaga: upewnij się, że wózek jest zablokowany wczasie
postoju.
Regulacja oparcia
1.
Aby ustawić siedzisko wpozycji siedzącej, przesuń ku górze
klamrę na pasku znajdującym się ztyłu siedziska (rys. 7).
2.
Aby obniżyć oparcie, pociągnij klamrę na pasku regulującym
kąt oparcia ztyłu siedziska (rys. 7).
Regulacja podnóżka
Aby obniżyć podnóżek, wciśnij przyciski znajdujące się
wotworach po obu stronach podnóżka, anastępnie pchnij
podnóżek wdół. Aby podwyższyć podnóżek, podnieś go do
góry aż usłyszysz charakterystyczne kliknięcie (rys. 8).
Schowek na moskitierę
Schowek na moskitierę znajduje się pod podnóżkiem.

PL
Regulacja daszka
Aby wyregulować daszek wystarczy przesunąć go do przodu
lub do tyłu iustawić wedle uznania (rys. 9).
Regulacja pałąka
Aby zdjąć pałąk, wciśnij przyciski zwalniające (rys. 10),
anastępnie wyciągnij pałąk (rys. 10a). Poprawne włożenie
pałąka zasygnalizuje kliknięcie.
Czyszczenie ikonserwacja
1.
Koła oraz ramę wózka należy regularnie czyścić zkurzu
ipiasku. Części te można czyścić zużyciem wilgotnej
ściereczki oraz łagodnych środków czyszczących.
2.
Tapicerkę wózka oraz kosz należy czyścić zużyciem
wilgotnej ściereczki.
3.
Poszczególne części wózka powinny być regularnie
kontrolowane pod kątem funkcjonalności, wytrzymałości,
oraz ewentualnych uszkodzeń. Wprzypadku wykrycia
usterek należy skontaktować się zautoryzowanym centrum
serwisowym.
4.
Należy używać jedynie części zamiennych zalecanych
przez producenta.
5.
Nie należy używać silnych chemicznych środków do
czyszczenia niniejszego produktu.
Zdjęcia mają charakter poglądowy, rzeczywisty wygląd produktów może różnić
się od prezentowanego na zdjęciach.

DE
Einführung
Sehr geehrter Kunde!
Wir möchten uns bei Ihnen bedanken, dass Sie uns vertraut und
das Produkt der Marke Lionelo gewählt haben.
Unsere Produkte werden mit höchster Sorgfalt hergestellt, um
Ihrem Kind eine bequeme Reise und – vor allem – die Sicherheit
zu gewährleisten. Dank der Verwendung hochqualitativer
Materialien und der Einsetzung moderner technologischer
Lösungen liefern wir unseren Kunden ein Produkt, das ich im
täglichen Gebrauch perfekt bewährt.
Vor dem ersten Gebrauch lesen Sie genau die vorliegende
Bedienungsanleitung. Eine fehlerhafte Bedienung kann das
Leben des Kindes gefährden.
Falls Sie Fragen oder Anmerkungen zu dem gekauften Produkt
haben, setzen Sie sich mit uns in Verbindung:
Das Produkt erfüllt die Norme EN1888-1:2018.
WICHTIG! Lesen Sie die Bedienungsanleitung vor dem
Gebrauch und bewahren Sie sie für späteres Nachlesen auf.
Hersteller:
BrandLine Group Sp. zo.o.
ul. A. Kręglewskiego 1, 61-248 Poznań, Polen

DE
WARNUNG:
WICHTIG! BITTE SORGFÄLTIG LESEN UND
FÜR SPÄTERES NACHLESEN UNBEDINGT
AUFBEWAHREN
1. Lassen Sie das Kind nie unbeaufsichtigt.
2.
Vergewissern Sie sich vor Gebrauch, dass alle
Verriegelungen eingerastet sind.
3.
Vergewissern Sie sich, dass das Kind beim
Aufklappen und Zusammenklappen des Wagens
außer Reichweite ist, um Verletzungen zu vermeiden.
4.
Lassen Sie das Kind nicht mit dem Produkt
spielen.
5. Diese Sitzeinheit ist für Kinder unter 6 Monaten
nicht geeignet.
6. Verwenden Sie immer das Rückhaltesystem.
7.
Vergewissern Sie sich vor der Verwendung, dass
die Befestigungselemente des Sitzeinheit korrekt
eingerastet sind.
8.
Dieses Produkt ist nicht zum Joggen oder Skaten
geeignet.
9.
Der Kinderwagen ist für Kinder von 6 bis 36
Monaten geeignet. Der Kinderwagen ist für Kinder
mit einem Gewicht von bis zu 15 kg ausgelegt.
10.
Falls Sie das Kind aus dem Kinderwagen
herausnehmen oder es in den Kinderwagen

DE
hinsetzen wollen, stellen Sie sicher, dass die
Feststellbremse auf dem Rad blockiert ist.
11.
Die maximale Belastung des Korbs beträgt 2 kg.
12. Die Belastung, die auf dem Griff, auf der Lehne
oder auf den Seiten des Kinderwagens befestigt
ist, kann seine Stabilität beeinussen.
13. Das Produkt ist für die Verwendung für nur ein
Kind bestimmt.
14.
Man darf keine Accessoires verwenden, die vom
Produzenten nicht gebilligt sind.
15.
Man soll nur die Ersatzteile verwenden, die vom
Produzenten / Vertreiber geliefert oder empfohlen
werden.
16. Bewahren Sie das Produkt fern vom Feuer und
fern von Wärmequellen auf.
17.
Man soll das Produkt nicht auf Treppen
verwenden.
Liste der Teile (Abb. A, B)
1. Taste zum Zusammenklappen des Kinderwagens
2. Sonnenschutz
3. Bügel
4. Korb
5. Fußstütze
6. Feststellbremse
7. Hintere Räder
8. Vordere Räder
This manual suits for next models
1
Table of contents
Languages:
Other Lionelo Stroller manuals

Lionelo
Lionelo Dani User manual

Lionelo
Lionelo Irma User manual

Lionelo
Lionelo Riya User manual

Lionelo
Lionelo Annet Plus User manual

Lionelo
Lionelo EMMA PLUS User manual

Lionelo
Lionelo Amber User manual

Lionelo
Lionelo EMMA PLUS User manual

Lionelo
Lionelo Mari Tour User manual

Lionelo
Lionelo Annet Tour User manual

Lionelo
Lionelo Cloe User manual

Lionelo
Lionelo LEA User manual

Lionelo
Lionelo JulieONE User manual

Lionelo
Lionelo Mika User manual

Lionelo
Lionelo LUNA User manual

Lionelo
Lionelo Dani User manual
Lionelo
Lionelo LO-EMMA User manual

Lionelo
Lionelo Natt User manual
Lionelo
Lionelo ELIA User manual

Lionelo
Lionelo LIV User manual

Lionelo
Lionelo Elia Oslo User manual