manuals.online logo
Brands
  1. Home
  2. •
  3. Brands
  4. •
  5. Ltech
  6. •
  7. Controllers
  8. •
  9. Ltech T3 Series User manual

Ltech T3 Series User manual

T3
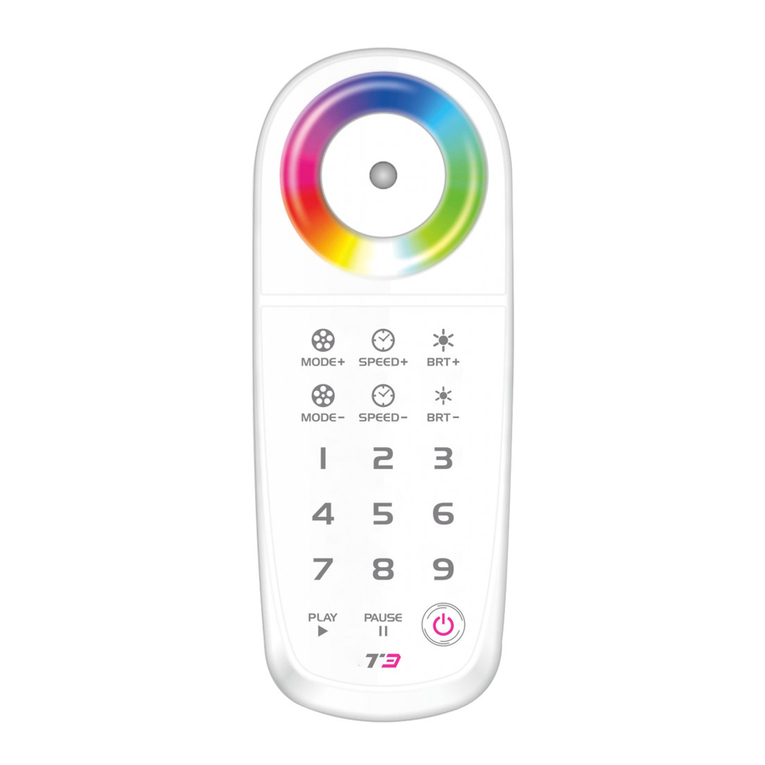
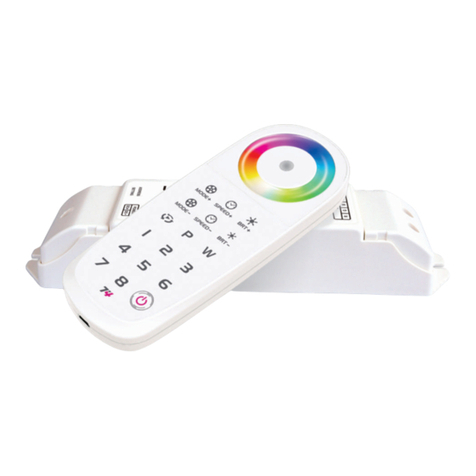
The Intelligent LED color touch controller T3 is our latest development of human body touch
and multi-functional RGB controller.
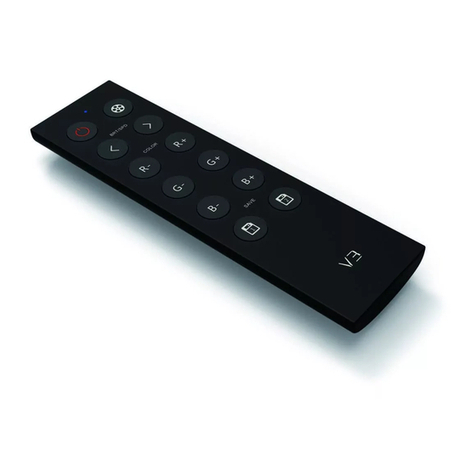
The control system consists of two parts, the remote control and controller, built-in 32 change
modes, adopts the advanced PWM (pulse-width modulation) control technology, smooth
change effect and no flicker on the led light. with a high power MOS driver, the maximum
current load of RGB channels could reach to 15A.
unique touch technology, the controller comes with 8 touch keys, you can select the functions
of switch, pause, changing modes, speed and LED brightness, all functions can be controlled
by RF remote control at a long distance, RF remote control has 16-bit color selections on the
full-color circle ; controller can automatically adapt to the input voltage of DC 5V-24V,
suitable for most conventional low-voltage RGB LED light.
1
LED RGB Controller
1. Technical Specs
RoHS
COMPLIANT
warranty
3 years
ISO9001:2008
Power supply chose: DC CV SMPS
Model: T3-5A
Input voltage: DC5V~DC24V
Max current load: 5AX3CH Max 15A
Max output power: 75W/180W/360W(5V/12V/24V)
Change mode: 32 Fantastic modes
Control button: 8 touch buttons
Scale levels: 65536 steps per RGB (16 Bits/CH)
Working temperature: -30℃~55℃
Dimension: L211×W40×H30(mm)
Package Size: L215×W42×H32(mm)
Weight (G.W): 180g
Model: T3
Input voltage: DC5V built-in Lithium battery
Working current: 30mA
Working frequency: 2.4GHZ
transmitting distance: ≤30meter
transmitting rate: 500Kbps
Battery capacity: 1000mAh
Standby time:1 year
Normal using time: 30 days
Charge time: <4 hours
Number of Charge cycles: 500 times
Dimension: L145×W55×H22(mm)
Package Size: L165×W76.5×H59(mm)
Weight (G.W): 200g
Controller
Remote Control
2
3. Product size
HH
H H HH
40mm
55mm
16mm
15mm
10mm10mm
203mm
20mm
211mm
145mm
22mm
2. The charging methods for remote control
1. when charging, please connect USB cable to the mobile charger or computer with the
USB interface.
2. The blue indicator light flickers while charging, and turns green means the charging is completed.
3. No memory effect in the lithium battery of remote control. Follow the standard charging
procedure even for the first three times, no need over charge.
4. Red indicator light flickers meaning low battery and need to be charged. charging in low
battery will affect life of battery.
30mm
T3 LED RGB Controller ManualT3 LED RGB Controller Manual
LTECH LTECH
ZHUHAI LTECH ELECTRONIC TECHNOLOGY CO., LTD. WWW.LTECHONLINE.COM LT@LTECHONLINE.COM
Tel: +86 756 620 8823 Fax: +86 756 620 8833
3
HH
H H HH
VBGR
LED MODULE
R
B
G
R
B
G
LED MODULE
R
B
G
R
B
G
LED MODULE
R
B
G
R
B
G
LED MODULE
R
B
G
R
B
G
LED MODULE
R
B
G
R
B
G
LED MODULE
R
B
G
R
B
G
LED MODULE
R
B
G
R
B
G
LED MODULE
R
B
G
R
B
G
DC12 V
DC12 V
LN
AC DC
AC22 0V 110V
POWER
SUPPLY
5. Tables of Changing mode
6. Wiring diagram
4
PAUSE
MODE MODE
SPEED SPEED
BRT BRT
ON/OFF
PAUSE
MODE+
MODE-
SPEED+
SPEED-
ON/OFF:
BRT+
BRT-
Turn on/off the Controller.
full-Color
Touching
circle
When touching the full-color circle, LED lights will
show the same color as the circle.
Press the keys for 3 seconds,the controller will save the
present function mode automatically,which can save
9 modes and save repeately as well. .Press"PLAY" key
to play cycle modes(merely play the dynamic effects,
the static effect will be skipped automatically.
9 DIY
keys
4. Detailed key functions
The remote control has18 function buttons and 1 full-color touch circle; The controller has 8 touch buttons.
Controller sign
Button Description
Remote control sign
MODE+ MODE-/
Press the keys to select next mode or back to
previous mode.
SPEED+/SPEED-
Press the keys to quicken and slower speed
PAUSE
Press it to stay at current color.
Press it again, it will continue to change.
Press this button in 3 seconds, the buzzer
can be on or off.
BRT+/BRT-
Press the keys to increase or decrease brightness ,
keep pressing to adjust brightness continuously
The learning of remote control:
Press the key “ON/OFF” on the controller until there is the DUDU sound, then press the key “1” to activate the
controlling between the controller and remote control, press key"2" to cancel the controlling,and it means it had been
set successfully when heard takq
1
2
3
4
5
6
7
8
9
10
11
12
13
14
15
16
17
18
19
20
21
22
23
24
25
26
27
28
29
30
31
32
Description
No.
Mode
Description
No.
Mode
Static red
Static green
Static blue
Static yellow
Static purple
Static cyan
Static white
RGB skipping
7 colors skipping
White strobe
7 colors strobe
Red fade out and fade in
Green fade out and fade in
Blue Fade out and fade in
Yellow fade out and fade in
Purple fade out and fade in
brightness adjustable
speed/brightness adjustable
Cyan fade out and fade in
White fade out and fade in
RGB fade out and fade in
y
Red Green color smooth
Red Blue color smooth
Green Blue color smooth
Red Yellow color smooth
Green Cyan color smooth
Blue purple color smooth
Green Yellow color smooth
Blue Cyan color smooth
Red Purple color smooth
Blue White color smooth
Yellow Purple Cyan color smooth
RGB color smooth
full color smooth
Power repeater can be added if connect to more LED ,please refer to the manual of power repeater
for the specific connection method.
【Notes】
8. Warranty Agreement
1. The product shall be installed and serviced by a qualified person.
2. This product is non-waterproof. Please avoid the sun and rain. When installed outdoors please
ensure it is mounted in a water proof enclosure.
3. Good heat dissipation will prolong the working life of the controller. Please ensure good ventilation.
4. Please check if the output voltage of any LED power supplies used comply with the working voltage of the product.
5. Please ensure that adequate sized cable is used from the controller to the LED lights to carry the current.
Please also ensure that the cable is secured tightly in the connector to avoid the accidents due to overheat and
poor contact on the wire.
6. Ensure all wire connections and polarities are correct before applying power to avoid any damages to the LED lights.
7. If a fault occurs please return the product to your supplier. Do not attempt to fix this product by yourself.
1. We provide lifelong technical assistance with this product:
A 3 year warranty is given from the date of purchase. The warranty is for free repair or replacement and covers
manufacturing faults only.
For faults beyond the 3 year warranty we reserve the right to charge for time and parts.
2. Warranty exclusions below:
Any man-made damages caused from improper operation, or connecting to excess voltage and overloading.
The product appears to have excessive physical damage.
Damage due to natural disasters and force majeure.
Warranty label, fragile label and unique barcode label have been damaged.
The product has been replaced by a brand new product.
3. Repair or replacement as provided under this warranty is the exclusive remedy to the customer.
Ltech shall not be liable for any incidental or consequential damages for breach of any stipulation in this warranty.
4. Any amendment or adjustment to this warranty must be approved in writing by Ltech only.
★ This manual only applies to this model. Ltech reserves the right to make changes without prior notice.
7. Attention
Connected to RGB moudle as an example
T1 LED RGB Controller ManualT1 LED RGB Controller Manual
LTECH LTECH
ZHUHAI LTECH ELECTRONIC TECHNOLOGY CO., LTD. WWW.LTECHONLINE.COM LT@LTECHONLINE.COM
Tel: +86 756 620 8823 Fax: +86 756 620 8833

Other manuals for T3 Series

1

This manual suits for next models

1

Other Ltech Controllers manuals

Ltech WiFi-102-CT User manual

Ltech

Ltech WiFi-102-CT User manual

Ltech WiFi-RDM01 User manual

Ltech

Ltech WiFi-RDM01 User manual

Ltech LT-3900RF User manual

Ltech

Ltech LT-3900RF User manual

Ltech WiFi-108 User manual

Ltech

Ltech WiFi-108 User manual

Ltech T3 Series User manual

Ltech

Ltech T3 Series User manual

Ltech TT-DX-R4-5A User manual

Ltech

Ltech TT-DX-R4-5A User manual

Ltech LT-3600RF User manual

Ltech

Ltech LT-3600RF User manual

Ltech DMX-BT-AUDIO User manual

Ltech

Ltech DMX-BT-AUDIO User manual

Ltech T4 LED RGBW User manual

Ltech

Ltech T4 LED RGBW User manual

Ltech WiFi-103 User manual

Ltech

Ltech WiFi-103 User manual

Ltech WiFi-101-CT User manual

Ltech

Ltech WiFi-101-CT User manual

Ltech WiFi-RDM01 User manual

Ltech

Ltech WiFi-RDM01 User manual

Ltech LT-3500-6A User manual

Ltech

Ltech LT-3500-6A User manual

Ltech WiFi-102 LED Controller User manual

Ltech

Ltech WiFi-102 LED Controller User manual

Ltech LT-310 User manual

Ltech

Ltech LT-310 User manual

Ltech LT-312RF User manual

Ltech

Ltech LT-312RF User manual

Ltech LT-200 User manual

Ltech

Ltech LT-200 User manual

Ltech WiFi-104 User manual

Ltech

Ltech WiFi-104 User manual

Ltech WiFi-102-RGBW User manual

Ltech

Ltech WiFi-102-RGBW User manual

Ltech 101 CT User manual

Ltech

Ltech 101 CT User manual

Ltech T4 User manual

Ltech

Ltech T4 User manual

Ltech LT-3600RF User manual

Ltech

Ltech LT-3600RF User manual

Ltech LT-312RF User manual

Ltech

Ltech LT-312RF User manual

Ltech LT-3800-5A User manual

Ltech

Ltech LT-3800-5A User manual

Popular Controllers manuals by other brands

Measurement Computing MP-2000 quick start guide

Measurement Computing

Measurement Computing MP-2000 quick start guide

Phasefale JouleAlarm manual

Phasefale

Phasefale JouleAlarm manual

Shinko PC-935 series Communication instruction manual

Shinko

Shinko PC-935 series Communication instruction manual

Omron NJ-series Firmware Update Instruction

Omron

Omron NJ-series Firmware Update Instruction

Tekmar 284 Installation & operation manual

Tekmar

Tekmar 284 Installation & operation manual

Hubbell 31.130 Specification sheet

Hubbell

Hubbell 31.130 Specification sheet

Omron CP1E INTRODUCTION brochure

Omron

Omron CP1E INTRODUCTION brochure

AUMA Aumatic AC 01.1 manual

AUMA

AUMA Aumatic AC 01.1 manual

SamplexPower EVO-30AB owner's manual

SamplexPower

SamplexPower EVO-30AB owner's manual

YASKAWA CIMR-AC2B0004 quick start guide

YASKAWA

YASKAWA CIMR-AC2B0004 quick start guide

Allen-Bradley 1336 PLUS II Selection guide

Allen-Bradley

Allen-Bradley 1336 PLUS II Selection guide

Mitsubishi Electric MELSEC Q Series user manual

Mitsubishi Electric

Mitsubishi Electric MELSEC Q Series user manual

TMK IGNIS Alfa manual

TMK

TMK IGNIS Alfa manual

Heyl Testomat 808 Maintenance and service instructions

Heyl

Heyl Testomat 808 Maintenance and service instructions

Icop VSX-6118-V2 user manual

Icop

Icop VSX-6118-V2 user manual

AG-NAV AgNav Platinum Operation manual

AG-NAV

AG-NAV AgNav Platinum Operation manual

Tunstall Flamenco 77 0520 00 installation instructions

Tunstall

Tunstall Flamenco 77 0520 00 installation instructions

Dakota Digital PAC-2000 quick start guide

Dakota Digital

Dakota Digital PAC-2000 quick start guide

manuals.online logo
manuals.online logoBrands
  • About & Mission
  • Contact us
  • Privacy Policy
  • Terms and Conditions

Copyright 2025 Manuals.Online. All Rights Reserved.