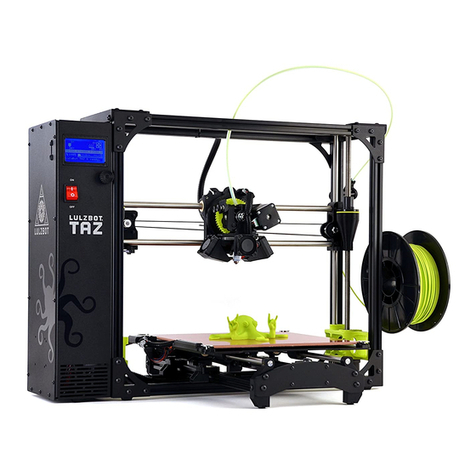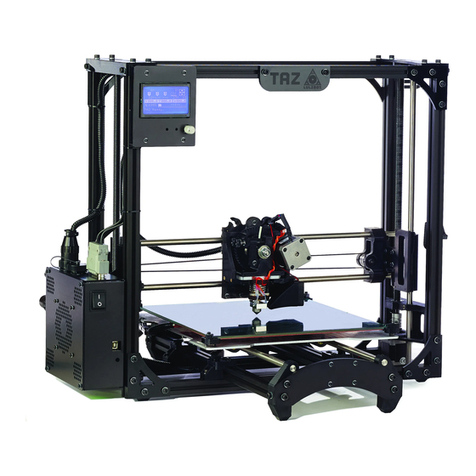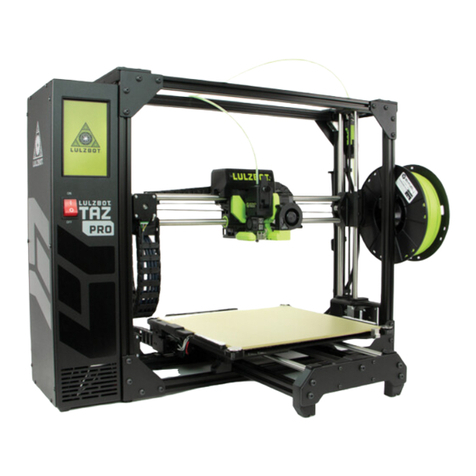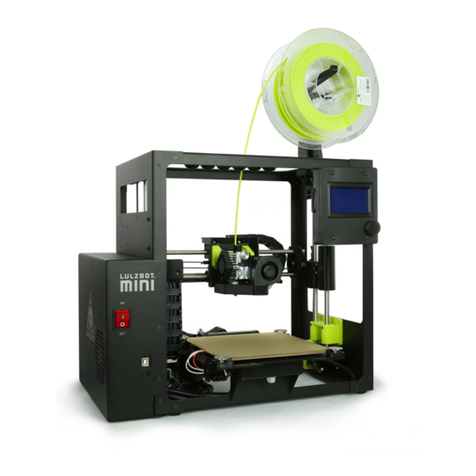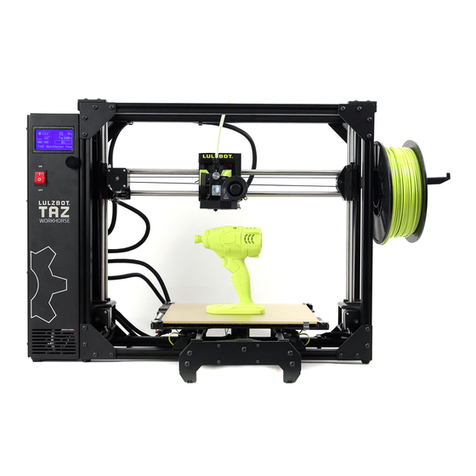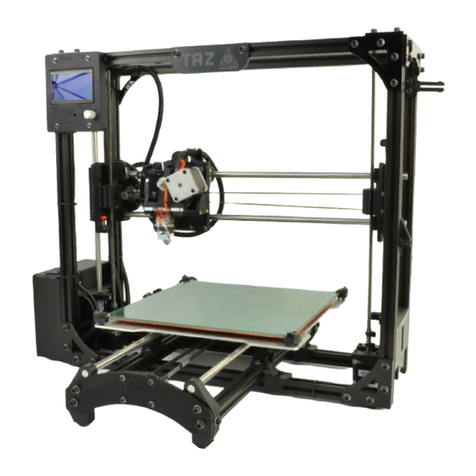
This Simple Set Up Guide will walk more experienced users through 10 easy steps to prepare the TAZ SideKick for printing. Every step includes
a reference to the chapter in the PDF User Guide that contains more detailed instructions on each process. New users can nd more detailed
instructions beginning in Unpacking, Chapter 5 of the User Guide. If you’re still stuck after referring to the detailed steps in the user guide, check
out the Troubleshooting section in Chapter 14. If you don’t nd the answers in the troubleshooting section, contact LulzBot support at Support@
LulzBot.com to talk to a friendly LulzBot Customer Support Team Member. The most current version of the Users Guide PDF can be downloaded at
download.lulzbot.com/SideKick/Documents/SK_User_Guide.pdf.
SIMPLE SET UP GUIDE
Questions? Contact Customer Support at Support@LulzBot.com or call 1-701-809-0800 ext 2
www.LulzBot.com
01 Unpack - Remove your SideKick from
the packaging material and remove all
of the orange shipping blocks and clips
from the printer.
Simple Set Up Guide -
10 steps from box to print!
For more details, see Chapter 5, Unpacking.
02 Assembly - Mount the Y-Axis to the
printer frame. Swing out and secure the
electronics enclosure and LCD control
panel (if equipped) and mount the
Tool Head. Open the spool mount and
connect the lament guide tube.
For more details, see Chapter 7, Assembly
03 Slicer Installation - Install Cura LulzBot
Edition on your desktop computer
following the installation prompts. Cura
LE is included on the SD card that came
with your SideKick. The most current
version of Cura LE can be downloaded
from www.LulzBot.com/cura.
For more details, see Chapter 8, Slicer Installation
04 Add Printer - Launch Cura LE. Go to
Settings>Printer>Add Printer. Select the
LulzBot TAZ SideKick model and select
the Tool Head installed on your printer.
Click Add Printer. Click Finish on the next
menu. Cura LE is now ready for use with
your LulzBot TAZ SideKick.
For more details, see Chapter 8, Slicer Installation
05
Load File to Print - Load your rst le
from the included SD card. Select Open
File in Cura LE and choose OctopusRev06.
stl from the included SD card. In the
Prepare sidebar in Cura LE conrm that
PolyLite PLA is selected for material and
Standard is selected for the prole.
For more details, see Chapter 8, Slicer Installation
06 Connect Printer - Plug the USB cable
into your computer and the top of the
electronics enclosure on the back of the
printer. Plug in the AC power cable at
the back of the printer and plug it in to
an AC outlet. Turn the printer on using
the red power switch on the lower right
front of the printer.
For more details, see Chapter 9, Preparing to Print
07 Load Filament - Load the included PLA
sample of lament. Ensure the lament
is the correct diameter (1.75mm or
2.85mm) for the Tool Head you have
installed on your SideKick.
For more details, see Chapter 9, Preparing to Print
08 Start Print - In Cura LE, click the Monitor
button. Click Connect. Click Start Print.
Your TAZ SideKick will automatically
prepare itself for 3D printing.
For more details, see Chapter 10, Starting Your First Print
09 Check Level and Z Offset - Before each
print, your SideKick will conduct a bed-
leveling sequence. Check for correct
Z-offset. Using the LCD screen (if
equipped) Go to Conguration>Advanced
Settings>Z Offset. Adjust the Z-offset to
achieve optimal bed adhesion.
For more details, see Chapter 10, Starting Your First Print
10 Print Part - Your SideKick will now print
your part. When the part is complete,
the printer will move the bed to rear of
the machine to cool. Once the print bed
is cool, it will move the print bed to the
front. You can then remove your print.
For more details, see Chapter 10, Starting Your First Print
™
