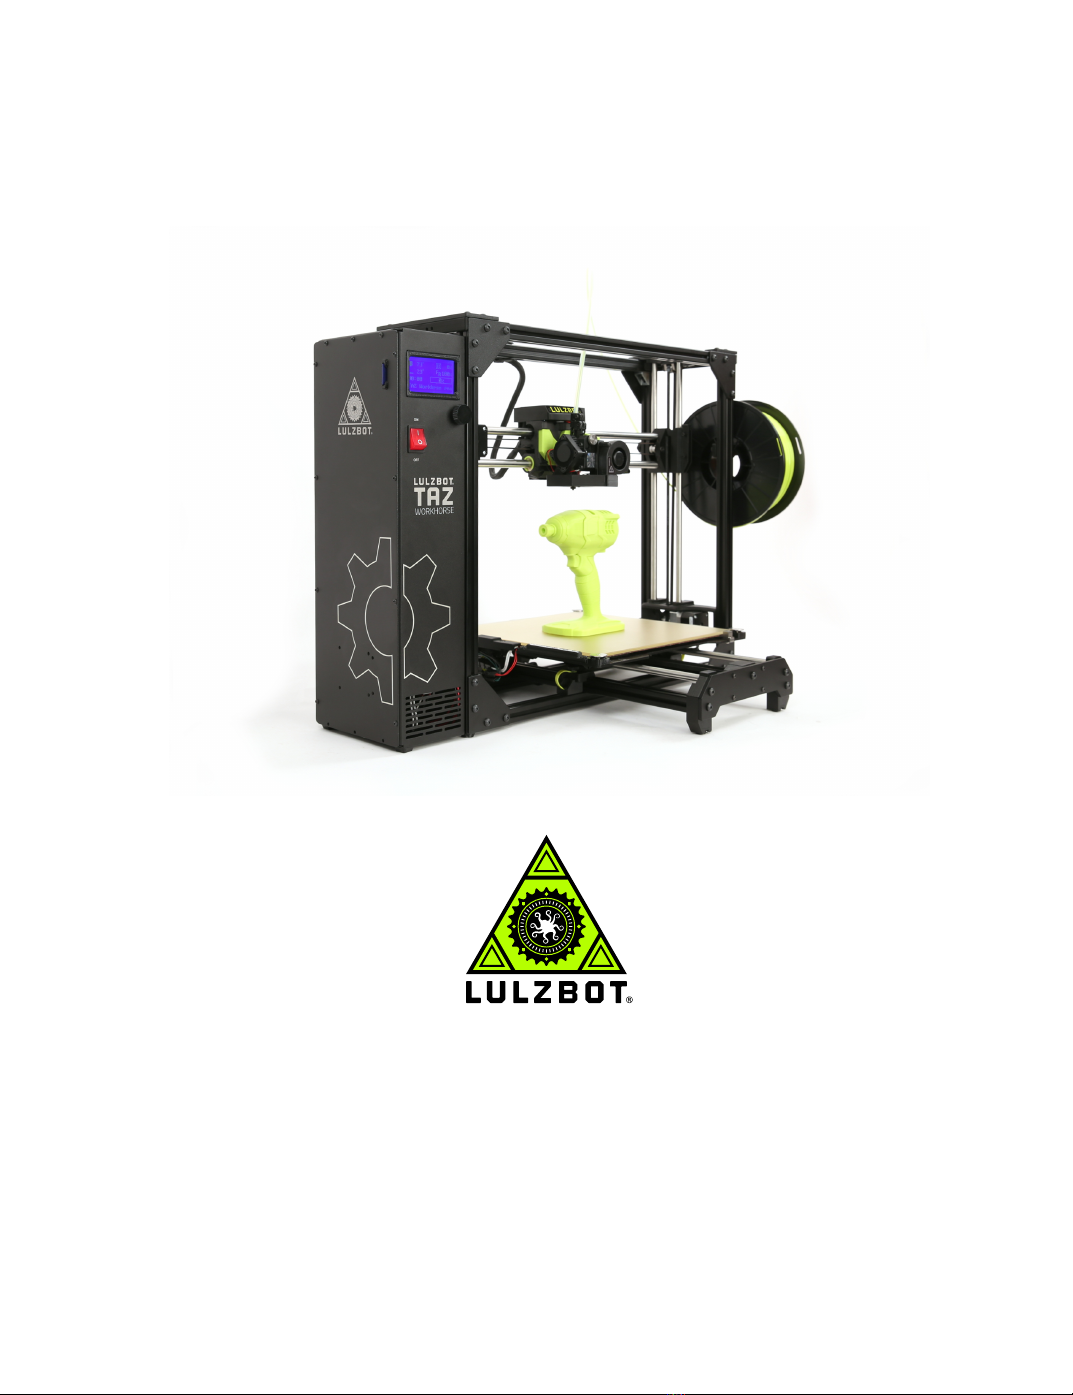
LulzBot TAZ Workhorse User manual

LulzBot TAZ Workhorse
User Manual
Aleph Objects, Inc.

LulzBot TAZ Workhorse User Manual
by Aleph Objects, Inc.
Copyright © 2019 Aleph Objects, Inc.
Permission is granted to copy, distribute and/or modify this document
under the terms of the Creative Commons Attribution 4.0 International
Public License (CC BY-SA 4.0).
Published by Aleph Objects, Inc., 626 West 66th Street, Loveland, Colorado,
80538 USA.
LulzBot®and the LulzBot logo are registered trademarks of Aleph Objects,
Inc.
For more information, call +1-970-377-1111 or go to LulzBot.com and
AlephObjects.com.
ISBN: ADD ISBN NUMBER ONCE SUBMITTED TO PRINT SHOP Pro-20190731

Contents
WARNINGS
Safety Information · · · · · · · · vii
Read Me First! · · · · · · · · · · · · · · · · viii
Hazards and Warnings · · · · · · · · · · · · · · viii
Regulatory Compliance Statement Class B · · · · · · · ix
1 3D Printer Software · · · · · · · 11
1.1 Software Overview ············· 12
1.2 Software Types ·············· 12
1.3 CAD and 3D Modeling Software ········ 13
1.4 Alternative Printer Host Software · · · · · · 14
2 Cura LulzBot Edition · · · · · · · 15
2.1 Cura LulzBot Edition ··········· 16
2.2 Recommended Print Settings ········· 16
2.3 View Options ··············· 26
2.4 Monitor Screen ·············· 28
2.5 Starting Your First Print ········· 32
2.6 Removing Your First Print ········· 34
2.7 Custom Settings ············· 35
2.8 Quality Tab Settings ··········· 36
2.9 Shell Tab Settings ············ 39
2.10 Infill Tab Settings ············ 44
2.11 Material Settings Tab ··········· 49
2.12 Speed Settings Tab ············ 53
2.13 Travel Tab Settings ············ 55
2.14 Cooling Settings Tab ··········· 56
2.15 Support Tab Settings ··········· 58
2.16 Build Plate Adhesion Settings Tab · · · · · · 63
iii

CONTENTS
2.17 Dual Extrusion Settings Tab ········ 64
2.18 Mesh Fixes Settings Tab ·········· 65
2.19 Special Modes Settings Tab ········· 67
2.20 Experimental Settings Tab ········· 68
3 Maintaining Your 3D Printer · · · · · · 75
3.1 Overview ················ 76
3.2 Smooth Rods ··············· 76
3.3 PEI Print Surface ············· 76
3.4 Hobbed Bolt ··············· 76
3.5 Belts ················· 77
3.6 Hot End ················· 77
3.7 Nozzle Wiping Pad ············· 77
3.8 Bed Leveling Washers and Calibration Cube · · · 78
3.9 Cooling Fans ··············· 78
3.10 Control Box ··············· 78
4 Advanced Usage · · · · · · · · 79
4.1 Intro ················· 80
4.2 Changing nozzles · · · · · · · · · · · · · · 80
4.3 Bed Adhesion · · · · · · · · · · · · · · · 80
5 Troubleshooting · · · · · · · · 81
5.1 Troubleshooting ············· 82
6 Hardware and Software Source Code · · · · 85
7 3D Printer Support · · · · · · · 87
7.1 LulzBot················· 88
7.2 Support················· 88
7.3 Regional Phone Numbers · · · · · · · · · · · 88
7.4 Community · · · · · · · · · · · · · · · · 88
8 Warranty Information · · · · · · · 89
8.1 Warranty ················ 90
8.2 Modication Warning · · · · · · · · · · · · 90
9 Contact Information · · · · · · · 91
9.1 Support················· 92
9.2 Sales ·················· 92
9.3 Regional Phone Numbers · · · · · · · · · · · 92
9.4 Websites················· 93
iv

CONTENTS
Index · · · · · · · · · · · 95
Glossary · · · · · · · · · · 101
Notes ··················· 105
v

List of Figures
2.1 Recommended Settings · · · · · · · · · · · · · 17
2.2 Options after selecting model · · · · · · · · · · · 20
2.3 Scaling your Model · · · · · · · · · · · · · · 21
2.4 Rotating your Model · · · · · · · · · · · · · · 22
2.5 Mirror Button Location · · · · · · · · · · · · · 23
2.6 Per Model Settings Location · · · · · · · · · · · 24
2.7 Custom Support Settings Location · · · · · · · · · 25
2.8 View in Normal Mode · · · · · · · · · · · · · 26
2.9 View in X-ray · · · · · · · · · · · · · · · · 27
2.10 View in Layers · · · · · · · · · · · · · · · · 27
2.11 Viewing Cumulative Layers · · · · · · · · · · · 28
2.12 Viewing a Specic Layer · · · · · · · · · · · · 28
2.13 Monitor Button Location · · · · · · · · · · · · 29
2.14 Monitor Control Options · · · · · · · · · · · · 29
2.15 View in Custom Settings · · · · · · · · · · · · 35
2.16 Dierences in Layer Height · · · · · · · · · · · 37
2.17 Dierent Support Options · · · · · · · · · · · · 60
vi

WARNINGS
Safety Information

WARNING!
Read Me First!
READ THIS MANUAL COMPLETELY BEFORE UNPACKING AND
POWERING UP YOUR PRINTER.
Hazards and Warnings
Your LulzBot TAZ 3D printer has motorized and heated parts. Always be
aware of possible hazards when the printer is operational.
Electric Shock Hazard
Never open the electronics case when the printer is powered on. Before
removing the electronics case cover, always power down the printer and
completely turn o and unplug the printer. Allow the printer to discharge
for at least one minute.
Burn Hazard
Never touch the hot end nozzle or heater block without rst turning o the
hot end and allowing it to completely cool down. The hot end can take up
to 20 minutes to completely cool. Never touch recently extruded plastic.
The plastic can stick to your skin and cause burns. The print surface can
reach high temperatures that are capable of causing burns.
Fire Hazard
Never place ammable materials or liquids on or near the printer when it
is powered on or operational. Liquid acetone, alcohol, or other chemicals
may release vapors that are extremely ammable.
Pinch Hazard
When the printer is operational take care to never put your ngers near
any moving parts including belts, pulleys, or gears. Tie back long hair or
clothing that can get caught in the moving parts of the printer.
viii

REGULATORY COMPLIANCE STATEMENT CLASS B
Age Warning
For users under the age of 18, adult supervision is recommended. Beware
of choking hazards around small children.
Modications and Repairs Warning
At Aleph Objects, Inc. we respect your freedom to modify your LulzBot
desktop 3D printer. However any modications or attempted repairs that
cause damage are not covered under the Warranty. Questions? Contact
970-377-1111.
Regulatory Compliance Statement Class B
Federal Communications Commission Statement
CAUTION: Changes or modications not approved by the party responsi-
ble for compliance could void the users authority to operate the equipment.
NOTE: This equipment has been tested and found to comply with the
limits for a Class B digital device, pursuant to part 15 of the FCC Rules.
These limits are designed to provide reasonable protection against harmful
interference in a residential installation. This equipment generates, uses
and can radiate radio frequency energy and, if not installed and used in
accordance with the instructions, may cause harmful interference to radio
communications. However, there is no guarantee that interference will not
occur in a particular installation. If this equipment does cause harmful
interference to radio or television reception, which can be determined by
turning the equipment o and on, the user is encouraged to try to correct
the interference by one or more of the following measures:
1. Reorient or relocate the receiving antenna.
2. Increase the separation between the equipment and receiver.
3. Connect the equipment into an outlet on a circuit dierent from that
to which the receiver is connected.
4. Consult the dealer or an experienced radio/TV technician for help.
ix

WARNING!
Industry Canada Statement
Cet appareil numérique de la classe B est conforme à la norme ICES-003
du Canada. This device complies with Canadian ICES-003 Class B.
Australian Communications and Media Authority Statement
This device has been tested and found to comply with the limits for a
Class B digital device, pursuant to the Australian/New Zealand standard
AS/NZS CISPR 22:2009 + A1:2010.
x

3D Printer Software

3D Printer Software
1.1 Software Overview
To operate your desktop 3D printer you will need to install a few software
packages onto your PC. You will need a 3D printer host, an .STL to .GCODE
generator, and optional CAD or 3D modeling software.
Cura LulzBot Edition is the recommended software for your
LulzBot 3D printer. Download Cura LulzBot Edition by visiting
LulzBot.com/Cura.
All of the following Free/Libre Software packages are available for
GNU/Linux, Windows, and macOS. We highly recommend using these
programs on GNU/Linux.
1.2 Software Types
Printer Hosts
Printer Host software is used to control the 3D printer. The program
not only allows you to manually move the printer along all the axes,
but set temperatures manually, send commands, and receive feed-
back/error messages from the onboard electronics. We recommend
that new users start with Cura LulzBot Edition as it includes a slicing
engine as well.
Slicers
These programs take the 3-Dimensional model (typically
STL/OBJ/etc) and determine the 3D printer toolpath based
on the options selected. The slicing engine uses the nozzle diameter,
movement speeds, layer height, and other variables to determine the
coordinates where it needs to move, and the rates at which it will do
so. This information is exported out of the program as a GCODE
le. The GCODE le is a plain-text le with a series of text-based
codes and a list of the complete X,Y, and Z-axis coordinates used
for printing the 3D model. We recommend that new users start with
Cura LulzBot Edition as it includes the printer host as well.
12

1.3. CAD AND 3D MODELING SOFTWARE
1.3 CAD and 3D Modeling Software
LulzBot is not distributing a CAD or 3D modeling software package.
However, multiple Free/Libre Software packages are available. Other
common non-free CAD and 3D modeling software are also capable of
exporting the required .STL les.
On some CAD and 3D modeling software you will need to select
millimeters as the output unit. If possible it is best to build your 3D design
in metric units rather than imperial units. Cura requires .STL/.OBJ les
sized in millimeters. If an .STL/.OBJ with inches as units is loaded into
Cura, the model will be scaled much smaller than expected. You can scale
the model by 25.40 to compensate. The software listed below outputs
millimeters as the unit by default.
FreeCAD
Website: http://www.freecadweb.org/
Although still in development, contains a full GUI for building CAD
models. FreeCAD is capable of creating simple to complex designs. STL
les can also easily be exported for use with 3D printing. FreeCAD is
available for GNU/Linux, Windows, and OS X. The latest development
version is recommended.
OpenSCAD
Website: http://openscad.org
OpenSCAD is dierent than FreeCAD in that it is script based. Rather
than using a GUI to generate CAD designs, OpenSCAD CAD designs are
created using script based renderings. Users with programming experience
would nd this useful. Also, OpenSCAD uses a simple script language that
is easy for users with little or no programming experience to learn.
Blender
Website: http://blender.org
The most widely used Free/Libre Software 3D modeling software,
Blender is well documented with tutorials available on the Blender.org
website as well as found online.
13

3D Printer Software
1.4 Alternative Printer Host Software
OctoPrint
Website: http://octoprint.org/
Octoprint is a printer host that uses a web-based interface to access and
control your 3D printer. Added web-cam functionality allows for time-lapse
videos and a live stream. Octoprint will run on GNU/Linux, Windows, OS
X based computers and can even run well on a Beagle Bone Black or a
RaspberryPi (inexpensive business-card sized computers).
BotQueue
Website: https://www.botqueue.com/
BotQueue works well for those users wanting to have a web-based
multiple 3D printer operation running o a queuing system.
MatterControl
Website: http://www.mattercontrol.com/
MatterControl is another printer host that currently runs on
GNU/Linux, Windows, and OS X. It features 2D and 3D model viewing,
a print queue, and print le organization and searching.
Source Files
Aleph Objects, Inc., the maker of the LulzBot TAZ 3D printer, completely
supports Free Software, Libre Innovation, and Open Source Hardware.
Along with the LulzBot TAZ 3D printer being a Free Software and Open
Source Hardware design, it has been tested to work with 100% Free/Libre
Software. Our source code and design les are hosted on:
LulzBot Download Server http://download.lulzbot.com
LulzBot Development Server http://devel.lulzbot.com
Aleph Objects Code Repository http://code.alephobjects.com
14

Cura LulzBot Edition

Cura LulzBot Edition
2.1 Cura LulzBot Edition
Installation and Setup
Cura LulzBot Edition is available for download on our website at
https://LulzBot.com/cura. When installing, it is recommended to
uninstall any previous versions of Cura you may have been using. Cura
is designed for Fused Filament Fabrication (FFF) 3D printers. Fused
Filament Fabrication is the term for the process of laying down successive
layers of extruded lament to create a 3 dimensional object. As each layer
of molten plastic is extruded into place, it fuses with the previous layer.
When rst opening Cura, you will be prompted to Add a Printer. This
will consist of selecting your printer and what tool head you are using.
It is important to select the correct printer and tool head combination,
as Cura uses custom proles and machine settings based upon the specic
printer and which tool head is installed.
• Download the appropriate installer for your computer operating
system. Instructions on installation for each operating system are
available at https://LulzBot.com/cura.
• Start Cura by launching it from your list of installed applications. If
this is the rst time that Cura has been used the “Add a Printer”
window will open.
• Select LulzBot TAZ Workhorse from the Printer Section.
• Select HE | 0.5mm from the Tool Head | Nozzle Diameter section.
• Select Add Printer.
2.2 Recommended Print Settings
After setting up your printer for the rst time, you will be taken to the
recommended print settings. This area allows you to quickly select a
LulzBot tested and approved material and prole combination from the
upper right hand corner.
16

2.2. RECOMMENDED PRINT SETTINGS
Figure 2.1: Recommended Settings
Material Selection
The lament type categories are separated by ease of use in the top right
corner of the screen. From the Category drop down, select "All" to view
all LulzBot approved and tested materials, or ease of use that you are
comfortable with. The printer ships with a lament sample for the rst
print(s). Refer to the included Quick Start Guide for the proper “First
Run” settings.
Selecting a Quick Print Profile
The prole quality settings can be found in the top right corner of the
window, just below material selection. For most laments, there will be
High Detail,Standard, and High Speed options. Some of the more exotic
laments may only have a single prole.
High Detail
Designed to give greater detail in ner and curved objects. This will
have a smaller layer height, which will make each layer thinner, so
that curves seem more natural and layers seem less noticeable. This
setting will also increase the total number of layers in the print, which
will increase the overall print time.
17

Cura LulzBot Edition
Standard
Designed to give a balanced resolution by increasing the layer height
and print speeds. This will make the organic curves slightly more
step-like than the ne setting, but it will reduce printing time.
High Speed
Designed for fast prints where the overall model nish is not the
primary concern. Most commonly used for quick iteration of designs
when rapid prototyping.
Different Filament Manufacturers
Dierent lament manufacturers have dierent formulations for their spe-
cic brand. These dierent formulations may have dierent ideal settings.
We highly recommend using the lament brands listed in Cura LulzBot
Edition. Beautiful 3D printed objects start with reliable and consistent
lament. The proles included within Cura LulzBot Edition will be good
starting points for other manufacturers; but they may require changes to
various settings for ideal results.
Infill Selection
Inll represents how solid the inside of your object will be printed. Easily
adjust inll by using the slider to drag the circle to your desired inll. 20%
is a good starting point for most objects.
Printing Support Material
The support option will build up material underneath the portion extending
in mid air, preventing gravity from making it droop. LulzBot 3D Printers
are able to print models that have angles and overhangs, even without
support material. This will depend on the overhang distance and angle
of your particular model le, but a good rule of thumb is greater than 50
degree overhangs will require support. Turn this option on if sections of
your model are extending in mid air. Where support is placed and at what
angle, can be adjusted in advanced settings support.
18

2.2. RECOMMENDED PRINT SETTINGS
Build Plate Adhesion
This option is used to select dierent methods for helping ensure your model
stays adhered to the build plate, and the extruder is prepared for printing.
NOTE: In order to reach your full build volume, you will need to select
”none” here. The build plate adhesion techniques use part of your build
volume.
Skirt
The skirt option prints a specied amount of material around the outside
of your object. This prepares the extruder to ensure lament is owing
properly before actually beginning to print your part. It is normal for part
of the skirt to not print, as it is priming the extruder for the actual part.
Brim
Brim creates a single layer attached to and protruding around the base
of your object. This increases the surface area of your print, preventing
warping and ensuring adhesion to the build plate. This single layer thick
line is then manually removed once the print is complete.
Raft
The raft option will build up a layer of material underneath your object as
a ”platform” for the printed object to rest on. This setting can be helpful
when the base of your model is not at.
Load Model File
Select the 3D model you would like to print. Either use the Open Model
button or select File >Open Model. Once the le has been loaded, you
will see a 3D rendering of your object on the build platform. Select the
model to see the various options.
Model Orientation
Move your model to change where it is printed on the build plate. Do
this by left clicking on the model and dragging it to the desired location.
19

Cura LulzBot Edition
The blue, red, and green outlined corner of the 3D print bed view
represents the front left hand corner of the build plate on your printer. You
can view your model from dierent angles by holding down the right mouse
button and dragging.
Figure 2.2: Options after selecting model
Scale
The Scale button displays the model dimensions, along with the ability
to scale along the X Y or Z axes. Anything below the percentage 100
will reduce the objects size, while anything above the percentage 100 will
increase the objects size. As a default, this is set to uniform scaling when
rst being selected. This will cause the X Y and Z axes to be scaled by
the same amount when you make a change to any of them. To disable this,
unselect the uniform scaling in the lower right hand corner.
20
Table of contents
Other LulzBot 3D Printer manuals

LulzBot
LulzBot TAZ Instruction Manual

LulzBot
LulzBot TAZ 6 User manual

LulzBot
LulzBot TAZ 3.0 User manual

LulzBot
LulzBot TAZ User manual

LulzBot
LulzBot TAZ SideKick User manual

LulzBot
LulzBot Mini User manual

LulzBot
LulzBot TAZ Pro S Instruction Manual

LulzBot
LulzBot TAZ 5 User manual

LulzBot
LulzBot TAZ 6 Instruction Manual

LulzBot
LulzBot TAZ User manual

LulzBot
LulzBot TAZ 6 User manual

LulzBot
LulzBot Mini User manual

LulzBot
LulzBot Mini 2 User manual

LulzBot
LulzBot TAZ User manual

LulzBot
LulzBot TAZ User manual

LulzBot
LulzBot TAZ 5 User manual

LulzBot
LulzBot TAZ 6 Instruction Manual

LulzBot
LulzBot Mini User manual

LulzBot
LulzBot TAZ 5 User manual

LulzBot
LulzBot TA Instruction Manual