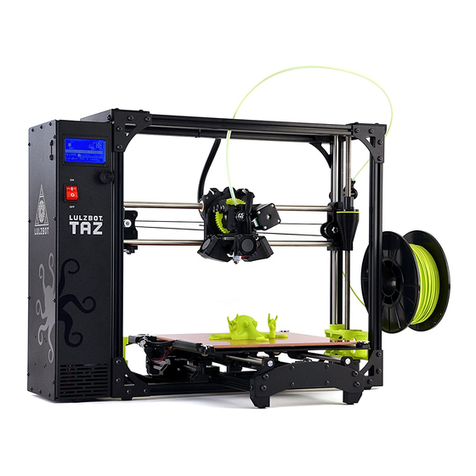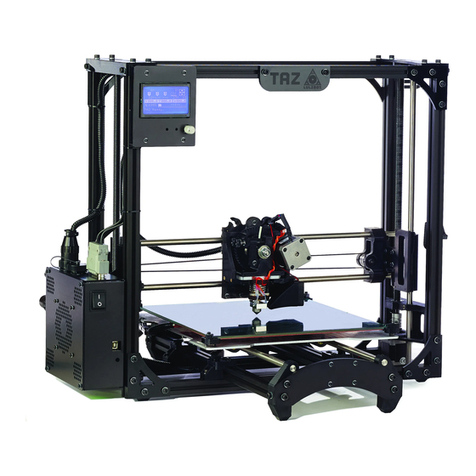
and B chord at that port, you may connect your computer with the LulzBot Taz 5 and operate the
3D printer through CURA.
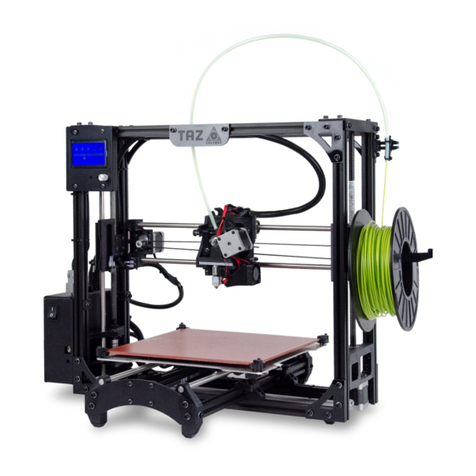
Section 2: The Bed where your prints are made on. The clamps on each corners
(Figure_1) are used to hold and adjust the level of the bed. To check if the bed is flat, you
can move the extruder down just above the bed then move the extruder to all four corners
and judge if the height on all sides are relatively even; this is done through the interface
panel (Section 4) under Main -> Movement -> Move axis.
Figure_1
Section 3: The extruder. The filament runs through the tube to this machine. The filament is
pulled by the gears and guided by the two screws in place. Those screws should not be clapped
down on the filament rather they should have enough space for the filament to only be guided
down toward the center of the extruder.
Section 4: The interface panel. The turn-dial (navigation button) on the bottom right corner is
used to navigate through the menus.
Section 5: The hook where the spool of filament will rest on. From there, you will feed the
filament through the tube to the extruder. For Taz 5, the filament’s thickness need to be 3mm
(2.85mm).
Section 6: This knob adjusts the height of the z-axis for “auto home” (the origin point). If the
extruder is too high or too low (pushing down on the bed), turn the knob in small integers (1/8
turns at most) till you are at an appropriate height; the extruder should be at a paper thin level
above the bed. Make only slight turns on the knob because the knob can be sensitive. Caution,
do not turn the knob too much or too far down. If not careful, damage can be done to the
extruder or the bed.
(More instructions, continue down)
