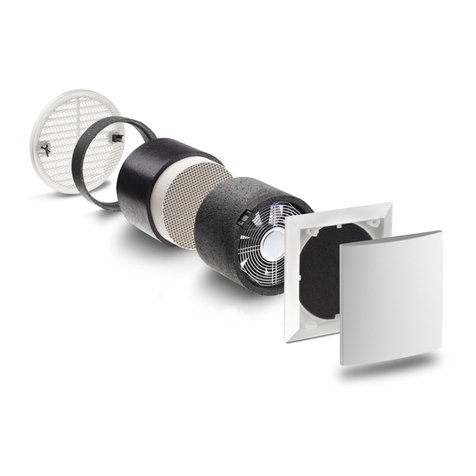
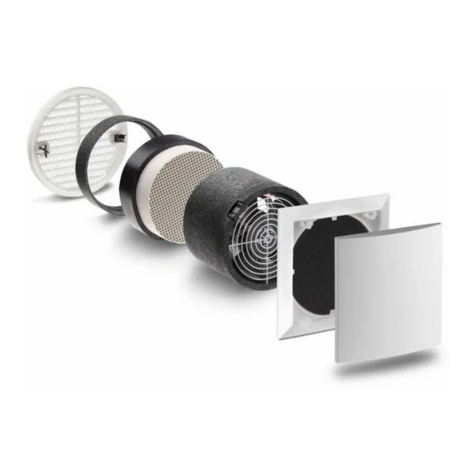
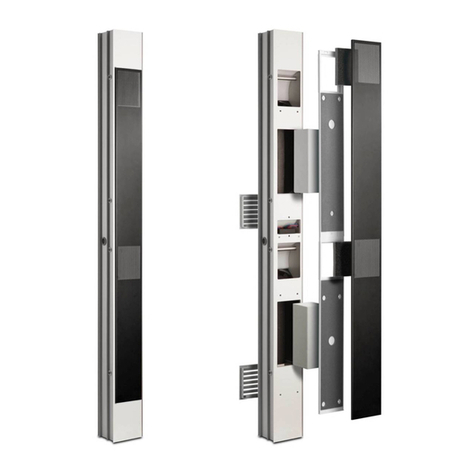
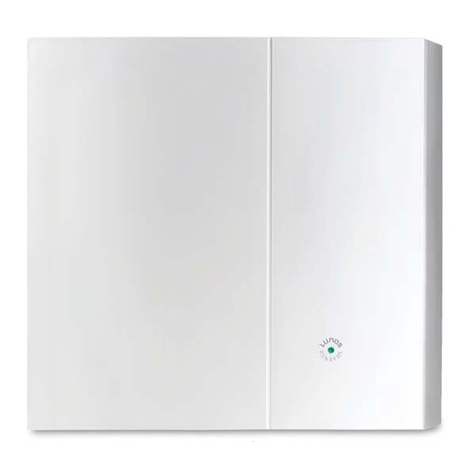
Lunos e2 mini User manual

Installation Manual
'XFWOHVV Ventilation System with Heat Recovery
Type e² and e² short
Contents Page:
About this manual, safety instructions 1
Technical Specifications 1
Dimensional diagrams 2
Installation ORFDWLRQ 2
Shipping units 3
Assembly: Assembly pipe and outside grid 4
Assembly: Electric installation and electric connection 5
Assembly: Heat recovery unit and indoor blind 6
Assembly: Noise absorption set 7
)ORZUDWHVHOHFWLRQRSWLRQVRQFRQWUROOHU 7
Filter replacement, Cleaning 8
Additional replacement parts 8
About this manual
x Read this manual carefully and completely before assembly. &RPSO\ZLWK the general safety instruc-
tions and the safety symbols with information in the text.
x Hand out this manual to the user (tenant, proprietors, property management etc.) after completing
assembly.
Symbols in this manual
This symbol is a danger warning in connection with risk of injury
This symbol is a danger warning in connection with risk of injury from electricity
Safety instructions
Beware! Any assembly work to the ventilation device may only be carried out after disconnec-
ting all phases of supply FXUUHQWV! The ventilation device is fitted with protective insulation ac-
cording to Protection Class II, the protection connection is superfluous!
Attention! The electric connection may only be made by authorised qualified HOHFWULFLDQV
according to the ORFDOEXLOGLQJFRGHV
Attention! This device may not be operated by children and persons (filter replacement/
cleaning) who are not able to operate the device safely due to their psychic, sensory or mental
abilities or their inexperience or lack of knowledge. Children should be supervised to ensure
that they do not play with the device.
Technical specifications
Device voltage: 12 VDC SELV
Type of protection: IP 22
Volume flow: &)0RU&)0m³/h;&)030m³/h,&)038m³/h
Measuring sound pressure level 16,5 dB; 19,5 dB
Sound level difference:42 dB
Disposal
Dispose of the packaging correctly sorted. If you want to dispose of the device, abide by the
current rules and regulations. The applicable municipal office will provide information.
1
All manuals and user guides at all-guides.com
all-guides.com

Dimensional diagrams (all dimensions in mm)
Ventilation device
Installation position
'XFWOHVVHðventilation devices with heat recovery FDQ only function in pairs RSHUDWLQJLQRSSRVLWHdirect
Lon. (DFKIDQ operates 70 s (50s for e² short) in VXSSO\ air operation, the other 70 s (50s for e² short) in
exhaust air operation at the corresponding VHW flowUDWHV. $IWHUZKLFKERWK air IORZVdirection DUHchanged.
7KLVDVVXUHV that the total of the VXSSOLHG YHQWLODWLRQYROXPHis equal to the total exhausted voluPH
If a pair RIIDQVWKDWin WKLVEDODQFHGpushpull RSHUDWLRQis installed in two different rooms of DGZHOOLQJ
a sufficiently dimensioned interconnectionXQGHUFXWGRRUHWF EHWZHHQWKHURRPVVKRXOGEHLQVWDOOHG
WRDOORZXQUHVWULFWHGDir movement EHWZHHQWKHVHVSDFHV
Recommended minimum spacing when
installing a pair of devices in a wall:
Recommended minimum spacing when
installing a pair of devices across a corner:
2
35 300 500 17180
180
Dimensions in mm200 –300
e² short :
Operating conditions
5DWHGconditions: )WR)15°C to +40°CZLWKUHODWLYHKXPLGLW\XSWR
During heating period LWLVSRVVLEOHIRUYHU\small DPRXQWVRIcondensate WRformRQJULOOHVLQVXFK
FRQGLWLRQVDULVHIf theVH limitation of use are H[FHHGHGIRUH[WHQGHGSHULRGVRIWLPH,
the device FDQEH closeGZLWKthe indoor FRYHU.'RHQVXUH,$4LVPDLQWDLQHGLQVXFKFDVHV
All manuals and user guides at all-guides.com

Shipping units
Check the sKLSPHQW for completeness and QRWHDQ\PLVVLQJLWHPVDUHGDPDJHVDVDS
,QVWDOODWLRQpipe (min 2x, max 4x) Outside griOOH (min 2x, max 4x)
Heat exchanger unit – Indoor FRYHU
(min 2x, max 4x)
3
Heat exchange unitIndoor FRYHU
*UH\Sipe
Protection FRYHU
IRUFRQVWUXFWLRQXVH
Type 9/R 160 Order No.: 36 765 Type 1/WE 180 white Order No.: 39 852
Type 1/GE 180 light grey Order No.: 39 853
Type 1/RE 180 redbrown Order No.: 39 854
e²:
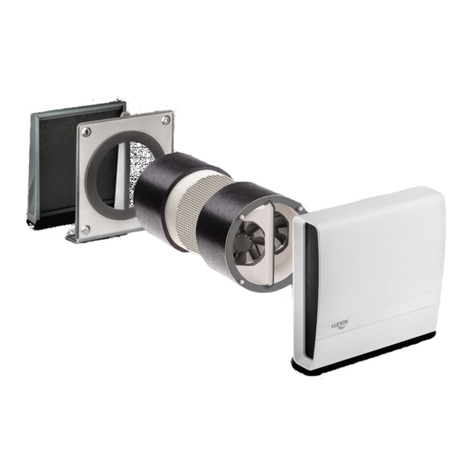
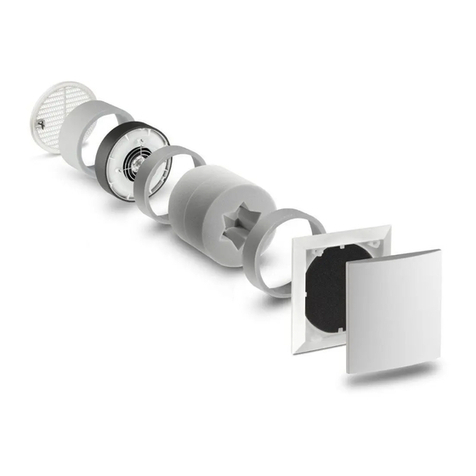
,QVWDOODWLRQ pipe, H[WHULRUwhiteJULOOH, heat exchange unit, indoorFRYHU and installation instructions DUH
supplied as a complete set
e² short:
,QVWDOODWLRQpipe, H[WHULRUZKLWHJULOOH, heat exchanger unit, indoor FRYHU and installation instructions DUH
supplied as a complete set.
All manuals and user guides at all-guides.com

2WKHUH[WHULRUJULOOHILQLVKHVDYDLODEOH
Assembly – ,QVWDOODWLRQ pipes
Make the wall openings for the as-
sembly pipes (e.g. by coring, core bit
Ø 162 mm).
If necessary shorten the pipe to the
GHVLUHGinstallation length (e²: min.
300 mm; e²short: PLQ200).
Take care that the pipe H[WHQGV on
both sides IRUILQVLKHVVKHHWURFN
SODVWHUVLGLQJZLWKILQLVKHVLQVWDOOHG
IOXVKZLWKWKHSLSH
Insert the pipeZLWKDPLQ
PPSLWFK and DLUVHDOLWZLWK
52)/(;JDVNHWV7(6&21WDSHV
RURWKHUDLUWLJKWVROXWLRQV
Apply H[WHULRUILQLVKHVDQGZDWHU
SURRILQJZLWK52)/(;7(6&21
WDSHFRPELQDWLRQRURWKHUFRQVWUXF
WLRQW\SHVSHFLILFPHDVXUHV
Remove the FRQVWUXFWLRQprotection
OLGoutdoors. ,QVHUWDQGDWWDFK the
H[WHULRUJULOOHusing the integrated
FODZIDVWHQHUV(tighten screws).
0DNHVXUHWKHH[WHULRUJULOOHLV
PRXQWHGZLWKWKHORXYHUVGLUHFWLQJ
UDLQDZD\IURPWKHWXEH
4
ཱ
ᆲ
Indoors
Indoors
Outdoors
Outdoors
Plaster protective lid
Tighten claw fasteners with screws
3 mm
All manuals and user guides at all-guides.com

Assembly – electric installation and electric connection
Safety instructions:
Beware! Any assembly work to the ventilation device may only be carried out when all
of supply FXUUHQW haVbeen disconnected!
Make sure that HOHFWULFDOFLUFXLWVDUHWXUQHGRII
$OO FRQWUROOHUV RIthis ventilation system VKRXOG LQVWDOOHGRQD $)&, protecWHGFLUFXLW
Electric connection only by a OLFHQVHGHOHFWULFLDQ
The system is controled by Univer-
sal Control 5/UNI or Touch Air
Comfort TACVHHVHSHUDWH installa-
tion instructions
Select the ORFDWLRQ IRUthe switch.
5XQthe ZLULQJ (9 + 9
cableVto the device pairs).
9 cable (RUJD)
9WRHDFKIDQ 3 x JDVROLG.
&RQWUROOHULVZLUHGDQGVHWSHU
GLDJUDPEHORZ
5
ུ
ᆳ
Power cable
&RQWUROOHUSwitch
Device 1
Feed/Exh
Device 2
Exh./Feed
horizontal
vertical
Only QRWFK pipes
in RQHRIthese four areas
Connector box
0
coding GDLO to the
functions requested
in accordance with
the Table on p.
6HOHFWLRQ RWKHU
GDLO settings are
not admissible and
lead to malfunctions!
Front viewRIVZLWFKHV
Universal
control
grey
red
black
red
blue
purple
red
blue
purple
+ 12V
rt bl li rt bl li
Unit (e)1 Unit (e)2
From/To To/From
W1 W2
Important! Set
Mean Well
RS-15-12
Transformer
W1 W2
All manuals and user guides at all-guides.com

Assembly – Assembly of the ventilation insert and the indoor room FRYHU
Remove LQWHULRUprotection lid FRYHU
Lnsert heat exchanger unit into
the LQVWDOODWLRQ pipe, ensure there is
a RQLQWRISLSH. MotorIDQIDFHV
inside.
7KHORRSRQIDQunit FDQEHXVHG
WRpulled XQLW for PDLQWHQDQFH
Connect ZLULQJ to plug&RQQHFW
SOXJLQWR socket DQGVHWWKHPinto
WKHrecess of the heat exchanger
casing.
6
ྲྀ
)DQ
Cable )DQ cable
red
blue
violet
S1/S2
+
POXJandsocket
connector
ཱུ
S1 Device 1
S2 Device 2
Insert indoor FRYHUwith filter
casing, snap the indoor blind into
place in open positioQRIIZDOO
,IFRYHUFRPSOHWHO\FRYHUHG
OLIWFRYHUDQGURWDWHGGHJUHHV
,QVWDOODWLRQLVQRZFRPSOHWH
open
closed
ཷ
All manuals and user guides at all-guides.com
all-guides.com

7
Assembly noise absorption set
Can be used LQ a LQVWDOODWLRQpipe
length of for e² and
for e² short. Position
noise absorption ring and noise
absorption layer as VKRZQ The
noise absorption layer can be
shortened if necessary.
Noise absorption ring noise absorption layer
All manuals and user guides at all-guides.com

E132 10/13
Germany
LUNOS Lüftungstechnik
Tel.: 0 30 / 36 20 01
0
GmbH für Raumluftsysteme
Wilhelmstr. 31 EMail: info@lunos.de
13593 Berlin Internet: http://www.lunos.de
Filter replacement date Expected filter replacement Type of filter used
Please QRWH the filter replacement below:
Filter replacement
/('OLJKWZLOOOLJKWZKHQILOWHUQHHGV
VHUYLFLQJ.7RUHVHWIROORZLQVWUXF
WLRQVRQSDJH
:
Put the indoor closure off, extract
the filter, insert new or cleaned
filter (the filter cleaning could be
GRQHLQfor example a
dishwasher), put the indoor clo-
FRYHUEDFN on.
Cleaning
If necessary wipe the indoor FRYHUand frame with a dry soft cloth.
Filter replacement and cleaning may neither be carried out by children nor by persons who are not
able to operate the device safely due to their psychic, sensory or mental abilities or their inexperi-
ence or lack of knowledge.
Additional / replacement parts
filter
Indoor blind compl. 9/IBE Order No.: 39 851
Replacement filter G3, 9/FIB3R, pack of 3 Order No.: 37 214
Noise absorption set 9/SW Order No.: 39 850
Wind pressure fuse 9/WDSE (for assembly pipe from 370 mm length) Order No.: 39 860
AcRustic insulated frame 9/IBSOrder No.: 39 947
All manuals and user guides at all-guides.com
Other manuals for e2 mini
5
This manual suits for next models
1
Table of contents
Other Lunos Fan manuals

Lunos
Lunos Silvento User manual

Lunos
Lunos 3/UP-AS Manual

Lunos
Lunos eGO User manual

Lunos
Lunos Silvento V AC User manual

Lunos
Lunos Silvento EC User manual

Lunos
Lunos AB 30/60 User manual

Lunos
Lunos Silvento EC User manual

Lunos
Lunos RA 15-60 User manual

Lunos
Lunos e2 mini User manual

Lunos
Lunos Silvento AC Use and care manual