Macherey-Nagel NANOCOLOR Advance User manual

Water Analysis
MACHEREY-NAGEL
Spectrophotometer
NANOCOLOR®Advance
Operating instruction
www.mn-net.com
www.mn-net.com
MACHEREY-NAGEL GmbH & Co. KG
Neumann-Neander-Str. 6–8
52355 Düren · Deutschland
www.mn-net.com
www.mn-net.com
DE Tel.: +49 24 21 969-0 [email protected]
CH Tel.: +41 62 388 55 00 [email protected]
FR Tel.: +33 388 68 22 68 [email protected]
US Tel.: +1 484 821 0984 [email protected]
MACHEREY-NAGEL GmbH & Co. KG
Neumann-Neander-Str. 6–8
52355 Düren · Deutschland

2Spectrophotometer NANOCOLOR®Advance 1.0, 11.2020
Contents
1. Introduction ................................................................................................................................................................. 4
2. CE marking ................................................................................................................................................................. 4
3. Type label .................................................................................................................................................................... 4
4. Explanation of symbols................................................................................................................................................ 5
5. Safety instructions ....................................................................................................................................................... 6
6. Chemical and biological safety..................................................................................................................................... 7
7. Technical description ................................................................................................................................................... 8
7.1 Technical data ....................................................................................................................................................... 8
8. Setting up and connecting the device.......................................................................................................................... 9
8.1 Scope of delivery................................................................................................................................................... 9
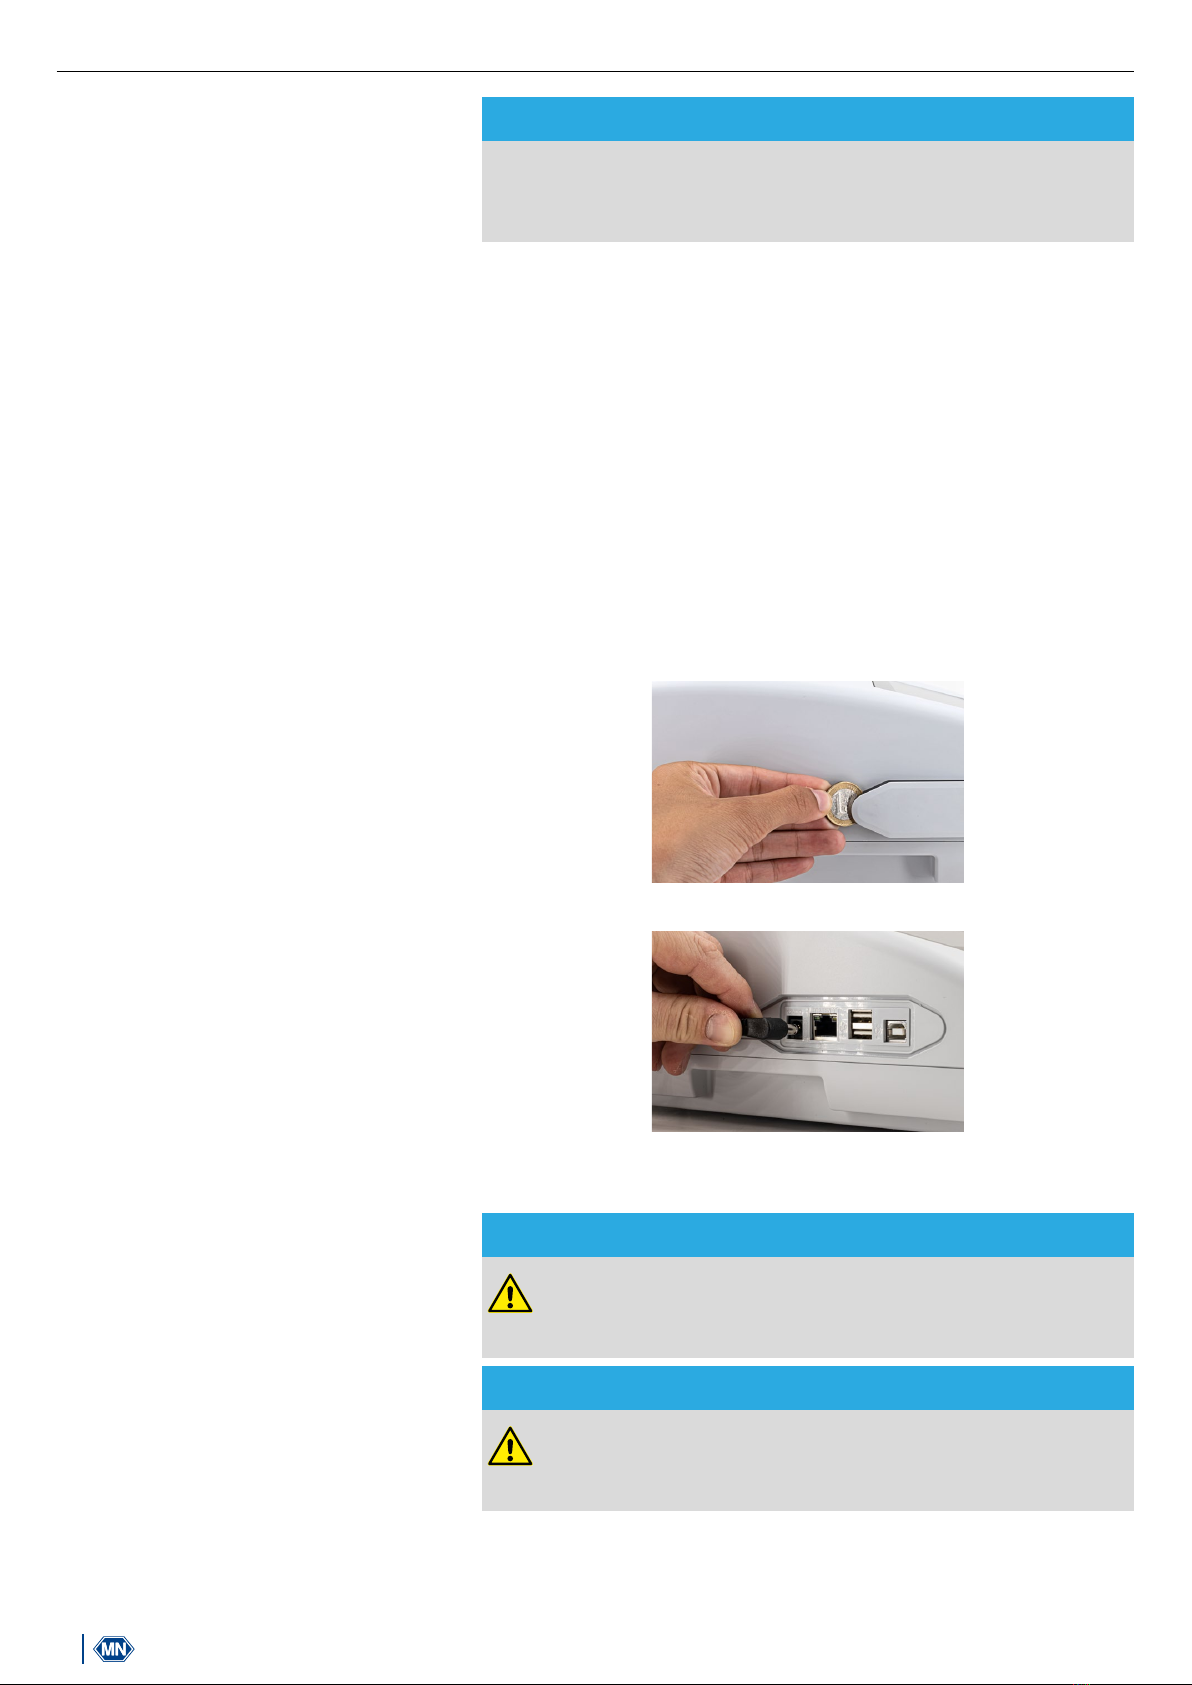
8.2 Connecting the device........................................................................................................................................... 9
8.3 Transport............................................................................................................................................................. 10
9. Device views.............................................................................................................................................................. 11
9.1 Front and side view.............................................................................................................................................. 11
9.2 Device from below............................................................................................................................................... 11
10. Initial operation ........................................................................................................................................................ 12
10.1 Turning on the device ........................................................................................................................................ 12
10.2 Operation and user guidance............................................................................................................................. 12
10.2.1 Operating the touch screen ........................................................................................................................ 12
10.2.2 Application and status information bar........................................................................................................ 13
10.2.3 Start screen................................................................................................................................................ 14
10.2.4 Radio buttons, check boxes and and sliders .............................................................................................. 14
10.2.5 List functions.............................................................................................................................................. 14
11. Measurements......................................................................................................................................................... 15
11.1 Basic Functions ................................................................................................................................................. 15
11.1.1 Factor......................................................................................................................................................... 15
11.1.2 Standard .................................................................................................................................................... 15
11.1.3 Absorbance................................................................................................................................................ 16
11.1.4 Kinetics ...................................................................................................................................................... 16
11.1.5 Transmittance............................................................................................................................................. 17
11.1.6 Turbidity ..................................................................................................................................................... 17
11.2 MN Tests........................................................................................................................................................... 17
11.2.1 Tube Tests.................................................................................................................................................. 17
11.2.2 Standard tests............................................................................................................................................ 18
11.2.3 Bio tests..................................................................................................................................................... 18
11.2.4 VISOCOLOR®Powder Pillows and VISOCOLOR®ECO............................................................................... 19
11.2.5 Favorites..................................................................................................................................................... 19
11.3 Result view.................................................................................................................................................... 19
11.4 Determination of corrections values ................................................................................................................... 21
11.4.1 Correction values for NANOCOLOR®tube tests ......................................................................................... 22
11.4.2 Correction values for NANOCOLOR®standard tests with reagent blank value ............................................ 23
11.4.3 Correction values for NANOCOLOR®standard tests with sample blank value............................................. 24
11.5 Special Methods................................................................................................................................................ 25
11.5.1 Preprogrammed Methods........................................................................................................................... 25
11.5.2 User Methods............................................................................................................................................. 25
11.5.2.1 List of methods .................................................................................................................................... 25
11.5.2.2 Method Design..................................................................................................................................... 26
11.6 Scan.................................................................................................................................................................. 28
11.7 Test number ...................................................................................................................................................... 29
12. Settings................................................................................................................................................................... 29
12.1 Measurement ..................................................................................................................................................... 29

3
Spectrophotometer NANOCOLOR®Advance 1.0, 11.2020
Contents
12.1.1 NTU-Check ................................................................................................................................................ 29
12.1.2 Reaction time .............................................................................................................................................. 29
12.2 Device Settings .................................................................................................................................................. 31
12.3 Energy Settings ................................................................................................................................................. 32
12.3.1 Logging....................................................................................................................................................... 32
13. System ..................................................................................................................................................................... 32
13.1 Information ......................................................................................................................................................... 32
13.2 Update & Backup............................................................................................................................................... 33
13.3 System reset ...................................................................................................................................................... 33
13.4 Battery .............................................................................................................................................................. 33
13.5 Service ............................................................................................................................................................... 33
13.6 Calibration .......................................................................................................................................................... 33
13.6.1 Zero Calibration ........................................................................................................................................... 34
13.6.2 Turbidity Calibration ..................................................................................................................................... 34
13.7 IQC .................................................................................................................................................................... 35
13.7.1 System Monitoring....................................................................................................................................... 35
13.7.2 Standard Measurement ............................................................................................................................... 36
13.8 User Accounts.................................................................................................................................................... 37
14. Results ..................................................................................................................................................................... 39
14.1 Filter Results....................................................................................................................................................... 40
14.2 Export from data memory................................................................................................................................... 40
14.2.1 Export to CSV file ........................................................................................................................................ 40
14.3 Delete Data Memory........................................................................................................................................... 40
15. Maintenance and Cleaning ....................................................................................................................................... 41
15.1 Cleaning of Display............................................................................................................................................. 41
15.2 Cleaning of Cuvette Slot and Adaptors ............................................................................................................... 42
15.3 Cleaning of Housing ........................................................................................................................................... 42
15.4 Replacement of Halogen Lamp .......................................................................................................................... 42
16. Errors, Sources and Solutions .................................................................................................................................. 43
17. Service ..................................................................................................................................................................... 44
17.1 Spare parts, Accessories and Consumables....................................................................................................... 44
17.2 Disposal ............................................................................................................................................................. 44
17.3 Warranty, liability and complaints........................................................................................................................ 44
17.4 Contact .............................................................................................................................................................. 45

Introduction
4Spectrophotometer NANOCOLOR®Advance 1.0, 11.2020
1. Introduction
The NANOCOLOR Advance is a spectrophotometer from
MACHEREY-NAGEL for mobile use and for use in laborato-
ries. It is used for the evaluation of colorimetric test kits from
MACHEREY-NAGEL. Besides the measurement of the absorbed
light it oers the possibility to determine the nephelometric tur-
bidity units by measuring the light scattering in a 90° angle. The
touch screen and the intuitive menu navigation allow for fast,
comfortable and pleasant working with the instrument and make
it the ideal laboratory photometer in the whole spectrum of water
analysis.
2. CE marking
The CE marking declares that the product complies with the fol-
lowing European Community harmonisation legislation:
European Directive 2011/65/EU on the restriction of the use of
certain hazardous substances in electrical and electronic equip-
ment (RoHS 2)
European Directive 2012/19/EU on waste electrical and electronic
equipment (WEEE)
European Directive 2014/30/EU on the harmonization of the laws
of the member states relating to electromagnetic compatibility
(EMC)
European Directive 2014/35/EU of electrical equipment designed
for use with certain voltage limits (LVD)
3. Type label
12 V / 2.5 A
MACHEREY-NAGEL GmbH & Co. KG
Neumann-Neander-Str. 6–8 · 52355 Düren · Germany
Tel.: +49 24 21 969-0 · Fax: +49 24 21 969-199
[email protected] · www.mn-net.com
SN
NANOCOLOR ® Advance
Made in Germany

Explanation of symbols
5
Spectrophotometer NANOCOLOR®Advance 1.0, 11.2020
4. Explanation of symbols
The type label of the device contains the symbols and terms listed
below with the following meanings:
Term / Symbol Meaning
NANOCOLOR®
Advance Device type designation
SN: Serial number of the device
12 V DC / 2,5 A Power supply NANOCOLOR®Advance
Direct voltage
Attention (observe documentation)! Observe the safety instructions in this operating
instruction of the device
Identification USB interface
According to 2012/19/EU, it is prohibited to dispose of the device through public
waste disposal systems. Note also the information in the “Disposal” section.
The CE symbol indicates fulfillment of the applicable harmonization legislation of the
European Community.
MACHEREY-NAGEL Identification of the manufacturer
This symbol indicates that there is a risk of electric shock.
This symbol indicates that the chemicals used have a corrosive eect. Observe the
safety measures in the laboratory and wear the prescribed protective equipment.
Follow the instructions in the current safety data sheets (SDS) of the products used.
This symbol indicates that there may be a danger by using flammable substances.
Explanations to the text. Tips and tricks for better handling.

Safety instructions
6Spectrophotometer NANOCOLOR®Advance 1.0, 11.2020
5. Safety instructions
BE SURE TO READ THE FOLLOWING SAFETY INSTRUCTIONS
CAREFULLY BEFORE USING THE DEVICE.
Failure to follow these instructions may result in serious injury to
the operator, malfunction or damage to the equipment.
Keep this manual in a safe place for future reference.
Follow the safety notes and instructions in the operating manual
and observe the stickers and notices on the device.
Do not work on internal parts of the unit. Non-compliance will
invalidate any warranty claim.
Use of the hazard warning:
DANGER
Indicates an imminent or potentially hazardous situation which,
if not avoided, will result in death or serious injury.
WARNING
Indicates an imminent or potentially hazardous situation which,
if not avoided, could result in death or serious injury.
CAUTION
Indicates a potentially hazardous situation which, if not avoided,
may result in minor or moderate injury.
NOTICE
Indicates a situation which, if not avoided, may result in mal-
function or damage to the device. Information that clarifies facts
in the text and that requires special attention.

Chemical and biological safety
7
Spectrophotometer NANOCOLOR®Advance 1.0, 11.2020
6. Chemical and biological safety
WARNING
Possible dangers of contact with chemical and biological
substances.
Working with samples, reagents and corresponding accesso-
ries is associated with dangers.
Wear suitable protective equipment when working with the
cuvettes. Observe the safety data sheet (SDS) of the test kit
used.
During normal operation of this device, it may be necessary to use
chemicals that are hazardous to your health or biologically harmful
samples.
Before handling these substances, read all hazard statements
and safety information printed on the containers with the original
solutions and in the safety data sheets. All used solutions must be
disposed of in accordance with the national laws and regulations.
The type of protective equipment must be selected according
to the concentration and amount of the hazardous substance
present at the corresponding workplace.

Technical description
8Spectrophotometer NANOCOLOR®Advance 1.0, 11.2020
7. Technical description
The NANOCOLOR®Advance enables measurements in the
wavelength range of 340 nm to 800 nm. The light generated by a
halogen lamp is diracted by a concave grating and directed into
the cuvette shaft of the instrument by means of imaging optics.
After passing through the sample, the proportion of absorbed
light is calculated by detecting the attenuated light. The proportion
of absorbed light is converted to the concentration of the analyte
according to a calibration.
7.1 Technical data
Specification Description
Type: Spectrophotometer with reference-detector-technology (RDT)
Light source: Halogen lamp
Optical system: Single beam photometer with grating monochromator
Wavelength range: 340 nm–800 nm
Wavelength accuracy: ± 2 nm
Wavelength resolution: 1 nm
Wavelength calibration: Automatic
Wavelength selection: Automatic, barcode, manually
Wavelength reproducability: ± 0.1 nm
Scan speed: 1 complete scan < 3 min
Spectral bandwidth: < 4 nm
Photometric range: ± 3.0 Abs
Photometric accuracy: 0.003 Abs at 0.0–0.5 Abs; 1 % at 0.5–2.0 Abs
Photometric linearity: < 0.5 % at 0.5–2.0 Abs;
≤ 1 % at > 2 Abs with neutral glass filters at 546 nm
Stray light: < 0.5 %
Measurement modes: More than 200 preprogrammed tests and special methods; 99 free programmable methods;
Absorbance; Transmission; Factor; Kinetics; 2 Point calibration; Scan; Nephelometric turbidity
measurement
Turbidity measurement: Nephelometric turbidity measurement (16 mm and 24 mm):
1–1000 NTU
Cuvette slot: Test tubes 16 mm and 24 mm OD;
Rectangular cuvettes 10 mm, 20 mm, 40 mm and 50 mm
Battery: Lithium iron phosphate battery; approx. 1000 measurements or 8 h runtime (depending on
energy settings)
Data memory: 1000 measured data sets / spectra; GLP-compliant
Display: Backlit colored 5″display
Operation: Barcode technology; icon-based menu navigation; capacitive touch screen
Dimensions: 325 × 280 × 130 mm (L × W × H)
Languages: DE / EN / FR / ES / PT / PL / NL
External light: Insensitive; open cuvette slot
Interfaces: LAN (CAT 6; only use shielded cable of max. 20 m length)
2 × USB (Host), 1 × USB (Function)
Operating conditions: 10–40 °C, up to 80 % rel. humidity (non-condensing)
Protections class: IP6X: dust proof
IPx7: water proof for 30 minutes at 1 m depth
Update: Via USB-Stick

Setting up and connecting the device
9
Spectrophotometer NANOCOLOR®Advance 1.0, 11.2020
8. Setting up and connecting the device
8.1 Scope of delivery
Check the delivery for completeness. If parts of the delivery should
be missing, contact MACHEREY-NAGEL or your local distributor
directly.
n Spectrophotometer NANOCOLOR®Advance
n Cuvette adapter 10 mm, 16 mm, 20 mm, 50 mm (Adapter A)
n Cuvette adapter 24 mm (Adapter B)
n Power supply: 12 V / 2.5 A; incl. 4 adapters
n Calibration cuvette 16 mm and 24 mm
n Microfiber cloth for cleaning of display and cuvettes
n Cuvette slot cover
n Dust cover
n Certificate
n 4 × 24 mm cuvettes
n Quick start guide (dierent languages)
8.2 Connecting the device
CAUTION
Multiple hazards: Only qualified personnel should perform the
instructions described in this step.
WARNING
Risk of electric shock: Make sure that the power cord is
not damaged. Check the suitability of the power source
for the equipment.
CAUTION
Risk of injury: Place the device on a flat surface. Do not stack
the unit.
NOTICE
The unit is designed for indoor and outdoor use. Do not expose
the device to direct sunlight. Protect the interfaces from mois-
ture and dampness at all time.
WARNING
Fire hazard: Take care not to overload the main socket.
There is a risk of overload and fire.
Make sure that the power cord is not damaged. Check the
suitability of the power source for the equipment.
WARNING
Risk of injury: Familiarize yourself with the device before working
with it and read this document carefully. Do not use the device
unless you have received instruction on its use.

Setting up and connecting the device
10 Spectrophotometer NANOCOLOR®Advance 1.0, 11.2020
NOTICE
Defects in the device can lead to malfunction of the device. If
the device shows an apparent breakage of the housing or a
damaged power supply, it must be taken out of operation.
The spectrophotometer is equipped with an internal battery.
When the instrument is put into operation, it must be connected
to a power source to unlock the transport mechanism of the
lithium-ion battery. Before the first operation, the battery of the
instrument should be fully charged.
1. Remove the interface cover on the left side of the unit e.g. by
using a coin (Fig. 1).
2. Connect the power cord to the power connector of the unit
(Fig. 2).
3. Attach the adapter corresponding to your power outlet to the
supplied AC adapter.
4. Connect it to a power source.
Fig. 1: Removing the interface cover
Fig. 2: Connecting the power supply
8.3 Transport
NOTICE
If the battery is damaged, the device must not be
shipped. Contact MACHEREY-NAGEL or your local
distributor.
NOTICE
When the equipment is shipped, the outer box must be
marked to indicate a lithium-ion battery is included
(UN 3481).

Device views
11
Spectrophotometer NANOCOLOR®Advance 1.0, 11.2020
Only ship the device in a box that is suitable for shipment of
devices containing lithium-ion batteries. If the original box is no
longer available contact MACHEREY-NAGEL.
9. Device views
9.1 Front and side view
A
B
B
D
E FH G
Fig. 3: Front view Fig. 4: Side view
ATouch screen (capacitive)
BUniversal cuvette slot for rectangular cuvettes 16 mm OD, 24 mm OD and rectangular cuvettes 10 mm,
20 mm, 40 mm and 50 mm
COn/O button
D2D-barcode scanner
E2 × USB A interface
FUSB B interface
GEthernet (LAN) interface
HPower socket 12 V DC 2.5 A
9.2 Device from below
C
A
B
Fig. 5: View from below

Initial operation
12 Spectrophotometer NANOCOLOR®Advance 1.0, 11.2020
ASpeaker
BLamp shaft
CCuvette slot drain
10. Initial operation
WARNING
Exposure of the eye to light. Do not look directly into the light
beam of the halogen lamp and the turbidity LED.
10.1 Turning on the device
After charging the battery, switch on the device using the button
on the front panel below the display (Fig. 3 B).
When the device is switched on for the first time, it automatically
asks for the language and region settings. Select the desired lan-
guage and region from the displayed lists.
The language can also be changed after switching on the device
via the menu Settings > Device Settings > Language (see 12.2
Device Settings, page 31).
10.2 Operation and user guidance
The NANOCOLOR®Advance is operated via a 5″display with
capacitive touch screen. All entries are made via the touch screen.
Only switching on/o is done via the button on the front of the
device.
10.2.1 Operating the touch screen
The spectrophotometer is operated via a capacitive touch screen.
This reacts to touch by one or more fingers. In this way, the device
can be operated by pressing and wiping on the touch screen. The
operation can be done by touching with a finger or with the help of
a touch-pen (special pen for projective, capacitive touch screens).
Wearing rubber gloves is no problem. Numbers or texts are en-
tered in the corresponding number or text fields, which react to
touch and automatically open a pop-up with a number pad or an
input keyboard.
By clicking on the &123 character, you can switch to the numeric
keyboard with special characters. Clicking the character ↑allows
you to enter upper case letters. The language-specific keyboard
options QWERTZ, QWERTY and AZERTY can be set via the key-
board settings menu Settings > Device Settings > Keyboard.

Initial operation
13
Spectrophotometer NANOCOLOR®Advance 1.0, 11.2020
10.2.2 Application and status information bar
The operating menu of the spectrophotometer consists of a
status information bar at the top of the screen and an application
bar directly below. The status information bar is always displayed.
The application bar is temporarily hidden depending on the menu
for a better overview.
The status information bar provides information about the status
of the device, activated settings and users who are logged in.
If special properties (e.g. memory, reaction time) are activated, a
corresponding status icon is displayed to indicate that the func-
tion is active. The status of operational readiness is indicated by
a status icon in the upper left corner of the display. If the green
tick is visible, the device is ready for operation. If the white X is
displayed against a red background, the device is occupied with
a measurement or there is an error.
The unit is controlled via the application bar.
During an ongoing measuring process, the device cannot be op-
erated via the application bar. The symbols are then displayed in
grey.
The meaning of the icons in the task bar is as follows:
Return to the start screen of the device by pressing this icon. From this menu it is possible
to call up the NANOCOLOR®tests via barcode.
Return to the previously selected menu or application. Some menus cannot be called up
again with this icon after exiting (e.g. measuring menu) because the process was completed
by exiting the menu.
This icon can be used to call up additional options, provided they are available in the se-
lected menu.
This icon can be used to add information in an application (e.g. to a measurement result).
This icon leads to the settings in a specific menu.
This icon adds a selected entry to the favorites.
Use this icon to delete one or more selected entries.

Initial operation
14 Spectrophotometer NANOCOLOR®Advance 1.0, 11.2020
10.2.3 Start screen
The start page of the device is empty when delivered. However,
up to eight dierent icons can be linked on the start page. These
are then available directly after the device is started. The icons can
be attached to the start screen by holding the icon for a longer
time and confirming the command “Attach to start screen”. The
icons are automatically arranged in the order in which they were
linked. To delete the favorite icons from the start screen, you can
remove them again by pressing the respective icon for a longer
time and confirming the command “Detach from start screen”.
10.2.4 Radio buttons, check boxes and and sliders
Radio buttons contain black bordered selection points. Selection points are shown as cir-
cles. Active selection points are filled in. Only one selection point is active in a radio button.
Touch a selection point to activate it. When you exit the menu, the selected options are
saved.
Checkboxes are square boxes that are active as soon as a check mark is set. If you
touch an empty checkbox, it is marked with a check mark and is activated. If you touch a
checkbox with a tick, the tick is removed and the checkbox is deactivated. It is possible to
select several checkboxes in parallel.
Sliders are used to activate and deactivate various functions. If the slider is highlighted in
blue, the function is active and if it is displayed in grey, it is inactive.
In some menus, an option is selected via a popup menu in form of a list from which the
required option can be selected by clicking (see 10.2.5 List functions, page 14).
10.2.5 List functions
When confirming text or number fields, it is possible that a selec-
tion list appears instead of an input keyboard. The contents of
the list can be moved by vertical wiping. The selection is made by
pressing the corresponding entry. The currently active entry in the
list is displayed with a colored background. A distinction is made
between two types of lists: With predefined lists (e.g. submethod)
there is no possibility to add an entry, whereas the dynamic lists
(e.g. sample locations) can be edited by the user. The possibility
of executing actions in a list is controlled via the application bar
of a list.

Measurements
15
Spectrophotometer NANOCOLOR®Advance 1.0, 11.2020
11. Measurements
11.1 Basic Functions
Pressing the icon will open the basic functions menu with six
dierent measurement options to choose from. With the excep-
tion of the turbidity measurement, the tests in the Basic Functions
menu are independent of the cuvette size used.
After a measurement, various sample information can be entered
via the icons below the results window.
Using the icon , further sample information can be added below
the measurement result. For this purpose the desired sample in-
formation can be activated using the slider in front of the option.
Further options are available via the icon.
With the command Do not save the measurement result is not
saved in the instrument memory when the cuvette is pulled out or
when leaving the menu.
NOTICE
This function is only available in Open Mode.
11.1.1 Factor
The basic function Factor enables the determination of measure-
ment results through the multiplication of an absorbance with a
user defined factor.
After having selected this method, a window will appear asking for
the factor (max. 7 digits) and the wavelength for the measurement
and calculation.
Confirming with opens the measurement window. Inserting the
zero solution and pressing will initiate the zero measurement.
After the successful measurement of the zero solution, the sample
solution needs to be inserted. Pressing will start the measure-
ment process. After the measurement has been completed, the
measurement result will be displayed in the result window.
11.1.2 Standard
The basic function Standard enables the definition of a sample’s
concentration on basis of the concentration of a standard solution
and a zero solution. After having selected this method, a window
will appear asking for the standard concentration (max. 7 digits)
and the wavelength for the measurement.
Confirming the entries by pressing will open the measurement
window. Inserting the zero solution and pressing will initiate
the zero measurement. Then, the standard solution needs to be
inserted. Pressing will start the sample measurement.

Measurements
16 Spectrophotometer NANOCOLOR®Advance 1.0, 11.2020
After the measurement has been completed, the measurement
result will be displayed in the result window (see 11.3 Result view,
page 19). In case more samples need to be investigated the
next sample can be inserted. Pressing will start the measure-
ment of the next sample.
11.1.3 Absorbance
The basic function Absorbance enables the measurement of a
sample’s absorbance against a zero solution.
After having selected this method, a window to enter the wave-
length for the measurement will appear. The wavelengths are
entered in a list by pressing
λ
. By selecting the options, the
marked entry is removed.
Confirming with will open the measurement window. The
instrument asks for a zero measurement. Inserting the zero solu-
tion and pressing will initiate the zero measurement. After the
successful measurement of the zero solution, the sample solution
needs to be inserted. Pressing will start the measurement
process. After the measurement has been completed, the mea-
surement result is displayed in the result window.
The absorbance values of the individual wavelengths can be
displayed by selecting the corresponding wavelength below the
result.
11.1.4 Kinetics
The basic function Kinetics enables the measurement of a sam-
ple’s kinetic against a zero solution. After having selected this
method, a window will appear asking for the measurement time,
a time interval and the measurement wavelength.
Confirming the entries with opens the measurement window.
Inserting the zero solution and pressing will initiate the zero
measurement. After the successful measurement of the zero solu-
tion, the sample solution needs to be inserted. Pressing starts
the measurement process. A diagram will be displayed showing
the live-recording of the measurement results. When the mea-
surement is finished, the result of the measurement is displayed
as a graphic. A table of the value pairs can be displayed via the
Measured values entry in the options.

Measurements
17
Spectrophotometer NANOCOLOR®Advance 1.0, 11.2020
11.1.5 Transmittance
The basic function Transmittance enables the measurement of a
sample’s transmission against a zero solution. After having se-
lected this method, a window will appear asking for the wave-
length of measurement.
After calling the menu, a window appears for entering the wave-
lengths. The wavelengths are entered in a list by pressing
λ
. By
selecting , the marked entry is removed from the list.
Confirming with will open the measurement window. A request
for a zero solution will appear. Inserting the zero solution and
pressing initiates the zero measurement. After the successful
measurement of the zero solution, the sample solution needs to
be inserted. Pressing starts the measurement process. After
the measurement has been completed, the measurement result
will be displayed in the measurement window.
11.1.6 Turbidity
The basic function Turbidity enables the measurement of a sam-
ples nephelometric turbidity.
You will be prompted to insert the sample solution. Insertion of
the test tube and pressing initiates the measurement. After
the measurement has been completed, the measurement result
will be displayed in the result window. When measuring against a
zero value, the cuvette with the zero solution must be measured
before measuring the sample solution. The measurement of the
zero solution is started by pressing .
NOTICE
The nephelometric turbidity measurement can only be per-
formed in the 16 mm and 24 mm OD test tubes.
11.2 MN Tests
The MN Tests menu is opened by pressing . The available op-
tions are shown on the left. Press the appropriate icon to open the
desired menu.
11.2.1 Tube Tests
NANOCOLOR®tube tests can be called up in the device in various
ways. All test tubes are labelled with a barcode (Except test 0-72
pH). When the start screen is active or the device is in measuring
mode, the barcode of the inserted test tube will be scanned auto-
matically. The instrument detects the tube test and the measuring
process is initiated

Measurements
18 Spectrophotometer NANOCOLOR®Advance 1.0, 11.2020
NOTICE
For tube tests that must be measured against a zero solution,
no automatic measurement is performed. The measurement
must be started manually by pressing or .
Press the icon to access the selection list of tube tests. By
selecting an entry, the corresponding test is highlighted. After
confirming with , the measuring window is opened. Besides
the scroll function in the selection list, a search function is also
available. By clicking Search and entering any search term (fil-
tering by test name or test number is possible), a global search is
performed in the list of predefined methods
NOTICE
If a test is called up via the selection list, there is no automatic
measurement when the cuvette is inserted. The measurement
must be started manually by pressing or .
11.2.2 Standard tests
NANOCOLOR®standard tests can be selected in dierent ways.
It is, however, not possible to select a standard test by barcode
identification. The measuring menu of the rectangular cell tests
can be opened by selecting the corresponding test from the list
with rectangular cell tests or by entering the test number (see 11.7
Test number, page 29).The insertion of the cuvette with the
zero solution is required. After pressing , the zero solution is
measured and the cuvette with the sample solution is inserted.
Pressing initiates the measurement. The result is displayed in
the result window. Various sample information can be entered via
the icon and the icons below the result field (see 11.3 Result
view, page 19). After removal of the cuvette or leaving the mea-
suring menu the result is stored in the measurement memory of
the device.
11.2.3 Bio tests
NANOCOLOR®bio tests can be selected in dierent ways. All bio
tests are labelled with a barcode. When the start screen is active
or the device is in measuring mode, the barcode of the inserted
test tube will be scanned automatically. The instrument detects
the tube test and the measuring process is initiated.

Measurements
19
Spectrophotometer NANOCOLOR®Advance 1.0, 11.2020
The desired test can also be called up by entering the test number
(see 11.7 Test number, page 29). When the test is complete, the
result is displayed in the measurement window. Various sample
information can be entered using the icon and the icons below
the result field (see 11.3 Result view, page 19). Removing the
tube or leaving the measuring menu ends the measuring proce-
dure and saves the result in the memory of the device.
NOTICE
For bio tests that must be measured against a zero solution, no
automatic measurement is performed. The measurement must
be started manually by pressing or .
11.2.4 VISOCOLOR®Powder Pillows and VISOCOLOR®ECO
VISOCOLOR®Powder Pillows and ECO Test kits can be selected
in dierent ways. Calling up the method via barcode is not pos-
sible. The measuring menu of the VISOCOLOR®test kits can be
opened by selecting the corresponding test from the list with
VISOCOLOR®PP or VISOCOLOR®ECO tests or by entering the
test number (see 11.7 Test number, page 29). Depending on
the test, either the insertion of the cuvette with the zero solution
is required or a direct measurement is possible. After pressing
, the zero solution is measured and the cuvette with the sample
solution is inserted. Pressing initiates the measurement. The
result is displayed in the result window. Various sample infor-
mation can be entered via the icon and the icons below the
result field(see 11.3 Result view, page 19). After removal of the
cuvette or leaving the measuring menu the result is stored in the
measurement memory of the device.
11.2.5 Favorites
An entry from the list of favorites can be made by selecting from
the list or by entering the test number. After marking the desired
entry and confirming with , the corresponding window for
measuring the test is opened. To add an entry to the favorites
from the respective list of test kits, mark the desired entry and
press the icon. To delete a test from the favorites list, mark the
entry to be deleted and press the icon.
11.3 Result view
When the measurement is complete, the result of the respective
measurement is displayed in the results window.
Various sample information can be entered via the icons below
the results window. Various sample information can be entered
via the icons below the results window. Via the icon further
sample information are available, which can be arranged as favor-
ites below the measurement result. For this purpose, the slider in

Measurements
20 Spectrophotometer NANOCOLOR®Advance 1.0, 11.2020
front of the corresponding sample information must be activated.
To remove the icon from the sample information bar, proceed in
the same way and set the slider to inactive. The following sample
information can be added to the sample:
n Sample Number: Sample numbers are assigned automatically
and consecutively by the instrument. By pressing the sample
number icon, you can assign a sample number manually. The-
reafter, the instrument will count forward based on the manually
assigned sample number.
n Sample Date & Time: Date and time of the sampling.
n Comment: Additional information about the sample (e.g. appea-
rance of the sample, turbidity)
n Sample Author: Name of the person, who has collected the
sample
n Sample type: Information on the nature of the sample (e.g. 24 h
Composite sample).
n Location: Information on the place of origin of the sample.
n Operator: Name of the user who performs the measurement. In
user mode, a name can be entered here, if the user is dierent
from the user who is logged in.
n Dilution: The dilution of the sample can be entered here. Depen-
ding on the setting in the settings menu for dilution, the dilution is
displayed either as “1+X” or „1:X“. The result of the measurement
is converted automatically.
Further options are available via the icon.
The Submethod entry allows you to change the reference unit
and the reference quantity (e.g. PO₄-P). The active submethod is
highlighted.
When changing the submethod, the result is automatically con-
verted. Removing the cuvette or exiting the measuring menu
via the other icons in the taskbar quits the measurement, and
the result will be stored in the measured value memory of the
instrument. The last selected submethod is used the next time the
corresponding method is called up.
The Settings entry is a quick way to change settings for the display
of the measurement result. Activating the slider for Show absor-
bance activates the display of the absorbance and transmission
value of the measurement to the left of the measurement result.
By activating the entry 20–80 % measuring range a colored bar is
displayed to the right of the measurement result, which shows the
position of the measurement result in the measuring range. If the
bar is colored green, the result is within the 20–80 % measuring
range. If the bar is yellow, the result is within the measuring range
but outside the 20–80 % measuring range. If the bar is colored
red, the measured value is outside the measuring range. The
measuring range limits are displayed above and below the bar.
Other manuals for NANOCOLOR Advance
2
Table of contents
Other Macherey-Nagel Measuring Instrument manuals

Macherey-Nagel
Macherey-Nagel PF-12 Plus User manual

Macherey-Nagel
Macherey-Nagel PF-12 User manual

Macherey-Nagel
Macherey-Nagel NucleoSpin RNA Clean-up XS User manual

Macherey-Nagel
Macherey-Nagel PF-3 User manual

Macherey-Nagel
Macherey-Nagel PF-12 User manual

Macherey-Nagel
Macherey-Nagel NucleoSpin 740727.10 User manual

Macherey-Nagel
Macherey-Nagel PF-12 Plus User manual

Macherey-Nagel
Macherey-Nagel NANOCOLOR UV/VIS II User manual

Macherey-Nagel
Macherey-Nagel URYXXON Relax User manual

Macherey-Nagel
Macherey-Nagel NANOCOLOR Advance User manual