manuals.online logo
Brands
  1. Home
  2. •
  3. Brands
  4. •
  5. Mandik
  6. •
  7. Fire And Smoke Damper
  8. •
  9. Mandik FDMD User manual

Mandik FDMD User manual

1
Installationinasolidwallconstruction
Installationinasolidwallconstruction(Weichschottsystem)
Installationinasolidwallconstruction
Min.50
1 FiredamperFDMD
2 Mortarorgypsumwithmin.density800kg/m
oranotherapprovedfiresealingsystemfor
damperinstallation
1 FiredamperFDMD
2 Stuffingbox(mineralstonewoolmin.density
140kg/m)oranotherapprovedfiresealing
systemfordamperinstallation
3 FireprotectionmasticPromastopP,Kor
equalmin.thickness1mm
1 FiredamperFDMD
2Fireresistantboard
3Firestopcoatingthickness1mm
Usedmaterialsexample:
2
HiltiCP673PF
3
HiltiCP673
FIREdampertypeFDMD,isinallvariantsclassified:
as acc.EN135013andtestedacc.EN13662andacc.
EN15650.
2
Clapetlogédansunmurrigide
Clapetlogédansunmurrigide (systèmeWeichschott)
Clapetlogédansunmurrigide
Min.50
1 ClapetFDMD
2 Gypseoumortierdepoidsspécifiqueminimum
800kg/m
1 ClapetFDMD
2
Laineminéraledepoidsspécifiqueminimum
140kg/m ouidentiquesystème
approuvéaveclespropriétéscorrespondantes
3 ProtectioncoupefeuPromastopP,Kouun
équivalentadéquatépaisseurminimum
1mm
1 ClapetFDMD
2 Plaquerésistanteaufeu
3 Protectioncoupefeuép.1mm
Exempledesmatièresutilisées:
2
HiltiCP673PF
3
HiltiCP673
LesessaisdesclapetscoupefeuFDMDontétéréalisésselonlanormeEN13662etlanormeEN15650.
LaclassificationdesclapetscoupefeuaétéréaliséeselonlanormeEN135013+A1:
3
Installationinagypsumwallconstruction
Installationinagypsumwallconstruction(Weichschottsystem)
Installationinagypsumwallconstruction
Min.50
1 FiredamperFDMD
2 Mortarorgypsumwithmin.density800kg/m
oranotherapprovedfiresealingsystemfor
damperinstallation
1 FiredamperFDMD
2 Stuffingbox(mineralstonewoolmin.density
140kg/m)oranotherapprovedfiresealing
systemfordamperinstallation
3 FireprotectionmasticPromastopP,Kor
equalmin.thickness1mm
1 FiredamperFDMD
2 Fireresistantboard
3 Firestopcoatingthickness1mm
Usedmaterialsexample:
2
HiltiCP673PF
3
HiltiCP673
4
Clapetlogédansune cloisonsèche
Clapetlogédansune cloisonsèche(systèmeWeichschott)
Clapetlogédansune cloisonsèche
Min.50
1 ClapetFDMD
2 Gypseoumortierdepoidsspécifiqueminimum
800kg/m
1 ClapetFDMD
2
Laineminéraledepoidsspécifiqueminimum
140kg/m ouidentiquesystème
approuvéaveclespropriétéscorrespondantes
3 ProtectioncoupefeuPromastopP,Kouun
équivalentadéquatépaisseurminimum
1mm
1 ClapetFDMD
2 Plaquerésistanteaufeu
3 Protectioncoupefeuép.1mm
Exempledesmatièresutilisées:
2
HiltiCP673PF
3
HiltiCP673
5
Installationinasolidceilingconstruction
Installationinasolidceilingconstruction(Weichschottsystem)
Installationinasolidceilingconstruction
Min.50
1 FiredamperFDMD
2 Mortarorgypsumwithmin.density800kg/m
oranotherapprovedfiresealingsystemfor
damperinstallation
1 FiredamperFDMB
2 Stuffingbox(mineralstonewoolmin.density
140kg/m)oranotherapprovedfiresealing
systemfordamperinstallation
3 FireprotectionmasticPromastopP,Kor
equalmin.thickness1mm
1 FiredamperFDMD
2Fireresistantboard
3Firestopcoatingthickness1mm
Usedmaterialsexample:
2
HiltiCP673PF
3
HiltiCP673
Notice:
Solidwallconstruction:normalconcrete/masonryorporousconcretewithminimumthickness100mm
Solidceilingconstruction:normalconcrete/masonryorporousconcretewithminimumthickness150mm
6
Clapetlogédansunplafondrigide
Clapetlogédansunplafondrigide(systèmeWeichschott)
Clapetlogédansunplafondrigide
Min.50
1 ClapetFDMD
2 Gypseoumortierdepoidsspécifiqueminimum
800kg/m
1 ClapetFDMD
2
Laineminéraledepoidsspécifiqueminimum
140kg/m ouidentiquesystème
approuvéaveclespropriétéscorrespondantes
3 ProtectioncoupefeuPromastopP,Kouun
équivalentadéquatépaisseurminimum
1mm
1 ClapetFDMD
2 Plaquerésistanteaufeu
3 Protectioncoupefeuép.1mm
Exempledesmatièresutilisées:
2
HiltiCP673PF
3
HiltiCP673
Note:
 Murrigide:soitbétonnormaloubétonaéréép.100mm
 Plafondrigide:soitbétonnormaloubétonaéréép.150mm
7
8
9
1.)Allfiredampershastobeclosedduringinstallationprocess.
2.)Thecontrolmechanismhastobeprotected(covered)againstdamageandpollutionduringinstallation
 process.
3.) Min.gapforinstallation(installationopening)is25mm(circulardimension ØD+50mm).
4.) Installation gap must be filled by approved material perfectly in all the installation space volume
 (installationgap).
5.) Thedistancebetweenthefiredamperandtheconstruction (wall,ceiling) mustbeminimum75mm
accordingtoEN13662.Incasethattwoormoredampersaresupposedto beinstalledinonefire
separatingconstruction,thedistancebetweentheadjacentdampersmustbeatleast200mmaccording
toEN13662paragraph13.5.
6.) Installationopenings.
10
1.) Pendantlemontage,lalameduclapetdoitêtreenposition"FERMÉ".
2.) Pendantlemontage,lemécanismedefermeturedoitêtreprotégécontrel’encrassementetnepeut
 êtreendommagé.
3.) Les clapets coupefeu peuvent être installés dans n'importe quelles positions,  dans des cloisons
 coupefeuverticalesethorizontales.
4.) L'espaceentreleclapetetlacloisondoitêtretotalementrempliparunematièreignifuge.
5.) Ladistanceentreleclapetcoupefeuetlacloison(paroi,plafond) doitêtreaumoinsde75mm.Sideux
clapetsouplussontinstallésdansunecloisoncoupefeu,ladistanceentrechaqueclapet doitêtreau
moins de200mm.(voirlanorme13662article13.5)
6.) Typesdecloisonsrecommandées.
11
8. The fire damper can be integrated into a solid or gypsum wall construction or into solid ceiling
construction. Damper blade has to be inside ofconstruction (labelled with BUILD IN EDGE on the
damperbody).
7.)Placementoftheopeningsinthewall.
Damperassemblyproceduresmustbedonesoasallloadtransferfromthefireseparatingconstructionsto
thedamperbodyisabsolutelyexcluded.Backtobackairconditioningpipingmustbehungorsupported
soasallloadtransferfromthebacktobackpipingtothedamperisabsolutelyexcluded.
BUITLINEDGE
BUITLINEDGE
260
420
(50)
BUITLINEDGE
BUITLINEDGE
190
350
(50)
BUILTINEDGE
BUILTINEDGE
12
8. Leclapetdoitêtreinstallédetellemanière àce quelalameduclapet(danslapositionfermée)soit
placée à l'intérieurdelacloisoncoupefeu. Seréféreràl’étiquettebuiltinedge(butéecontrecloison)
présentesurlecorpsdeclapet.
7.) Distance entre les clapets coupefeu et la
 cloison
Lespassagespourlinstallationdesclapetscoupefeudoiventêtreréalisésdetellemanièreàce quetoute
transmissiondechargedubâtimentauclapet soitéliminée.Leconduitdeventilationraccordédoitêtre
suspenduousoutenu afindévitercomplètementlatransmissiondechargeduconduit verslecorps de
clapet.
BUITLINEDGE
BUITLINEDGE
420
(50)
BUITLINEDGE
BUITLINEDGE
350
(50)
Butéecontrecloison
260
190
Butéecontrecloison
13
2
1
NL1
S3S2
S1 S6S5S4
Forseparationfromthemains,adevicethat
insulatespolarconductorsmustbeatdisposal
(Minimumdistancebetweencontacts3mm).
<5° <80°
BAE72BS
Tf1 Tf2 Tf3 LED
Parrallelconnectionofotherdriverispossible.
Payattentiontothepowerinputdata.
12.Beforeenteringthedampersintooperationafterassemblyandaftersequentialrevisions,checksand
functionalitytestsofalldesignsincludingoperationoftheelectricalcomponentsmustbedone.After
entering into operation, these revisions must be done according to requirement set by national
regulations.
9. Allfiredampershastobeclosedduringinstallationprocess.Thedamperbodyshouldnotbedeformed
inthecourseofbrickingin.Oncethedamperisbuiltin,itsbladeshouldnotgrindonthedamperbody
duringopeningorclosing.
10. To provide needed access space to the control device, all other objects must be situated at least
350mmfromthecontrolpartsofthedamper.Inspectionholemustbeaccessible.
11.Electricalcomponents,wiringdiagrams.
~
12
+
S2
S1 S3 S5S4 S6
aninsulationtransformer.
Parrallelconnectionofotherdriverispossible.
BLF24STT:Designwithconnectorplugsforcommunication
tonetworkandcommunicationdeviceBKN23024
Connectionthrough
Payattentiontothepowerinputdata.
<5° <80°
BAE72BS
Tf1 Tf2 Tf3 LED
 Visualinspectionofproperdamperintegration,insidedamperarea,damperblade,contactsurfacesand
siliconsealing.
13.Beforeenteringthedampersintooperationaftertheirassemblyandbysequentialchecks,thefollowing
checksmustbecarriedout.
Inspection hole disassembly: release the covering lid by removing the two screws in the corners of
inspectionhole.Thenremovelidfromitsoriginalposition.
14
12. Avantlamiseenmarchedesclapetsetpendantlescontrôlesdefonctionnement,ilfautvérifieretfaire
lesessaisdefonctionnementdetouteslesfonctionnalitésycomprislefonctionnementdeséléments
électriques. Aprèslamiseen route,cescontrôlesdefonctionnementdoiventêtreeffectuésaumoins
2 fois par an. Si aucun défaut n'est pas constaté pendant ces deux contrôles de fonctionnement
successifs,ilestpossibled'effectuerlescontrôlesdefonctionnement1foisparan.
Le contrôle visueldel'installationcorrecteduclapet,de l'espace intérieur du clapet, de la lamedu
clapet,dessurfacesd'appuidelalameetdujointd'étanchéitéensilicone.
13. Avantla mise en marche des clapets et pendant lescontrôlesdefonctionnement,il est nécessaire
d'effectuerlescontrôlesdetouteslesfonctionnalités:
Démontagedela trappe dinspection: ilfautdévisserlesdeuxvissurlesextrémitésde la trappe et
enleverlecouvercle.
9. Lecorpsduclapetnedoitpassedéformerlorsdel'installation. Après linstallationduclapet,lalame
duclapetnepeutpasfrottercontrelecorpsduclapetpendantlafermetureoulouverture.
10. Pourassurerl'espacenécessairepouraccéderaudispositifdecommande,ilestrecommandéque
touslesautresobjetssoientéloignésdespartiesdecommandeduclapetdaumoins350mm.La
trappedinspection doitêtre accessible.
11. Schémasélectriques.
~
12
+
S2S1 S3 S5S4 S6
<5° <80°
BAE72BS
Tf1 Tf2 Tf3 LED
Raccordementparle
transformateurdeséparation
Leraccordementd'autresentraînementsenparallèleestpossible.
Ilfautrespecterlesdonnéessurlespuissances indiquées.
BLF24STT:versionavecprisesconnecteurpour
raccordementsurl'appareildecommunicationréseauBKN23024
12 S2S1 S3 S5S4 S6
<5° <80°
BAE72BS
Tf1 Tf2 Tf3 LED
Pourlaséparationduréseau,ilfautprévoir
undispositifquiséparelespôlesconducteurs
Leraccordementd'autresentraînementsenparallèleestpossible.
Ilfautrespecterlesdonnéessurlespuissances indiquées.
NL1
(distancedescontactsaumoins3mm).
15
16.Manualoperation
 Withoutpowersupply,thedampercanbeoperatedmanuallyandfixedinanyrequiredposition.Release
ofthelockingmechanismcanbeachievedmanuallyorautomaticallybyapplyingthesupplyvoltage.
17. Itisrecommendedtoprovideperiodicalchecks,maintenanceandserviceactionsonFireEquipmentby
AuthorizedpersonsschooledbyProducer.
18.Alleffectivesafetystandardsanddirectivesmustbeobservedduringfiredamperassembly.
15.Before entering the dampers with actuating mechanism into operation after their assembly and by
sequentialchecks,checksaccording13.andfollowingchecksmustbecarriedout.
 Checkofbladedisplacementintothebreakdownposition"CLOSED"canbedoneaftercuttingoffthe
actuating mechanism supply (e.g. by pressing the RESET button at the thermoelectrical starting
mechanismBAE72BSorcuttingoffthesupplyfromELECTRICALFIRESIGNALISATION).Checkof
bladedisplacementbackintothe"OPEN"positioncanbedoneafterrestorationofpowersupply(e.g.
ByreleasingtheRESETbuttonorrestorationofsupplyfromELECTRICALFIRESIGNALISATION).
14.Before entering the dampers withmanual control (design .01v1 and .01v2 into operation after their
assemblyandbysequentialchecks,checksaccording13.andfollowingchecksmustbecarriedout.
 Checkofthermalprotectivefuseandclosingmechanism.
 Pushinitiationleverlock"OPEN"toreleasethecontrolleverandcheckitsdisplacementintotheposition
"CLOSED". Closing must be smart and the control lever must be firmly locked with a lever lock
"CLOSED".Incasethattheclosingisnotsmartenoughandthecontrolleverisnotlockedwiththeever
lockintheposition"CLOSED",higherprestretchoftheclosingspringmustbesetbyusingnewholein
baseplateorusingnewspring.
 Proper function of the thermal fuse can be checked when the fuse is removed from the starting
mechanism.Theinitiationlevermustbeturnedoverandcontrolleverismovedtoposition"CLOSED".
Ifthisisnotpossible,thenthestartingmechanismspringmustbecheckedorthebaseplatemustbe
replaced.ThebaseplateisattachedtothedamperbodywithfourM5screws.
 Displacingthedamperbladeinto"OPEN"positionisdonethefollowingway:
Pushleverlock"CLOSED"and movecontrolleverfrom "CLOSED"positiontowardsposition "OPEN"
untilcontrolleverislockedinleverlock "OPEN".
4. Springsaregalvanized.
5. Thermalprotectivefusesaremadeofsheetbrass,thickness=0.5mm.
6. Fastenersisgalvanized.
2. Damperbladesaremadeoffireresistantasbestosfreeboardsmadeofmineralfibres.
3. Dampercontrolsaremadeofgalvanizedmaterialswithnoothersurfacefinish.
1. Damperbodiesaresuppliedinthestandarddesignmadeofgalvanizedplatewithoutanyothersurface
finish.
16
16. Pourlesclapetsavecunélectroaimant,aprèsavoir branchélatensionélectrique,ilfautvérifierquele
levierdecommandesoitbienenpositionFERME.
15.Pourlesclapetsavecservomoteur,ilestnécessaired'effectuerlescontrôlesmentionnésaupoint14
ainsiquelescontrôlessuivants:
Lecontrôledelalameenpositionurgence"FERMÉ"esteffectué aprèsavoircoupél'alimentationdu
servomoteur(p.ex.enappuyantsurleboutonderéarmementdudispositifthermoélectriqueBAE72B
S,encoupantlatensiondelEPS).Lecontrôledelalameenposition"OUVERT" estfaitaprèslaremise
soustension(p.ex.relâcherleboutonderéarmement,alimentationparEPS).
14. Pourlesclapetsaveccommandemécaniquemanuelle(versionP01v1etP01v2), ilestnécessaire
d’effectuerlescontrôlesreprisàl’article13ainsiquelescontrôlessuivants:
 Contrôledufusiblethermiqueetdudispositifdefermeture
 Parpressionduressortdeblocageenposition"OUVERT",libérerlelevierdecommandeetcontrôler
samiseenposition"FERMÉ". Lafermeturedoitêtrerapideetlelevierdecommandedoitêtrearrêté
parleressortdeblocage enposition"FERMÉ".Silafermetureduclapetn'estpassuffisammentrapide
etque lelevierdecommanden'estpasarrêté danslaposition"FERMÉ",ilestnécessaired'augmenter
latensionduressortdefermetureenposantleressortdansunautreorificedelaplaquedebaseouen
utilisantunressortdifférent.
 Lechangementdepositiondelalameduclapetenposition"OUVERT"sefaitparleprocédésuivant:
 En appuyant sur le ressort de blocage  en position "FERMÉ", dégager le levier de commande et
remettrelelevierdecommandedanslasecondeposition, oùlelevierestbloquéparleressortd'arrêt
enposition"OUVERT".
 Enenlevantlefusiblethermiquedesonsupportdansledispositifdedéclenchement,sonfonctionne
mentcorrectestvérifié.Lelevierdedéclenchementquiactionnelelevierdecommandedoitselibérer,
et le clapet se ferme. Si ce n'est pas le cas, il faut contrôler le dispositif de déclenchement, et
éventuellementremplacerlaplaqueprincipale.Laplaqueprincipaleestfixéesurlecorpsparquatrevis
M5.
17. Lemontage,lentretienetles contrôlesdefonctionnementdesclapetsnepeuventêtreeffectuésque
par desprofessionnels.
18. Lemontagedeclapetsdoitêtreeffectuéenobservanttouteslesnormesetréglementationsenvigueur.
2. Leslamesdesclapetssontfabriquéesenplaquesdelaineminérale,sansamiante,résistantesaufeu.
3. Les dispositifs de commande des clapets sont fournis en matières avec traitement de zingage
galvanique (inoxenoption)sansautretraitementdesurface.
1. Lescorpsdesclapetssontnormalementlivrésentôlezingué(inoxenoption)sansautretraitementde
surface.
4. Lesressortssontzingués(inoxenoption).
5. Lesfusiblesthermiquessontfabriquésentôlelaitond'épaisseur0,5mm.
6. Lematérielderaccordementestzingué(inoxenoption).
17
18
19
MANDÍKa.s.
Dobøíská550
26724Hostomice
ÈeskáRepublika
Tel.:+420311706706
Fax:+420311584810,31158438
EMail:[email protected]
www.mandik.com

Other manuals for FDMD

2

Other Mandik Fire And Smoke Damper manuals
Mandik FDMB User manual

Mandik

Mandik FDMB User manual

Mandik SEDM-L User manual

Mandik

Mandik SEDM-L User manual

Mandik FDMB User manual

Mandik

Mandik FDMB User manual

Mandik FDMB Guide

Mandik

Mandik FDMB Guide

Mandik FDMR Manual

Mandik

Mandik FDMR Manual

Mandik FDMR 60 User manual

Mandik

Mandik FDMR 60 User manual

Mandik FDMC User manual

Mandik

Mandik FDMC User manual

Mandik FDMC User manual

Mandik

Mandik FDMC User manual

Mandik CFDM User manual

Mandik

Mandik CFDM User manual

Mandik FDML User manual

Mandik

Mandik FDML User manual

Mandik FDMC Series User manual

Mandik

Mandik FDMC Series User manual

Mandik NKTM User manual

Mandik

Mandik NKTM User manual

Mandik SEDM-L User manual

Mandik

Mandik SEDM-L User manual

Mandik FDMA-PM User manual

Mandik

Mandik FDMA-PM User manual

Mandik MSD Guide

Mandik

Mandik MSD Guide

Mandik FDMD User manual

Mandik

Mandik FDMD User manual

Mandik SEDS User manual

Mandik

Mandik SEDS User manual

Mandik SEDS-L User manual

Mandik

Mandik SEDS-L User manual

Mandik FDMS User manual

Mandik

Mandik FDMS User manual

Mandik FDMR User manual

Mandik

Mandik FDMR User manual

Mandik FDMQ User manual

Mandik

Mandik FDMQ User manual

Mandik FDMB User manual

Mandik

Mandik FDMB User manual

Mandik VCDM Manual

Mandik

Mandik VCDM Manual

Mandik FDMB User manual

Mandik

Mandik FDMB User manual

Popular Fire And Smoke Damper manuals by other brands

Geba WFK Series Assembly and operating instructions

Geba

Geba WFK Series Assembly and operating instructions

Trox Technik EK-JZ manual

Trox Technik

Trox Technik EK-JZ manual

actionair DWFX-F installation guide

actionair

actionair DWFX-F installation guide

Lindab WH45 Series Installation booklet

Lindab

Lindab WH45 Series Installation booklet

VENCO DFDR Series Installation, operation and maintenance manual
VENCO

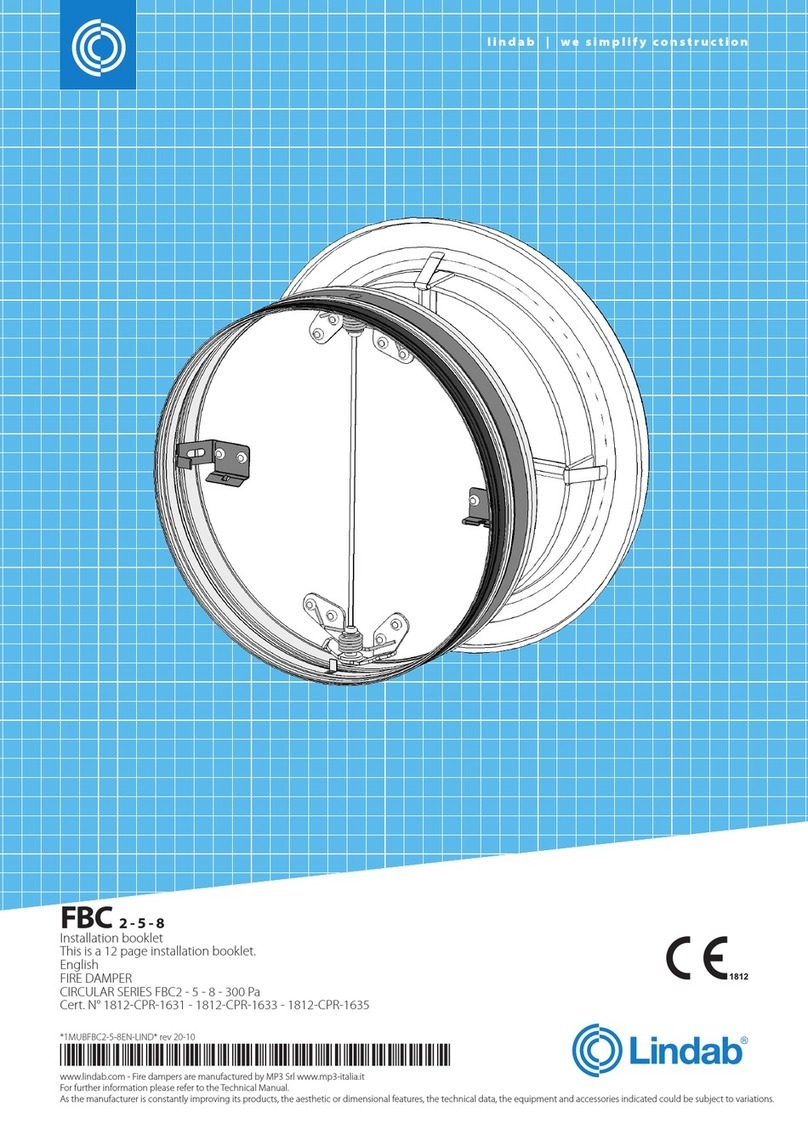
VENCO DFDR Series Installation, operation and maintenance manual
Lindab CFDM technical information

Lindab

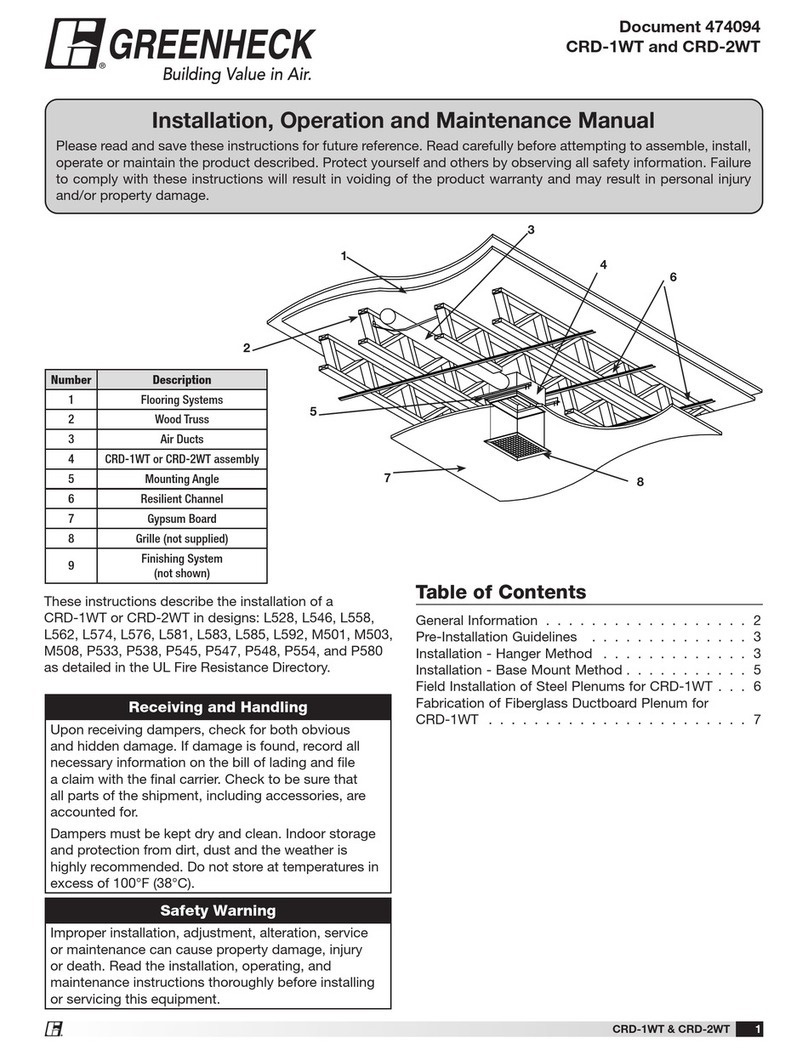
Lindab CFDM technical information

Trox Technik FKRS-EU Installation and operating manual

Trox Technik

Trox Technik FKRS-EU Installation and operating manual

Swegon REACT Pa Instructions for use

Swegon

Swegon REACT Pa Instructions for use

Trox Technik FK2-EU Installation and operating manual

Trox Technik

Trox Technik FK2-EU Installation and operating manual

Ruskin DIBD2 installation instructions

Ruskin

Ruskin DIBD2 installation instructions

Trox Technik FKR-EU Supplementary Operating Manual

Trox Technik

Trox Technik FKR-EU Supplementary Operating Manual

Greenheck RBD Series Installation, operation and maintenance manual
Greenheck

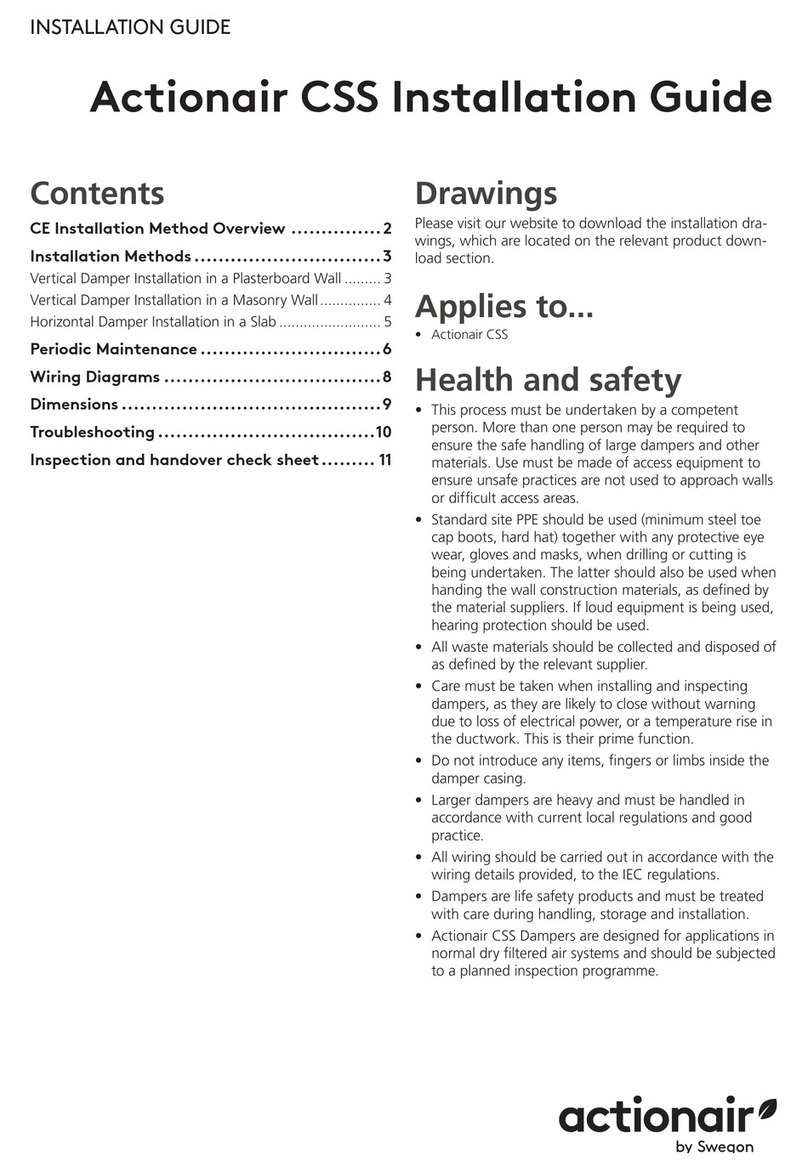
Greenheck RBD Series Installation, operation and maintenance manual

klimaoprema FD25 product manual

klimaoprema

klimaoprema FD25 product manual

SMAY KWP-L installation manual

SMAY

SMAY KWP-L installation manual

Zonefirst ZDS Installation instruction

Zonefirst

Zonefirst ZDS Installation instruction

Madel FBK-EIS-120 Installation and use

Madel

Madel FBK-EIS-120 Installation and use

Ace FDT Operating and mounting instructions

Ace

Ace FDT Operating and mounting instructions

Formula Air AADA Series Maintenance manual

Formula Air

Formula Air AADA Series Maintenance manual

manuals.online logo
manuals.online logoBrands
  • About & Mission
  • Contact us
  • Privacy Policy
  • Terms and Conditions

Copyright 2025 Manuals.Online. All Rights Reserved.