2 3
Site Installation Conditions
Prior to installing your shower rail it is important to fully understand the site installation conditions and the
location where you intend to install your product.
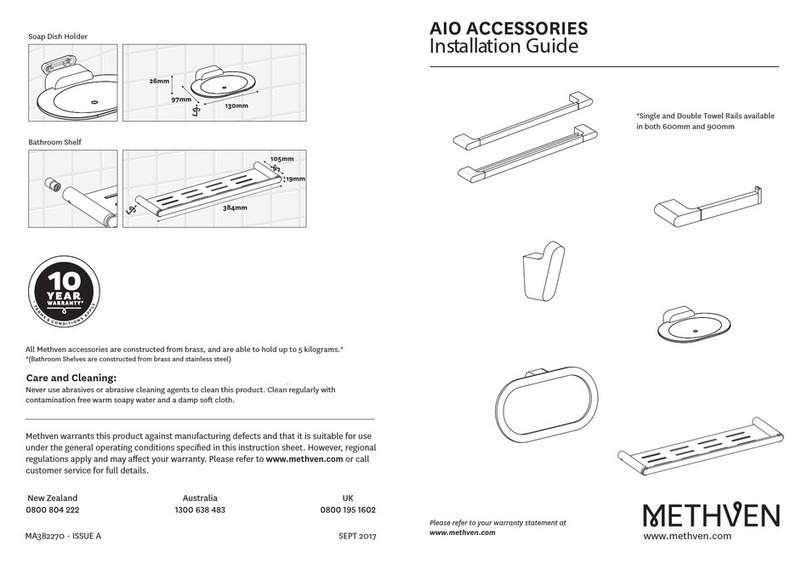
Line Drawing
Points to consider prior to installation
This shower rail is not supplied with any screws or wall plugs. Due to the nature of the product
being a shower rail grab bar , the product may be subjected to load bearing forces and as such ,
consideration should be given to choosing the correct types of screws and wall fixing plugs.
Be sure to use the correct types of screws and plugs to suit your installation condition that allows
the rail to be used as a grab bar and withstand forces associated with grab bars. Failure to use the
correct wall fixings WILL result in the premature failure of the grab rail and invalidate your warranty.
In most cases standard wall plugs will NOT be suitable for use with this product unless the rail is
being fixed to a solid brick wall.
Other important points to note before commencing Installation of your shower rail.
You should have :-
a. Checked the contents of the box and all parts are present and correct.
b. The correct tools to perform a trouble free installation.
c. Considered the surrounding environment where the installation is to take place and any potential hidden
dangers.
.
Installing the shower rail
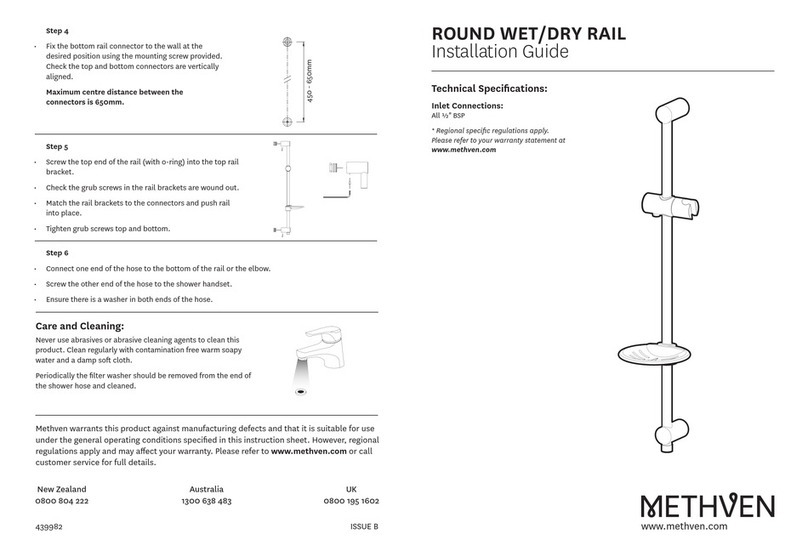
1. Connect the shower hose to the handset and the shower outlet connector at the other end.
2. Fit the shower handset into the handset holder of the shower grab rail kit , place the shower rail kit
assembly against the wall to find a suitable place to fix the shower rail kit (Note - when deciding
where to fix the shower grab rail kit ,please ensure that the shower hose will not be stretched
or subjected to any unnecessary tight bends).
3. Once a suitable place is found , slide back the top shroud on the rail assembly to expose the mounting
plate and screw holes.
4. Mark the position of the top hole.
5. Remove the shower kit.
6. Drill and use a suitable fixing plug (See ‘Points to consider prior to installation’)
7. Screw the shower rail to the wall in the position previously drilled and plugged.
8. Line up the shower rail using a spirit level.
9. Once a suitable place is found , slide back the bottom shroud on the rail assembly to expose the
mounting plate screw holes and mark the position of the screw holes.
10. Mark the position of the remaining holes on the top mounting bracket..
11. Remove the initial screw securing the shower rail to the wall. Be careful not to let the shower rail fall.
12 Drill and use a suitable fixing plugs for the positions of the holes previously marked (See ‘Points to
consider prior to installation’).
13. Fix the shower rail to the wall using all positions drilled and plugged.
14. Slide the top shroud over the exposed mounting plate and firmly press against the wall.
15. Repeat the process for the bottom mounting plate.
16. Replace the handset back into the handset holder of the shower rail kit.
Guarantee
This product is covered by a 5 year guarantee* from date of purchase for manufacturing faults.
Please retain proof of purchase.
The guarantee does not cover faults or damages caused by bad installation and/or maintenance , ordinary
wear and tear, water composition i.e. :
Incorrect installation ,
Improper manipulation , tampering , bad or missed maintenance
Foreign bodies and/or scale bought by water , ice , ordinary wear , water composition
Use of improper cleaning or maintenance product or substance
Aftercare Instructions
Whilst modern plating techniques are used in the manufacture of this item, the surfaces will wear if not
cleaned correctly. Clean this product with a soft cloth with clean water. The use of any abrasive material will
invalidate the guarantee.
*Please refer to the Deva website for information on warranty for Commercial applications
900 mm centres
1000 mm
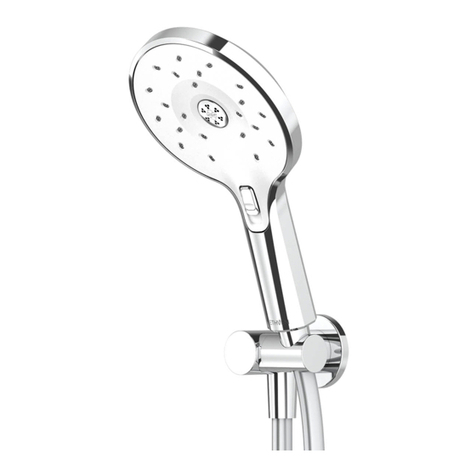
Contents :-
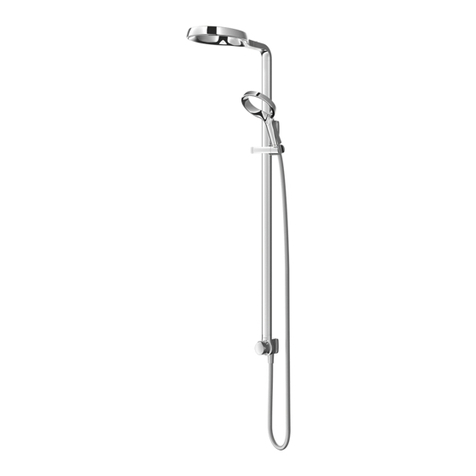
1 x Shower rail
1 x SATINJET handset
1 x 2m long shower hose
