METHVEN
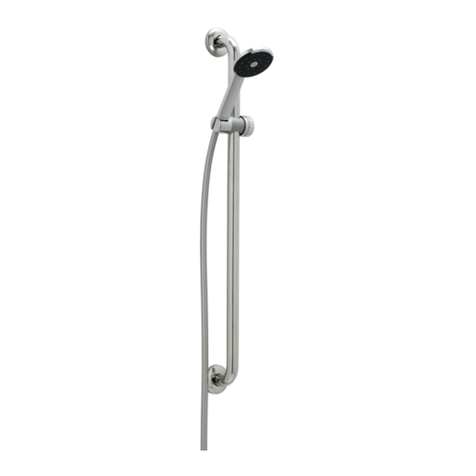
AIO AURAJET TWIN SHOWER
INSTALLATION INSTRUCTIONS
Plumbers, please ensure a copy of the installation
instructions is left with the end user for future reference
Step 1
•Install a ½” male nipple at the recommended height of 1800mm
from the ground.
•Wall lining hole should be cut or finished as per the dimension
shown in the diagram on the right.
•Cut off the threaded nipple 20±2mm from the wall lining and
apply thread seal tape to ensure a good seal.
•Screw the inlet connector onto the nipple ensuring that the o-ring
is sufficiently compressed to create a watertight seal.
•Screw the bottom rail connector to a wall stud vertically in line
with the inlet connector and at the correct distance.
Step 2
• Firmly push the shower rail
onto the top inlet connector
and bottom rail connector.
• Secure in place by tightening
the grub screws firmly using
the hex key provided.
Step 4
• Fit the elbow cover into the back of the elbow bracket.
• Clip into the elbow bracket and overhead shower.
Step 5
•To adjust slider position, rotate the slider handle to
unlock and lock the slider as shown.
Fit overhead shower into elbow bracket
and push firmly until the clips engage.
Inlet
Connector
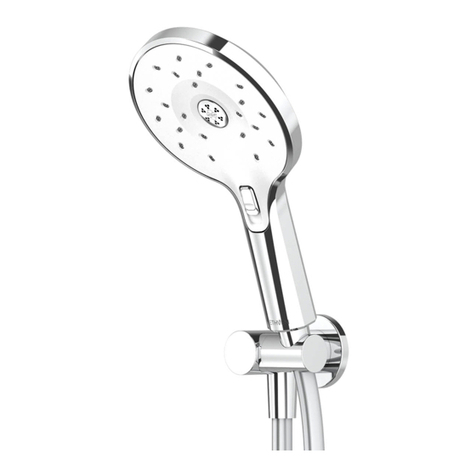
Handset
Flat Washer
Swivelling Cone
Hose End
Filter Washer
• Methven recommends this product is
installed by a licensed plumber in
compliance with all relevant regional
regulations.
20±2mm
26mm max
Step 2
Firmly push the shower rail onto the
top inlet connector and bottom
rail connector.
Step 3
Step 4
Fit the elbow cover into the back of the elbow
bracket.
Clip into the elbow bracket and overhead
shower.
•
•
•
•
1800mm (Recommended)
785mm
FLOOR
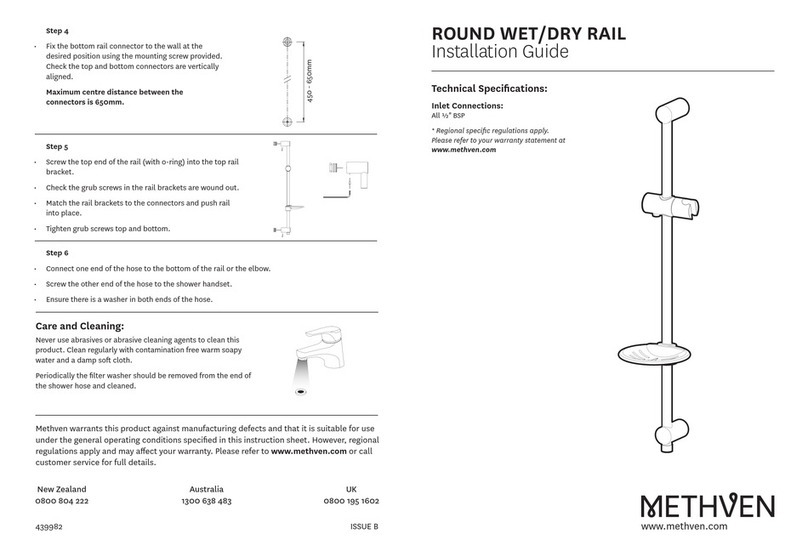
Step 1
Install a ½” male nipple at the recommended
height.
•
Overhead
Rail
Hose
Inlet
Bottom Rail
Connector
Elbow Cover
Handset
Step 6
Make sure a washer is in both ends of the
shower hose.
Screw one end of the hose to the bottom of
the shower rail, attach handset and place firmly
in holder.
•
•
It is the responsibility of the installer to
ensure a waterproof seal is achieved
between the product and mounting
surface. If in doubt about the quality of
the seal, remove the product and
reinstall using silicone to ensure a seal is
achieved.
All pipe work must be thoroughly flushed
prior to the installation of the hose.
After installation all connections must be
checked for leaks.
All outlets used primarily for personal
hygiene shall deliver water at a safe
temperature as per regional regulations.
•
•
•
IMPORTANT: Please read all of the instructions and turn off water
supply before installation.
General:
•
2
1
Secure in place by tightening the grub
screws firmly using the hex key provided.
•
Shower
Shower
Connector
Bottom rail
Connector
•
Screw the bottom rail connector to a
wall stud vertically in line with the
inlet connector and at the correct
distance.
•
• Wall lining hole should be cut or
finished as per the dimension
shown in the diagram on the right.
Cut off the threaded nipple 20±2mm
from the wall lining and apply thread
seal tape to ensure a good seal.
•
Screw the inlet connector onto the
nipple ensuring that the o-ring is
sufficiently compressed to create
a watertight seal.
•
Step 5
To adjust slider position, rotate the slider
handle to unlock and lock the slider as shown.
•
Unlock
Lock
Step 3
•Fit overhead
shower into elbow
bracket and push
firmly until the
clips engage
Step 6
• Make sure a washer is in
both ends of the shower
hose.
•Screw one end of the hose
to the bottom of the shower
rail, attach handset and
place firmly in holder.
IMPORTANT: Please read all of the instructions and turn off water supply before installation.
page 2 of 4


