manuals.online logo
Brands
  1. Home
  2. •
  3. Brands
  4. •
  5. METHVEN
  6. •
  7. Bathroom Fixture
  8. •
  9. METHVEN ROUND DRY RAIL User manual

METHVEN ROUND DRY RAIL User manual

Step 4
• Fix the bottom rail connector to the wall at the
desired position using the mounting screw provided.
Check the top and bottom connectors are vertically
aligned.
Maximum centre distance between the
connectors is 650mm.
Step 5
• Screw the top end of the rail (with o-ring) into the top rail
bracket.
• Check the grub screws in the rail brackets are wound out.
• Match the rail brackets to the connectors and push rail
into place.
• Tighten grub screws top and bottom.
Step 6
• Connect one end of the hose to the bottom of the rail or the elbow.
• Screw the other end of the hose to the shower handset.
• Ensure there is a washer in both ends of the hose.
Methven warrants this product against manufacturing defects and that it is suitable for use
under the general operating conditions specified in this instruction sheet. However, regional
regulations apply and may affect your warranty. Please refer to www.methven.com or call
customer service for full details.
New Zealand
0800 804 222
Australia
1300 638 483
UK
0800 195 1602
www.methven.com
Never use abrasives or abrasive cleaning agents to clean this
product. Clean regularly with contamination free warm soapy
water and a damp soft cloth.
Periodically the filter washer should be removed from the end of
the shower hose and cleaned.
Care and Cleaning:
439982 ISSUE B
Technical Specifications:
Inlet Connections:
All ½" BSP
* Regional specific regulations apply.
Please refer to your warranty statement at
www.methven.com
ROUND WET/DRY RAIL
Installation Guide
450 - 650mm
Inlet Connector
Rail Rail
Slider
Slider
Rail End Cap
Grub Screw
Mounting
Screw
Bottom Rail
Connector
Elbow
Grub Screw
Soap Dish
Soap Dish
½" BSP Nipple
(Not Supplied) Connecting Nipple
Grub Screw
Grub Screw
Mounting
Screw
Inlet Connector
Bottom Rail
Connector
Mounting
Screw
• This product must be installed in compliance with all relevant regional regulations.
• It is the responsibility of the installer to ensure a waterproof seal is achieved between the
product and mounting surface. If in doubt about the quality of the seal, remove the product
and reinstall using silicone to ensure a seal is achieved.
• All pipe work must be thoroughly flushed prior to the installation of the hose.
• After installation all connections must be checked for leaks.
• All outlets used primarily for personal hygiene shall deliver water at a safe temperature as
per regional regulations.
Wet Rail
Step 1
• Install ½” BSP nipple
at the desired top
bracket position.
• Wall lining hole should
be cut or finished as
per the dimension
shown in the diagram
on the right.
• Cut off the threaded
nipple 13±2mm from
the wall lining and
apply thread seal tape
to ensure a good seal.
Step 2
• Screw the inlet
connector onto the
nipple.
Step 3
• Slide the soap dish and
bottom rail bracket
onto the rail. Check the
grub screw is located
on the bottom side of
the rail bracket.
Dry Rail
Step 1
• Fix the connecting nipple
to the wall at the desired
top bracket position using
the mounting screw
provided.
• Screw the inlet connector
onto the nipple.
Step 2
• Slide the soap dish and
bottom rail bracket onto
the rail. Check the grub
screw is located on the
bottom side of the rail
bracket.
• Ensure that the washer is
in the rail end cap and
screw it to the bottom of
the rail.
Step 3
• Install ½” BSP
nipple at the desired
elbow position.
• Wall lining hole should be
cut or finished as per the
dimension shown in the
diagram on the right.
• Cut off the threaded
nipple 13±2mm from the
wall lining and apply
thread seal tape to ensure
a good seal.
• Screw the elbow onto the
nipple ensuring that the
o-ring is sufficiently
compressed to create a
watertight seal.
IMPORTANT: Please read all of the instructions before installation.
General:
Installation:
13±2mm
26mm
max
13±2mm
26mm
max
Wet Rail Installation Dry Rail Installation
www.methven.com
Technical Specifications:
Operating Pressure:
Min: 35kPa/0.35bar
Max: 500kPa/5bar*
Optimum: 150kPa/1.5bar - 500kPa/5bar
Operating Temperature:
Hot: Max 70°C*
Cold: Min 5°C
Inlet Connections:
½" BSP
Operating Pressure:
Min: 150kPa/1.5bar
Max: 500kPa/5bar*
Optimum: 150kPa/1.5bar - 500kPa
Operating Temperature:
Hot: Max 70°C*
Cold: Min 5°C
Inlet Connections:
½" BSP
* Regional specific regulations apply.
Please refer to your warranty statement at
www.methven.com
HANDSET
Installation Guide
Methven warrants this product against manufacturing defects and that it is suitable for use
under the general operating conditions specified in this instruction sheet. However, regional
regulations apply and may affect your warranty. Please refer to www.methven.com or call
customer service for full details.
New Zealand
0800 804 222
Australia
1300 638 483
UK
0800 195 1602
Removal of the flow restrictor in the handset may be necessary to optimise flow
performance in low or unequal pressure systems only.
•
•
•
•
IMPORTANT: Please read all of the instructions before installation.
General:
Methven recommends this product is installed by a licensed plumber in compliance with all
relevant regional regulations.
After installation all connections must be checked for leaks.
All outlets used primarily for personal hygiene shall deliver water at a safe temperature as per
regional regulations.
It is the responsibility of the installer to ensure a waterproof seal is achieved.
NOTE: Some showers may not provide an effective shower when used with gravity fed heated
water systems or where pressures are less than 150kPa/1.5bar at the outlet. Additionally showers
with flow rates of less than 9L/min may not allow the following to function correctly:
- some instantaneous water heaters
- some tempering valves
- some thermostatic mixing valves
Low and Unequal Pressure:
Never use abrasives or abrasive cleaning agents to clean this product. Clean regularly with
contamination free warm soapy water and a damp soft cloth.
A filter washer should be installed in the hose cone on the water outlet and it should be
cleaned periodically.
If shower performance is compromised by the build-up of lime-scale, soak in limescale
remover for up to 10 minutes. Do not use products containing chlorine bleach or
hydrochloric acid as these can damage the shower. Always rinse the shower thoroughly after
cleaning to remove cleaning products that can damage the shower.
Care and Cleaning:
•
439902 ISSUE A

This manual suits for next models

2

Other METHVEN Bathroom Fixture manuals

METHVEN MINIMALIST MK2 User manual

METHVEN

METHVEN MINIMALIST MK2 User manual
METHVEN AIO ACCESSORIES User manual

METHVEN

METHVEN AIO ACCESSORIES User manual
METHVEN 03-9548 User manual

METHVEN

METHVEN 03-9548 User manual
METHVEN 439860 User manual

METHVEN

METHVEN 439860 User manual
METHVEN TUROA ACCESSORIES User manual

METHVEN

METHVEN TUROA ACCESSORIES User manual
METHVEN 01-8321 User manual

METHVEN

METHVEN 01-8321 User manual

METHVEN Waipori 01-8345 User manual

METHVEN

METHVEN Waipori 01-8345 User manual
METHVEN AIO AURAJET TWIN SHOWER AOSSCPAU User manual
METHVEN

METHVEN AIO AURAJET TWIN SHOWER AOSSCPAU User manual

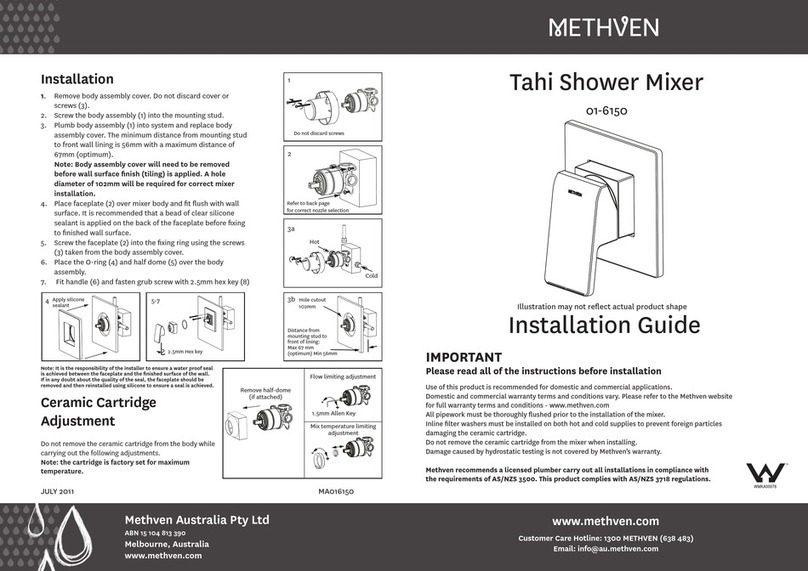
METHVEN Tahi 01-6150 User manual

METHVEN

METHVEN Tahi 01-6150 User manual
METHVEN 01-8345 User manual

METHVEN

METHVEN 01-8345 User manual
METHVEN TUROA User manual

METHVEN

METHVEN TUROA User manual

METHVEN Amio User manual

METHVEN

METHVEN Amio User manual

METHVEN SATINJET WALL SHOWER User manual
METHVEN

METHVEN SATINJET WALL SHOWER User manual

METHVEN Kaha 01-7157 User manual

METHVEN

METHVEN Kaha 01-7157 User manual
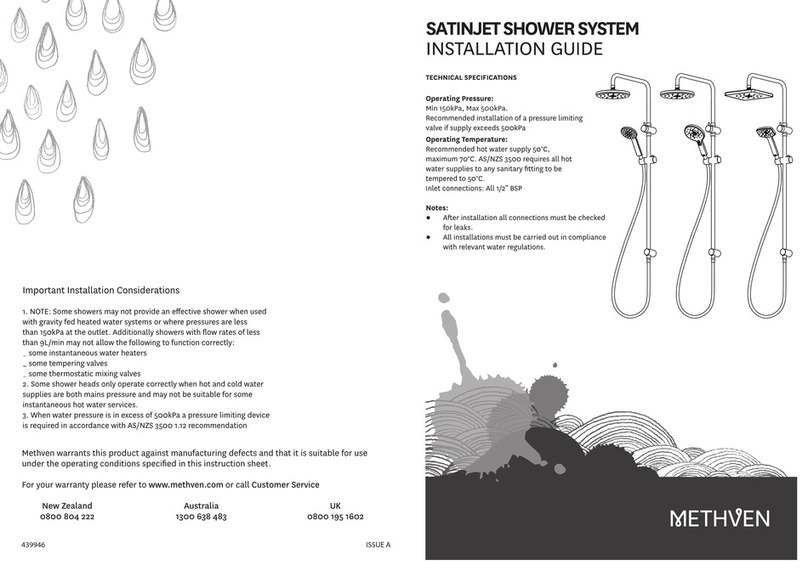
METHVEN Satinjet Waipori WASSCPGR User manual
METHVEN

METHVEN Satinjet Waipori WASSCPGR User manual

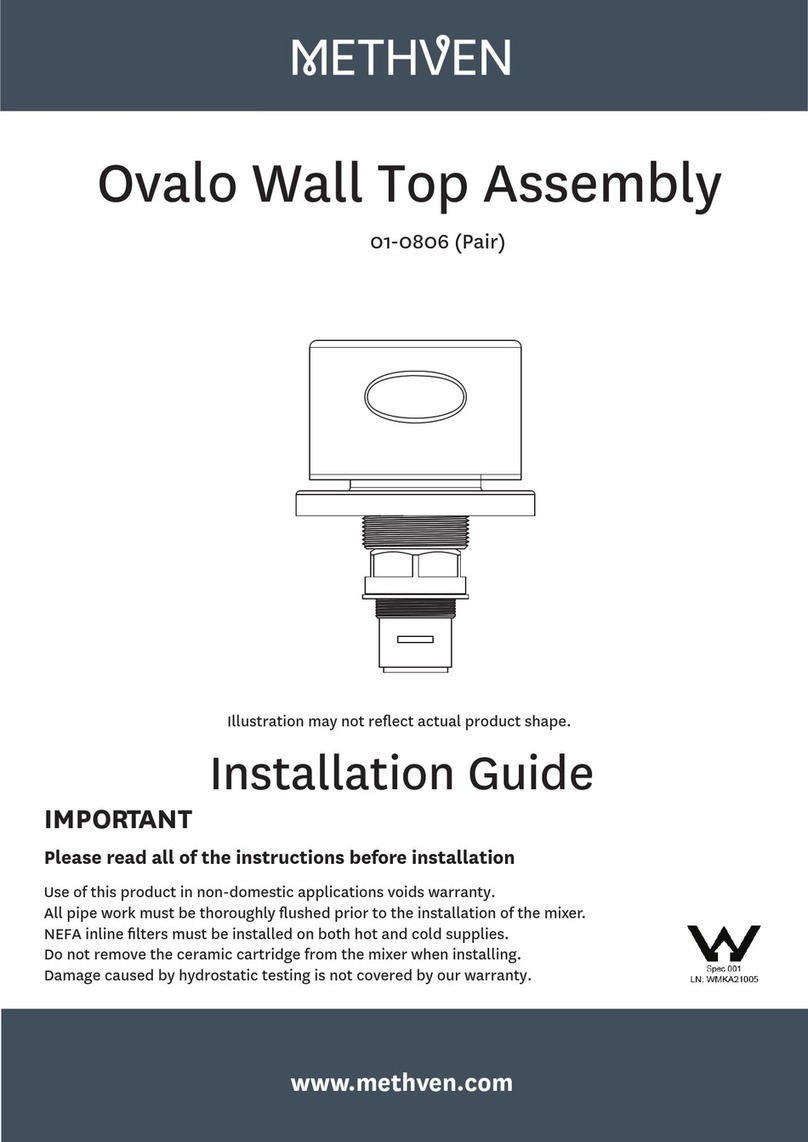
METHVEN Ovalo Wall Top 01-0806 User manual
METHVEN

METHVEN Ovalo Wall Top 01-0806 User manual

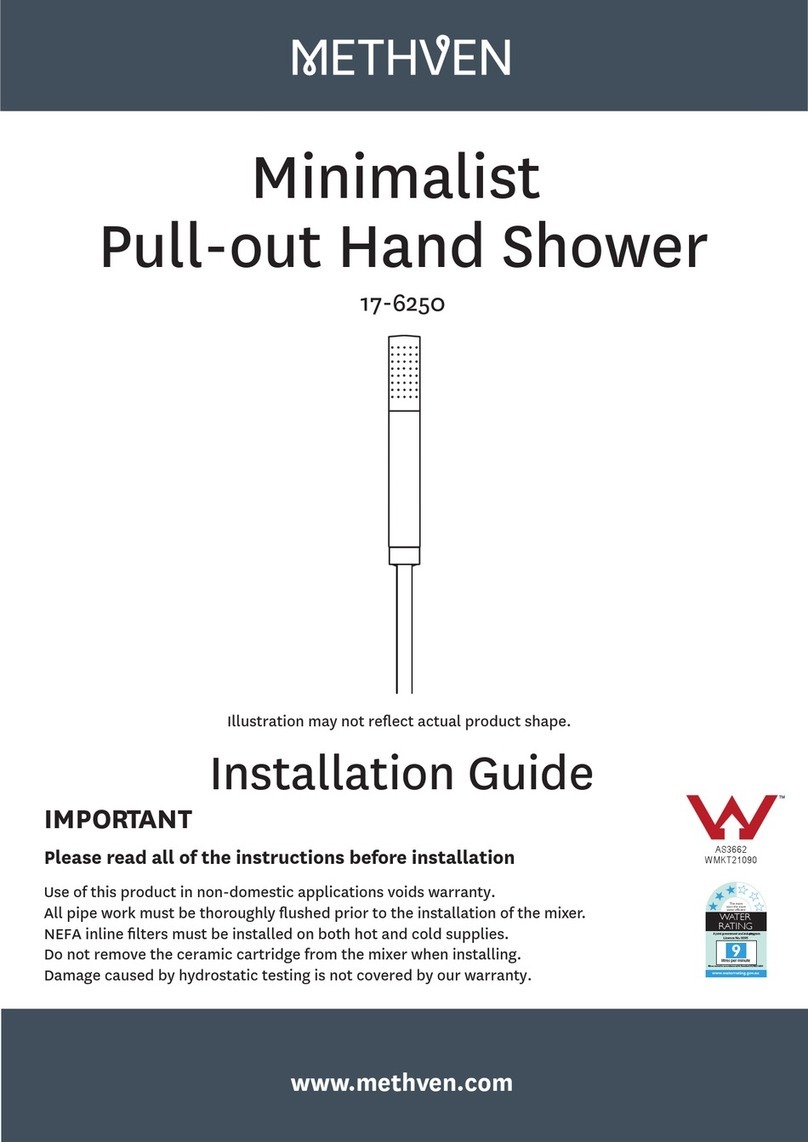
METHVEN Minimalist 17-6250 User manual
METHVEN

METHVEN Minimalist 17-6250 User manual

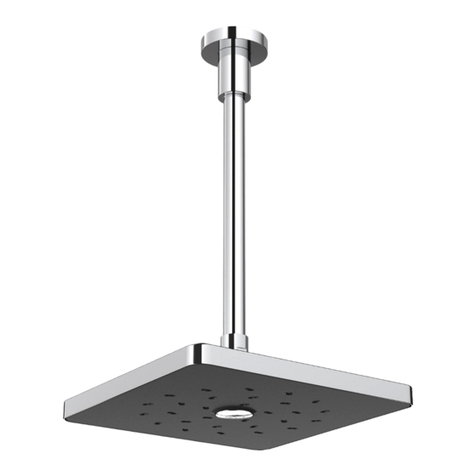
METHVEN SATINJET SQUARE OVERHEADDRENCHER User manual
METHVEN

METHVEN SATINJET SQUARE OVERHEADDRENCHER User manual

METHVEN 01-8284 User manual

METHVEN

METHVEN 01-8284 User manual
METHVEN Deva PHK1 User manual

METHVEN

METHVEN Deva PHK1 User manual

METHVEN Minimalist 01-2206 User manual

METHVEN

METHVEN Minimalist 01-2206 User manual

METHVEN Kiri 3 User manual

METHVEN

METHVEN Kiri 3 User manual

METHVEN DEVA ETHOS ETH106 User manual

METHVEN

METHVEN DEVA ETHOS ETH106 User manual

METHVEN MINIMALIST User manual

METHVEN

METHVEN MINIMALIST User manual

Popular Bathroom Fixture manuals by other brands

Toto Washlet EK 2.0 installation guide
Toto

Toto Washlet EK 2.0 installation guide

Hans Grohe Rainfinity 130 3jet 26865 7 Series Instructions for use/assembly instructions

Hans Grohe

Hans Grohe Rainfinity 130 3jet 26865 7 Series Instructions for use/assembly instructions
Hans Grohe Croma Select S 180 27258400 Instructions for use/assembly instructions

Hans Grohe

Hans Grohe Croma Select S 180 27258400 Instructions for use/assembly instructions

EZee Life CRP0929 quick start guide

EZee Life

EZee Life CRP0929 quick start guide

Pfister Deckard R89-1DA Quick installation guide
Pfister

Pfister Deckard R89-1DA Quick installation guide

BELLOSTA Electa 5208/E Installation instruction
BELLOSTA

BELLOSTA Electa 5208/E Installation instruction

Avenir SOLO Installation guides

Avenir

Avenir SOLO Installation guides

KWC SIRIUS SIRW721B Installation and operating instructions

KWC

KWC SIRIUS SIRW721B Installation and operating instructions

Delinia LOA instruction manual

Delinia

Delinia LOA instruction manual

Relax Unico 1901-A Assembly instructions

Relax

Relax Unico 1901-A Assembly instructions

newform X-STEEL 316 69623X instructions

newform

newform X-STEEL 316 69623X instructions

Noro LOUNGE 0465 Installation

Noro

Noro LOUNGE 0465 Installation

Triton Aria 2181557B quick start guide

Triton

Triton Aria 2181557B quick start guide

WimTec OCEAN P10 Assembly and operating instructions
WimTec

WimTec OCEAN P10 Assembly and operating instructions

CareCo Ibis Lite BA07052 Usage and maintenance instructions

CareCo

CareCo Ibis Lite BA07052 Usage and maintenance instructions

Cello F600 instruction manual

Cello

Cello F600 instruction manual

Drive Bathtub safety rail instructions

Drive

Drive Bathtub safety rail instructions

Fontana Showers BRAVAT FS1065 installation instructions

Fontana Showers

Fontana Showers BRAVAT FS1065 installation instructions

manuals.online logo
manuals.online logoBrands
  • About & Mission
  • Contact us
  • Privacy Policy
  • Terms and Conditions

Copyright 2025 Manuals.Online. All Rights Reserved.