manuals.online logo
Brands
  1. Home
  2. •
  3. Brands
  4. •
  5. METHVEN
  6. •
  7. Plumbing Product
  8. •
  9. METHVEN WAIPORI User manual

METHVEN WAIPORI User manual

Methven warrants this product against manufacturing defects and that it is suitable for use under the general
operating conditions specified in this instruction sheet. However, regional regulations apply and may affect your
warranty. Please refer to www.methven.com or call customer service for full details.
New Zealand Australia UK
www.methven.com
Never use abrasives or abrasive cleaning agents to clean this product. Clean regularly with
contamination free warm soapy water and a damp soft cloth.
If the flow rate from the mixer is reduced, the filters should be checked
for blockages and cleaned if required.
Cartridge Filters
•Remove the handle from the cartridge lever by
loosening the grub screw with the hex key provided.
•Remove the faceplate cover and unscrew the locknut
from the mixer body.
•Remove the Thermostatic cartridge and remove the filters
from the base of the cartridge.
•Clean the filters and re-insert into the base of the cartridge.
•Reverse the above steps to re-assemble the mixer,
ensuring the Thermostatic cartridge is correctly oriented and
has all seals in place and undamaged. The locknut on the
cartridge must be torqued to 10±2 Nm.
Non-Return Nipple Filters
•Remove the non-return nipples from the hot and cold supply lines.
•Clean the filters in the non-return nipples and refit the nipples into the hot and cold supply
lines. The arrows on the non-return nipples must be installed in the direction of water flow.
Care and Cleaning:
Maintenance:
Step 6
Remove both plastic covers. Do not discard screws.
Slide faceplate onto mixer body, and position
faceplate with notch towards the bottom.
Fasten faceplate to the mixer body with the
screws previously removed.
Fit o-ring into the groove on mixer body. Insert
faceplate cover into the faceplate recess.
Push handle on to cartridge lever and tighten grub
screw firmly with the hex key provided.
•
•
•
•
•
Thermostatic
Cartridge
Locknut
Filters
Use appropriate
faceplate cover for
installation depth
ISSUE B
Technical Specifications:
Supply Pressure:
EQUAL PRESSURE INSTALLATIONS ONLY
Min: 150kPa/1.5bar
Max: 500kPa/5bar*
Optimum: 200kPa/2bar - 500kPa/5bar
Supply Temperature:
Hot: Min 55°C (at mixer), Max 80°C*
Cold: Min 5°C, Max 25°C
Operating Temperature Range:
5°C – 45°C Max
Inlet Connections:
All ½" BSP Female
* Regional specific regulations apply.
Please refer to your warranty statement at
www.methven.com
WAIPORI THERMOSTATIC
SHOWER MIXER
Installation Guide
Hot
Outlet
Cold
Step 2
70mm minimum wall cavity space is
required for this product.
Note: A vertical support may need to be
installed for correct positioning of the mixer.
Ensure front of vertical support is in line with
front of vertical framing.
Leave plastic covers in place during the installation.
IMPORTANT: Before you begin, turn off the water supply.
•
•
•
Step 3
Position mixer body against vertical support with
the front edge of mounting bracket flush with front
of the vertical support.
Secure mixer body to the vertical support with four
suitable screws, ensuring it is oriented square.
•
•
Step 1
It is recommended that the supplied non-return nipples are
installed in the hot and cold supply lines for cross flow
prevention. The arrows on the non-return nipples must
be installed in the directionof water flow.
Note: The nipples must be installed in an EASILY ACCESSIBLE LOCATION that allows for future
maintenance. They MUST NOT be connected directly to the mixer body.
If notalready present, isolation valves (not supplied) should be fitted prior to the non-return nipples
for ease of future maintenance.
The seal integrity of pipe joins are the responsibility of the installing plumber.
•
Step 4
Flush all pipe-work thoroughly prior to the next step.
Connect hot and cold supplies and outlet to mixer
body ensuring a good seal at each joint.
Leak test installation prior to closing wall cavity.
The seal integrity of pipe joins are the responsibility
of the installing plumber.
•
Step 5
Wall lining hole should be cut or finished as per the
dimension shown in the diagram on the right.
Optimum distance from front of vertical support to
finished wall surface = 23mm ± 10
•
•
•
•
Mixer Body Assembly
IMPORTANT: Please read all of the instructions before installation.
General:
•Methven recommends this product is installed by a licensed plumber in compliance with all
relevant regional regulations.
•Do not hydrostatic test the installation with this mixer installed. Damage to the ceramic cartridge
may occur.
•All pipe work must be thoroughly flushed prior to the installation of the mixer.
•In-line filters must be fitted on both hot and cold supplies to prevent foreign particles damaging
the ceramic cartridge.
•Do not remove the ceramic cartridge from the mixer when installing.
•After installation all connections must be checked for leaks.
•All outlets used primarily for personal hygiene shall deliver water at a safe temperature as per
regional regulations.
•This mixer is not recommended for use in uncontrolled heating systems such as wet-backs or
solar heating units unless a suitable tempering valve is fitted.
•It is the responsibility of the installer to ensure a waterproof seal is achieved between the
product and mounting surface. If in doubt about the quality of the seal, remove the product and
reinstall using silicone to ensure a seal is achieved.
•Operating pressures above 500kPa/5 bar will require the installationof a pressure reducing valve.
Hex Key
Grub Screw
Non-return
Nipples
Handle
Faceplate
Covers
O-ring
Screws
Faceplate
Plastic Covers
Vertical framing
Vertical support
Flow Direction
70mm
min
Front edge of
mounting bracket
100mm ±2
23mm
±10

Other METHVEN Plumbing Product manuals
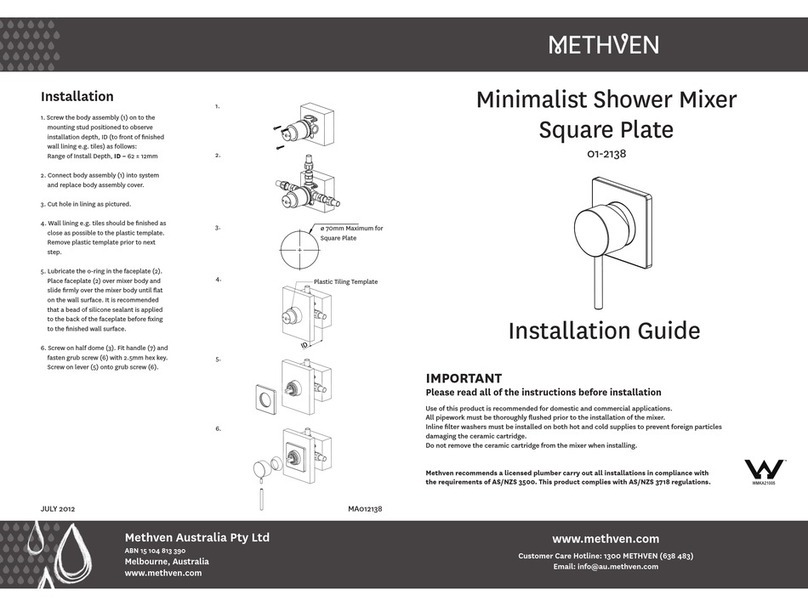
METHVEN 01-2138 Operating and maintenance instructions

METHVEN

METHVEN 01-2138 Operating and maintenance instructions

METHVEN 03-9777M User manual

METHVEN

METHVEN 03-9777M User manual

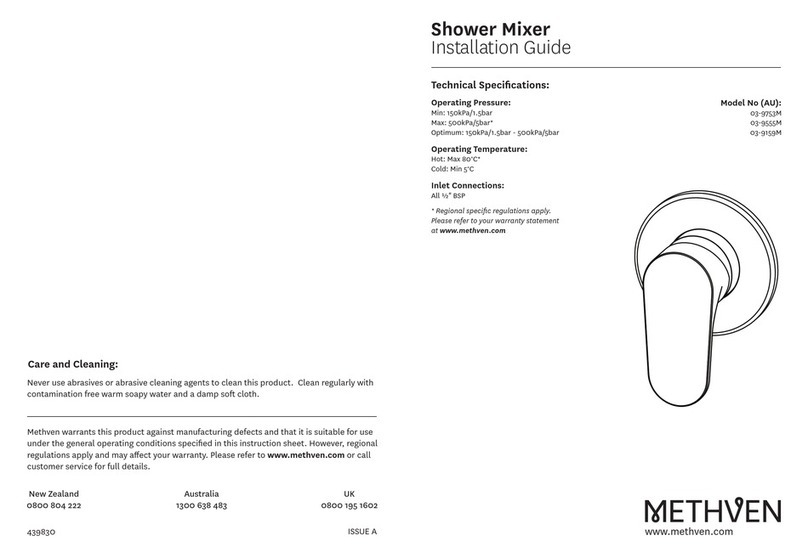
METHVEN 03-9753M User manual

METHVEN

METHVEN 03-9753M User manual

METHVEN KOHA User manual

METHVEN

METHVEN KOHA User manual

METHVEN Kiri 01-5054 User manual

METHVEN

METHVEN Kiri 01-5054 User manual

METHVEN KIRI MK2 User manual

METHVEN

METHVEN KIRI MK2 User manual

METHVEN Deva NCT002 User manual

METHVEN

METHVEN Deva NCT002 User manual
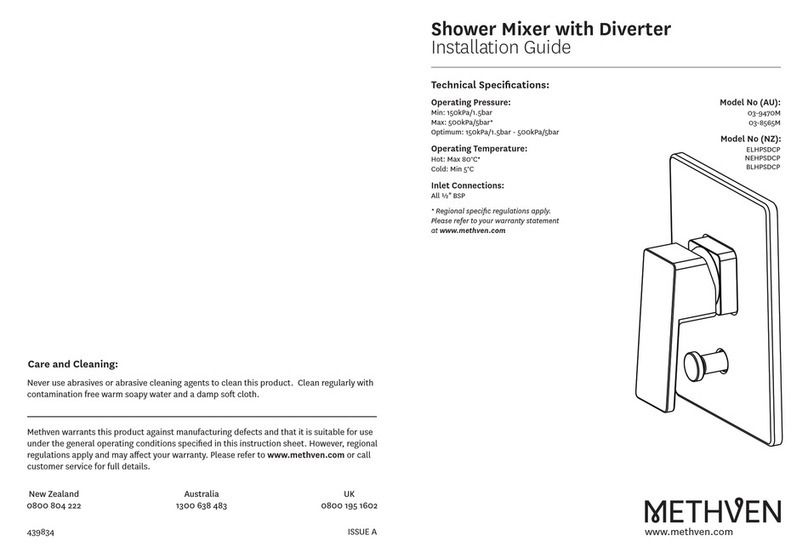
METHVEN 03-9470M User manual

METHVEN

METHVEN 03-9470M User manual

METHVEN Promix Assembly instructions

METHVEN

METHVEN Promix Assembly instructions

METHVEN FUTURA User manual

METHVEN

METHVEN FUTURA User manual

METHVEN AURAJET HANDSET User manual

METHVEN

METHVEN AURAJET HANDSET User manual
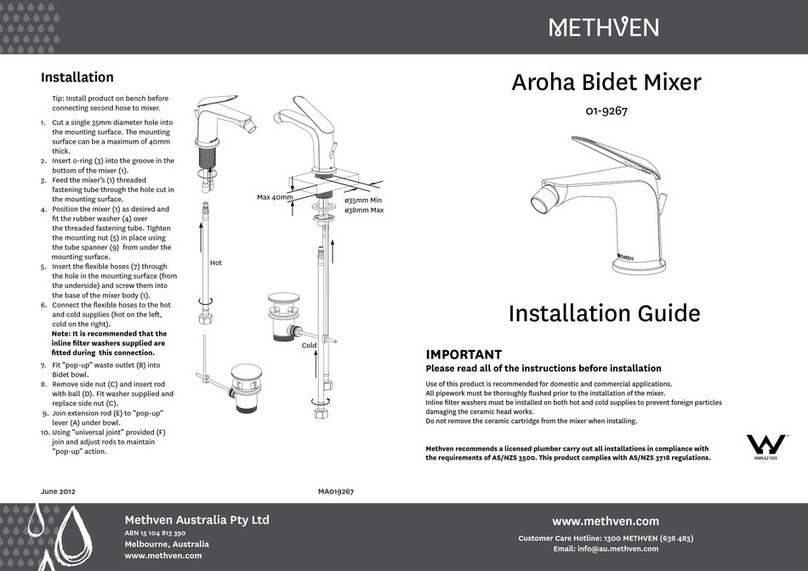
METHVEN Aroha 01-9267 User manual

METHVEN

METHVEN Aroha 01-9267 User manual
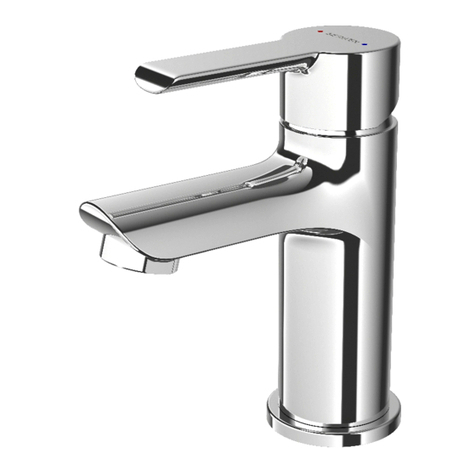
METHVEN KEA MINI BASIN MIXER User manual

METHVEN

METHVEN KEA MINI BASIN MIXER User manual

METHVEN 01-8840 User manual

METHVEN

METHVEN 01-8840 User manual

METHVEN Deva ARMC04 User manual

METHVEN

METHVEN Deva ARMC04 User manual

METHVEN 01-2053 User manual

METHVEN

METHVEN 01-2053 User manual
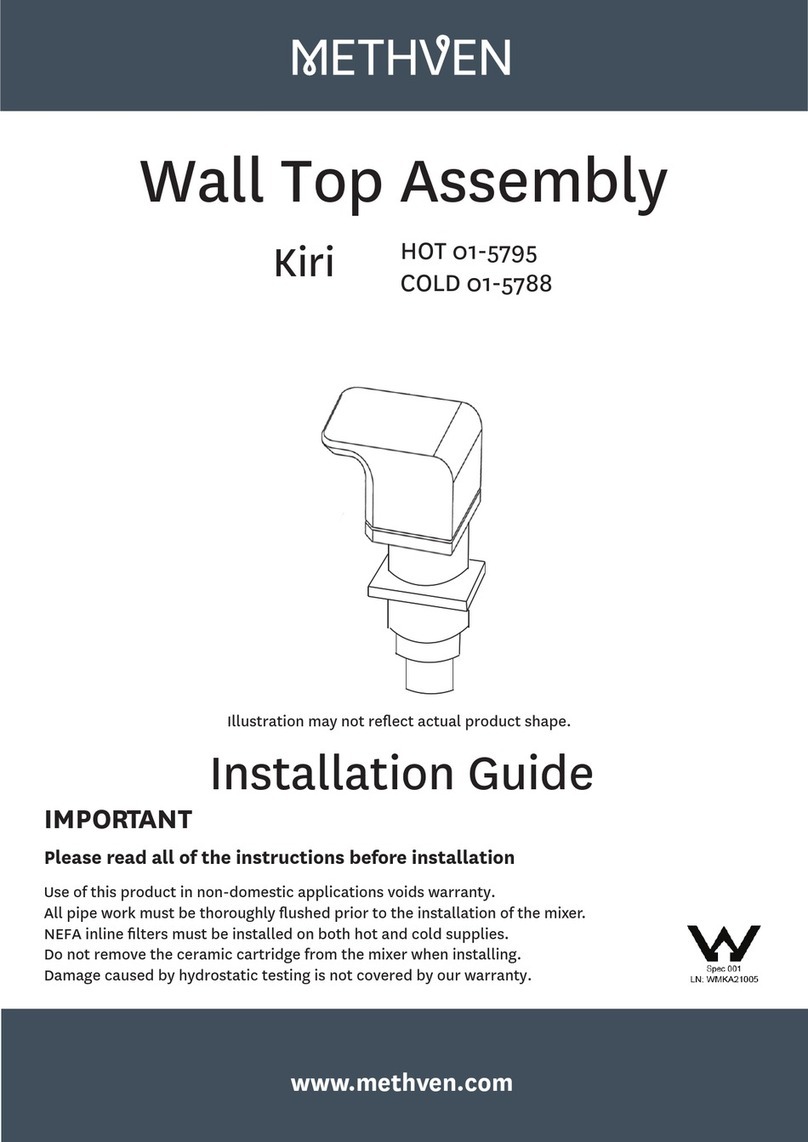
METHVEN Kiri HOT 01-5795 User manual

METHVEN

METHVEN Kiri HOT 01-5795 User manual
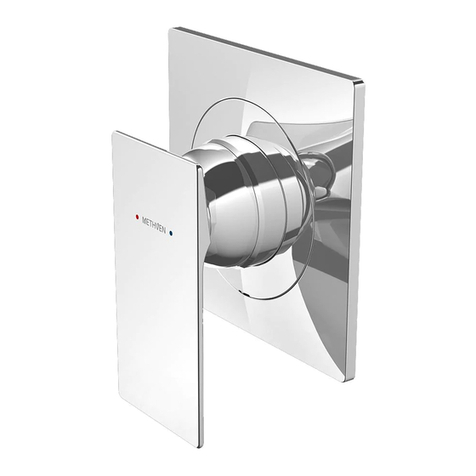
METHVEN SURFACE SHOWER MIXER WITH FASTFLOW II User manual
METHVEN

METHVEN SURFACE SHOWER MIXER WITH FASTFLOW II User manual

METHVEN 01-8222 User manual

METHVEN

METHVEN 01-8222 User manual
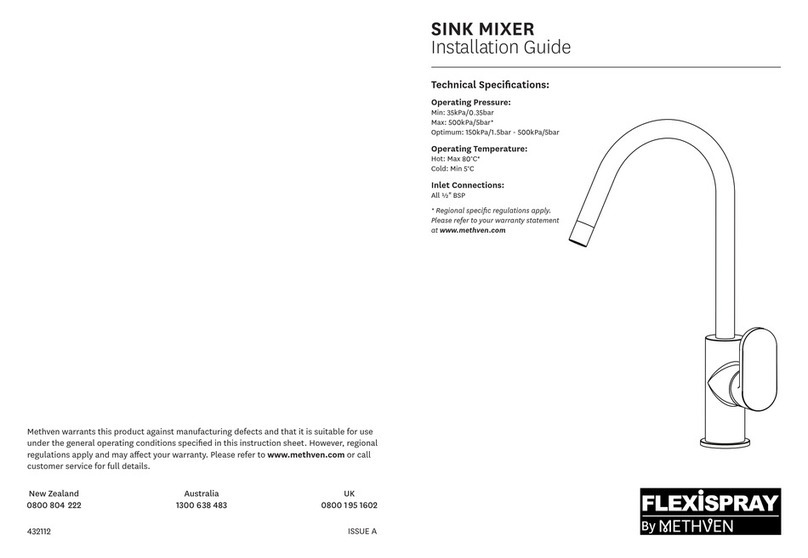
METHVEN FLEXISPRAY User manual

METHVEN

METHVEN FLEXISPRAY User manual

METHVEN MK2 User manual

METHVEN

METHVEN MK2 User manual

METHVEN DEVA SAVVI MK2 SAVV2113 User manual

METHVEN

METHVEN DEVA SAVVI MK2 SAVV2113 User manual

METHVEN AURAJET User manual

METHVEN

METHVEN AURAJET User manual

METHVEN Maku User manual

METHVEN

METHVEN Maku User manual

Popular Plumbing Product manuals by other brands

Spectrum Brands Pfister Cagney F-529-7CG Quick installation guide
Spectrum Brands

Spectrum Brands Pfister Cagney F-529-7CG Quick installation guide

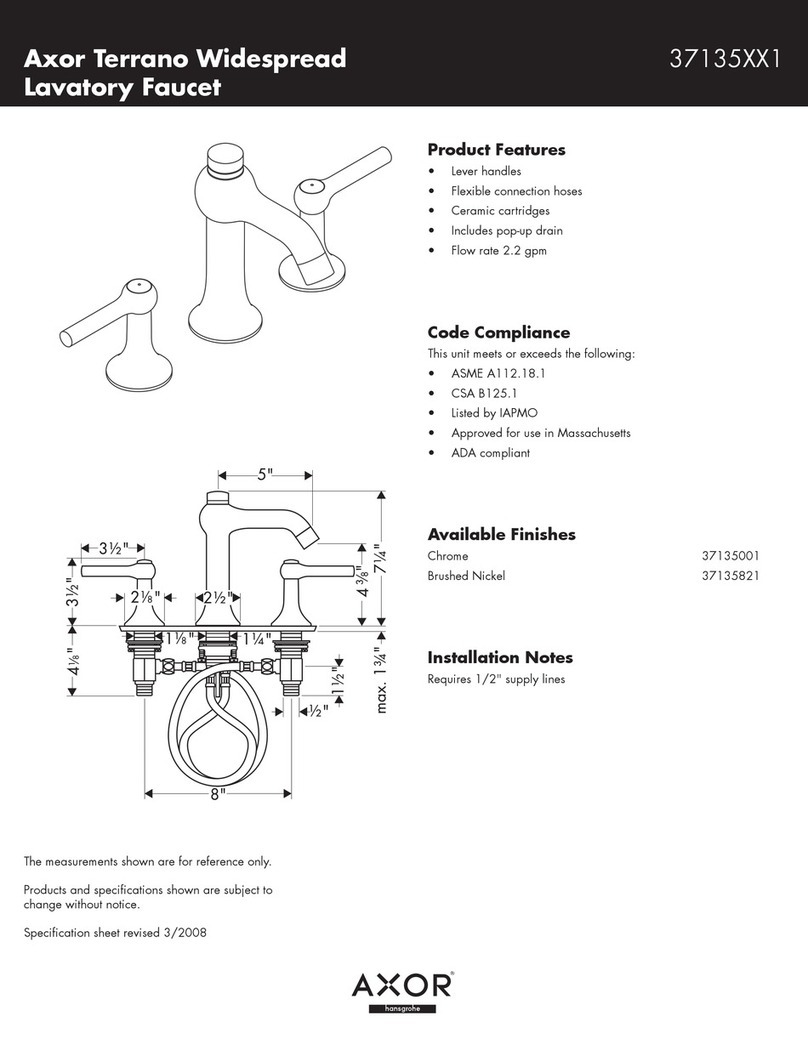
Axor Terrano 37135001 Features & dimensions
Axor

Axor Terrano 37135001 Features & dimensions

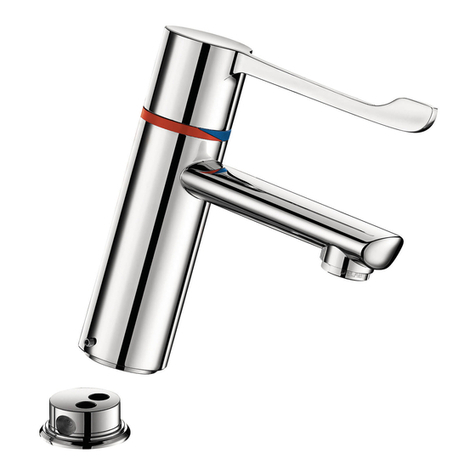
Delabie Bioclip manual

Delabie

Delabie Bioclip manual

Glacier bay VT3322TA0ACC Use and care guide
Glacier bay

Glacier bay VT3322TA0ACC Use and care guide

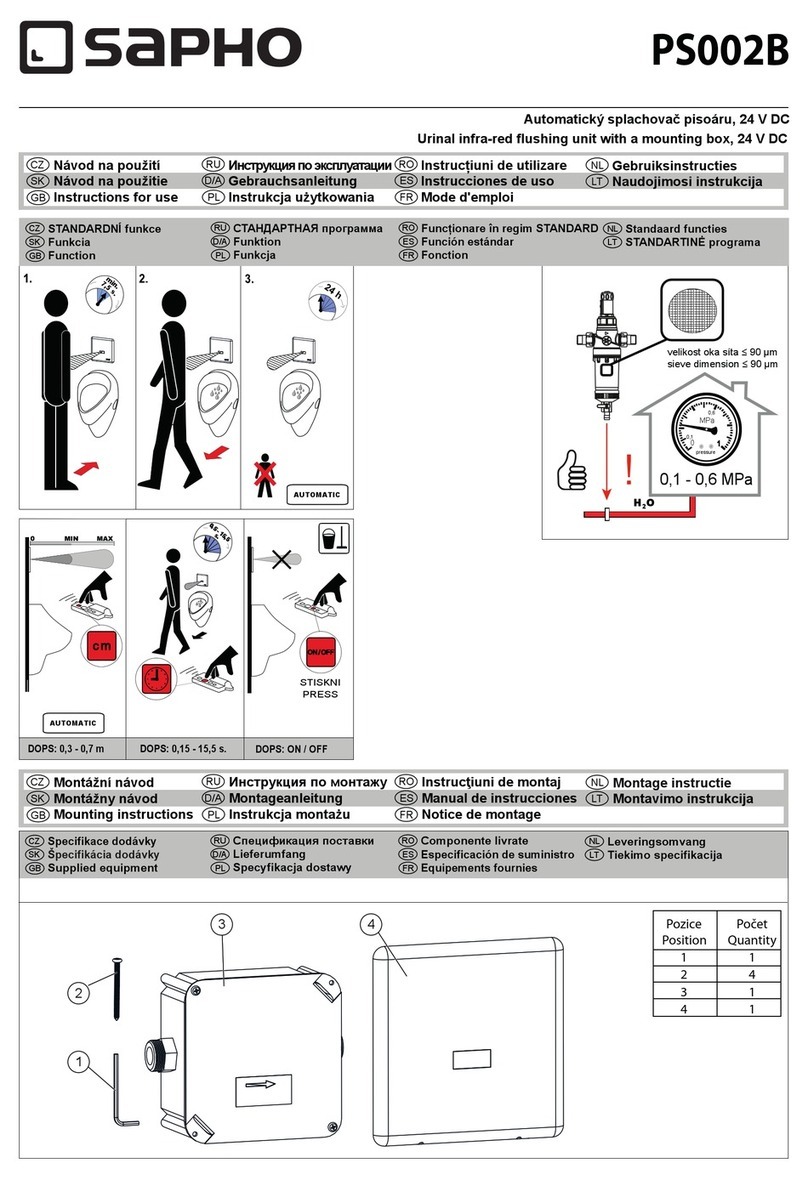
Sapho PS002B Instructions for use

Sapho

Sapho PS002B Instructions for use
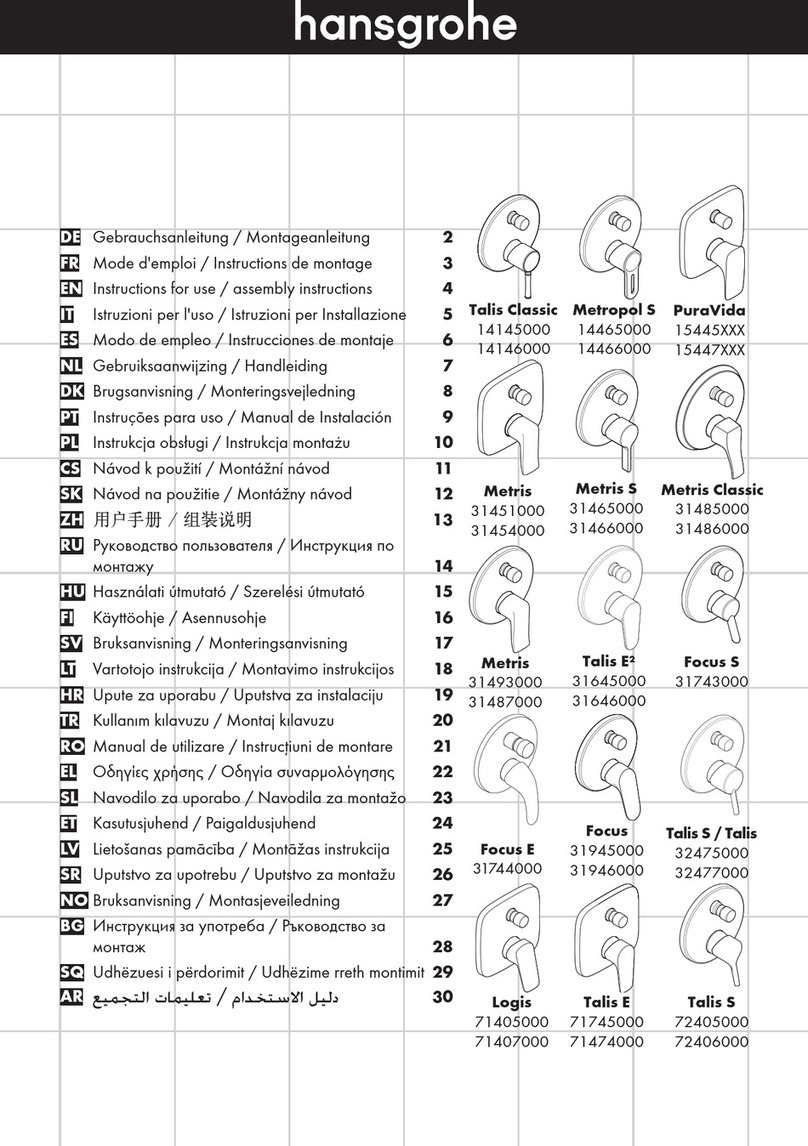
Hans Grohe Talis Classic Instructions for use/assembly instructions

Hans Grohe

Hans Grohe Talis Classic Instructions for use/assembly instructions

Clou first CL/07.38010.01 installation instructions

Clou

Clou first CL/07.38010.01 installation instructions

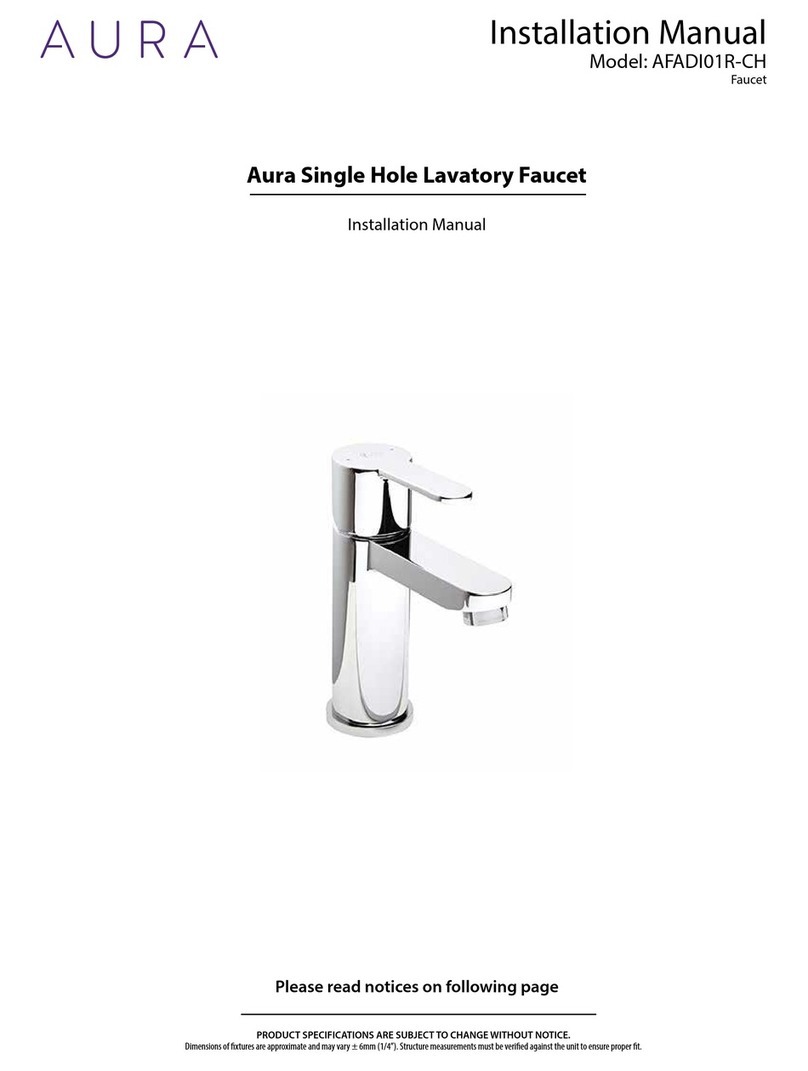
Aura AFADI01R-CH Series installation manual

Aura

Aura AFADI01R-CH Series installation manual

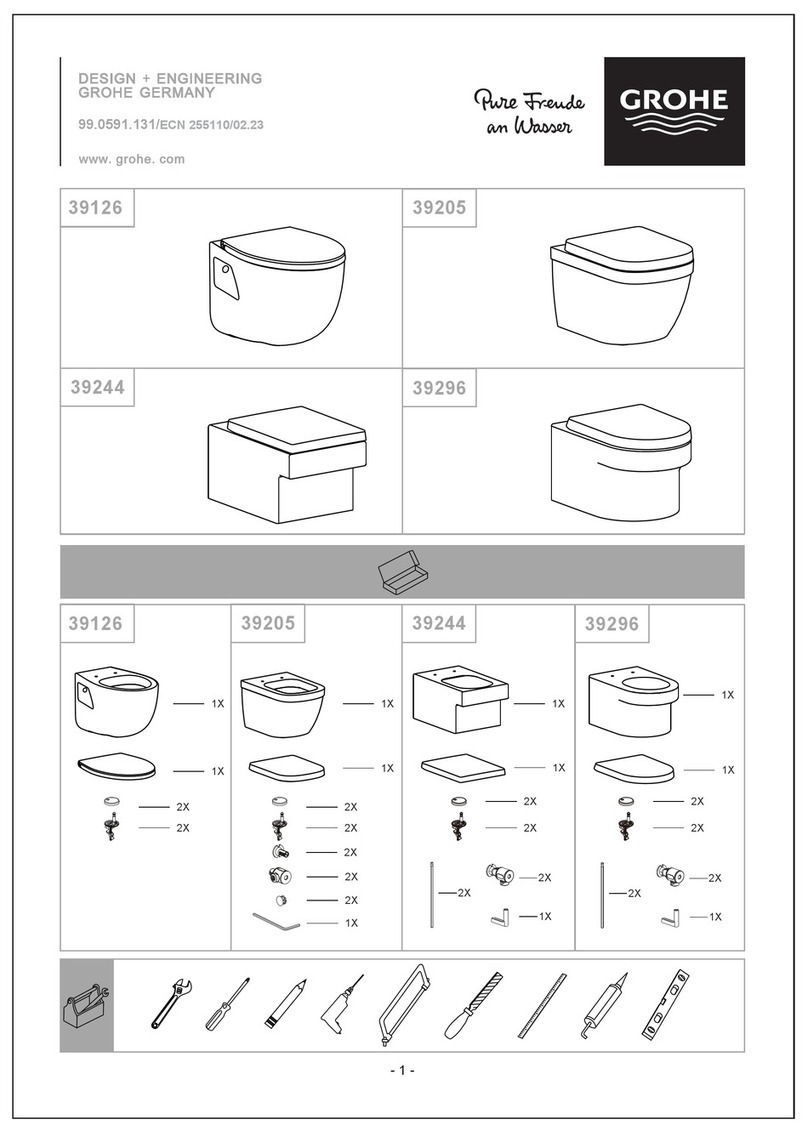
Grohe 39126 manual

Grohe

Grohe 39126 manual

Nuie Arvan GENERAL FITTING GUIDE

Nuie

Nuie Arvan GENERAL FITTING GUIDE

enware LEVA Series Installation and maintenance instructions

enware

enware LEVA Series Installation and maintenance instructions

Kohler Reve K-5148-8 quick start guide

Kohler

Kohler Reve K-5148-8 quick start guide

Marco 1000584 quick start guide

Marco

Marco 1000584 quick start guide
Signature Hardware COOPER 940967 quick start guide

Signature Hardware

Signature Hardware COOPER 940967 quick start guide

ZURN AQUASPEC Z82500 SERIES installation instructions

ZURN

ZURN AQUASPEC Z82500 SERIES installation instructions

Price Pfister PARISA 39 Series Instruction sheets
Price Pfister

Price Pfister PARISA 39 Series Instruction sheets

FM Mattsson 9000E II FMM 8200-1000 manual

FM Mattsson

FM Mattsson 9000E II FMM 8200-1000 manual

Clou Mini Wash Me CL/03.03231 installation instructions

Clou

Clou Mini Wash Me CL/03.03231 installation instructions

manuals.online logo
manuals.online logoBrands
  • About & Mission
  • Contact us
  • Privacy Policy
  • Terms and Conditions

Copyright 2025 Manuals.Online. All Rights Reserved.