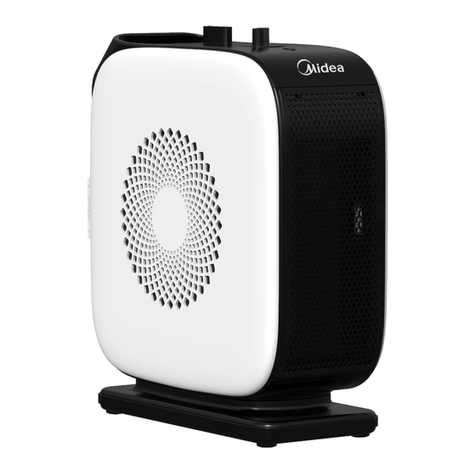
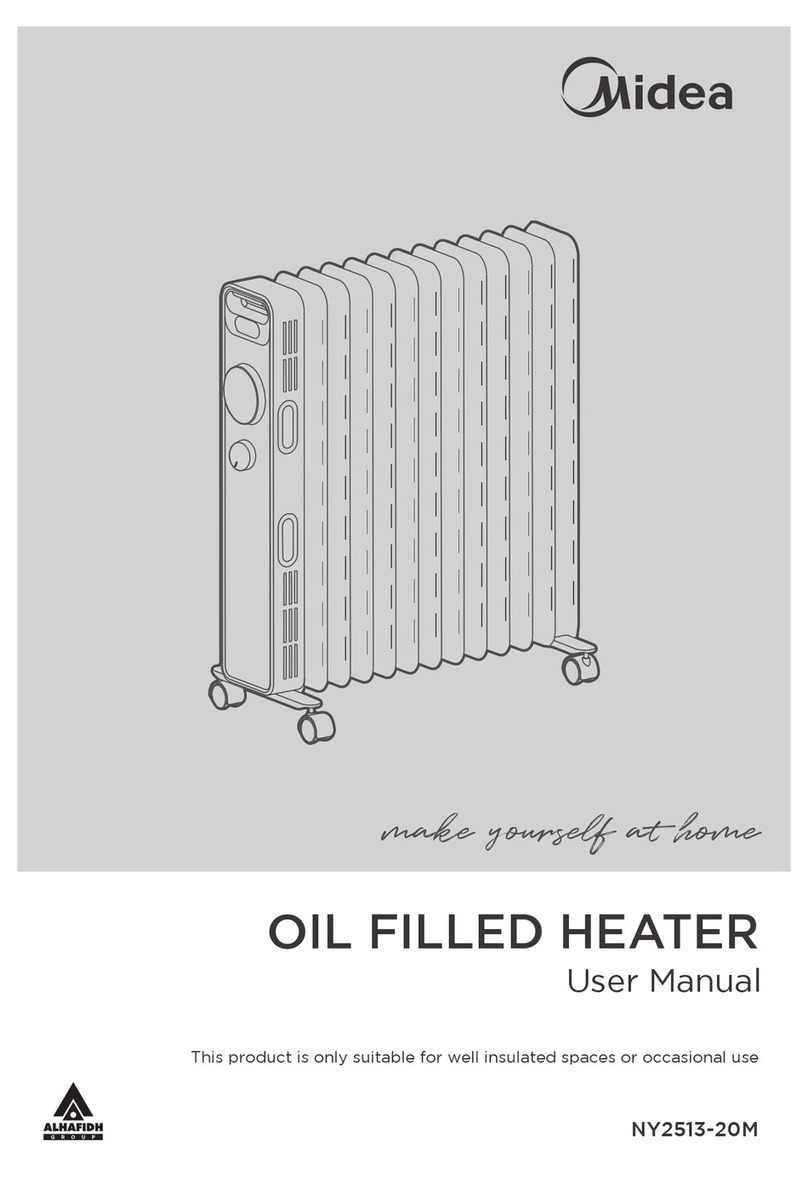
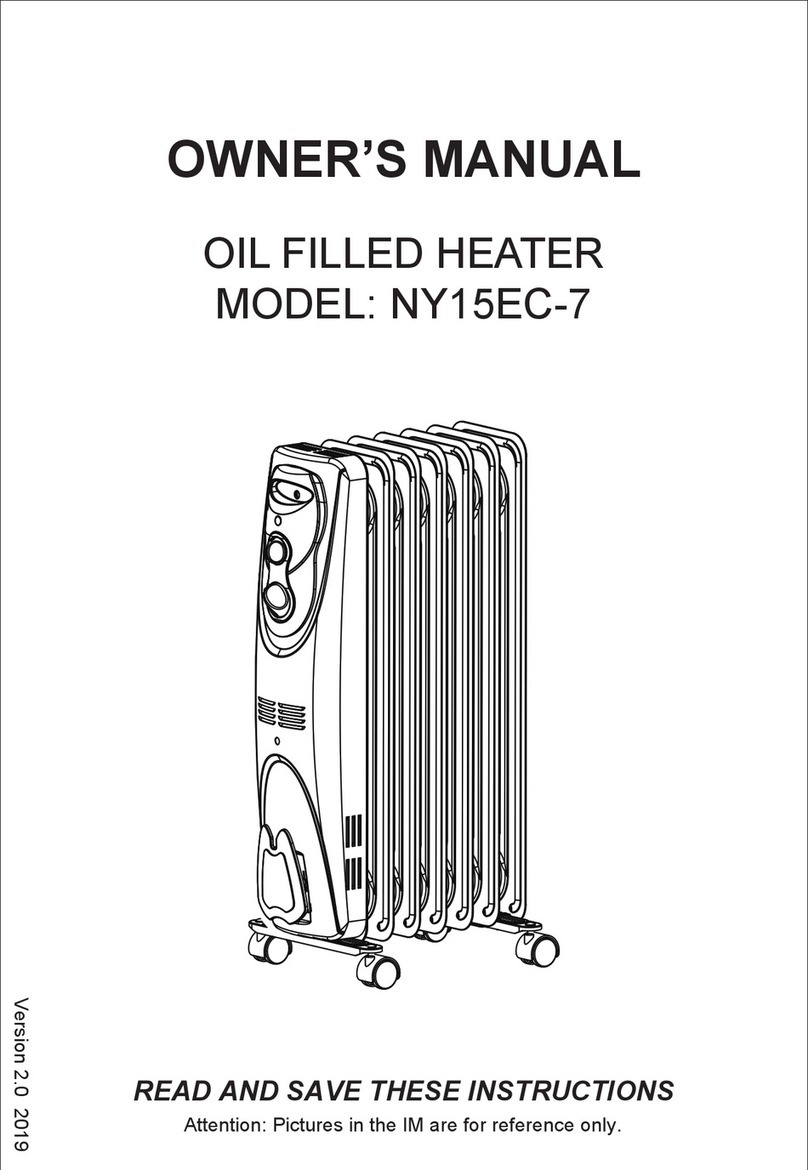
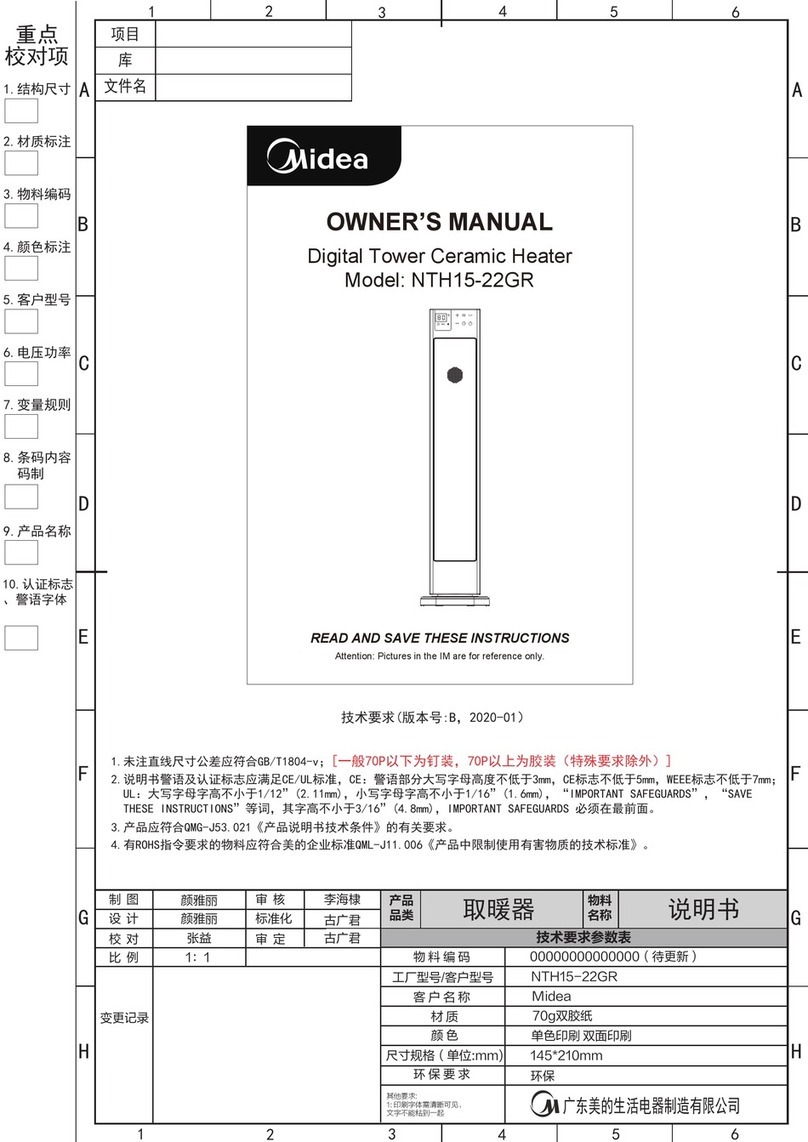
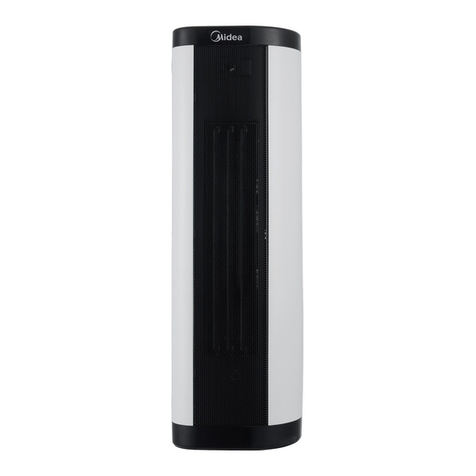
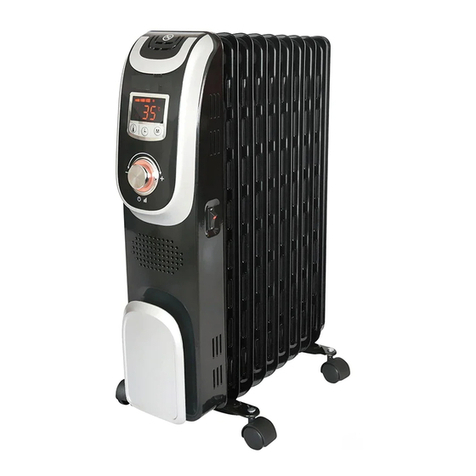
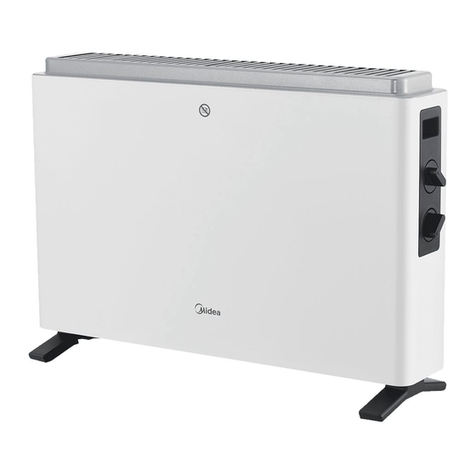
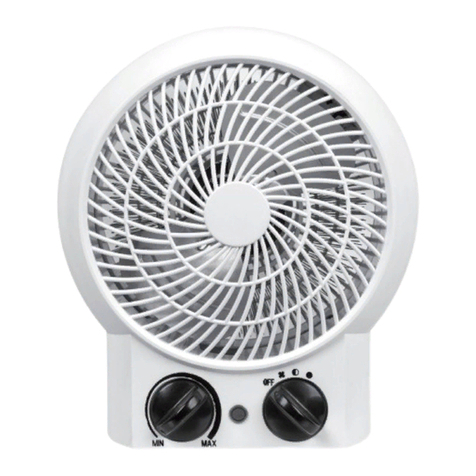
Midea NTH15-20AR User manual

OWNER’S MANUAL
READ AND SAVE THESE INSTRUCTIONS
Version 1.0 2019
Attention: Pictures in the IM are for reference only.
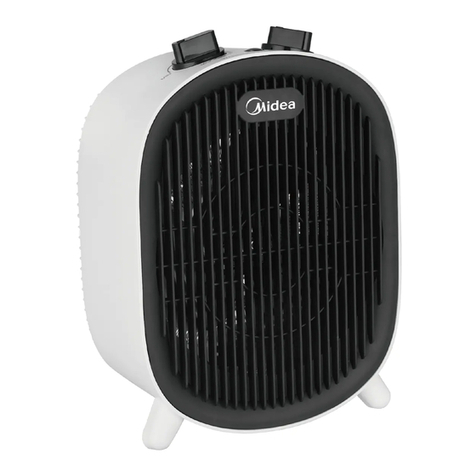
FAN HEATER
MODEL: NTH15-20AR
GD Midea Environment Appliances MFG. Co.Ltd.
No.28,Dong Fu Road,HeSui East Industrial Area,Dong Feng Town,
ZhongShan,GuangDong,China.
This product is only suitable for well insulated spaces or occasional use

1
IMPORTANT INSTRUCTIONS
1. Read all instructions before using this heater.
2. Keep combustible materials, such as furniture, pillows, bedding, papers, clothes
and curtains at least 3’(0.9 m) from the front, top, side and rear portions of the
heater.
3. Do not allow children to handle the heater. Extreme supervision is necessary
when using the heater near children or other personnel.
4. This appliance is not intended for use by persons with reduced physical, sensory
or mental capabilities, or lack of experience and knowledge, unless they have
been given supervision or instruction concerning use of the appliance by a
person responsible for their safety. Young children should be supervised to
ensure that they do not play with the appliance.
5. Ensure the heater is placed on a stable, secure surface to avoid risk of tipping it
over. Never place the heater in such a way that it may fall into a bathtub or other
water container.
6. This heater is not intended for use in a bathroom, laundry area or similar moist
indoor locations.
7. Do not run the power cord under carpeting. Do not cover the cord with throw
rugs or runners. Make sure that the cord is away from highly traveled areas and
from areas which are frequently used so that it will not be tripped over.
8. Do not leave the heater unattended.
9. Do not insert or allow foreign objects to enter any ventilation or exhaust opening
of the heater, as these may cause electric shock, fire or damage to the heater.
10. Do not use the heater on a soft surface, such as a bed, where the ventilation
openings can be blocked.
11. Do not block air intake and exhaust of the heater in any manner to prevent fire.
12. Do not touch the heater when it is in use to avoid skin burns.
13. Use the carry handle when moving the heater. Never pull the heater using the
power cord.
14. Do not use the heater outdoors. This heater is not intended for use in any area
where there is still or stagnant water.
15. Do not use this heater in areas where gasoline, paint or flammable liquids are
used or stored. This heater may have hot, arcing or sparking parts inside.
16. Do not operate any heater if there is damage to the power cord or if the heater
has been dropped, damaged or malfunctions. Return the heater to an
authorized service facility for examination, electrical or mechanical adjustment,
or repair.
17. This heater draws 12.5 A during operation. To prevent overload and blown fuses,
always plug the heater in to a dedicated electrical circuit. Do not plug in any
other electrical appliance on the same electrical circuit in which the heater is
plugged in.

PART FIGURE
Operation panel
Display
panel
Handle (Place for remote
controller)
Filter cover
Water receiver
Power cord
storage bracket
Base
Enclosure
Cover
Air outlet
The remote control operation
and the “ ” button functions of
the control panel correspond in
turn
26.“SAVE THESE INSTRUCTIONS”
18. Do not plug the heater in to a worn AC outlet, doing so may cause the power
cord to become hot or distorted, resulting in overheating of the cord and causing
fire. Always replace the worn outlets prior to further use of the heater.
19. Make sure there is no loose connection between the AC outlet and the plug, as
this may cause overheating and distortion of the plug. Contact a qualified
electrician to replace the loose or worn outlet.
20. Use of this heater is not recommended for persons with reduced sensitivity to
heat or inability to react to burns. The output of this heater may vary and its
temperature may become intense enough to burn exposed skin.
21. When not in use, always disconnect the heater by turning the power switch to
the OFF position, then unplug the power cord from the outlet.
22. This heater cannot achieve accurate temperature control of the enviroment,
and thus cannot be used as insulation device for storage environment, items,
animals and plants.
23. Use this heater only as described in this manual. Any other use not recom-
mended by the manufacturer may cause fire, electric shock, or injury to persons.
24. Always plug heaters directly into a wall outlet/receptacle. Never use with an
extension cord or relocatable power tap (outlet/power strip).
25. The instructions for a fan that has not been evaluated for operation with a solid
state speed control as specified in 87.1.1 – 87.2.1 shall include the signal word
″WARNING″ and the following or the equivalent: ″To Reduce The Risk Of Fire
Or Electric Shock, Do Not Use This Fan With Any Solid-State Speed Control
Device.″

Hum Heater
Timer Lock
Press 3s
OSC
Fan
WARNING:DO NOT COVER
OPERATING INSTRUCTION
Operation panel and display panel
Operating area
Display area
Function Description of the Display Panel
Numeric icon (1) Display the set temperature
(2) Display regular numbers, such as timing, reservation time, etc.
Low wind speed
icon
This icon lights up when you turn on the low wind speed function.
Medium wind
speed icon
This icon lights up when you turn on the medium wind speed
function.
High wind
speed icon
This icon lights up when you turn on the high wind speed function.
Low heating
icon
This icon lights up when you turn on the low heating function.
High heating
icon
This icon lights up when you turn on the high heating function.
Celsius degree
icon
This icon is 500ms on, 500ms off, and always on after flashing for
5 seconds.
Child lock icon
When the child lock is closed, long press the " " button for 3
seconds to open the child lock, and this icon will light up. When the
child lock is open, long press the " " button for 3 seconds to
unlock the child lock and the icon goes out.
Instructions for Use
Check before starting up
1Whether the power cord is in good condition.
2The power supply of the product is 120V, 60Hz AC, and the carrying
capacity of the socket shall not be lower than 12.5A. Otherwise,
accidents may occur.
Start the machine
Plug in the power cord plug, the indicator light lights up, the buzzer
sounds for a long time, and the product is in the standby state.
Power Continuousiy illuminated, as soon as the appliance connected to
the mains supply
Icon Icon nameDisplay state
Wind swing
icon
This icon lights up when you turn on the wind swing function.
Timed indicator
light
This icon lights up in the reserved startup or timed shutdown state.
Hour icon This icon lights up in the reserved startup or reserved shutdown
state.
Energy saving
function
This icon lights up when the energy-saving ECO function is
selected.vvv
Humidification
indicator light
This icon lights up in the reserved startup or timed shutdown state.
Sleep wind This icon lights up when you turn on the sleep wind speed
function
Natural wind This icon lights up when you turn on the natural wind speed
function
Remote
Control

Function Operating instructions
Startup/
Standby
Timing/
Reservation
Child Lock
Mode
Briefly press the " " button to switch to startup/standby. After starting up, the machine will run in the mode and
temperature memorized last time. After switching to standby, and in the warm air mode, the fan will continue to run for 15
seconds at low wind speed, blow for preheating, and then enter the standby state.
1) In the start-up state, briefly press the " " button to set the timed shutdown; In standby state, briefly press the " "
button to set the reserved startup.
2) Briefly press the "-" and "+" button to set the time of startup and shutdown (0-24h), the display screen displays the
timing/reservation time, and the timing indicator flashes. If there is no key action, confirm the timing time and exit the
timing setting state. If the set timing time is 0, it means to cancel the timing setting. If the set timing time is not 0, the
machine automatically shuts down and goes into standby mode when the set time is reached, and the timing indicator
is out. Set the timing time again after setting the timing time, the timing is also re-timed.
In the startup/standby state, turn on or off the child lock function by long pressing the " " button for 3 seconds.
1) Briefly press the " " button to enter the heating mode. Under the heating mode, short press the " " button to adjust
the gear: Low heating→ high heating → ECO circulation in turn.
2) Briefly press the " " button to enter the cooling mode. Under the cooling mode, short press the " " button to adjust the
function gear: Low cold air → medium cold air → high cold air → natural wind →sleep wind circulation in turn (the gear
can be adjusted by briefly pressing the "-" and "+").
3) In the heating or cooling mode, briefly press the " " button to turn on the humidification function, and long press the
" " button to enter the independent humidification mode.
Notes: 1) In the independent humidification mode, the swing door at the air outlet will automatically close;
2) If it is in the cooling mode currently, briefly press the " " button to switch directly to heating mode, and vice
versa.
Screen-off
function
1) In the start-up state, touch any button except " " button to wake up the display panel and the operation panel. If there is no
operation for 1 minute, the display panel and the operation panel will enter the screen-off state.
2) Timing state, touch any button except " " button to wake up the display panel and the operation panel. If there is no operation
for 1 minute, the display panel and the operation panel will enter the screen-off state.
3) Long press the " " button and " " button for 3 seconds to turn off or start the screen-off function.
In any mode, if the thermal cut-off has short circuit and open circuit protection, and the digital screen displays "E2" or "E1" and
does not flash, pressing any button will not work. The buzzer sounds ten times.
Short circuit and
open circuit
protection
function of the
thermal cut-off
When it is in the start-up state and the indoor ambient temperature TH exceeds 122°F, the system turns off all functions, the digital
screen displays "FF" and lights up for a long time after continuous flashing for 75 seconds. Pressing any button will not work, and
the protection can only be exited after power failure.
Whatever in the start-up or standby state, when the machine dumps, the system immediately turns off all heating components and
displays "P4". The buzzer will sound for 10 times. Pressing any button will not work.
Safety
protection
Dump protection
function
In the start-up state, if the timed shutdown function is not turned on, without any operation, the machine will automatically shut down all
functions after 12 hours of continuous work and goes into the standby state.
1) The functions of the remote controller for wind swing and timing are the same as those of the operation panel of the machine.
2) The cooling and heating modes can only be switched on the machine, and you cannot switch to the cooling and heating modes by
the remote controller. On the remote controller, you can briefly press the
" " button to adjust the gear in the current mode;
3) You can turn on or off the humidifying function by the " " button of the remote controller, but it cannot make you enter the
independent humidification mode.
Timed shutdown
function
Remote
controller
In the heating mode, you can set the temperature value in the range of 41-95°F by briefly pressing the "-" button or "+" button. When
the temperature is set at 95°F, briefly press the "+" button, you will exit the temperature limiting mode, and the display screen will
display "--". Continue to briefly press the "+" button, and then the set temperature will jump to 41°F, and vice versa. When the room
temperature exceeds the set temperature, the function icon corresponding to the display screen flashes for 15 seconds and then goes
out. The machine stops working and is in the shutdown state. When the temperature belows the set temperature, the machine
restarts heating. In the intelligent mode, the constant temperature is 78°F. When the room temperature exceeds the set temperature,
the display screen " ECO " flashes for 15 seconds and then goes out. The machine stops working and is in the shutdown state. When
the temperature belows the set temperature, the machine restarts heating. In intelligent mode, briefly press the "-"/ "+" button to
switch to heating in high-grade. Heating will be forced within 2min after the start-up, and temperature control mode will be entered
after 2min.
Temperature
control
Operating Instructions
Guidelines for Humidification Operation
1 Take out the cover 3 Add water in the water receiver2 Take out the water receiver
Notes:
1. During humidifier injection, the power plug needs to be unplugged.
2. When the humidifier is full of water, it is recommended not to tilt the machine
during taking and placing the machine.
3. If you want to clean up the residual water inside the humidifier, you can tilt the
machine forward so that the residual water can be poured out from the mist
vent.
4. When the humidification function is started, it is recommended not to have
furniture in front of the fog column to prevent moisture.
5. It is recommended to use the distilled water as the humidification water.
Troubleshooting
If the product does not operate or does not operate properly, first check according to the following
list. If the reason the product does not operate or does not operate properly is not included in the
following list, the product mayhave failed. At this time, it is recommended to send the product to
the dealer or the Media Service Center for treatment.
Problem Possible Cause Solution
After the power is
engaged, the power
indicator lig ht does not
illuminate and the
machine does not work.
The plug may not be
plugged well.
Check whether the plug is
properly inserted intothe
receptacle.
The temperature control
knob is not turned in
place.
Check whether the
temperature control knob
is turned to the ON
position.
The machine suddenly
stops during heating.
The temperature exceeds
the threshold of the
thermal cut-o .
Cool the machine before
use.

Your heater is fitted with a safety device "Double Protector" that (1) switches off
the heater by thermal cut-off in the event of overheating or malfunction, It will
reset while the temperature reduce to a normal level. (2) Shuts off the heater by
thermal fuse in the event of overheating or malfunction and not operates by some
other accidental reason.
If overheating or malfunctions continue, return the heater to an Approved Service
Agent for examination.
The most common cause of overheating is deposits of dust or fluff entering the
heater, Ensure these deposits are removed regularly by unplugging the unit and
vacuum cleaning air vents and front grille.
SAFETY CONTROL
This fan heater is equipped with a pilot light that glows whenever the heater is
plugged in and turned on. It will continue to glow even if the thermostat has cycled
the heating elements off. This feature is to prevent you from being unaware that
the heater is operating and maintaining the temperature of the room.
When you do not wish the heater to control the room temperature, turn the control
switch to O (off) and remove the plug from the electrical outlet.
PILOT LIGHT

Table 2 for information requirements for electric local space heaters P
Model identifier(s): NTH15-20AR
Item Symbol
Value Unit Item Unit
Heat output Type of heat input, for electric storage local space
heaters only (select one)
Nominal heat
output
P
nom
1,50 kW Manual heat charge control with
integrated thermostat
[no]
Minimum heat
output (indicative)
P
min
N/A kW Manual heat charge control with room
and/or outdoor temperature feedback
[no]
Maximum
continuous heat
output
P
max
1,50 kW Electronic heat charge control with room
and/or outdoor temperature feedback
[no]
Auxiliary electricity consumption Fan assisted heat output [no]
At nominal heat
output
el
max
N/A kW Type of heat output/room temperature control (select
one)
At minimum heat
output
el
min
N/A kW Single stage heat output and no room
temperature control
[no]
In standby mode el
SB
0,68 W Two or more manual stages, no room
temperature control
[no]
With mechanicthermostat room
temperature control
[no]
With electronic room temperature
control
[no]
Electronic room temperature control plus
day timer
[yes]
Electronic room temperature control plus
week timer
[no]
Other control options (multiple selections possible)
Roomtemperature control, with
presence detection
[no]
Roomtemperature control, with open
window detection
[no]
With distance control option [no]
With working time limitation [no]
]on[rosnesblubkcalbhtiW
Contact details: GD Midea Environment Appliances MFG. Co., Ltd.
No.28, Dongfu Road, Hesui East Industrial Area, Dongfeng Town, Zhongshan,
Guangdong, China.
Remark:
For electric local space heaters, the measured seasonal space heating energy efficiency
s
cannot be
worse than the declared value at the nominal heat output of the unit.

1. Light accumulated dust may be removed from the heater with a soft
cloth. Wipe the exterior surfaces of the heater occasionally with a
cloth moistened (not dripping wet) with a solution of mild detergent
and water. Dry the case thoroughly with a soft dry cloth before operat-
ing the heater.
2. The fan motor is lubricated by the factory, and will require no further
lubrication.
3. No other user maintenance is required orrecommended. If service is
required, send your heater to the nearest authorized servicedepot.
4. Store heater in a clean and dry place whennot in use.
REMEMBER - portable electric heaters are designed for spot heating,
or as a supplementary heat source. They are not intended to be main
sources of heat during the normal heating season.
Note: There may be trace of smoke or odour when unit is first operat-
ed. Do not be on the heating coil during the manufacturing process. It
will quickly evaporate, and should not re-occur.
CLEANING AND MAINTENANCE INSTRUCTION
Warning:This heatercannot achieve accurate temperature control of the
enviroment, and thus cannot be used as insulation device forstorage
environment, items, animals and plants.
MAIN TECHNOLOGY SPECIFICATIONS
Power supply: AC120V ~ 60Hz
MODEL POWER REGULATION RANGE (W)
NTH15-20AR 1500W
Other manuals for NTH15-20AR
1
Table of contents
Other Midea Heater manuals

Midea
Midea NY2311-20MR User manual

Midea
Midea NTH20-20JRA User manual

Midea
Midea NY15EC-7 User manual

Midea
Midea NTY15-19CAE User manual

Midea
Midea NY2009-20M User manual

Midea
Midea NDK15-12K User manual

Midea
Midea NY1507-17QR User manual

Midea
Midea NTH20-18MRA User manual

Midea
Midea NY2513-20M User manual

Midea
Midea NF20-16BA User manual

Midea
Midea HO-0279 User manual

Midea
Midea NYERF User manual

Midea
Midea NY2009-13A1L User manual

Midea
Midea PHO15A2AGB User manual

Midea
Midea NTH15-22GR User manual

Midea
Midea NY2311-13AL User manual

Midea
Midea NS8-15D1 User manual

Midea
Midea NT20-21A User manual

Midea
Midea NF20-18URB User manual

Midea
Midea NF18- 17PA User manual