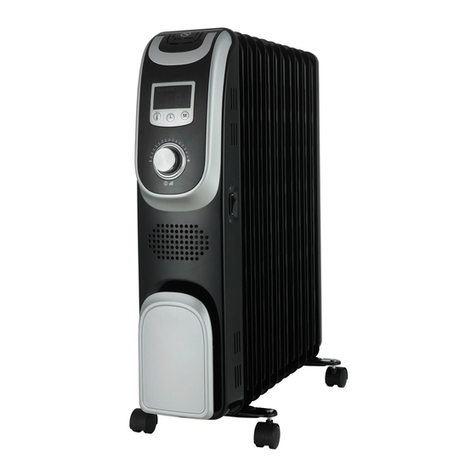
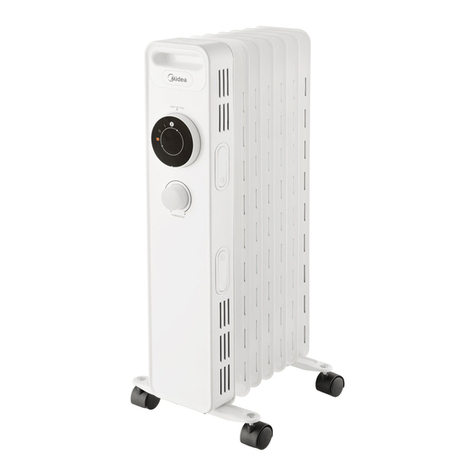
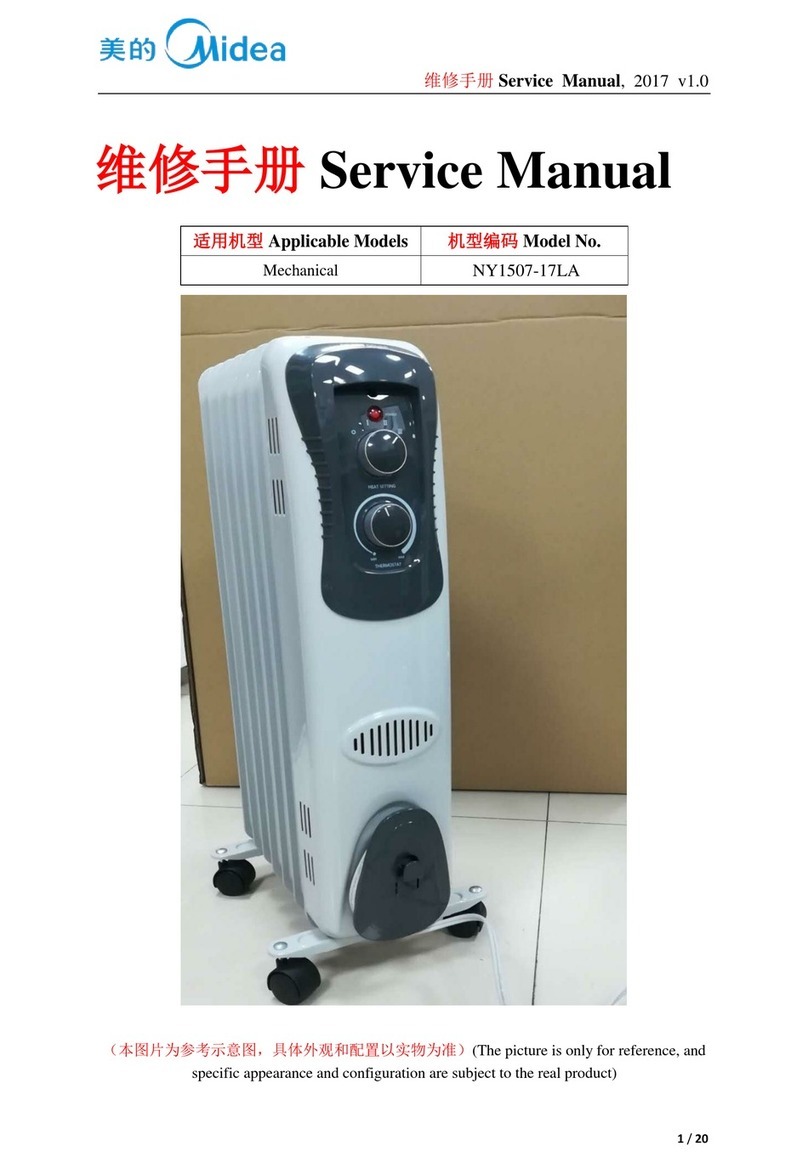
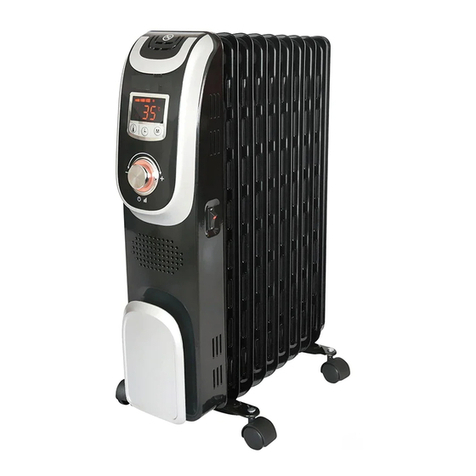
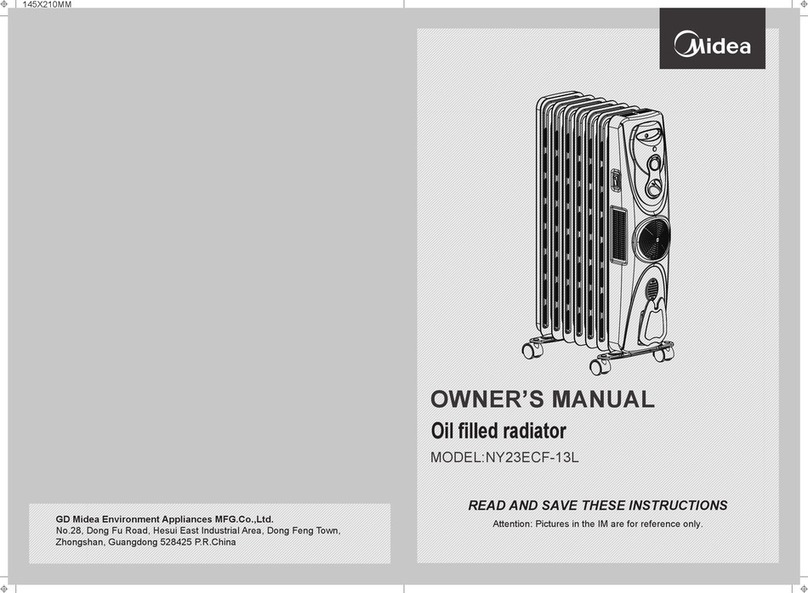
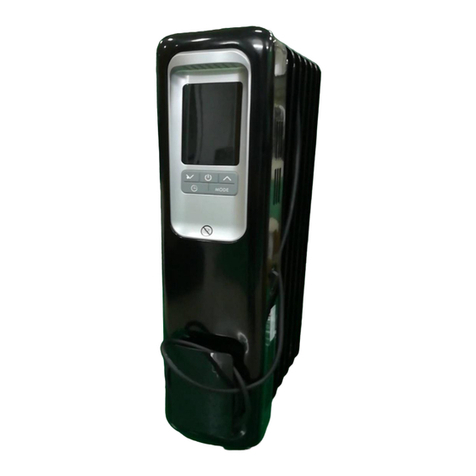
Midea NY2513-20M User manual

User Manual
OIL FILLED HEATER
NY2513-20M
This product is only suitable for well insulated spaces or occasional use

01
CONTENTS
0
02
1
05
06
06
07
08
08
08
11
12
12
12
13
14
14
09
09
09
10
THANK YOU LETTER
SAFETY INSTRUCTIONS
SPECIFICATIONS
INSTALLATION INSTRUCTIONS
Component name
Installation procedures
PRODUCT OPERATION
Inspection before start
Start and power selection
Temperature adjustment
Stop
Movement of the heater
CLEANING AND MAINTENANCE
TROUBLESHOOTING
DISPOSAL AND RECYCLING INFO
Important instructions for environment
Compliance with RoHS directive
TRADEMARKS, COPYRIGHTS AND LEGAL STATEMENT
DATA PROTECTION NOTICE
MANUFACTURER DECLARATION
THANK YOU LETTER
Thank you for choosing Midea! Before using your new Midea product, please read
this manual thoroughly in order to operate your new appliance properly and safely.

02
SAFETY INSTRUCTIONS
Intended use
Explanation of symbols
Warning
The symbol indicates a hazard with a medium
level of risk that may result in death or serious
injury.
Caution
The symbol indicates a hazard with a low degree
of risk that may result in minor or moderate
injury.
Read these operating instructions carefully and attentively before using/commissioning the
unit and keep them intheimmediate vicinity of theinstallation site or unit for later use!
The following safety guidelines are intended to prevent
unforeseen risks or damage from unsafe or incorrect
operation of the appliance. Please check the packaging
and appliance on arrival to make sure everything is intact
to ensure safe operation. If you find any damage, please
contact the retailer or dealer. Please note modifications
or alterations to the appliance are not allowed for your
safety concern. Unintended use may cause hazards and
loss of warranty claims.

03
Caution
●
●
●
●
●
Read Rules for Safe Operation and Instructions Carefully.
This appliance is not intended for use by persons
(including children) with reduced physical, sensory or
mental capabilities, or lack of experience and knowledge,
unless they have been given supervision or instruction
concerning use of the appliance by a person responsible
for their safety. Children should be supervised to ensure
that they do not play with the appliance.
Children of less than 3 years should be kept away unless
continuously supervised.
Children aged from 3 years and less than 8 years shall
only switch on/off the appliance provided that it has
been placed or installed in its intended normal operating
position and they have been given supervision or
instruction concerning use of the appliance in a safe way
and understand the hazards involved. Children aged
from 3 years and less than 8 years shall not plug in,
regulate and clean the appliance or perform user
maintenance.
CAUTION — Some parts of this product can become
very hot and cause burns. Particular attention has to be
given where children and vulnerable people are present.

04
If the supply cord is damaged, it must be replaced by
the manufacturer or its service agent or a similarly
qualified person in order to avoid a hazard.
The heater must not be located immediately below a
socket-outlet.
Do not use this heater in the immediate surroundings
of a bath, a shower or a swimming pool.
This heater is filled with a precise quantity of special
oil. Repairs requiring opening of oil-container are only
to be made by the manufacturer or his service agent
who should be contacted if there is an oil leak. When
scrapping the heater, follow the regulations concerning
the disposal of oil.
This marking indicates that this product should not be
disposed with other household wastes throughout the
EU. To prevent possible harm to the environment or
human health from uncontrolled waste disposal,
recycle it responsibly to promote the sustainable reuse
of material resources. To return your used device,
please use the return and collection systems or contact
the retailer where the product was purchased. They
can take this product for environmental safe recycling.
This heater cannot achieve accurate temperature
control of the enviroment, and thus cannot be used as
insulation device for storage environment, items,
animals and plants.
●
●
●
●
●
●
Warning
Warning : In order to avoid overheating, do not
cover the heater.
●

05
SPECIFICATIONS
NY2513-20MProduct Model
Voltage
Frequency
Power(W)
220-240V~
50Hz
2500W

INSTALLATION INSTRUCTIONS
NOTE
All the pictures in this manual are for explanation purpose only. Any discrepancy
between the real object and the illustration in the drawing shall be subject to the real
subject.
Component name
06
Power
Swich Knob
Thermostat
Knob
Crod wrap
Fin
Caster assembly

07
Installation procedures
1 Turn the heater upside down.
2
As shown in figure 1, align the mounting hole of a set of caster assembly and install it
on the screw of the caster pad plate at the end of the radiator fin, and The other caster
assembly is aligned to the screws mounted at the bottom of the control box.
3
As shown in figure 2, two sets of caster components are tightened with four butterfly
nuts. Install solid and then put the heater in place-just put the wheels on the ground.
butterfly nuts
figure 1
figure 2
control box

08
PRODUCT OPERATION
Inspection before start
• The power cord shall not be damaged or fractured.
• Please verify the rated current of the power socket is in line with the requirements in
the table above and is equipped with a safety grounding device before use; otherwise,
replace the socket.
• To use the machine for the first time or to re-insert the socket, please pay attention to
check whether the plug and the socket are fitted well.
<Inspection method>
• Insert the power plug into the socket and start for use; after about half an hour, turn off
and pull out the plug. Check whether the plug pins are hot; replace the socket if so
(more than about 50 °C) to avoid burning the plug or even causing a fire caused by
overheating of the socket due to poor contact.
1 Start
Plug in the power, clockwise turn the thermostat knob to the "+" mark position, then
turn on the power switch, the heater starts to work.
2 Power selection
Under normal circumstances, please use the maximum power "III" gear for rapid
heating. If the room temperature reaches a suitable temperature, please choose a
lower power "II" or "I" gear to reduce energy consumption so as to prevent the room
becoming overheated.
Start and power selection
NOTE

09
Temperature adjustment
Stop
During use, if you feel it is necessary to lower the room temperature since it is too high,
you can use the following adjustment modes:
1Turn the power switch to gear “II” or “I”.
2 Counterclockwise turn the thermostat knob back by a certain angle, for which it
indicates that the set temperature is lower when the temperature indication is closer
to the “—” position.
Movement of the heater
To move the heater, turn it off first, and pull out the power plug; then push the body to
make the four casters below the body to roll.
Turn the power switch to indication point “ ”, and then pull out the power plug.

CLEANING AND MAINTENANCE
The fan requires minimal maintenance. Do not try to fix it by yourself. Refer it to
qualified service personnel if service is needed.
1. The electric heater should be cleaned regularly to wipe out the dust on the surface of
flanges. As this may influence the radiating efficiency.
2. Disconnect electricity supply and allow radiator to cool, wipe out dust with a soft damp
cloth. Do not use detergent or abrasives.
3. Do not scrap the surfaces of flanges with sharp hard tools, to avoid surfaces getting
rusty, because of damage of the paint coat.
10

TROUBLESHOOTING
If the product does not operate or does not operate properly, first check according to the
following list. If the reason the product does not operate or does not operate properly is
not included in the following list, the product mayhave failed. At this time, it is
recommended to send the product to the dealer for treatment.
Possible Cause SolutionProblem
The plug may not be plugged
well.
Check whether the plug is
properly inserted into the
receptacle.
The temperature control
knob is not turned in place.
Check whether the
temperature control knob is
turned to the ON position.
The temperature exceeds the
threshold of the thermal
cut-off.
Cool the machine before use.
●
●
●
11
After the power is
engaged,the
power indicator
light does not
illuminate and the
machine does not
work.
The machine
suddenly stops
during heating.

DISPOSAL AND RECYCLING INFO
Important instructions for environment
Compliance with the WEEE Directive and Disposing of the Waster Product:
This product complies with EU WEEE Directive (2012/19/EU). This product bears a
classification symbol for waster electrical and electronic equipment (WEEE).
This symbol indicates that this product shall not be disposed
with other household wastes at the end of its service life. Used
device must be returned to official collection point for
recycling of electrical electronic devices. To find these
collection systems please contact to your local authorities or
retailer where the product was purchased. Each household
performs important role in recovering and recycling of old
appliance. Appropriate disposal of used appliance helps
prevent potential negative consequences for the environment
and human health.
Compliance with RoHS directive
The product you have purchased complies with EU RoHS Directive (2011/65/EU). It does
not contain harmful and prohibited materials specified in the Directive.
12

13
TRADEMARKS, COPYRIGHTS
AND LEGAL STATEMENT
logo, word marks, trade name, trade dress and all versions thereof are
valuable assets of Midea Group and/or its affiliates (“Midea”), to which Midea owns
trademarks, copyrights and other intellectual property rights, and all goodwill derived
from using any part of an Midea trademark. Use of Midea trademark for commercial
purposes without the prior written consent of Midea may constitute trademark
infringement or unfair competition in violation of relevant laws.
This manual is created by Midea and Midea reserves all copyrights thereof. No entity or
individual may use, duplicate, modify, distribute in whole or in part this manual, or
bundle or sell with other products without the prior written consent of Midea.
All the described functions and instructions were up to date at the time of printing this
manual. However, the actual product may vary due to improved functions and designs.

DATA PROTECTION NOTICE
For the provision of the services agreed with the customer,
we agree to comply without restriction with all stipulations of applicable data protection
law, in line with agreed countries within which services to the customer will be delivered,
as well as, where applicable, the EU General Data Protection Regulation (GDPR).
Generally, our data processing is to fulfil our obligation under contract with you and for
product safety reasons, to safeguard your rights in connection with warranty and
product registration questions. In some cases, but only if appropriate data protection is
ensured, personal data might be transferred to recipients located outside of the
European Economic Area.
Further information are provided on request. You can contact our Data Protection
personal date being processed for direct marketing purposes, please contact us via
MANUFACTURER DECLARATION
The manufacturer declines all responsibility for any printing errors in the booklet
included with this product. Moreover, it also reserves the right to make any changes
deemed useful to its products without changing their essential characteristics.
The design and specifications are subject to change without prior notice for product
improvement. Consult with the sales agency or manufacturer for details. Any updates to
the manual will be uploaded to the service website, please check for the latest version.

Table of contents
Other Midea Heater manuals

Midea
Midea NYERF User manual

Midea
Midea HO-0279 User manual

Midea
Midea NY2311-13AL User manual

Midea
Midea NS8-15D1 User manual

Midea
Midea NY1507-20M User manual

Midea
Midea NTH15-18MR User manual

Midea
Midea NF15-16D User manual

Midea
Midea NTY15-19CAE User manual
Midea
Midea NDK20-21AF User manual

Midea
Midea NF18- 17PA User manual

Midea
Midea NTY20-16L User manual
Midea
Midea NF20-18URB User manual

Midea
Midea Eco NTY15-19CA User manual

Midea
Midea NY2513-13A1L User manual

Midea
Midea NY2009-13A1L User manual
Midea
Midea NDK20-21AE User manual

Midea
Midea NT20-21A User manual

Midea
Midea NT20-22E User manual

Midea
Midea NTH15-22GR User manual
Midea
Midea NY1507-17LA User manual