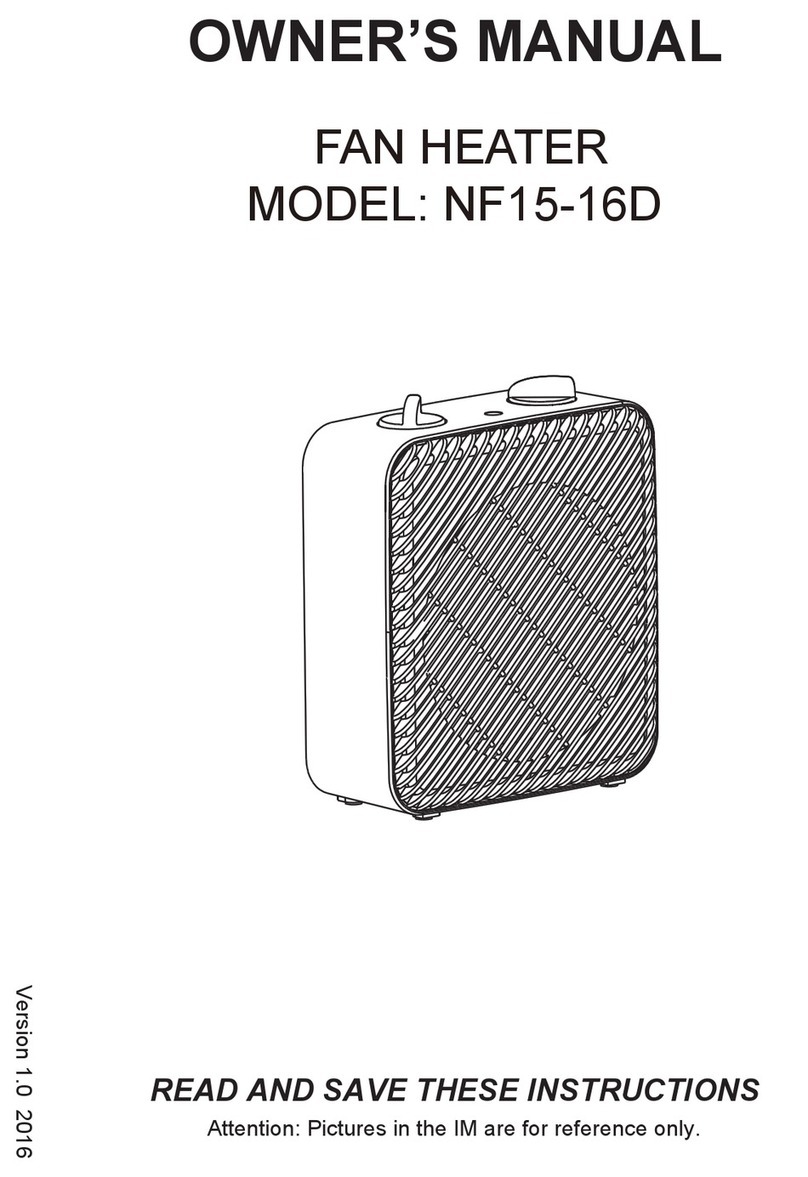
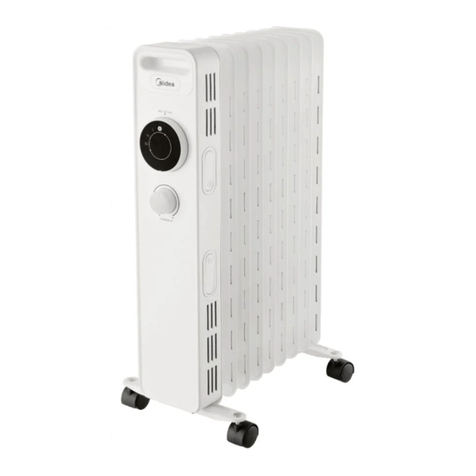
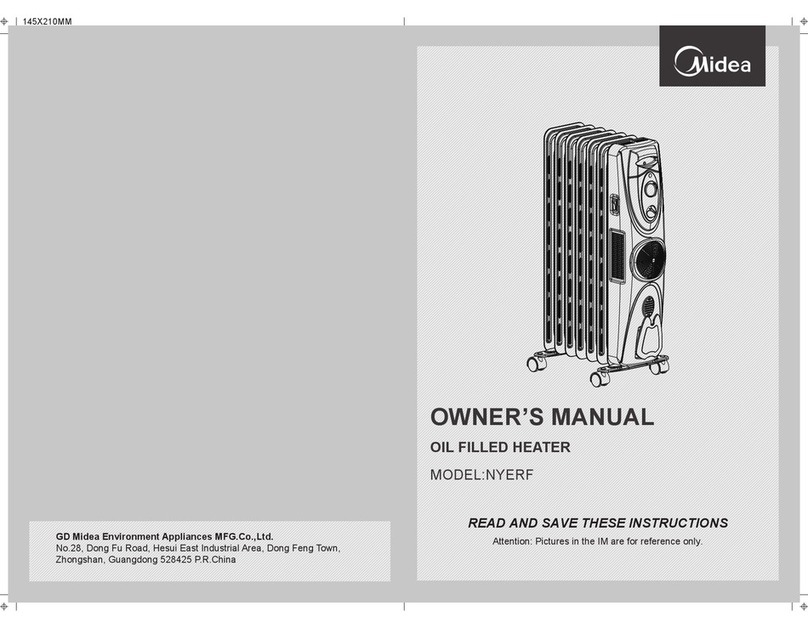
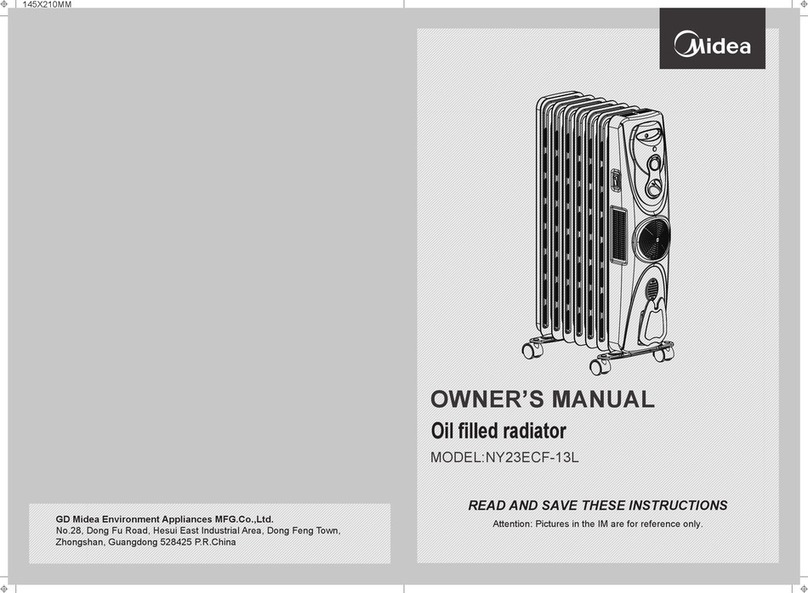
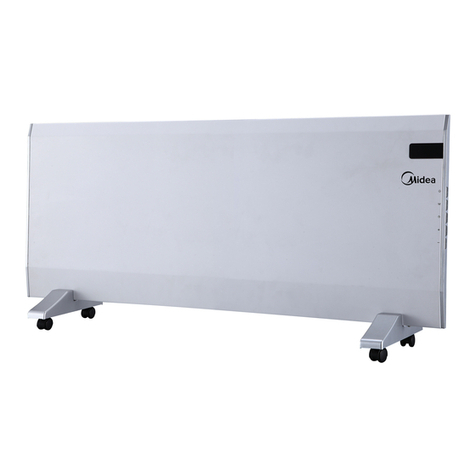
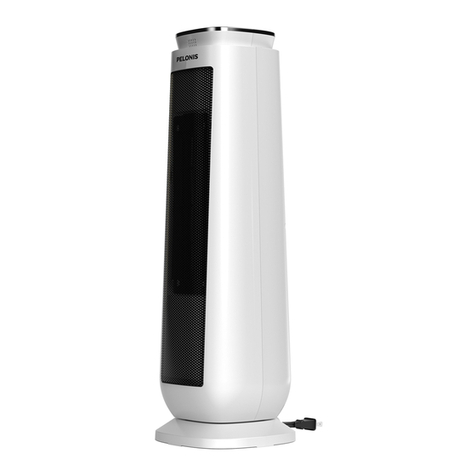
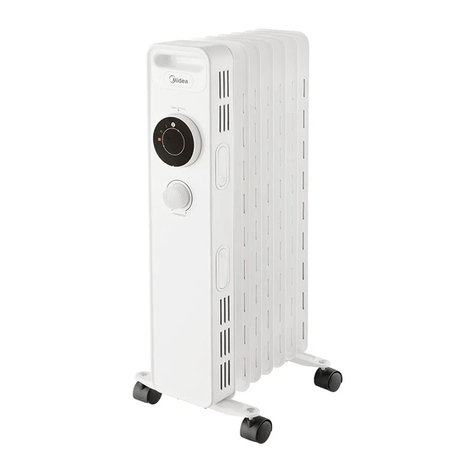
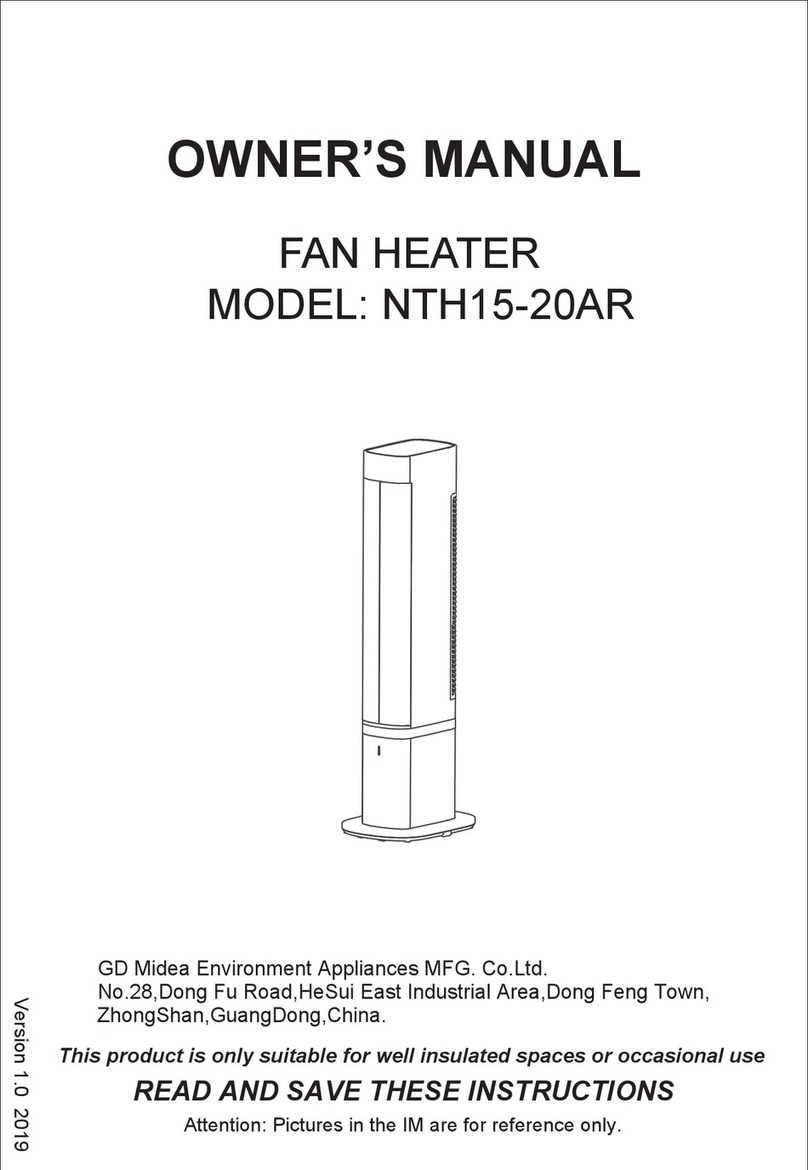
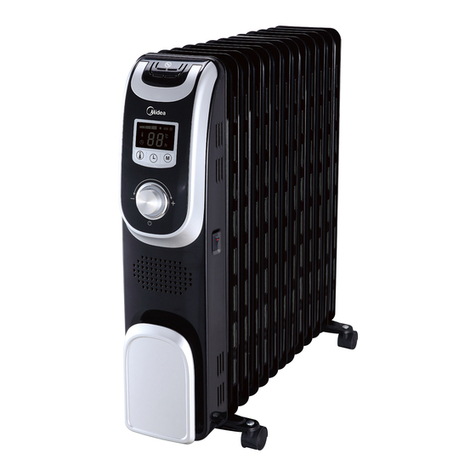
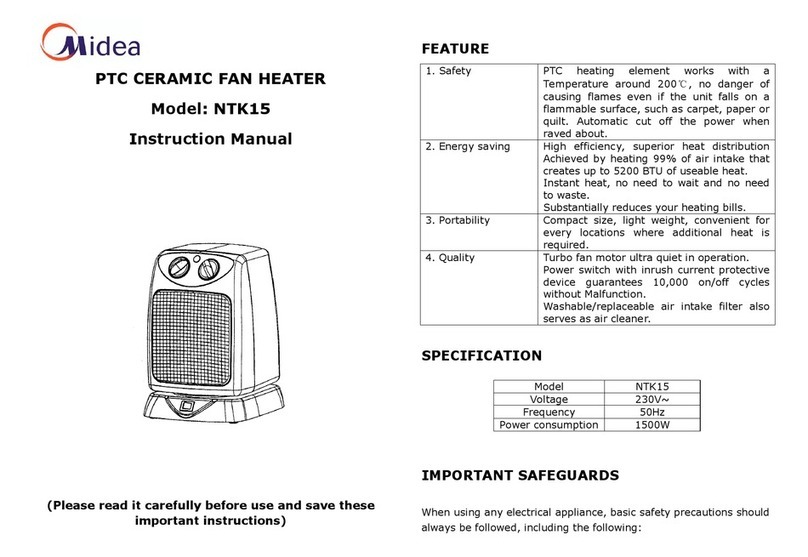
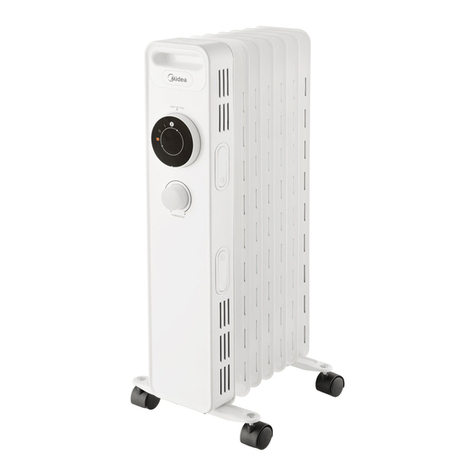
Midea PHO15A2AGB User manual

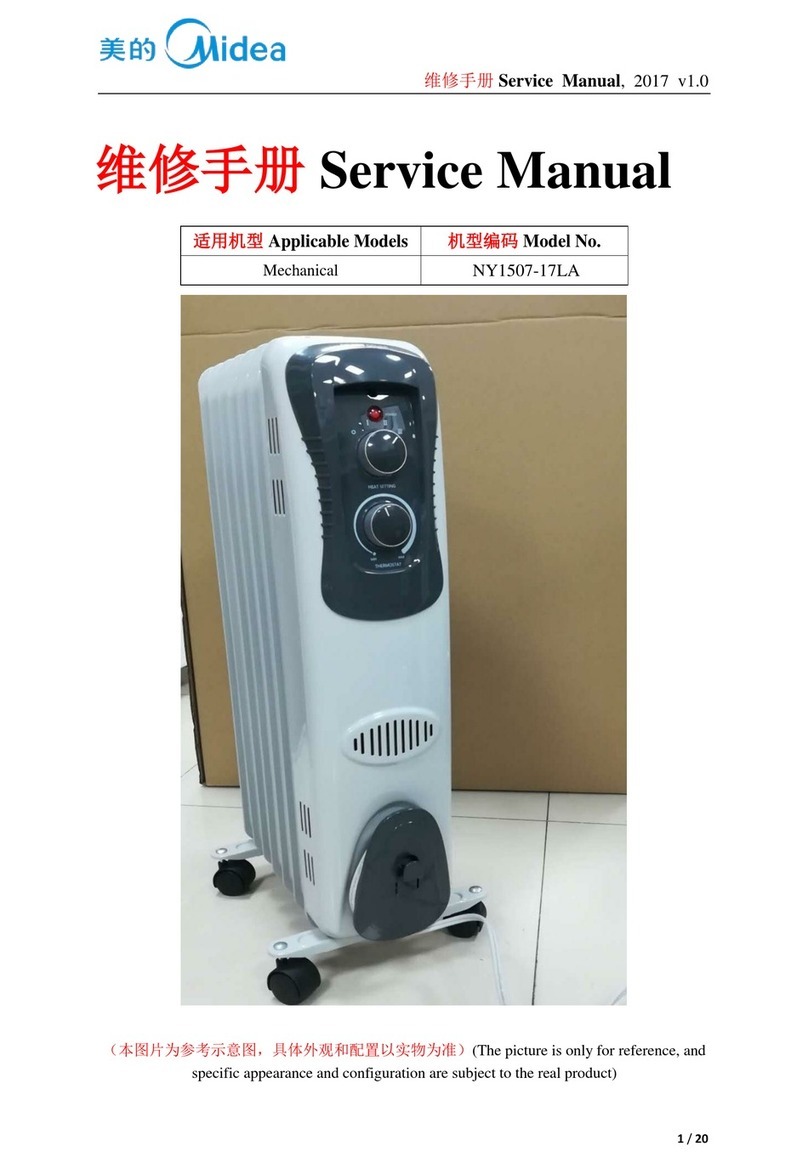
维修手册 Service Manual, 2017 v1.0
1/ 17
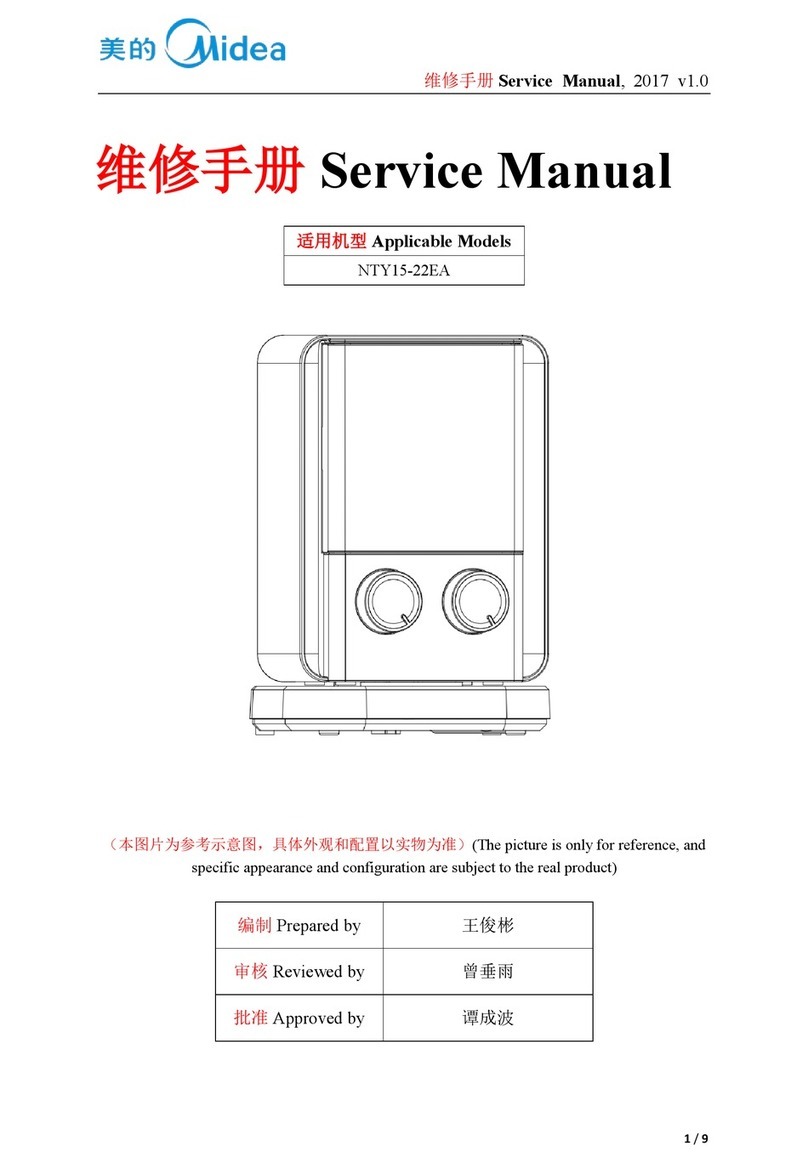
维修手册 Service Manual
适用机型 Applicable Models
机型编码 Model No.
mechanical
/
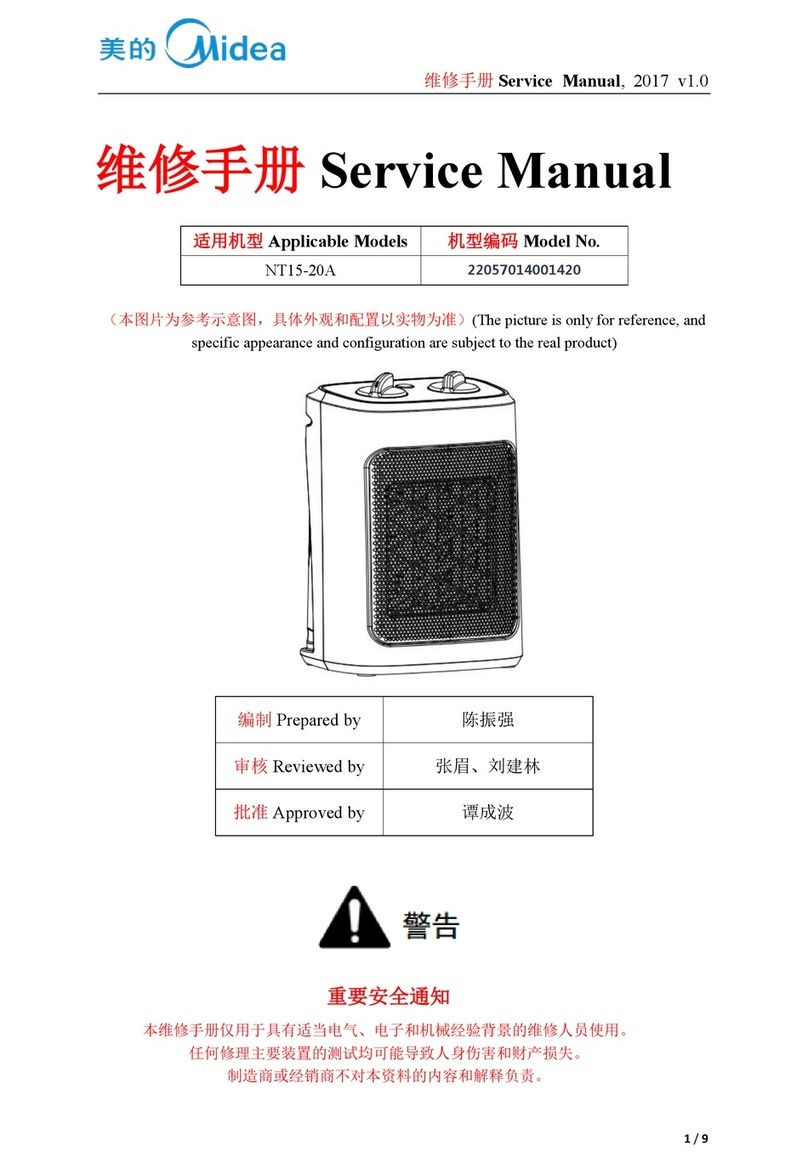
(本图片为参考示意图,具体外观和配置以实物为准)(The picture is only for reference, and
specific appearance and configuration are subject to the real product)
编制 Prepared by
审核 Reviewed by
批准 Approved by

维修手册 Service Manual, 2017 v1.0
2/ 17
重要安全通知
本维修手册仅用于具有适当电气、电子和机械经验背景的维修人员使用。
任何修理主要装置的测试均可能导致人身伤害和财产损失。
制造商或经销商不对本资料的内容和解释负责。
美的环境电器
技术手册
版权@2017
保留全部版权。未经美的环境电器海外销售公司书面批准,不得以任何形式全部或部分复制本手
册。
Important Safety Notice
The Maintenance Manual is only for the use of maintenance personnel with certain experience and
background in electrical, electronic and mechanical field.
Any attempt to repair main devices may lead to personal injury and property loss.
Manufacturers or distributors are not responsible for the content of the Manual and interpretation
thereof.
Midea Environment Appliance
Technical Maintenance Manual
Copyright @2016
All rights reserved. Replication of all or part of the Manual in any forms shall not be allowed without
written approval by the Overseas Sales Corporation of Midea Environment Appliance.
警告标语,此页不
需要修改

维修手册 Service Manual, 2017 v1.0
3/ 17
1. 安全警示规范 Safety Warning Code
WARNING
1Read these instructions.
2Keep these instructions.
3Follow all instructions.
4Do not use this appliance near water. This appliance is intended to be used in
household and similar environments.
5Clean only with a damp cloth.
6Install in accordance with the manufacturer’s instructions.
7Do not defeat the safety purpose of the polarized or grounding-type plug. A
polarized plug has two blades with one wider than the other. A grounding type plug
has two blades and a third grounding prong. The wide blade or the third prong are
provided for your safety. If the provided plug does not fit into your outlet, consult an
electrician for replacement of the obsolete outlet.
8Protect the power cord from being walked on or pinched, particularly at plugs,
convenience receptacles, and the point where the exit from the appliance.
9Do not attempt to modify or extend the power cord of this appliance.
10 Unplug this appliance during lightning storms or when it will not be used for long
periods of time.
11 Make sure that the available AC power matches the voltage requirements of this
appliance.
12 Do not handle the plug with wet hands. This could result in an electric shock.
13 Unplug the power cord by holding the plug, never by pulling the cord.
14 Do not turn the appliance on or off by plugging or unplugging the power cord.
15 Refer all servicing to qualified service personnel. Servicing is required when the
appliance has been damaged in any way, such as the power-supply cord or plug is
damaged, liquid has been spilled or objects have fallen into the appliance, the
appliance has been exposed to rain or moisture, does not operate normally, or has
been dropped.
16 To reduce the risk of fire or electric shock, do not expose this appliance to rain,
moisture, dripping, or splashing.
17 This appliance is not intended for use by persons (including children) with reduced
physical, sensory or mental capabilities, or lack of experience and knowledge, unless
they have been given supervision or instruction concerning use of the appliance by a
person responsible for their safety.
18 Children should be supervised to ensure that they do not play with the appliance.
19 If the supply cord is damaged, it must be replaced by the manufacturer, its service
agent, or similarly qualified person, in order to avoid a hazard.
警告标语,此页不
需要修改

维修手册 Service Manual, 2017 v1.0
4/ 17
2. 整机拆卸 Dismantling of appliance
2.1 拆卸控制箱组件 Remove control box assembly
使用十字螺丝刀将控制箱三颗固定螺钉拆开;
Use a screwdriver to disassemble the three fixing
screws of the control box;
2.2 拆卸发热管上接插端子 Remove the socket terminals on the heating pipe
使用尖嘴钳将发热管上接插端子拔除;(有焊锡
的端子需要使用电烙铁辅助拆除)
Use needle-nosed pliers to remove the inserted
terminals on the heating tube;(solder terminals
need to be removed with the help of an electric
soldering iron)
2.3 拆卸限温器支架/限温器固定螺钉/控制箱支架 Remove temperature limiter
bracket/temperature limiter fixing screw/control box bracket
使用十字螺丝刀将限温器/控制箱支架固定螺
钉拆开或使用螺钉刀翘掉限温器支架;
Use a cross screwdriver to disassemble the
thermostat/control box bracket fixing screw or
use a screw knife to tip off the thermostat
bracket;
2.4 拆卸控制箱内部所有接插端子 Remove all socket terminals inside the control box
使用尖嘴钳将控制箱内部所有接插端子拔除;
(有焊锡的端子需要使用电烙铁辅助拆除)
Remove all socket terminals inside the control
box with needle-nose pliers;(solder terminals need
to be removed with the help of an electric
soldering iron)

维修手册 Service Manual, 2017 v1.0
5/ 17
2.5 拆卸瓷座上两螺母 emove two nuts from porcelain seat
使用专用规格套筒或钳子将瓷座上两固定螺
母拆开;
Use special specification sleeve or pliers to
disassemble the two fixed nuts on the porcelain
seat;
2.6 拆卸瓷座压线板固定螺钉 Remove the fixing screw of the porcelain base press plate
使用十字螺丝刀将瓷座固定螺钉拆开;
Use a phillips screwdriver to disengage the
porcelain base fixing screw;
2.7 拆卸接地线两个固定螺钉 Remove the two grounding screws
使用十字螺丝刀将接地接线端子固定螺钉拆
开;
Remove the grounding terminal fixing screw
with a cross screwdriver;
2.8 拆卸倾倒开关/倾倒开关固定螺钉 Remove dump switch/dump switch fixing screw
使用十字螺丝刀将倾倒开关固定螺钉拆开;
(带支架的需要从支架上拆除)
将倾倒开关从固定支架上拆开;
Use a phillips screwdriver to disassemble the
tipping switch fixing screw;(remove the bracket
with bracket)
Disassemble the dump switch from the fixing
bracket;
2.9 拆卸控制面板 Remove control panel
使用十字螺丝刀将控制面板固定螺钉拆开;
(带卡扣的需要拆除卡扣)
将控制面板从控制箱上拆除;
Use a screwdriver to remove the control panel
fixing screw;(remove the buckle if the buckle is
attached)
Remove the control panel from the control box;

维修手册 Service Manual, 2017 v1.0
6/ 17
2.10 拆指示灯组件 Remove indicator light assembly
将指示灯或指示灯组件从控制面板或控制箱
上拆除
Remove indicator light or indicator assembly
from control panel or control box
2.11 拆卸旋钮/旋钮组件 Remove knob/knob assembly
使用螺丝刀将旋钮/旋钮组件拆除
Use a screwdriver to remove the knob/knob
assembly
2.12 拆卸功率开关 Remove power switch
使用十字螺丝刀将功率开关固定螺钉拆开;
(带支架的从支架上拆除)
将功率开关从固定支架上拆除;
Use a phillips screwdriver to disassemble the
power switch fixing screw;(remove from bracket
with bracket)
Remove the power switch from the fixed
bracket;
2.13 拆卸可调式温控器 Remove adjustable thermostat
使用十字螺丝刀将可调式温控器固定螺钉拆
除;(带支架的从支架上拆除)
将可调式温控器从固定支架上拆除;
Use a cross screwdriver to remove the
adjustable thermostat screw.(remove from
bracket with bracket)
Remove the adjustable temperature
controller from the fixed bracket;

维修手册 Service Manual, 2017 v1.0
7/ 17
2.14 拆卸收线板 Remove the reel
使用十字螺丝刀将收线板固定螺钉拆开;(卡
扣结构的拆除卡扣即可取下收线板)
将收线板从控制箱上拆除;
Use a phillips screwdriver to disassemble the
retracting plate fixing screw;(remove the buckle
structure and take down the wire drawing plate)
Remove the reel plate from the control box;
2.15 拆卸电源线、出线胶圈 Remove the power cord and outgoing apron
将电源线从出线胶圈中拉出;
使用螺丝刀将出线胶圈从控制箱上拆除;
Pull the power cord out of the outgoing apron;
Use a screwdriver to remove the outgoing apron
from the control box;
3. 整机的安装 Machine installation
3.1 安装功率开关 Install power switch
使用十字螺丝刀/电批将功率开关按正确方
向用螺钉固定在控制箱或控制面板对应位置
上;
将功率开关按正确方向压入开关固定支架
上;
Fix the power switch to the corresponding
position of the control box or control panel
with screws in the correct direction using the
phillips screwdriver/batch;

维修手册 Service Manual, 2017 v1.0
8/ 17
Press the power switch into the fixed bracket in
the correct direction;
3.2 安装可调式温控器 Install an adjustable thermostat
使用十字螺丝刀将可调温控器按正确方向用
螺钉固定在控制箱或控制面板对应位置上;
将可调温控器按正确方向压入开关固定支架
上;
Use a phillips screwdriver to fix the thermostat
in the correct direction with a screw in the
corresponding position of the control box or
control panel;
Press the thermostat into the switch fixing
bracket in the correct direction;
3.3 安装倾倒开关 Install dump switch
使用十字螺丝刀将倾倒开关按正确方向用螺
钉固定在控制箱或控制面板对应位置上;
将倾倒开关按正确方向压入开关固定支架
上;
Use a phillips screwdriver to fix the thermostat
in the correct direction with a screw in the
corresponding position of the control box or
control panel;
Press the thermostat into the switch fixing
bracket in the correct direction;Use a phillips
screwdriver to fix the tipping switch in the
correct direction with a screw at the
corresponding position of the control box or
control panel;
Press the tipping switch into the fixed bracket
of the switch in the right direction;
3.4 安装瓷座 Install the porcelain
1、取两个 M4*14 螺钉穿入瓷座两侧六角孔
中;
2、使用十字螺丝刀将瓷座用螺钉固定在控制
箱或控制盒对应位置上;
1. Take two M4*14 screws and insert them into
hexagonal holes on both sides of the porcelain

维修手册 Service Manual, 2017 v1.0
9/ 17
seat;
2. Use a phillips screwdriver to fix the
porcelain seat on the corresponding position of
the control box or control box with screws;
3.5 安装出线胶圈、电源线 Install outgoing gasket and power cord
使用螺丝刀将出线胶圈压入控制箱安装孔
中,取电源线从控制箱外穿入出线胶圈孔中;
Use a screwdriver to press the outgoing apron
into the mounting hole of the control box, and
take the power cord from the outside of the
control box into the outgoing apron hole
3.6 安装瓷座螺母 Install porcelain base nut
1、将两对应的环形接线端子套在螺钉上,套
入Φ4弹性垫圈,拧上 M4 螺母;
2、使用专用套筒将螺母拧紧;
1, the two corresponding ring set on the screw
terminals, set into the Φ 4 elastic washer,
screw on the M4 nut;
2. Use special sleeve to tighten nuts;
3.7 安装压线板 Install pressure plate
取一压线垫板,压入安装孔中;
取一压线板,穿上螺钉,使用螺丝刀将压线
板固定在控制箱上;
Take a pressure wire pad and press it into the
installation hole;
Take a pressure line plate, put on a screw, and
use a screwdriver to fix the pressure line plate
on the control box;

维修手册 Service Manual, 2017 v1.0
10 / 17
3.8 插线 plug wire
将内部导线端子按要求插入对应的零部件
上;
Insert the terminals of the internal wire into
the corresponding parts as required;
3.9 安装接地螺钉 Install ground screw
取接地螺钉套上Φ4弹性垫圈,套上接地线环
形接线端子,再套上外齿垫圈,使用十字螺
丝刀将螺钉固定在控制箱对应孔位上;
Take grounding screw on Φ 4 elastic washer, on
earth wire ring terminals, combined with
external tooth washers, use the screwdriver to
screw on the control box corresponding hole
location;
3.10 安装旋钮/旋钮组件 Install the knob/knob assembly
取相对应的旋钮,按扁轴方向安装在对应的
位置上;
Take the corresponding knob and install it in
the corresponding position according to the
direction of the flat axis;
3.11 安装指示灯/指示灯组件 Install indicator/indicator assembly
将指示灯穿至指示灯罩孔中,将导线压入固
定卡槽中;
将指示灯组件压入控制面板/控制箱对应孔
位中;
Put the indicator light through the hole of the
indicator lamp shade and press the wire into
the fixed card slot;
Press the indicator component into the

维修手册 Service Manual, 2017 v1.0
11 / 17
corresponding hole position of the control
panel/control box;
3.12 安装控制面板 Install control panel
取一 M6 螺钉放入控制箱孔中;
将控制面板压入控制箱对应安装孔位中;
使用十字螺丝刀/电批锁紧控制面板固定螺
钉;
Put an M6 screw into the hole of the control
box;
Press the control panel into the corresponding
installation hole of the control box;
Use cross screwdriver/batch lock control panel
to fix screws;
3.13 安装收线板 Install the take-up board
将收线板压入控制箱对应安装孔位中;
使用十字螺丝刀/电批锁紧收线板固定螺钉;
Press the wire take-up plate into the
corresponding installation hole position of the
control box;
Use a phillips screwdriver/batch lock to set the
wire tray screws
3.14 扎线 bundle
将内部导线理顺,使用扎带将内部导线按要
求扎好,避免内部导线凌乱或贴近控制箱散
热孔;
Straighten out the internal wire, tie up the
internal wire as required with the band, avoid
the internal wire messy or close to the heat
dissipation hole of the control box;

维修手册 Service Manual, 2017 v1.0
12 / 17
3.15 安装限温器 Install thermostat
取对应的限温器放入限温器支架上,使用十
字螺丝刀/电批锁紧固定螺钉;如需导热硅脂
需涂上导热硅脂;
取对应限温器装入限温器支架上,涂上导热
硅脂,将限温器支架卡入壳体安装孔位中;
Place the corresponding temperature limiter
on the bracket of the temperature limiter, and
use the phillips screwdriver/electric batch to
lock the fixing screw;If the heat-conducting
silicone grease is needed, the heat-conducting
silicone grease shall be coated;
Take the corresponding temperature limiter
and mount it on the temperature limiter
bracket, coat it with heat-conducting silicone
grease, and clip the temperature limiter
bracket into the shell installation hole position;
3.16 插发热管限温器端子 Insert heating pipe temperature limiter terminal
将对应端子插入发热管和限温器接插片上;
Insert the corresponding terminals into the
heating pipe and the splice of the temperature
limiting device;
3.17 紧固控制箱 Tighten the control box
使用十字螺丝刀/电批锁紧控制箱对应的固
定螺钉;
Use a phillips screwdriver/batch to lock the
fixed screws corresponding to the control box;

维修手册 Service Manual, 2017 v1.0
13 / 17
3.18 电检 Electric inspection
按要求测试整机接地电阻、耐压、功率;
Test the grounding resistance, voltage
resistance and power of the whole machine as
required;
4.常见及解决方法 Fault code and solutions
故障代
码Fault
code
故障内容
Fault
content
代码可
见Code
visible
原因 Cause
维修方法步骤 Steps for maintenance methods
1
风 叶 不 转
The blades
did not turn
风叶可能卡
住Wind
blades can get
stuck
将暖风机拆开,将线束用扎带固定好,将其与风叶隔
开。
Take the heater apart, tie the cord and tie it well,
separate it from the wind blade.
2
通电不工作
Power on
not working
机器内部有
问题
There is
something
wrong with
the machine
1. 将暖风机拆开,观察限温器是否跳开,如果是则
待机器自然冷限温器复位,再开机。2.若限温器
未跳断,则拔掉电源,检查线束端子是否有松脱
(最好使用万用表),然后接上线束端子。
1. Disassemble the heater and observe whether the
temperature limiting device is switched off. If it is, reset
the natural cold temperature limiting device and turn it
on.
2. If the temperature limiting device does not break,
unplug the power, check whether the wire harness
terminal is loose (multimeter is preferred), and then
connect the wire harness terminal.

维修手册 Service Manual, 2017 v1.0
14 / 17
5附录 Appendix:
5.1 整机接线图 Electrical Schematic Diagram
5.2 取暖器维修常用工具、设备和材料 heater maintenance tooling and equipment and
material
工具 Tooling
No.
名称 Name
图片 Photo
主要用途 Main Usage
1
十字螺丝刀 Phillips
screwdriver
拆卸螺钉 screw assemble and
disassemble
2
平口螺丝刀/小铲刀
slotted screwdriver/scraper
拆卸螺钉和铆钉 screw and
rivet assemble and disassemble

维修手册 Service Manual, 2017 v1.0
15 / 17
3
套筒扳手 Socket spanner
5/16″
拆卸铰链、压缩机螺钉 hinge
and compressor screw assemble
and disassemble
4
尖嘴钳 Nipper pliers
辅助工具 assistive tool

维修手册 Service Manual, 2017 v1.0
16 / 17

维修手册 Service Manual, 2017 v1.0
17 / 17
美的环境电器
如需获得厂家详细技术咨询,请联系:
liujianlin@midea.com
环境电器事业部
海外营销公司
地址:中国安徽省合肥市经济技术开发区锦绣大道 176 号
Midea Environment Appliance
If you need to get detailed technical information from the manufacturer, please contact:
liujianlin@midea.com
SDA Division
Overseas Sales Company
Address: No. 176, JinxiuAvenue, Economic-Technological DevelopmentArea, Hefei,Anhui,
China
Table of contents
Other Midea Heater manuals

Midea
Midea NY2009-13A1L User manual

Midea
Midea NTH15-22GR User manual

Midea
Midea NY2513-13A1L User manual

Midea
Midea NTY15-19CAE User manual

Midea
Midea NTH15-18MR User manual

Midea
Midea NTY15-22EA User manual

Midea
Midea NY1506-18SRA User manual

Midea
Midea NDK15-12K User manual

Midea
Midea NTK15 User manual

Midea
Midea NY2311-20ME User manual

Midea
Midea NDK20-21AE User manual

Midea
Midea NS12-13C1E User manual

Midea
Midea NY2311-20MRE User manual

Midea
Midea Eco NTY15-19CA User manual
Midea
Midea NY1507-20M User manual

Midea
Midea NTH20-18MRA User manual

Midea
Midea NY15EC-7 User manual

Midea
Midea HO-0279 User manual
Midea
Midea NTH15-20AR User manual

Midea
Midea NT20-22E User manual