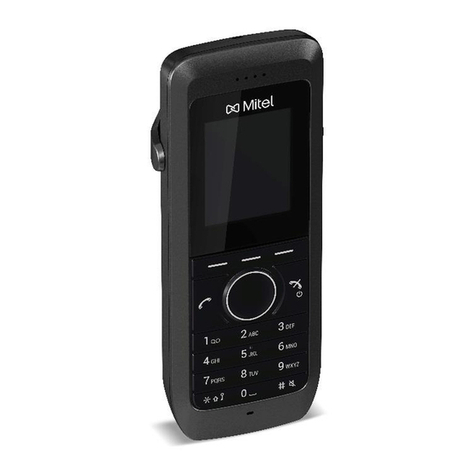
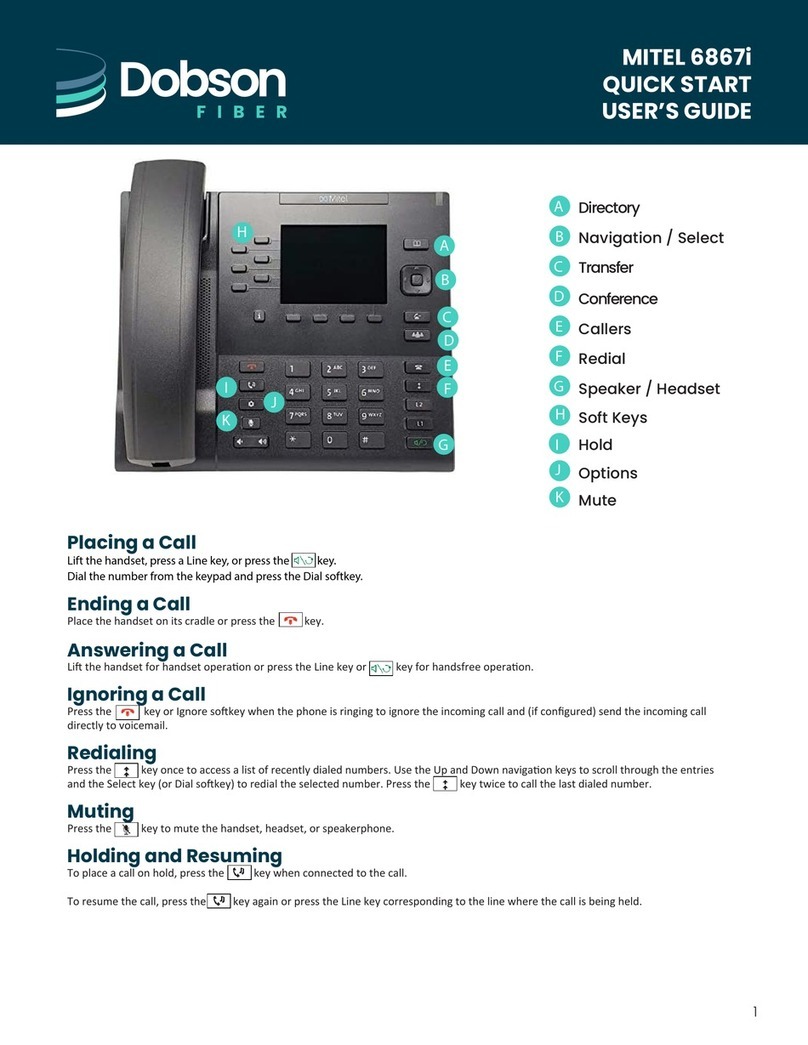
Mitel MIVOICE OFFICE 250 User manual

MITELMIVOICEOFFICE250
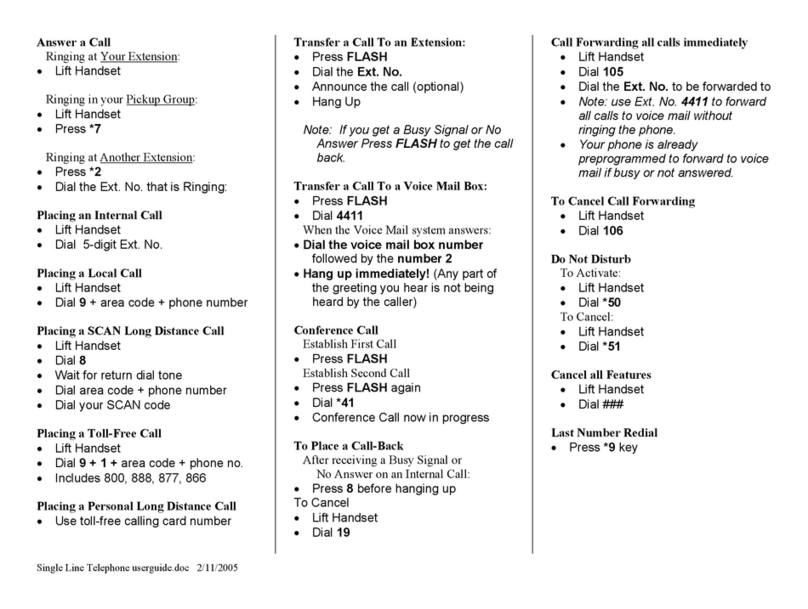
BASIC DIGITAL PACKAGE
USERGUIDE
Version 1
October 1, 2015

ii
Confidentiality and proprietary statement
This information is SaskTel’s property and it is strictly confidential. Without SaskTel’s prior
written permission, this information must not be copied, disclosed or distributed in whole or in
part. By receiving this information, the receiving party is bound by these conditions.

iii
Table of contents
1.0 GENERAL INFORMATION..............................................................................................1
1.1 System overview.........................................................................................................1
1.2 Support........................................................................................................................2
2.0 SYSTEM SUMMARY .......................................................................................................3
2.1 System configuration .................................................................................................3
2.2 User access.................................................................................................................3
2.2.1 Phone Administrator..............................................................................................................3
2.2.2 Voice Mail Administrator .......................................................................................................3
2.3 Contingencies and alternate modes of operation ....................................................3
3.0 USING THE SYSTEM ......................................................................................................3
3.1 Auto-Attendant............................................................................................................4
3.1.0 Day Greeting (2503)..............................................................................................................4
3.1.1 Closed Greeting (2504).........................................................................................................4
3.2 Call Record..................................................................................................................4
3.2.0 Call Recording message (005)..............................................................................................5
3.2.1 How to access Call Recordings ............................................................................................5
3.3 Restricted Sets............................................................................................................5
3.4 Dynamic Extension ......................................................................................................6
3.4.1 Handoff from desk to your mobile device:.............................................................................6
3.4.2 Handoff from your mobile device to your desk:.....................................................................6
3.5 Door Relay...................................................................................................................7
3.6 Call Pick Up.................................................................................................................7
3.7 External Music on Hold ..............................................................................................7
3.8 Sets and Set Operation...............................................................................................7
3.8.1 8528/68 Telephone quick reference guide............................................................................7
3.8.4 Answering calls ...................................................................................................................12
3.8.5 Placing emergency calls .....................................................................................................12
3.8.6 Placing intercom calls .........................................................................................................12
3.8.7 Placing external calls ..........................................................................................................12
3.8.8 Redialing external numbers ................................................................................................12
3.8.9 Using the directory ..............................................................................................................12
3.8.10 Placing a page announcement............................................................................................12
3.8.11 Call Logging ........................................................................................................................12
3.8.12 Transferring calls to other extensions.................................................................................13
3.8.13 Transferring calls to an external number ............................................................................13
3.8.14 Placing conference calls .....................................................................................................13
3.8.15 Forwarding calls..................................................................................................................13
3.8.16 Using Do-Not-Disturb..........................................................................................................14
3.9.1 Access voice mail away from your desk .............................................................................15
3.9.2 Access voice mail away from the office ..............................................................................15
3.9.3 Access your mailbox from your desk ..................................................................................15
3.9.4 Listening to messages ........................................................................................................15

iv
3.9.5 Set your password...............................................................................................................16
3.9.6 Recording your primary and alternate greetings.................................................................16
3.9.7 Transferring a caller directly into a mailbox ........................................................................17
4.0 ADMINISTRATOR TIPS & TRICKS...............................................................................18
4.1 Setting the system date and time............................................................................................18
4.2 Creating System Speed Dial...................................................................................................18
4.3Deleting System Speed Dial names or numbers ....................................................................19
4.4 Changing user names.............................................................................................................19
4.5 Resetting a voice mail passcode.............................................................................................19
5.0 PERSONAL SPEED DIALS...........................................................................................20
5.1 Adding personal (Station) speed dials to your set ..................................................................20

1
1.0 GENERAL INFORMATION
1.1 System overview
The MiVoice Office 250 simplifies communications, enhances customers service, and increases
employee productivity and collaboration while reducing overall telephony costs. The Basic
Digital Package is built especially for small businesses and is an ideal solution for businesses
with a single location, typically with a first point of contact such as a front desk receptionist.
The MiVoice Office 250 Basic Digital Package delivers the following features and applications:
Day and Night Call Routing
Messaging features
Set Paging
Auto Attendant (including back-up)
Call Record
Restricted Sets
Dynamic Extension
Door Relay
Call Pick Up
External Music on hold
The following are some of the benefits received from the MiVoice Office 250:
Owning the equipment saves money
Centralized call answering through the MiVoice Office
A wide range of features to improve customer service, increase productivity, and reduce
costs
A leading edge in technology
Embedded Unified Voice Messaging is also included and offers:
Unified messaging with e-mail synchronization (IP)
MP3 and WAV attachments
Voice mail
Message notification and retrieval
Automated attendant
Call routing announcements (CRA)
Record-a-Call
Optional BlackBerry message formatting (BES).
This includes four embedded voice mail ports (up to 32 on the HX Controller) and over 80 hours
of voice mail storage (upgradeable to 300 hours).
The embedded Unified Voice Messaging forwards voice mail to e-mail in MP3 format and
supports the VPIM protocol for voice mail networking. The embedded messaging capabilities
offer bidirectional synchronization of deletion and read/heard messages. This synchronization
can be associated with e-mail mailboxes stored on Microsoft Exchange, IBM Lotus Notes, or
Novell GroupWise.
SMTP encryption is used to forward voice messages securely to e-mail servers.

2
1.2 Support
For technical support, please call 1-844-SASKTEL.
For all programming changes and inquires about your phone system, please contact your
SaskTel Representative.

3
TEM SUMMARY
2.0 SYSTEM SUMMARY
2.1 System configuration
2.2 User access
2.2.1 Phone Administrator
Extension 221 is known as the Phone Administrator. This phone can be used to perform basic
changes to your phone system such as changing the date and time, creating system speed
dials, and changing user names.
2.2.2 Voice Mail Administrator
Extension 199 is known as the Voice Mail Administrator. This mailbox is used to access call
recordings, record Auto-Attendant greetings, reset passwords, and check to see how much
storage is available on the phone system.
2.3 Contingencies and alternate modes of operation
A customer purchased UPS will allow the customer to have service while the power is out for a
predetermined amount of time (depending on the UPS they have purchased). If forwarding
service is required, Business First must be contacted.
3.0 USING THE SYSTEM
The following customized features should be discussed and configured to your phone system
prior to installation. Please contact your Sales prime to inquire or activate the following:
Auto-Attendant (section 3.1)
Call Record (section 3.2)
Restricted Sets (section 3.3)
Dynamic Extension (section 3.4)

4
Door Relay (section 3.5)
Call Pick Up (section 3.6)
External Music-on-hold (section 3.7)
3.1 Auto-Attendant
Typically a business will have an Auto-Attendant in their call flow whether it is during the
business day, activating it after hours, or having different ones for both. An Auto-Attendant
allows callers to be automatically transferred to an extension without the intervention of a
receptionist.
3.1.0 Day Greeting (2503)
This must be done from the Voice Mail Administrator’s mailbox (ext 199).
1. Lift the handset and dial 2500 (voice mail).
2. Press *
3. When prompted for a mailbox number enter the Administrator’s mailbox number 199.
4. Enter the password 199 and press #.
5. Press 9 (hidden prompt).
6. Press 3 (recording options).
7. Press 1 (custom recordings).
8. Enter 003 for the Day Greeting recording. To erase and rerecord, press 3.
After the tone, begin recording.
For example: “Thank you for calling the (business name). We are currently busy
assisting other customers. If you know the extension of the person you are calling please
enter it now, or press 0 to leave a message in the general mailbox”.
3.1.1 Closed Greeting (2504)
When the system is in nights, the Closed Greeting message will play.
1. Lift the handset and dial 2500 (voice mail).
2. Press *
3. When prompted for a mailbox number, enter the Administrator’s mailbox number 199.
4. Enter the password 199 and press #.
5. Press 9 (hidden prompt).
6. Press 3 (recording options).
7. Press 1 (custom recordings).
8. Enter 004 for the Closed Recording. The recording will play, at the end of the recording
you will be prompted to Press 3 to erase and rerecord.
After the tone, begin recording.
For example: “Thank you for calling (business name), our office is currently closed.
Office hours are Monday to Friday from 8 a.m. to 5 p.m. If you know the extension of the
person you are calling please enter it now, and if you wish to leave a message in our
general mailbox, please press 0.”
3.2 Call Record

5
The Call Record feature allows the user to enter a feature code whenever they want to record
an on ongoing call. The Voice Mail Administrator can then retrieve the recorded messages, just
as they would any other mailbox messages.
To record a call:
1. Press the “Special: key and dial 385. The call will record until you hang up or if your call
extends 30 minutes.
3.2.0 Call Recording message (005)
This feature allows you to notify the caller that the call is being recorded. This must be
done from the Voice Mail Administrator’s mailbox (ext 199).
1. Lift the handset and dial 2500 (voice mail).
2. Press *
3. When prompted for a mailbox number, enter the Administrator’s mailbox number 199.
4. Enter the password 199 and press #.
5. Press 9 (hidden prompt).
6. Press 3 (recording options).
7. Press 1 (custom recordings).
8. Enter 005 for the Call Recording message recording. To erase and rerecord, Press 3.
After the tone, begin recording.
For example: “For monitoring purposes, this call is now being recorded”.
3.2.1 How to access Call Recordings
1. Lift the handset and dial 2500 (voice mail).
2. Press *
3. When prompted for a mailbox number, enter the Administrator’s mailbox number 199.
4. Enter the password 199 and press #.
5. Select 1 for New messages (Call Recording) or 3 for Saved messages (Call
Recording). During a message you can perform the following functions:
1) Rewinds the message by 5 seconds.
2) Pauses the message, press # to resume.
3) Forwards the message by 5 seconds.
*) Skips you to the end of the message.
After the entire message has played, you can choose from the following options:
1) Replay the message
2) Reply to the message
3) Forward the message
5) Message envelope
7) Delete message
9) Save the message
3.3 Restricted Sets
You can choose to restrict certain phones from placing external calls. Options include restricting
the set to:

6
On-switch Dialing - Only able to call internally or other extensions on the system
Deny Toll - Able to call internally and any number that is considered to be a local
number within your community
3.4 Dynamic Extension
With Dynamic Extension, incoming calls to a user are routed to multiple destinations. For
example, the user’s desk phone and mobile phone will ring at the same time. Ringing multiple
destinations is called twinning. This feature must be programmed by SaskTel and can be turned
on or off at the phone.
Note: Each user with active Dynamic Extension will tie up 2 of your lines for the duration of their
calls. Be attentive to how many lines and users you have when asking SaskTel to program this
service.
To activate the Dynamic Extension:
1. Press the Special key and dial 364. Dynamic Extension On will display on your screen.
If your screen displays Cannot Access Feature, then this feature has not been
programmed to your desk phone and you will need to contact SaskTel for additional
programming if required.
As a user with Dynamic Extension, you can use the Handoff feature to toggle the call back and
forth from your cell to your desk phone.
The Handoff function is useful if the user is leaving the work area but wants to remain
connected to an active call or has answered the call on their mobile device and wishes
to resume the call at their desk.
When the call is switching over to the new destination, there may be a momentary break
in audio, which may be noticeable to other parties on the call.
3.4.1 Handoff from desk to your mobile device:
Call has been answered at your desk and you wish to send the call to your mobile phone.
1. While on an active call, press the Special key and dial 388.
2. Handoff in Progress will appear on the display and your mobile phone will begin to ring.
3.4.2 Handoff from your mobile device to your desk:
Dynamic Extension was active on your desk phone so you have answered the call from your
mobile device.
Note: If the user has dialed your mobile number directly this feature will not work.
1. From your desk, do not lift the handset.
2. Press the Special key and dial 388.
3. You will notice the call disconnects from your cell and is now holding on your Call 1 key.
4. Press the Call 1 key and your call is presented to you.

7
3.5 Door Relay
When this feature code is entered at an authorized phone, the Door Relay jack on the chassis is
activated for a period of time defined by the Door Relay duration timer (default is five seconds),
then deactivated automatically.
To activate Door Relay:
1. If door rings, all authorized phones will ring. To answer the call, press the Special key
and dial 332. Door Relay Activated will display on your screen. If you are not an
authorized phone, Cannot Access this Feature will display on your screen.
3.6 Call Pick Up
If you have a Call Pick Up key on your set and another phone rings within your Pick Up group,
lift the handset and press the Pick Up key.
If you don’t have a pick up key programmed to your set, and another phone rings within your
Pick Up group, lift the handset and press the Special key and dial 4 followed by the hunt group
number. You must know what number your hunt group is.
3.7 External Music on Hold
By default, the system will play “tick tones” as the Music on Hold source.
An external device such as a radio, iPod or MP3 player can be physically connected to the
music jack on the HX controller.
Please contact your SaskTel Representative if you wish to have your Music on Hold source
changed.
3.8 Sets and Set Operation
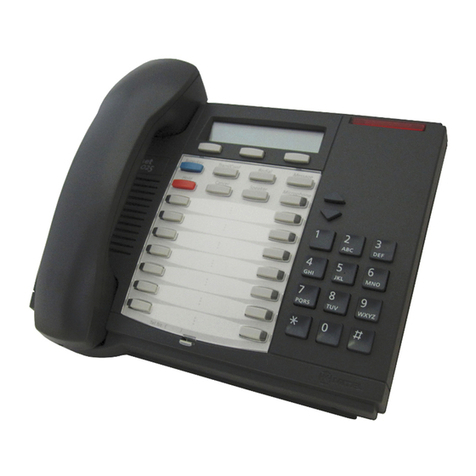
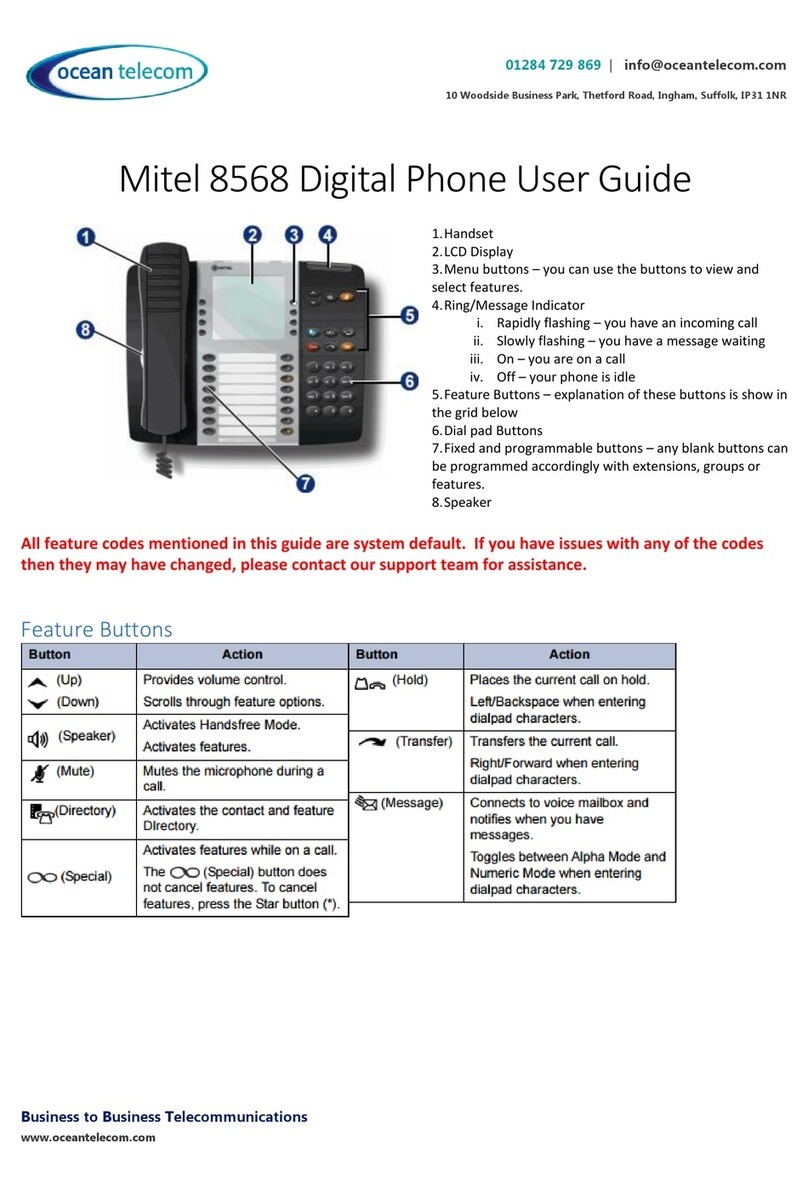
3.8.1 8528/68 Telephone quick reference guide
This guide provides information for frequently used features. For more information about these
and other features, refer to the user guide. For voice mail information, refer to the voice mail
user guide for your system.

8
No.
Name
Description
1
Handset
The handset is hearing aid compatible (HAC). If you are using a headset or if
you are in handsfree mode, you do not need to use the handset.
2
Display
Provides a two-line, 16-character viewing area for using features and
identifying callers. When idle, the display shows user information and the time
and date.
3
Ring/Message
indicator
Flashes or stays lit to indicate call, message, and feature activity.
Indicator signals
Description
Rapidly flashing
You have an incoming call.
Slowly flashing
You have a waiting message or callback
message.
On
You are on a call or using a feature.
Off
Your IP phone is idle.
4
Feature buttons
Provide quick access to commonly used features. See “Feature Buttons” on
page 2 for descriptions.
5
Dialpad buttons
Use the dialpad buttons to dial phone numbers, enter feature codes, and to
enter characters when using features that require text input.
6
Programmable
buttons
Provide 16 programmable buttons. The top seven buttons on the telephone
are programmed by the system administrator and cannot be reprogrammed.
However, you can program the remaining buttons for quick access to features
or speed-dial entries.
7
External speaker
Provides audio for handsfree calls and background music.
3.8.2 Feature buttons
Feature buttons provide quick access to commonly used features. See the following table for
descriptions.
Button
Action
Provides volume control.
Scrolls through feature options.

9
Activates handsfree mode.
Activates features.
Mutes the microphone during a call.
Activates the contact and feature directory.
or
Activates features while on a call.
The (Special) button does not cancel features. To cancel features,
press the star button (*).
Calls the last external number dialed. You cannot redial internal numbers.
Places the current call on hold.
Left/Backspace when entering dialpad characters.
Transfers the current call.
Right/Forward when entering dialpad characters.
Connects to voice mailbox and notifies when you have messages.
Toggles between alpha mode and numeric mode when entering dialpad
characters.
3.8.3 Commonly used feature codes
Most of the following feature codes work when your telephone is idle. However, if you are on an
active call or if the telephone is off-hook, you may need to press or (Special) to
activate the feature before you enter the feature code.
If you make a mistake when entering numbers or characters, you can press (Hold) to move
the cursor to the left and delete the characters entered, or you can press * to cancel the feature.
Contact your system administrator for more information about system features.
Feature name
Code
Description
Background Music On/Off
313
Turns on and off background music heard through the
phone speaker. (Not used on single line phones)
Call Forward All Calls
355
Immediately forwards all calls to another phone or to an
outside phone number.
Call Forward If Busy
357
Immediately forwards all calls to another phone or to an
outside phone number when the phone is in use.
Call Forward If No Answer
356
Forwards all calls to another phone or to an outside
phone number if not answered within a predetermined
time.
Call Forward If No Answer/Busy
358
Forwards all calls to another phone or to an outside
phone number if not answered within a predetermined
amount of time, or immediately if the phone is in use.
Call Logging
333
Allows users of display phones to view missed, received,
and dialed calls.
Conference
5
Connects from three to four parties in a conference. A
conference consists of any combination of inside and

10
outside parties.
Directory
307
Allows display phones users to search for extension
numbers of System Speed Dial numbers. The number
can then be dialed, if appropriate.
Display Outside Party Name
On/Off
379
When the phone user enters this feature code, while
connected to a CO call that has outside party name
information, the display will toggle between the caller’s
name and number. If there is no outside party name of
the Expanded CO Call Information ON Displays flag is
disabled, the user will hear a burst of reorder tone and
see the CANNOT ACCESS FEATURE display. If the
Display Outside Party Name On/Off feature code is
programmed in a user programmable button with a lamp,
the lamp will be lit when the outside party name is enable
and off when the outside party name is enabled.
Display Time and Date
300
Temporarily displays the system date and time, user
name, and extension number during a call or when other
displays are shown.
Feature code 300 displays the IP Address of a phone if it
is in SIP mode.
Do-Not-Disturb
370
The Do-Not-Disturb feature code halts all intercom calls,
transferred calls, and pages to the phone.
Do-Not-Disturb On/Off
372
The on/off code can be used to turn Do-Not-Disturb on or
off.
Handsfree On/Off
319
Disables/enables the phone’s handsfree intercom
answering. Incoming intercom calls ring as private calls if
handsfree answering is disabled. (Not used on single line
phones)
Message
365
This feature code is used for leaving and retrieving a
message waiting indication at a called phone or the called
phone’s message center. Depending on how the
message was left, the called phone user either retrieves
the message from their message center or from the
phone that left the message.
Message –Cancel
366
Allows the phone user to cancel a message waiting
indication that they left at another phone.
Message –Cancel Current
368
Cancels a message waiting indication that is waiting at
the phone without requiring the user to respond to it. (Or,
press the asterisk [*] button while viewing the message).
Message –Silent
367
Leaves a message waiting indication at a phone without
first placing an intercom call.
Microphone Mute –On/Off
314
Turns the microphone on or off during a call. If muted, the
phone user can hear the other party, but the party cannot
hear the phone user. (Not used on single line phones)
Page
7
When followed by a paging zone code (0-9 or 0-49), it
allows announcements to be made through phone
speakers and any external paging speakers in the page
zone.
Page Receive –On/Off
325
Halts pages through the phone speaker or allows them to
be received again. (Not used on single line phones)
Program Buttons
397
User-programmable feature buttons and Stations Speed
Dial buttons can be programmed using this feature code.
(Not used on single line phones)
Redirect Call
331
Allows the phone user to route ringing outside, intercom,
and camped on calls to another phone, hunt group, or
outside number. Routing of the redirect call is still subject

11
to trunk and toll restrictions. This feature provides these
options in addition to the currently available options which
allow the phone user to redirect calls to Voice Mail or Do-
Not-Disturb. The Redirect Ringing Call feature does not
require a software license.
Reverse Transfer (Call Pick-Up)
4
Picks up a call ringing or holding at a phone or hunt
group.
Review Keys
396
User-programmable feature buttons and Station Speed
Dial buttons can be viewed using this feature code. (Not
used on single line phones)
Ring Tone Selection
398
Selects the type of ringing alert tone that will be heard
from the phone. (Not used on single line phones)
Station Speed Dial
Station Speed Dial Programming
382
383
Dials/programs one of the 10 Station Speed Dial numbers
when followed by a location code (0-9).
System Speed Dial
381
Dials one of the 1000 System Speed Dial phone number
when followed by a location code (000-999).

12
3.8.4 Answering calls
Lift the handset, or press to answer a call while using a headset or to answer a call in
handsfree mode.
3.8.5 Placing emergency calls
Dial the emergency number 9911, or select a line and dial 911. The system immediately places
the emergency call as soon as you dial the number, even if you do not select an outside line.
3.8.6 Placing intercom calls
With or without the handset lifted, dial the extension number. If you enter incorrect digits, you
can press the button or use the left cursor key at the bottom to delete digits entered.
3.8.7 Placing external calls
Lift the handset or press the button, press 9 (feature code for outgoing if you are using
a Call key) and enter your number.
Local: 9-306-XXX-XXXX
Long Distance: 9-1-XXX-XXX-XXXX
If you are using a “Line” key, dial XXX XXX-XXXX
3.8.8 Redialing external numbers
With or without the handset lifted, press the button. The system automatically selects a
line and dials the last number.
3.8.9 Using the directory
You can use the directory to look up internal or external numbers. If you need to add an
external number into the directory, contact your Administrator (if applicable).
1. Press the Directory key and select 1to look at internal numbers (IC) or 2to look at the
external numbers.
2. Press the Up or Down to scroll through the list.
3. When you find the correct name, press #to dial the number.
3.8.10 Placing a page announcement
1. With the handset lifted, press the Page Sets key
2. Wait for the tone and speak into the handset.
3. When you are done, press the switch hook or replace the handset.
3.8.11 Call Logging
1. Press the Call Logging key.
2. Press 1(MISS) to see missed calls, press 2(RCV) for received calls, press 3(DL) for
dialed calls or press 4(CLR) to clear logs.
3. Press Up or Down to scroll through logs.

13
4. Press #to return a call or redial the number listed.
3.8.12 Transferring calls to other extensions
Cold transfer:
1. While on the call, press the button.
2. Enter the extension number and hang up.
Warm transfer:
1. Press the button.
2. Dial the extension, advise of the transfer then hang up to release the call.
To cancel a transfer in progress:
If you have misdialed the number and need to pull the call back, press the
button to cancel.
If you need to pull back a call that is already ringing at the set, press the button
to cancel the transfer and press the Call key to bring the call back.
3.8.13 Transferring calls to an external number
Using the Transfer button
While on the call, press the button, dial 9 followed by the area code and number.
Hang up to release the call.
Local: 9-306-XXX-XXXX
Long Distance: 9-1-XXX-XXX-XXXX
3.8.14 Placing conference calls
1. While on the first call, press the Conf key to place the call on hold. Dial the extension or
external number you wish to conference with. (Remember to dial 9 if external) thus
placing a call to the next conference party.
2. After the party answers, press the Conf key to place the call on hold. If necessary,
repeat this step to add the remaining parties.
3. Press the Conf key again to start the conference. CNF IN PROGRESS appears.
To cancel a conference call in progress:
1. Select the Call key that is blinking on hold. The call is now presented back to you.
3.8.15 Forwarding calls
To activate:
1. Press the Forward key.
2. Enter the extension you want your calls forwarded to. (To forward calls to Voice Mail,
enter 2500 or put your phone in DND).
To deactivate:
1. Press the Forward key, followed by # or take your phone off DND.

14
3.8.16 Using Do-Not-Disturb
When a set is placed in DND mode, the set will not accept calls or Pages.
To activate:
1. Press the DND key, and then do one of the following:
a. Press the DND button again. DND is now active.
OR
b. Press Up or Down to scroll through the messages and select the message
you want displayed on your set. If you wish to add text to the message (e.g.
OUT TO LUNCH BE BACK AT 1:00PM), use the dial pad to enter your
message.
NOTE: It will be in number format. If you need Alpha mode, press the button.
In Alpha mode, press 1to add punctuation (e.g. !,.,/,:,&)
Press the button to backspace.
Press the button to move the cursor over or to add a space.
To deactivate:
1. Press the lit up DND key.

15
3.9 Voice Mail guide
3.9.1 Access voice mail away from your desk
If working at a different work station within your office, retrieve your voice mail messages by the
following:
1. Dial the voice processing system number 2500. When you hear the Mitel voice
prompts, press *.
2. You will be prompted to enter your mailbox number and passcode.
Note: Your mailbox number is your extension number. If this is the first time you are entering
your mailbox, your passcode will also be your extension number.
3.9.2 Access voice mail away from the office
If you are accessing voice mail from outside the office:
1. Dial the main number to your office.
2. If you hear an Auto-Attendant recording, press *. If someone answers the call, ask to be
transferred to voicemail.
3. If you answered the call, you must press the Transfer key followed by and hang up.
4. Press *, and you will be prompted to enter your extension (mailbox number) and
passcode.
Functions available for internal and external access:
1) Retrieve new messages
2) Record a message
3) Retrieve saved messages
4) Personal options
5) Messaging options
3.9.3 Access your mailbox from your desk
1. If the message indicator is lit, lift the handset, and press the button. If you do not
have unheard messages, dial 2500 and press *.
2. Enter your voice mail passcode, and press #.
The following options are available:
1) New –Listen to new messages
2) Record–Record and send a voicemail message.
3) Saved –Listen to saved messages
4) Personal options –Change greetings, passcode recorded name, and envelope
information.
5) Messaging options –Cancel unsent messages or recover deleted messages.
3.9.4 Listening to messages
1. Lift your handset, and press the Message button.
LOGIN

16
2. Enter your voice mail passcode, and press #.
3. Select 1 for New messages or 3 for Saved messages. During a message you can
perform the following functions:
4) Rewinds the message by 5 seconds.
5) Pauses the message, press # to resume.
6) Forwards the message by 5 seconds.
*) Skips you to the end of the message.
After the entire message has played, you can choose from the following options:
4) Replay the message
5) Reply to the message
6) Forward the message
5) Message envelope
7) Delete message
9) Save the message
3.9.5 Set your password
Password setting guidelines:
Required to be 3-12 digits in length
Cannot start with 0 (zero)
Cannot be consecutive digits or single repeated digits
Cannot be your extension number
Note: if you are already logged into your mailbox, start at step 3.
1. Dial the voice processing system number 2500. When you hear the Mitel voice prompts,
press *.
2. You will be prompted to enter your mailbox number and passcode.
3. Press 4 to access personal options.
4. Press 3 to change your passcode. You will be prompted to enter your new passcode.
5. Enter your new passcode, and press #.
6. To accept, press #. If you wish to re-enter a new passcode, press 3.
3.9.6 Recording your primary and alternate greetings
You can record both a primary and alternate greetings. The primary greeting may be used for
normal working days. The alternate greeting can be used for times when you are going to be
away from the office for a period of time (e.g. vacation).
Note: if you are already logged into your mailbox, start at step 3.
1. Dial the voice processing system number 2500. When you hear the Mitel voice prompts,
press *.
2. You will be prompted to enter your mailbox number and passcode then press #.
3. Press 4 for personal options.
4. Press 1 to change your personal greetings.
Other manuals for MIVOICE OFFICE 250
22
Table of contents
Other Mitel Telephone manuals

Mitel
Mitel SX-2000 Light User manual

Mitel
Mitel 600 User manual

Mitel
Mitel 7106 User manual

Mitel
Mitel 6970 User manual

Mitel
Mitel MIVOICE 8528 User manual

Mitel
Mitel Deskphone 6867 User manual

Mitel
Mitel 6863i User manual

Mitel
Mitel 6737 User manual

Mitel
Mitel Deskphone 6863 User manual

Mitel
Mitel MiVoice 5361 IP Instruction manual

Mitel
Mitel 6930 SIP User manual

Mitel
Mitel 8568 User manual

Mitel
Mitel 6863i User manual

Mitel
Mitel Deskphone 6865 User manual

Mitel
Mitel SUPERSET 410 Manual

Mitel
Mitel 612d User manual

Mitel
Mitel MiVoice 6940w User manual

Mitel
Mitel 6392 User manual

Mitel
Mitel Superset 4015 User manual

Mitel
Mitel 6865i User manual