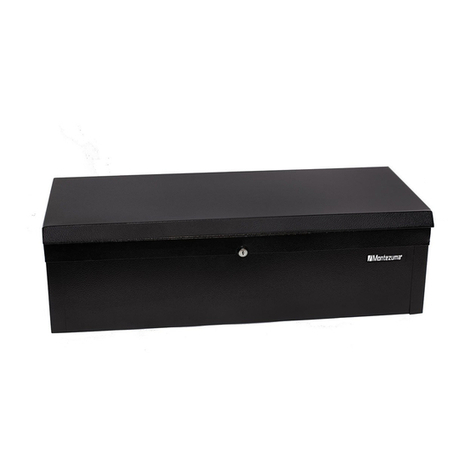
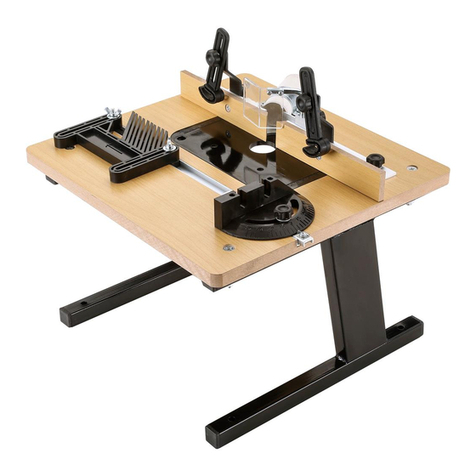
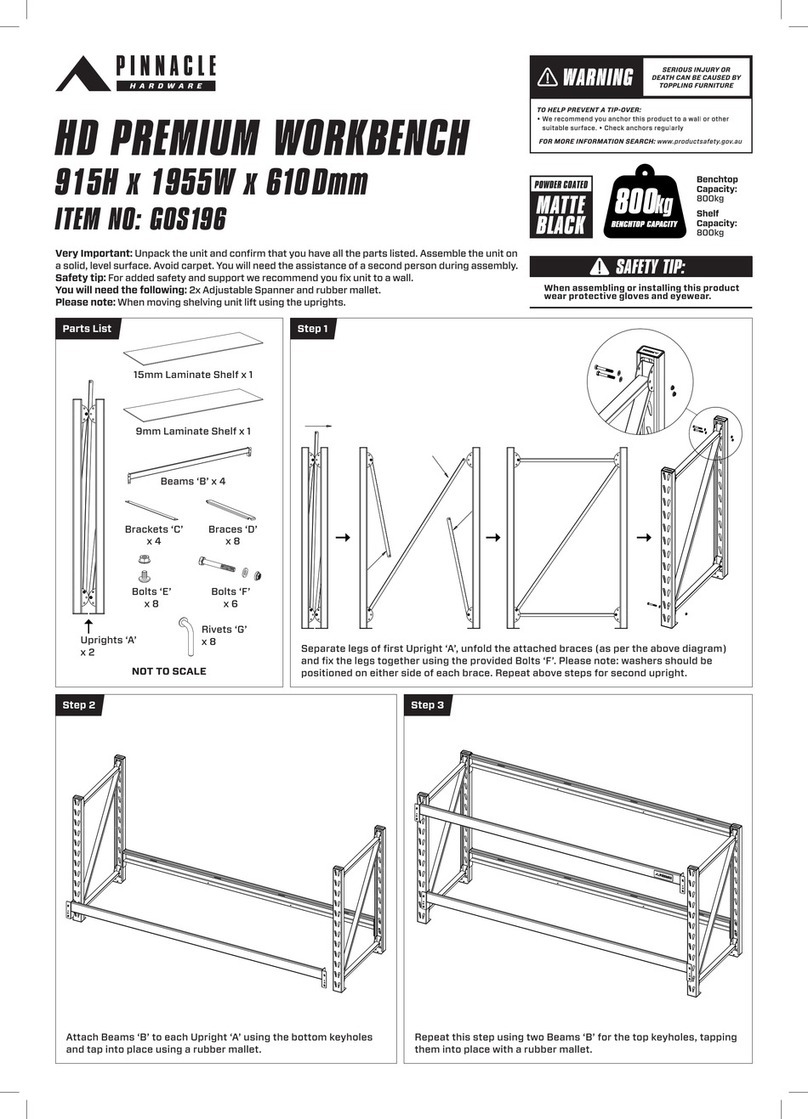
Montezuma MWB722430B User manual
Other Montezuma Tools Storage manuals

Montezuma
Montezuma MUC3102WB User manual

Montezuma
Montezuma M162403SL User manual

Montezuma
Montezuma 5624BNC User manual
Montezuma
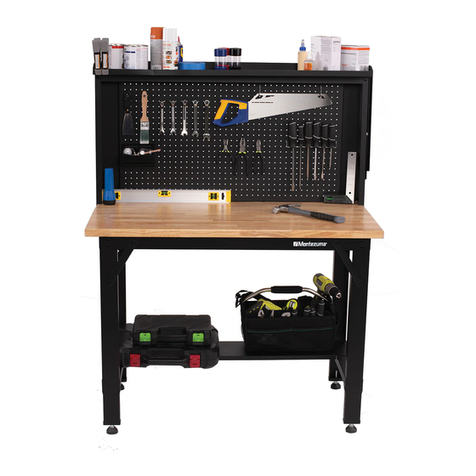
Montezuma MWB482454B User manual

Montezuma
Montezuma 3005UC User manual

Montezuma
Montezuma SHOPBOX SB150D User manual
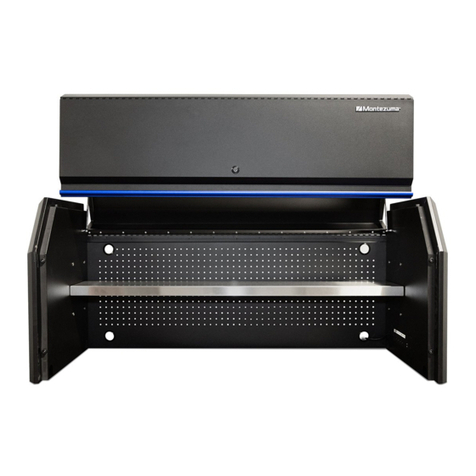
Montezuma
Montezuma M5624H User manual

Montezuma
Montezuma Triangle DX411B User manual

Montezuma
Montezuma M562411TC-H User manual

Montezuma
Montezuma MSF4829B User manual
Popular Tools Storage manuals by other brands
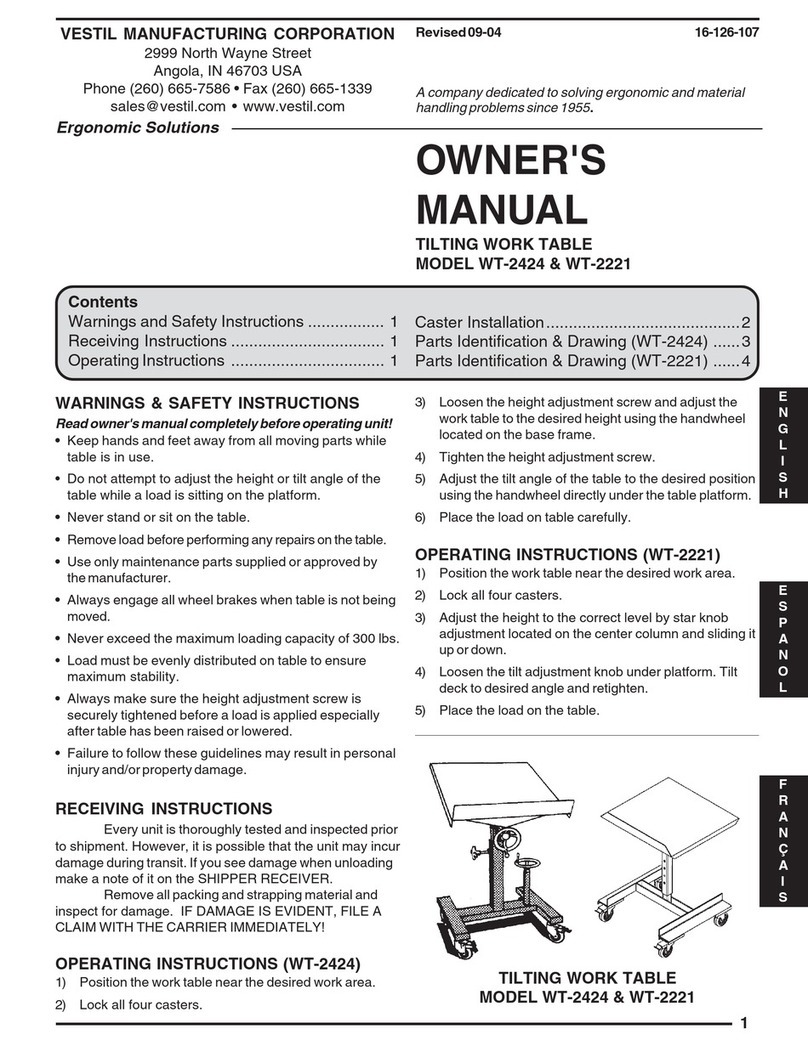
Vestil
Vestil WT-2424 owner's manual

Kendall Howard
Kendall Howard ESDW-9630-1000 owner's manual

Ryobi
Ryobi RWB03 Original instructions

Husky
Husky H27CH5TR4BGK Use and care guide

Scheppach
Scheppach ts 2100 Translation from original manual

DIVERSIFIED WOODCRAFTS
DIVERSIFIED WOODCRAFTS SHAIN GSB-6024 Assembly instruction
