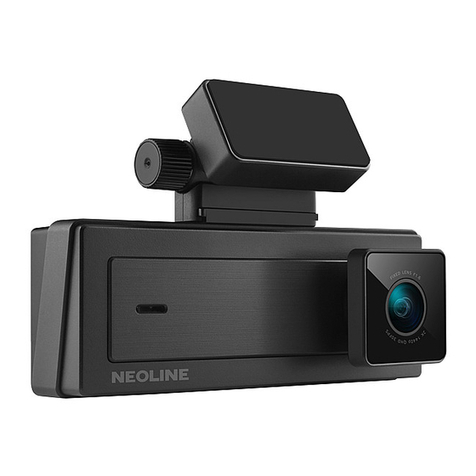
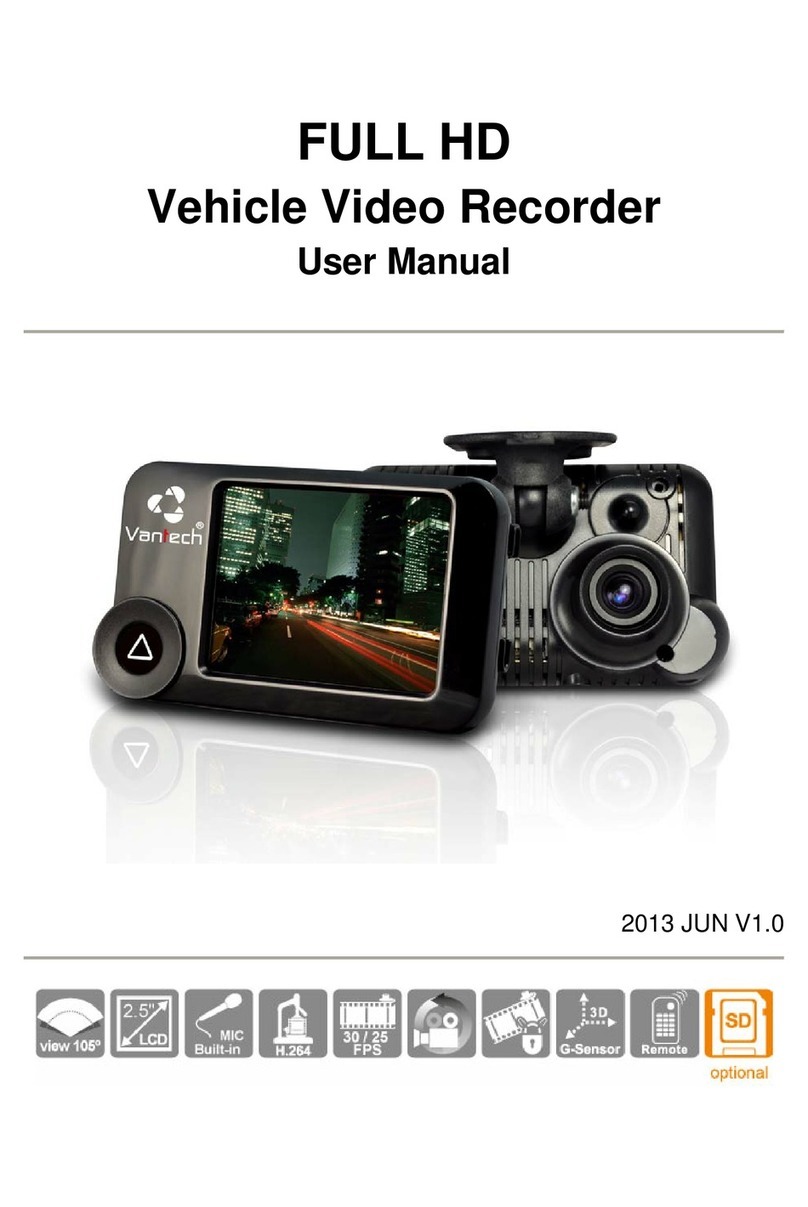
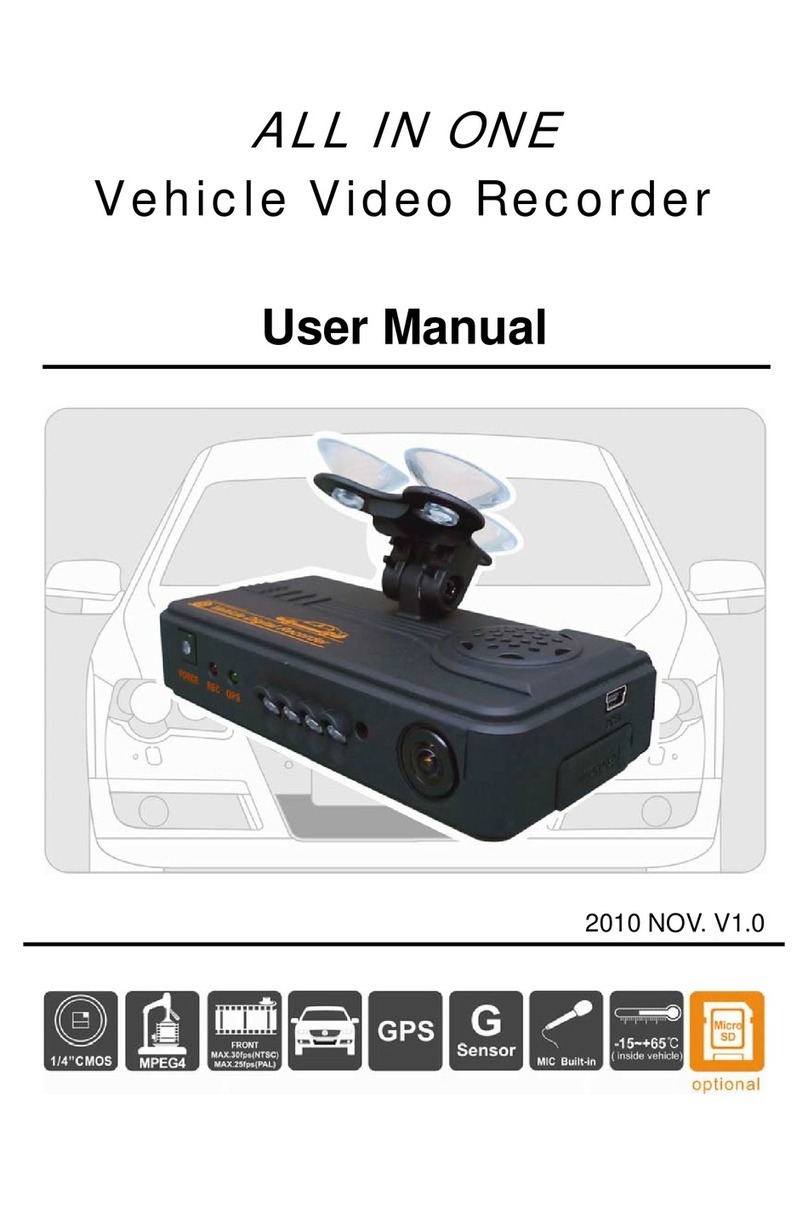
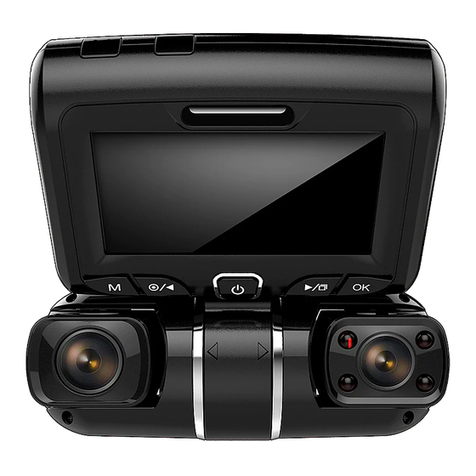
Neoline X3000 User manual

Thank you for choosing the X3000 driving recorder!
In addition to driving the local recorder of common features, added three major
features:
(1) built-in dual camera, can take before and after the two images;
(2) increase the GPS module to a complete record of driving track. Use of
random special software, you can watch the video on the computer at the same
time, through the Internet to connect to Google Maps, the map showing lane
track, trace routes on the vehicle.
(3) built-in gravity sensor, G-Sensor, gravity sensor can record the information.
Use of random specialized software on the computer watching the video at the
same time, gravity sensor data is read, tracing the course of the traffic incident
and abnormal.
In order to better play the maximum performance driving recorder, please read
carefully before you use this manual (and accessories of the machine design
and specifications subject to change without notice).

Catalog
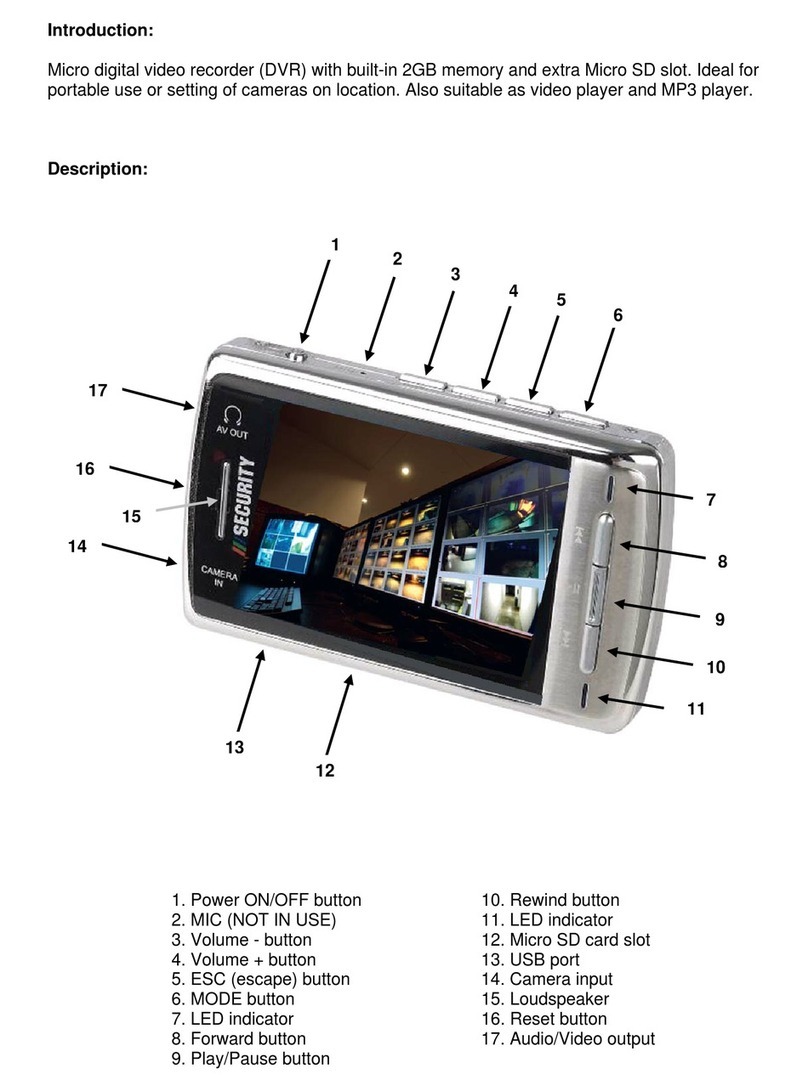
Product structure ... ... ... ... ... ... ... ... ... ... ...
Started to use the road recorder ... ... ... ... ... ... ... ... ... ... ...
To charge the battery ... ... ... ... ... ... ... ... ... ... ...
Insert a memory card ... ... ... ... ... ... ... ... ... ... ...
Adjust the lens position ... ... ... ... ... ... ... ... ... ... ...
Open and close the machine ... ... ... ... ... ... ... ... ... ... ...
The basic operation of traffic recorder ... ... ... ... ... ... ... ... ... ... ...
Switch mode ... ... ... ... ... ... ... ... ... ... ...
Set menu ... ... ... ... ... ... ... ... ... ... ...
System Settings ... ... ... ... ... ... ... ... ... ... ...
How photography ... ... ... ... ... ... ... ... ... ... ...
Start and stop set as ... ... ... ... ... ... ... ... ... ... ...
Open, close the audio ... ... ... ... ... ... ... ... ... ... ...
Image data playback and management ... ... ... ... ... ... ... ... ... ... ...
Video playback ... ... ... ... ... ... ... ... ... ... ...
Computer access to documents on the machine ... ... ... ... ... ... ... ... ... ... ...
The machine reset ... ... ... ... ... ... ... ... ... ... ...
Features ... ... ... ... ... ... ... ... ... ... ...

Technical Specifications ... ... ... ... ... ... ... ... ... ... ...
Accessories table ... ... ... ... ... ... ... ... ... ... ...
Product structure


Recorder began to use the road
Charge the battery
There are two ways to charge the battery:

1. Use USB cable to connect the machine to the computer charge;
2. Using the supplied vehicle power charger.
The process of charging the red charging lamp lights up after the indicator goes
off.
The charging time takes about 240 minutes.
Insert a memory card
The TF (Micro SD) memory card according to the direction of the fuselage,
straight forward slot until you hear a "click" sound.
Remove the card: look inside to promote TF card, the card pops up immediately
after removal.
Note:
Memory card for the first time this unit, because the memory card format is
not
If you can not use the machine to format the card, first on the computer with the
compatible with the machine, must be included with the machine or the
machine tool software to format the memory card (memory card
does not support the format of the computer). Formatting the memory card will
permanently delete all data, including protected images, and can not be
restored. Thus, in the format the memory card, back up important data.

st the position of the lens
The front of the lens to the upper and lower 20-degree rotation, in order to
r in a fixed location, access to good shooting.
n once, the red power light goes out.
pted to
utomatically shutdown.
ffic recorder
witching mode eo and playback.
button to switch.
enters the setup menu page, then "Menu
ld is the blue background.
software suppliedwiththeformat.
Adju
better meet the driving recorde
Open and close the machine
Power on: press the power button once, the red power light is on.
Off: long press the power butto
Note: driving recorder in the low-low battery power will be prom
a
The basic operation of tra
S
This unit has two operating modes: vid
Press the MODE
Set menu
Press the MENU button, the unit
Settings" fie
In the menu settings page, left-right to select the desired setting field; press

s MENU key to exit the menu."OK" button to accept the settings, pres
System configuration: The viewfinder can preview mode, the system can be
set.
Video mode: dual lens / mirror front / rear mirror;
Time setting: left-right to adjust the hours, press the OK button to confirm exit;
Format: Press OK to select Yes / No;
TV format: set the NTSC / PAL;
Beep: on / off;
Record: On / Off;
Language: English / German / French / Spanish / Italian / Portuguese /
Traditional Chinese / Simplified Chinese / Japanese
Screen Default: on / off;
Automatic Video protection sensitivity: low / normal / high / off automatic
recording protection;
(This function sets the gravity sensor automatically starts recording sensitivity)
Frequency: 50HZ/60H
How to Photography Z.
Start / stop recording:
In shooting mode, press the OK button to start recording, then click the OK
button to stop recording.
Driving recorder memory card inserted at boot time and will automatically start
recording.

On / off the audio:
In the recording process, press the left button, can quickly turn on / off the audio
image file.
Image data playback and file management
Press the MODE button to enter playback mode, the screen shows the last
video file playback screen.
Video playback:
Left-right to select the desired playback of audio and video files
Press the OK but
Computer access to documents on the machine
The machine does not support the USB protocol, the computer record of the
ton for audio and video file playback and pause.
n support equipment (such as
the memory card dedicated software
(1) For ease of use, and to prevent the memory card is abnormal, causing
e to software tools, recommended tool to save the backup to your
machine access to documents from the IF card ca
card readers) to complete.
The machine for the first time into the memory card and complete format,
automatically generated on
tools, computer access to documents on the machine must be carried out by
this tool.
Note:
damag

Use of the software:
image of the document information.
files:
ap.bin, Default_Folder.ini and
1.
umentation.
computer.
(2) computer operating system must be Windows 2000/XP/Vista/Windows 7,
MAC OS x 10.3.6 above.
Using TF card reader to read out the
User in the "My Computer" on the disk can be seen under TF card 3
。
Run software tools.
2. Open the player and play video doc
Click Open player.

ct the disk where the path to TF card, then click "Apply", within the
document and a
st
l:
Click
Sele utomatically load the card play.
Click controlstocontrolplaybackstatus:fromleftto
right, respectively to achieve Slow forward / stop / playback (pause) / Fa
Forward.
3. Select the dual-lens channe
Playback control select s channel
images: dual-lens / mirror front
4.
able dual-len
/ rear mirror.
movie archive:

u want to save the video Select the file yo , Click the pop-up
e the selected screen images, click Save the file
ave."
not need
screen to save the file path, select, click "OK" to save selected files.
5. Photo Archive:
The need to sav
path to pop-up screen, choose the path, click "S
6. Delete the document:
Select the video files do ,click ,The "OK / Cancel"
an do the following: SD card format / upload software to the SD
ick Can enter the toolbox.
option, select "OK" on the selected video files to delete.
7. toolbox:
Toolbox c
Card / SD Card Speed Test / map selection and set the user password.
Cl

Google maps:
mputer through an Internet connection to Google Maps
8.
Click ,Co
and the map showing lane track, trace routes on the vehicle.
9. Gravity Sensor:

Click ,On the computer while watching the video, read and
display the gravity sensing data, retrospective in driving the process and
unusual incidents
10. Other operations:
Click From left to right, respectively, to achieve the
following: Repair Video / unlock protected / select the display size.
Reset the machine
When the unit is operating properly due to abnormal situations, you can press
the reset button then turn the machine return to normal.
Features
- Ultra small size, the first ultra-wide angle lens up and down 140 degrees and
can be rotated 20 degrees and 120 after the high-resolution mirror the perfect
combination of ultra-wide-angle lens design, more convenient for a variety of
occasions multi-angle, high resolution video capture.
- Built-in 1 / 4 inch low-noise high-quality sensor, can capture the occasion in
the dark ultra-clear picture
- Built-in rechargeable lithium side edge video functions
- Built-in microphone / speaker
- Support for high-capacity Micro TF card

- Start the car automatically start recording function
- A delay start function, to prevent damage to the car to launch an instant pulse
current machine
-GPS positioning scan
- Gravity sensor SENSOR
Technical Specifications
LCDScreen Size 2.7“ (16:9)
Lens before the lens ultra wide 140 degree / 120 degree super wide angle
Options
Language English / German / French / Spanish / Italian / Portuguese
/ Traditional Chinese / Simplified Chinese / Japanese
Video format AVI
TF memory card slot Micro TF
Microphone/ Speaker Built-in
TV Output NTSC/PAL
TV output and DC 5V 500MA
Battery Built-in lithium polymer battery
System Requirements Windows 2000/XP/Vista/Windows 7,MAC OS x 10.3.6 以上

Note: This product is to retain the right to change design and specifications
without notice.
Accessories:
vehicle power supply; TV cable;car bracket;
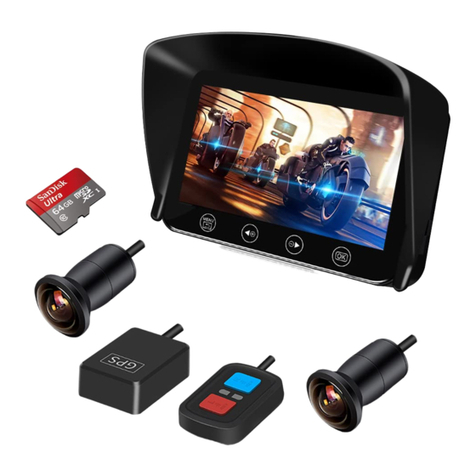
GPS modual;manual
Other manuals for X3000
1
Table of contents
Other Neoline Dashcam manuals
Neoline
Neoline WIDE S61 User manual

Neoline
Neoline X3000 User manual
Neoline
Neoline G-TECH X50 User manual
Neoline
Neoline G-Tech X27 User manual
Neoline
Neoline G-Tech X27 User manual

Neoline
Neoline G-TECH X72 User manual
Neoline
Neoline WIDE S55 User manual
Neoline
Neoline G-TECH X83 User manual
Neoline
Neoline G-TECH X77 User manual
Neoline
Neoline Wide S39 User manual
