Neoline G-TECH X50 User manual

NEOLINE G-TECH X50
TWO-CHANNEL DASHBOARD CAMERA
User Manual

Dear customer!
Content
Thank you for purchasing NEOLINE G-TECH X50 car digital video recorder (DVR)!
Please read this manual carefully and all through to ensure proper use and longer
service life of the device. Keep the user manual to consult it when necessary.
1. Operation Conditions.....................................................................................................3
2. Specifications.................................................................................................................5
3. Package Contents..........................................................................................................6
4. Product Description........................................................................................................6
5. DVR Installation..............................................................................................................7
6. Device Operation...........................................................................................................9
7. APP settings and Applications.....................................................................................10
8. Troubleshooting...........................................................................................................18
2

1. Operation Conditions
• Please read the warranty terms carefully.
• In case of any inadequate operation of your Neoline DVR, please be sure to have
the device software updated before contacting your service centre/vendor/other
authorized institution.
The latest FW version is available at http://neoline.com/update/ and here you can
also find how to get the update. If you still have any questions, please feel free to
use one of those phone numbers at the site or just leave your request at
http://neoline.com/support/
• Never insert or remove a memory card while the DVR is on. It may cause
damage to the device, memory card and recorded video files.
• Since this DVR utilizes h.264 codec, some properties of the recorded files (such
as bitrate) can only be viewed with an h.264 supporting applications. These are,
Windows 10 media player or VLC Player.
• This device shall only be used with the accessories supplied. Where third-party
accessories are used, Neoline bears no responsibility for any damage to the
product.
• Do not expose the product to fire, moisture or chemicals (gasoline, solvent,
reagents, etc.).
• Do not disassemble or modify the product.
• Neoline is not responsible for any data loss and/or direct or indirect damage
caused to the user or a third party by incorrect use of the device or software, their
incorrect installation, or the use of accessories not included in the package.
• NOTE! In some cars, the power is supplied to the 12/24V socket even when the
ignition is off. It is recommended to disconnect the device from the vehicle network
to avoid the battery discharging.
IMPORTANT! Inserting a brand new SD card may sometimes bring no DVR
response. In this case, just format the memory card with a PC.
3

• Format the microSD card at least once every two months to avoid damage to its
file system.
• Observe the storage and operation temperature conditions (see specifications).
Do not expose the unit to sunlight for too long.
• The device is designed to be used in cars with a transparent windshield or light
tone heat shield for glass. Where the windshield is tinted or covered with dark heat
shield film, the video quality decreases.
• Install the DVR in such a way as to get the maximum field of view. DO NOT place
the DVR in a place where it can block the view and compromise your safe driving.
Neoline and its authorized partners take NO responsibility for any data lost or
damaged due to improper installation of the holder.
• The built-in supercapacitor helps you finish your recording correctly. Normal
operation of the device requires an external power source.
• Do not use the device while driving to be sure you are driving safe in accordance
with local law.
• Set the correct date and time before using the device.
• Heating of the case during operation is normal.
• Handle the device with due care; avoid dropping/crushing the device.
The manufacturer reserves the right to change the equipment list, hardware and
software of the device without prior notice.
It is assumed that you agree with the provisions above before you start using the
system.
This user manual is valid at the time of printing. Please check for any updates at
www.neoline.com You may download this manual by pressing Download button on
product page.
4

2. Specifications:
• Resolution: Front camera: Full HD 1080P (25fps)
Rear camera: HD 720P (25fps)
• FOV angle: Front camera: 140°
Rear camera: 130°
• Rear camera cable length: 6.5m
• Built-in supercapacitor
• G-sensor
• Parking mode
• Loop recording
• GPS tracker: App & PC platform
• Wi-Fi
• Live streaming
• Dual-way talking
• Over-speed alarm
• Geofence alarm
• MicroSD support 8GB - 256GB (Class 10)
• Storage temperature: -20°C to +70°C
• Opening temperature: -10°C to +60°C
• Charging input voltage: DC 12-30V
This user manual is valid at the time of printing. Please check for any updates at
www.neoline.com
You may download this manual by pressing Download button on product page.
*The DVR is designed to operate under a wide range of temperatures. Unlike a
battery, a supercapacitor is more durable and can work more efficiently both at low
and high ambient temperatures.
5

3. Package Contents
4. Product Description
• 4G Cloud Dash Camera Neoline G-Tech X50
• 3M Stick Base Bracket
• Power Adapter Cable
• GPS Antenna
• Manual
• Warranty
• Rear Camera
Main key:
Wi-Fi ON&OFF / Restart (Press 3 seconds
to disable / enable Wi-Fi. Press 10
seconds to Restart.)
Display Screen ON/OFF (Device with
display only).
Mic:
Audio Monitor
SIM Card and Micro SD Card:
Insert SIM Card and Micro SD Card
as picture directed, MAX support
256GB Fat32 Micro SD Card.
Mic Main Key
6

5. DVR Installation
Installation on the windshield
- Choose the installation location in advance, as the adhesive tape on the mount is
of single use.
- Degrease the mounting location and warm it up to ensure strong adhesion.
- Sit the DVR onto the mount and turn the DVR on. Make sure that the horizontal is
kept and the lens captures the image symmetrically both on the left and right when
evaluating the display image. Then remove the protective film from the surface of
the adhesive tape and lean and press the mount against the windshield.
Installation steps
1. Insert the SIM Card and Micro SD Card into the Slot. (Note the direction.)
2. Stick the base bracket onto te front windshield (Note the direction and position.)
3. Connect the Power cable with 4G Cloud Dash Camera and Car power fuse box
(Note the difference between Power Supply and ACC, GND is connected to the
carf metal part.)
Note: Insert SIM Card only when the device is power off.
7

Adjusting the viewing angle
NOTE! Adjusting the viewing angle can only be done along the vertical line, so be
sure to position the device correctly on the windshield along the horizontal line as
close as possible to the windshield's center.
While pulling or pushing the device in the holder, ensure that the camera captures
the image in proportion of 30% sky / 70% road.
Dismounting
Holding DVR at the bottom, pull it down and counterclockwise as against the back
wall of the mounting slot.
Power connection
Use only the power adapter included to power the device and charge the battery.
Connect the power cable to the DVR, then connect power cable in to the car fues
box.
The device turns on automatically when the car engine starts.
Note!
For best view, the device should
be installed near the rear-view
mirror in the center top of the
windshield. Please ensure that
the camera captures the image in
proportion of 30% sky/ 70% road
to get the best record.
8

6. Device Operation
Loop recording
1) Please insert the microSD card into the memory card slot; the Loop Recording
mode turns on automatically.
2) It is recommended to set a 3-minute cycle (see Settings).
3) The device will automatically replace the oldest video file with the newest one
when there is no more space left on the memory card; exception is the files
protected from deletion.
4) Loop records are stored in F _Driving and R_Driving folders, one for each
camera.
Rear Camera Connection
Use the rear camera connector with the DVR.
NOTE! The rear camera is designed only to record events behind the car and
cannot be used as a parking camera.
Setting the rear camera FOV angle
Please determine in advance a location for installation of the rear camera inside or
outside the vehicle (bumper, license plate bracket, etc.).
Please try to put the camera in the center to get the best FOV. Determine the
optimal angle of the camera based on the DVR image, fix the position of the
camera, mount it and then screw it hard using the screws provided.
9

7. APP settings and Applications
APP download and installation
Please scan QR code by smart phone (iOS & ANdroid), download and install APP
“iCloudCar”, or search “iCloudCar” from App Store and Google Play to download
and install directly.
Main Interface
Open APP, when the device isn’t
conecetd, the main interface is as in the
picture:
10

Real-time Video Preview
Wi-Fi connect/Remotely connect and Bind Device:
1. Wi-Fi connect: Press the main key for 3 second to enable Wi-Fi, searching Wi-Fi
on phone, find the Wi-Fi hotspot named by the last four digits of the device IMEI
number. Default password: 12345678, then connect.
2. Connect remotely and Bind Device: Scan or type in the IMEI number, then bind
the device.
Note: Login the account before binding the device.
Binding steps are as shown below:
11

Preview:
After connection, click the play button in the video preview window then it shows
(as below image), the functions corresponding to the icons are illustrated as below:
1. SIM Card Signal
2. Cloud Server Icon
3. Micro SD Card Icon
4. GPS Signal
5. Front and Rear Camera Switch
6. Take Picture Button
7. Video Record Button
8. Mic ON/OFF
9. Full Screen Button
10. Exit
SIM Card Signal: Sim Card signal value strength.
Cloud Server Icon: Connected with cloud server.
Micro SD Card Icon: Micro SD Card detected.
GPS Signal: GPS located.
Front and Rear Camera Switch: When connecting rear camera, click the button
to switch front and rear camera preview.
Take Picture Button: Click the button to save the current image to the phone.
User can check it from “Images” of “Files”.
Video Record Button: Click the button for video record to save the video to the
phone. User can check it from “Video” of “Files”.
Mic ON/OFF: Click the button to open or close the MIC.
Full Screen Button: Click it to change preview image into full screen.
Exit: Click the button to return to main menu.
12

Playback
Monitor
Click “Position” on the main interface. User can get the current GPS location
information of the device.
1. Access to the real-time image.
2. Access to the real-time video, video of 5 /
15 / 30 seconds optional.
3. User can set up voice broadcast, while
enter text in the input box, then transmit to the
device by voice broadcast.
Video and image can be viewed separately which from
front main camera or rear camera.
Click “Device Files” on the main interface, to check the record files in the Micro SD
card. As shown below:
13

Click “Draw” to set up a fence in the corresponding
area on the map, can set 5 fence mostly. when the car
enter in or out of the fence area, there will be alarm
message on the APP.
Track
Click “Track” on the main interface. User
can view the track record of driving. Save
track records for up to one month.
Geo-Fence
Click “Fence” on the main interface, to
access to the interface of setting fence. As
shown in the picture:
Note: User can playback the video in both wi-Fi and Remote mode.
14

Message
Click “Message” on the main interface. User
can view all the alarm message of the device,
including Anti-theft alarm / ACC ON&OFF /
Geo-fence alarm / Over-speed.
Setting Menu
Click “ ” on the main interface, then user can
modify device parameter. As shown in the picture:
TM-Switch: Time-Lapse Photography ON or OFF (After ACC off, Dash Camera
record 1 frame per second, Support to record up to 24 hours).
Vib Switch: To enable or disable Vibration alarm. If disable the Vib switch, the
device will not alarm and can not preview remotely.
Vib Level: To set collision strength for Vibration alarm.
Volume: Adjust device volume.
T-Card Record Voice: To open or close record sound.
Wi-Fi Hotspot: ON / OFF.
15

Files
Cilck “Files” on the main interface, then you
can view the files which saved in the phone.
As shown in the picture:
Click the “Select” button in the upper right
corner, then user can delete the file.
Wi-Fi Password: To modify default Wi-Fi hotspot password.
Device Info: Check device GPS information, Device IMEI number, Device version
information.
Self-Checking: Check the configuration of the device, Including Sim Card/SD
Card/GPS/GSM Signal/Cloud Server/ACC.
SD Card Formatting: Format Micro SD Card.
Restore Factory Setting: Yes / No.
Reboot Device: Yes / No.
16

User Center
User Login
It require to login the account for remotely connect. Two-ways login 1. Loging with
Facebook Account, 2. Login with Registered Account. As shown in the picture:
Personal Center
Click “Me” to personal center.
Setting:
To set related account parameters.
1. Auto-Record: Enable / Disable to record the video to “Files” while preview the
live view.
2. Connection Voice: Enable / Disable the voice of preview connection.
3. Map Type: Google / Leaflet / Amap / Baidu Optional.
Note: Need to register the account if there is no account.
1. Account to be numbers only, not less than 6 digital.
2. Password to be numbers or letters, not less than 6 digital.
17

4. Wi-Fi / Remote Video Size: Wi-Fi / Remote preview video resolution setting.
Bind/Unbind: Bind/Unbind device IMEI number.
Modify Password: To modify the password of the login account.
About: To check the version information of the APP.
This section helps you to eliminate problems the device may have under normal
operation.
- Failure to photograph/record video.
Check if there is enough free space on the microSD card and if it is not blocked.
- Spontaneous stop at recording.
Too many video files are stored. Use at least class 10 high-speed microSD cards
by proven manufacturers.
- When you try to view a photo/play a video file, the "wrong file" message
appears.
File writing failure due to microSD card file system error. Format the microSD card.
- Blurred image.
Check for dirt on the lens and the CPL filter. Wipe the lens with a soft cloth before
use if any (it is recommended to use special care products for the optics in order
not to damage the surface of the lens).
- Darkened image when photographing the sky or water.
Too much contrast in the scene may affect the exposure. Change the exposure in
the settings menu.
- Hangup (no image, no button response).
Please, press RESET button to reboot the device.
8. Troubleshooting
18

Manufacturered for "Neolainas" LTD
Vilnius, Lithuania
Made in PRC
Official site: www.neoline.com
Limited Warranty: 24 month
Operation environment temperature: -10 ° C. .. +60 ° C
Importer and authorized service organization:
see individual packaging
Table of contents
Other Neoline Dashcam manuals
Neoline
Neoline Wide S39 User manual
Neoline
Neoline G-TECH X62 User manual
Neoline
Neoline G-TECH X81 User manual
Neoline
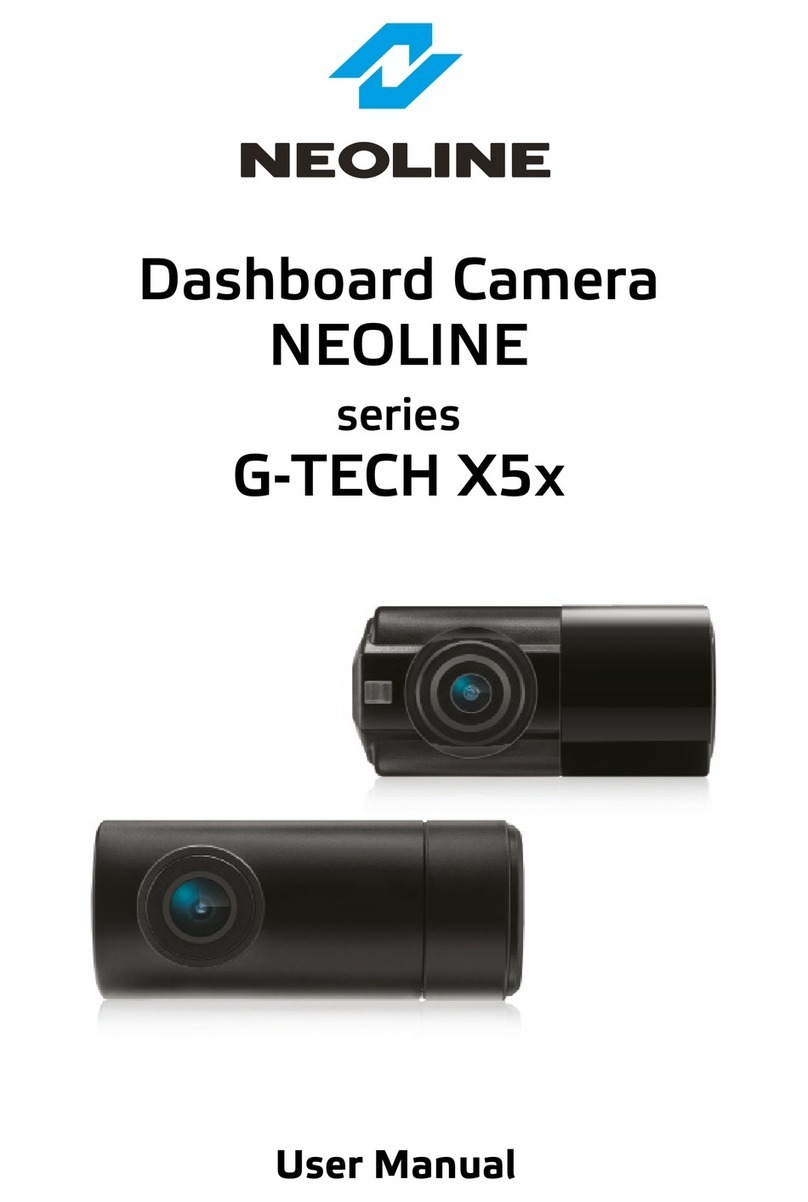
Neoline G-TECH X5x series User manual
Neoline
Neoline G-Tech X27 User manual
Neoline
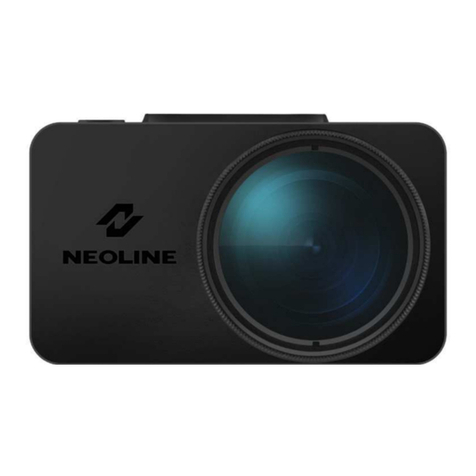
Neoline G-TECH X77 User manual
Neoline
Neoline X3000 User manual

Neoline
Neoline X-COP R750 User manual
Neoline
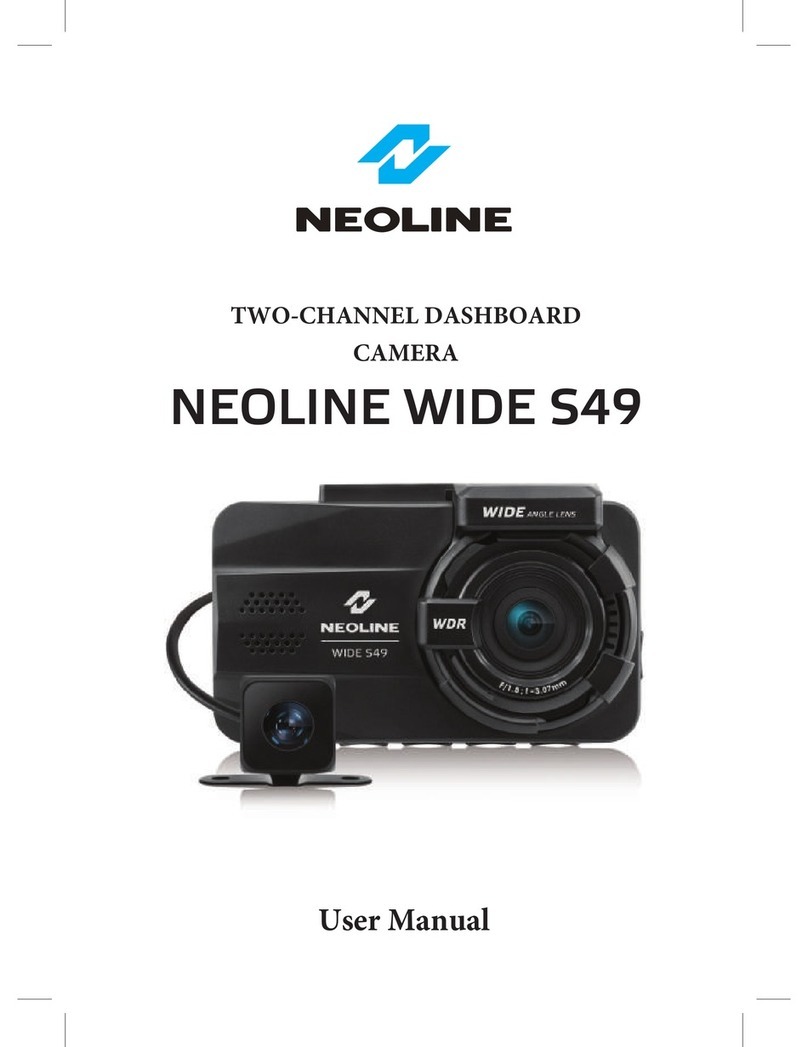
Neoline WIDE S49 User manual

Neoline
Neoline X3000 User manual

