1
3
2a
2b
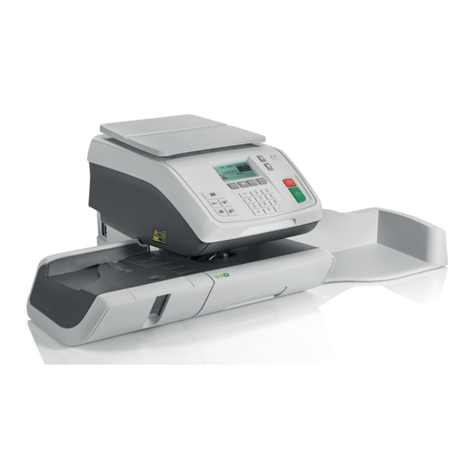
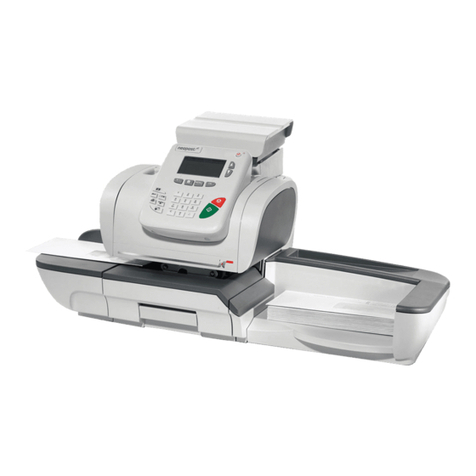
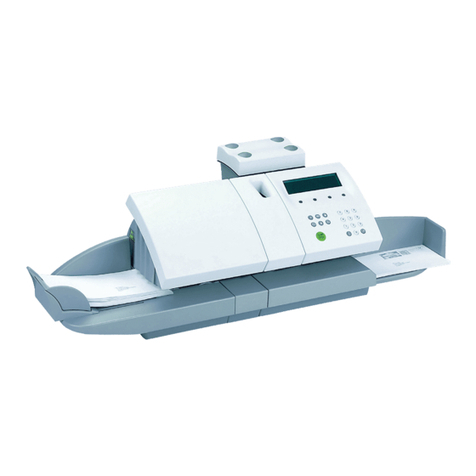
IS-460
4
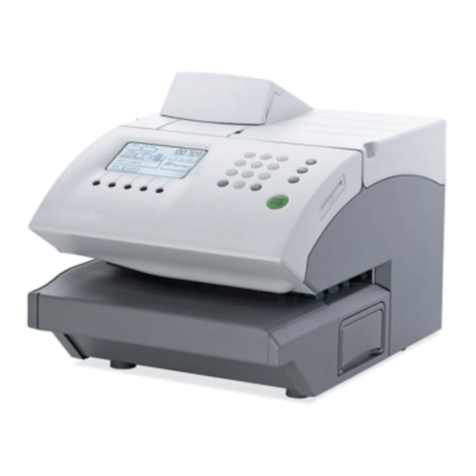
For more specic information about your
mailing system, see the User Guide.
Press...
To reset previous settings...
When the weight is displayed...
To print on labels:
To seal the envelopes:
Put your mail on the scale
To weigh your mail...
or
Enter the weight manually
Shortcut keys
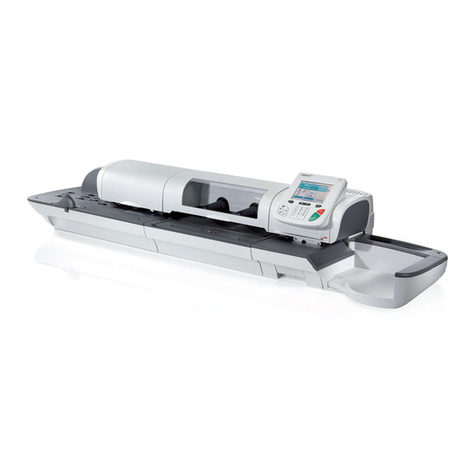
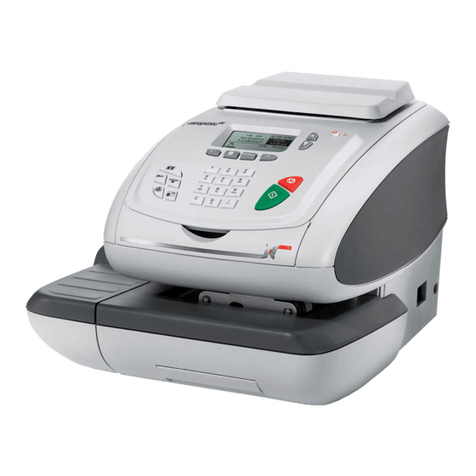
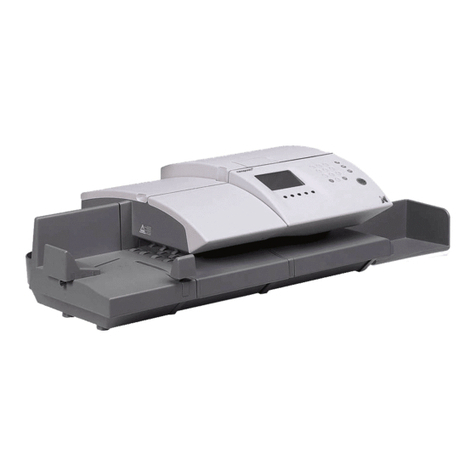
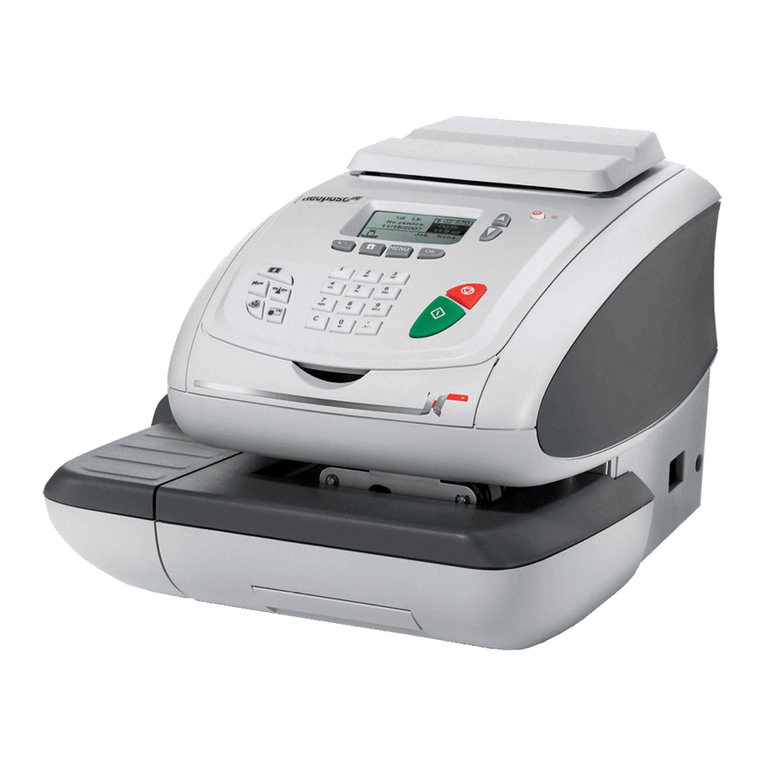
Getting to know your mailing system
Applying postage
If jamming occurs...Changing the ink cartridge Adding funds
Screen main zones
Switch
When postage is displayed, you
are now ready to print Postage
Choose Class and Services to
determine the rate
1
2
1
2
If needed, press to get back to the home
screen.
To get back to default rate settings, press
on the keyboard.
If the system is asleep, press to wake it up
with default settings.
1
2
3
1
2
If you want to print on a label or automatically seal the
envelope, check additional options below.
Press the start button to begin processing
mail.
Feed the mail piece into
the feeder, top of the
envelop against the back
guide rail (stamp printing
position on the upper
right side).
Current rate and selected
services are displayed in
this zone of the screen.
Insert labels into the
dispenser until the click,
printing side facing the
right.
Press the shortcut key to activate
( ) / deactivate ( ) the sealer (K3).
Rate & services (to change: K0)
Date printed (to change: K6)
Weighing method (to change: K5)
Envelope sealing (to change: K3)
Stamp position oset
Type of stamp (to change: K6)
Postage / weight
Memorized imprint (can contain rate, stamp settings
and account)
Current account
Credit (adding funds: K2)
D0
D1
D2
D3
D4
D5
D6
D7
D8
D9
K0
K1
K2
K3
K4
K5
K6
K7
K8
K9
Rates and services selection
Memorized imprints (rate, stamp settings, account)
Funds management
Sealing on/o
Label printing
Weighing modes
Type of stamp and Stamp settings
Sleep / wake (amber / green)
Stops printing
Starts printing
Press to enter the number of labels to
print and then press .
Press the shortcut key and then
select Standard weighing.
If you have no weighing platform, just put your
mail on the feeder hopper.
Press the shortcut key and then
select Manual weight entry.
Enter the weight and press OK.
Press OK to validate your selection and return to
the home screen.
Use rate buttons 1to 9to select an available
Class and/or Services, or select Rate wizard.
Press , type 2and follow instructions
onscreen.
Note: to complete this operation successfully,
your postal services account must have a
positive credit balance of the corresponding
amount. Your machine needs to be connected
to the internet to reset postage funds. We
recommend a LAN connection for best
experience.
To change the rate and/or
add services:
Press .
The Rate selection
screen is displayed.
If needed, power on or o your system with this
switch, located near the power cord.
Press on the control panel.
Under the base, lift up the release handle and, using
your other hand, remove envelopes or labels from
the mail run.
On feeder: raise cover, push down at the left of
upper blue lever to release mail runner. Remove the
jammed material then push down on the mecha-
nism to relocate.
1
2
3
On the new ink cartridge,
remove the protective strips
from the printing heads.
Raise base cover and follow
instructions printed on
sticker inside.
1
2
1
2
D6
D7
D8
D9
D5
D1
D2
D3
D4
D0
K8
K9
K7
K1 K4
K5
K6
K3
K2
K0
4138953J/C - 01/02/2015
www.neopostusa.com
