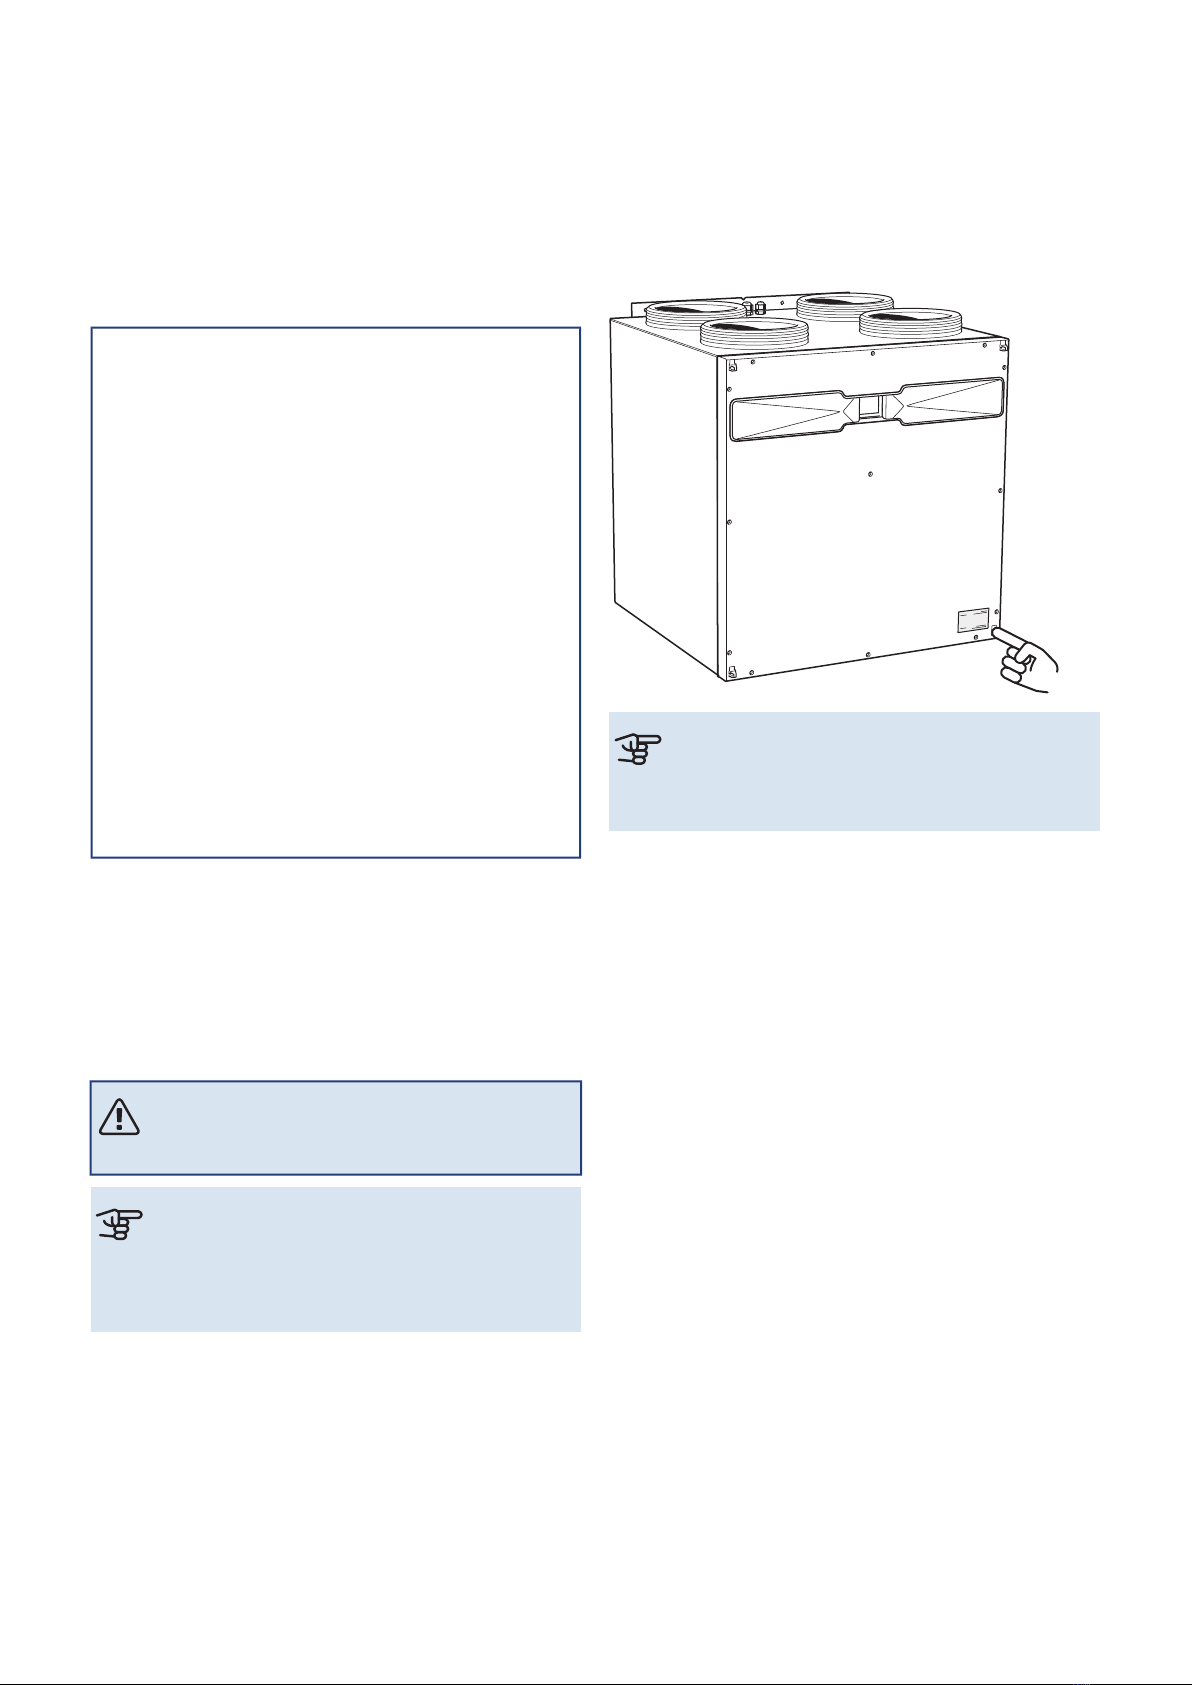
Nibe ERS S40-400 User manual
Other Nibe Fan manuals

Nibe
Nibe Contura C30 User manual

Nibe
Nibe SAM 42 User manual

Nibe
Nibe Flakt Contura C600 User manual

Nibe
Nibe ERS 20 User manual

Nibe
Nibe GV-HR 130 User guide

Nibe
Nibe FLM S45 User guide

Nibe
Nibe ERS S10-400 User guide

Nibe
Nibe DVC 10-50 User manual

Nibe
Nibe ESV 20 User manual

Nibe
Nibe Contura C34T User manual

Nibe
Nibe ERS S40-350 User guide

Nibe
Nibe SAM 40 User guide

Nibe
Nibe ERS S10-400 User manual

Nibe
Nibe IEC VDY Instruction manual

Nibe
Nibe GV-HR 120 User guide

Nibe
Nibe ERS 20-250 User guide

Nibe
Nibe FLM S45 User manual

Nibe
Nibe Contura C500 Style User manual

Nibe
Nibe FLM 40 User manual

Nibe
Nibe Contura C500 Style User manual
Popular Fan manuals by other brands

ELTA FANS
ELTA FANS H03VV-F installation guide

Hunter
Hunter 20714 Owner's guide and installation manual

Emerson
Emerson CARRERA VERANDA CF542ORB00 owner's manual

Hunter
Hunter Caraway Owner's guide and installation manual

Panasonic
Panasonic FV-15NLFS1 Service manual

Kompernass
Kompernass KH 1150 operating instructions